
Wet Mopping Cloth Hack: Are you tired of spending a fortune on disposable wet mopping cloths, only to toss them in the trash after a single use? I know I was! It felt wasteful, both for my wallet and the environment. But what if I told you there’s a simple, cost-effective, and eco-friendly solution right at your fingertips?
The concept of reusing cleaning materials isn’t new. Our grandmothers and great-grandmothers relied on resourcefulness, transforming old clothes into cleaning rags and finding innovative ways to extend the life of household items. This “make-do-and-mend” mentality is not only thrifty but also deeply satisfying, connecting us to a tradition of sustainability.
In today’s fast-paced world, convenience often trumps sustainability. However, with this wet mopping cloth hack, you don’t have to choose! You can enjoy the ease of wet mopping without the guilt of contributing to landfill waste. This DIY trick will show you how to create reusable wet mopping cloths from materials you likely already have at home. Not only will you save money in the long run, but you’ll also reduce your environmental footprint. Ready to ditch the disposables and embrace a greener cleaning routine? Let’s get started!
DIY Wet Mopping Cloth Hack: Supercharge Your Cleaning!
Hey there, fellow cleaning enthusiasts! I’m always on the lookout for ways to make chores easier and more effective, and I’ve stumbled upon a game-changer: a DIY wet mopping cloth hack that will leave your floors sparkling. Forget those expensive pre-moistened pads – we’re going to create our own super-powered versions that are not only budget-friendly but also customizable to your specific cleaning needs. Let’s dive in!
What You’ll Need
Before we get started, let’s gather our supplies. This is where you can really tailor the hack to your preferences, but here’s a basic list:
* Microfiber Cloths: These are the workhorses of our operation. I recommend having a good stash of them. The more, the merrier! Look for the ones specifically designed for mopping, as they tend to be thicker and more absorbent.
* Spray Bottle: A sturdy spray bottle is essential for dispensing our cleaning solution. Make sure it’s clean and has a good spray pattern.
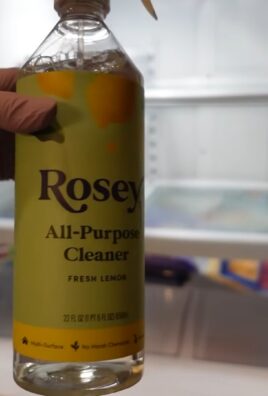
* Your Favorite Cleaning Solution: This is where you can get creative! You can use a commercial floor cleaner, a DIY solution (more on that later!), or even just plain water with a few drops of essential oil for a fresh scent.
* Optional Add-ins: Depending on your needs, you might want to add some extra cleaning power. Consider things like:
* White vinegar (for disinfecting and cutting through grease)
* Rubbing alcohol (for quick drying and sanitizing)
* Essential oils (for fragrance and potential antibacterial properties)
* Dish soap (for extra cleaning power, but use sparingly!)
* Airtight Container (Optional): If you want to pre-soak your cloths for grab-and-go convenience, an airtight container is a must. A plastic storage container or even a large zip-top bag will work.
* Gloves (Optional): If you have sensitive skin or are using harsh chemicals, gloves are always a good idea.
Creating Your Cleaning Solution
This is where the magic happens! You can use a pre-made floor cleaner, but I personally love creating my own solutions. It’s cheaper, more eco-friendly, and I can control exactly what goes into it. Here are a few of my favorite recipes:
* All-Purpose Cleaning Solution:
* 1 cup water
* 1/4 cup white vinegar
* 1 tablespoon rubbing alcohol
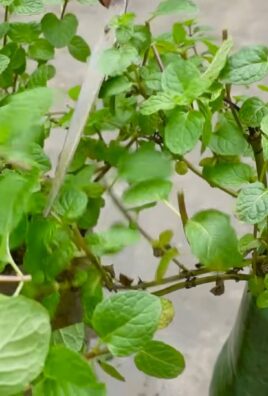
* 5-10 drops of your favorite essential oil (lemon, lavender, and tea tree are great choices)
* Grease-Busting Solution:
* 1 cup water
* 1 tablespoon dish soap (use a gentle, non-abrasive formula)
* 1/4 cup white vinegar
* Disinfecting Solution:
* 1 cup water
* 1/4 cup white vinegar
* 1/4 cup rubbing alcohol
* 5 drops tea tree essential oil
Important Note: Always test your cleaning solution in an inconspicuous area first to make sure it doesn’t damage your flooring. And never mix bleach with vinegar or ammonia, as this can create dangerous fumes.
Step-by-Step Instructions: The Wet Mopping Cloth Hack
Alright, let’s get down to business! Here’s how to create your own DIY wet mopping cloths:
1. Prepare Your Microfiber Cloths: Start by making sure your microfiber cloths are clean. If they’re brand new, give them a wash to remove any lint or manufacturing residue. If they’re used, make sure they’re free of dirt and debris.
2. Mix Your Cleaning Solution: In your spray bottle, combine the ingredients for your chosen cleaning solution. Give it a good shake to make sure everything is well mixed.
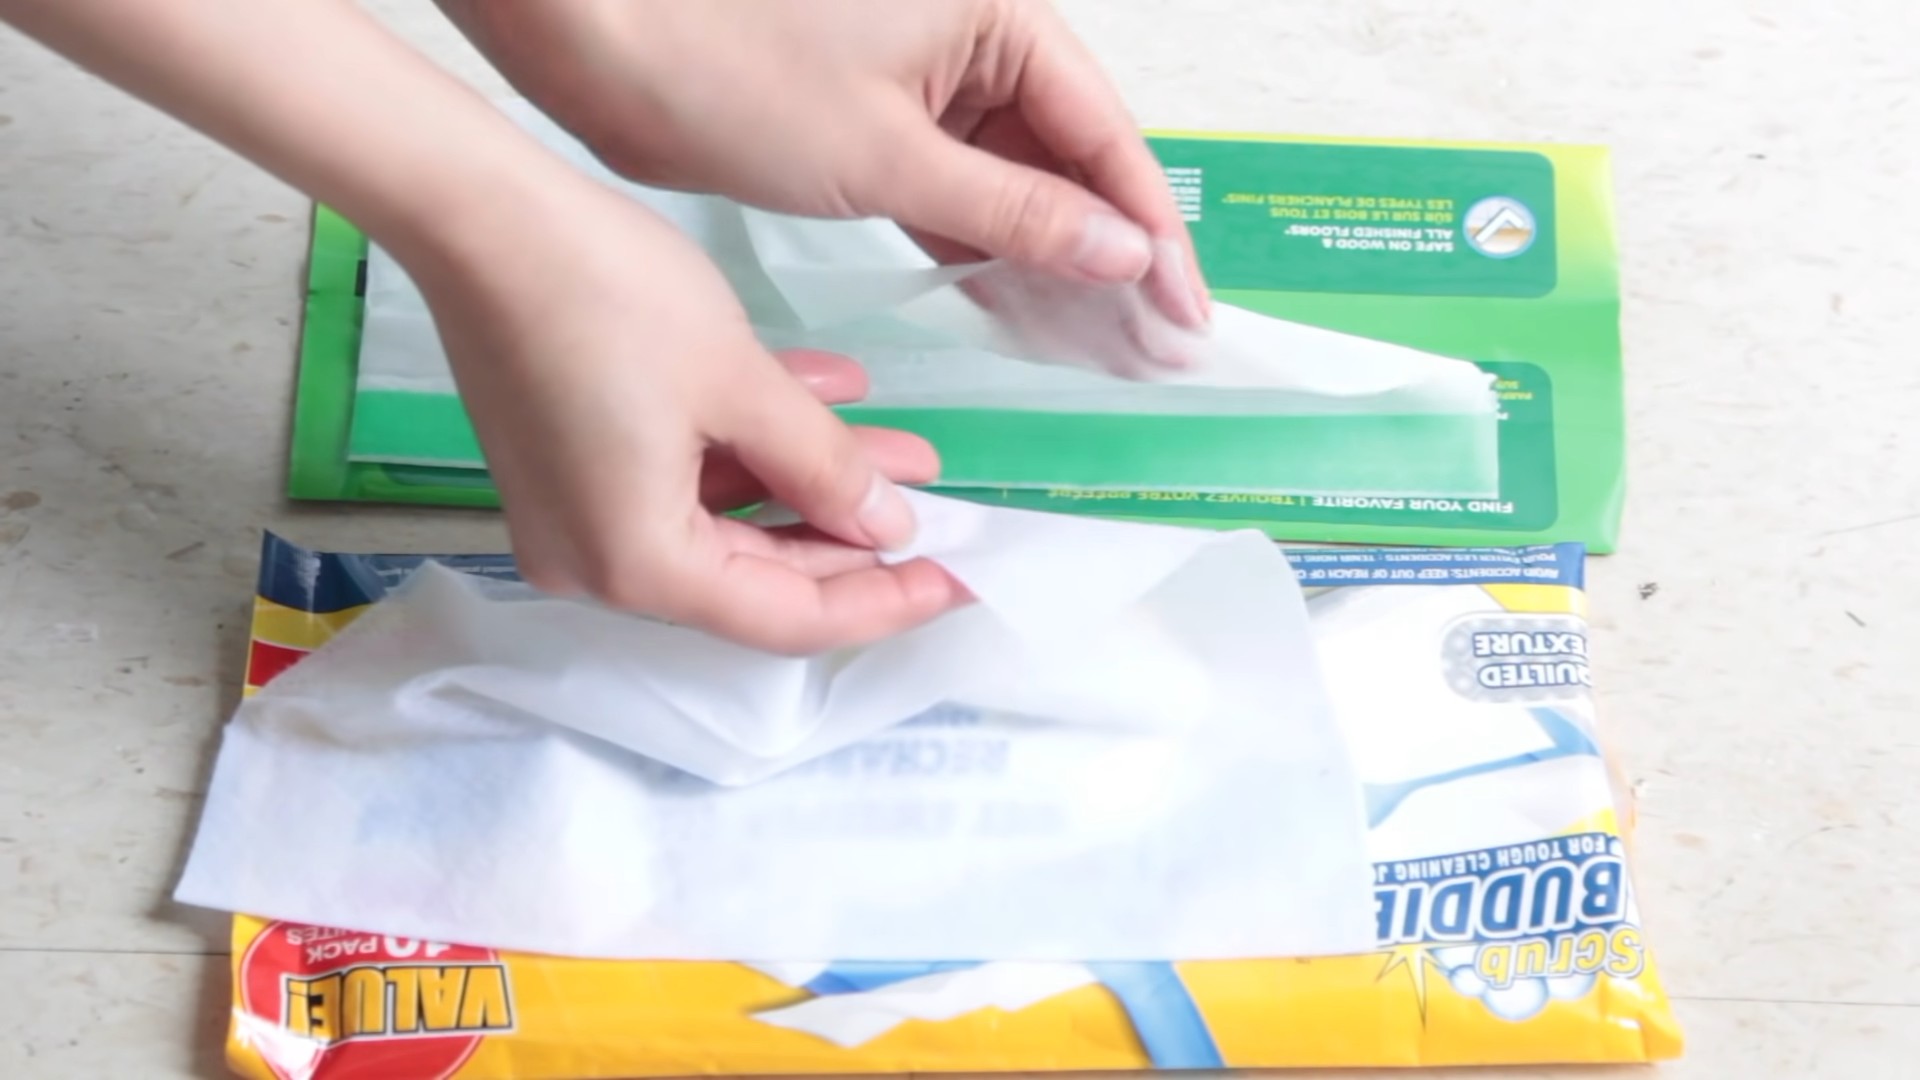
3. Spray the Cloth: Now, lightly spray one side of a microfiber cloth with your cleaning solution. You want it to be damp, not soaking wet. The amount of solution you use will depend on the thickness of your cloth and the type of flooring you’re cleaning.
4. Attach to Your Mop: Attach the damp microfiber cloth to your mop head. Most mops have either Velcro or clips to hold the cloth in place. Make sure it’s securely attached so it doesn’t slip off while you’re mopping.
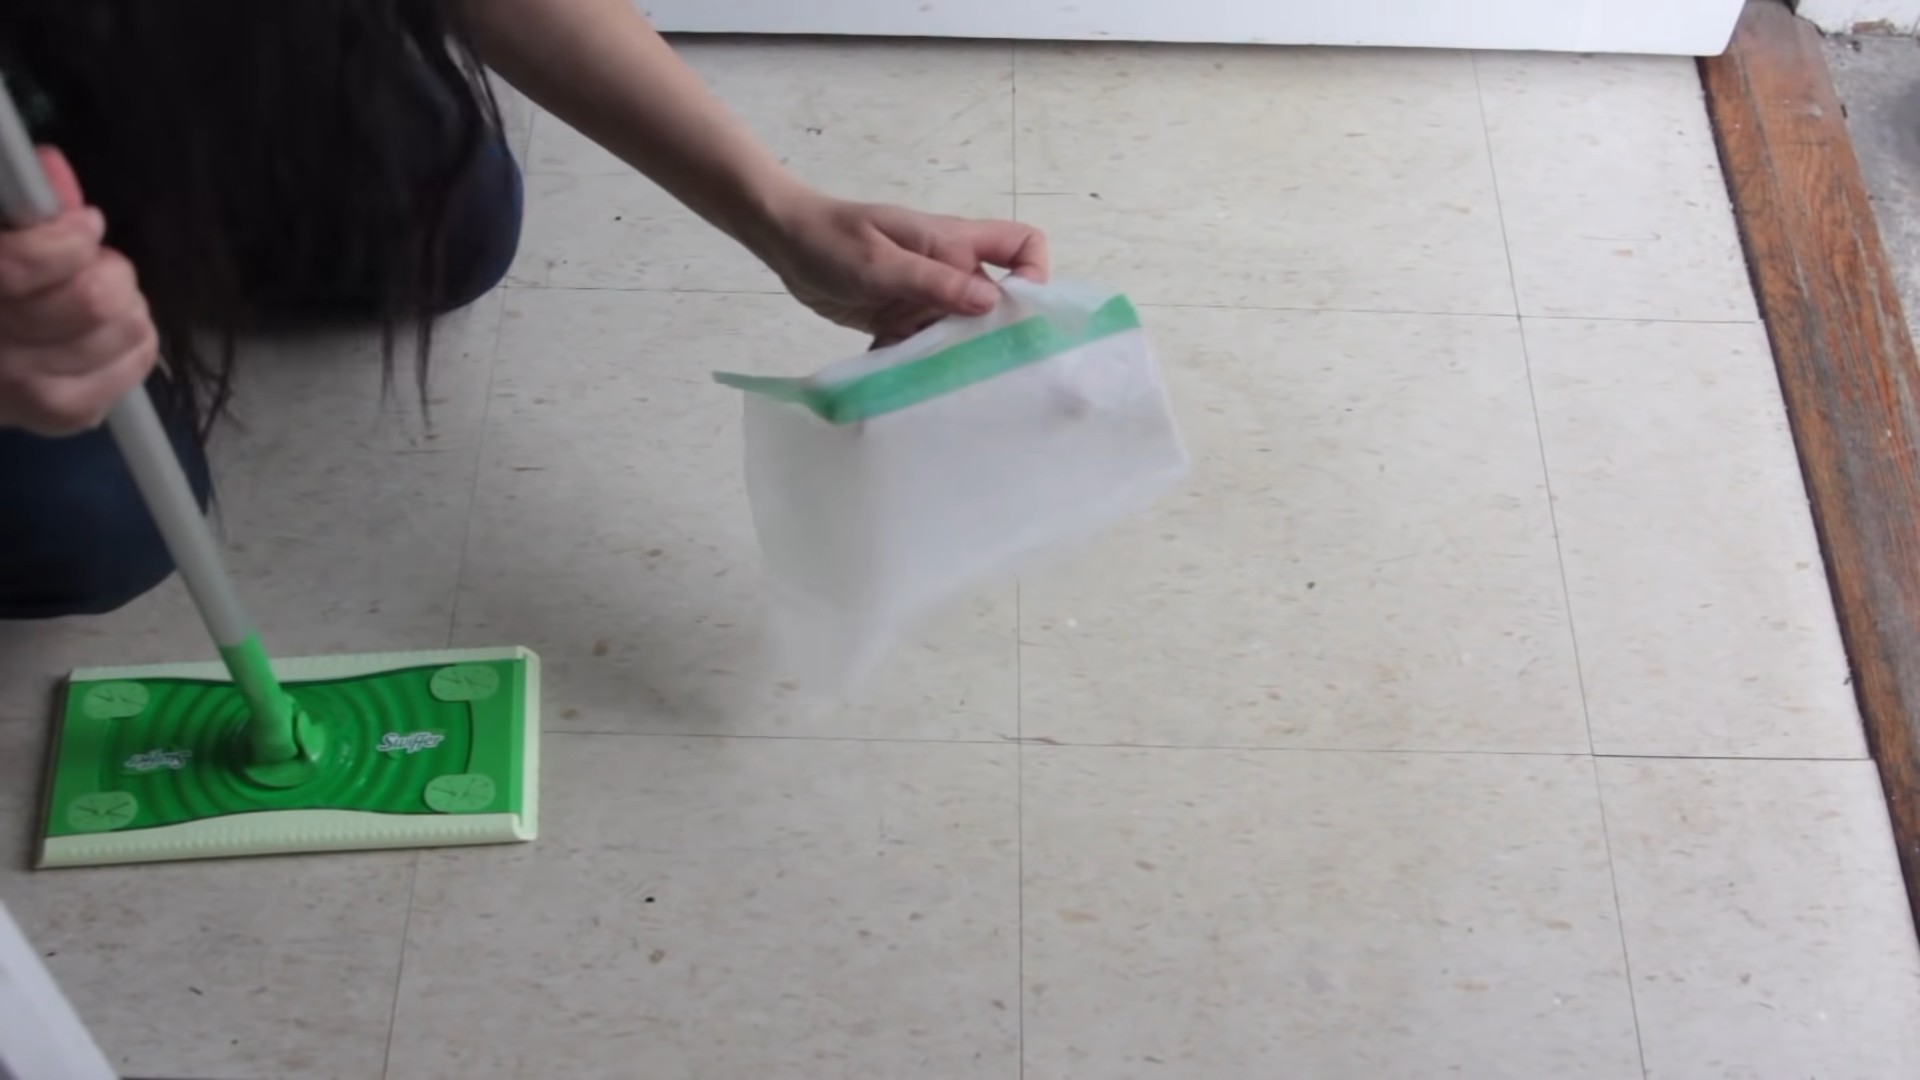
5. Mop Your Floors: Start mopping! Use a back-and-forth motion, overlapping each pass slightly. Pay attention to areas that are particularly dirty or sticky.
6. Rinse and Repeat (If Necessary): If your cloth gets too dirty, remove it from the mop, rinse it out with clean water, and re-spray it with the cleaning solution. You may need to use multiple cloths depending on the size and dirtiness of your floors.
7. Drying Time: Allow your floors to air dry completely. This usually takes just a few minutes, especially if you used a solution with rubbing alcohol.
8. Clean Up: Once you’re finished mopping, remove the microfiber cloth from the mop head and rinse it thoroughly with clean water. You can then wash it in the washing machine with your regular laundry. Just avoid using fabric softener, as it can reduce the absorbency of the microfiber.
Pre-Soaking Your Cloths for Extra Convenience
If you want to make your cleaning routine even easier, you can pre-soak your microfiber cloths in your cleaning solution. This is a great option if you have a large area to clean or if you just want to grab a cloth and go.
1. Prepare Your Container: Choose an airtight container that’s large enough to hold all of your microfiber cloths.
2. Mix Your Cleaning Solution: Prepare a larger batch of your cleaning solution. You’ll need enough to completely saturate all of your cloths.
3. Soak the Cloths: Place the microfiber cloths in the container and pour the cleaning solution over them. Make sure all of the cloths are completely submerged.
4. Seal the Container: Seal the container tightly to prevent the solution from evaporating.
5. Store and Use: Store the container in a cool, dry place. When you’re ready to mop, simply grab a pre-soaked cloth, wring out any excess solution, and attach it to your mop.
Tips and Tricks for the Best Results
Here are a few extra tips and tricks to help you get the most out of your DIY wet mopping cloth hack:
* Choose the Right Microfiber Cloth: Different microfiber cloths are designed for different purposes. For mopping, look for cloths that are thick, absorbent, and have a textured surface.
* Don’t Over-Saturate the Cloth: Too much cleaning solution can leave your floors streaky or sticky. Start with a light spray and add more as needed.
* Change Your Cloths Frequently: Using a clean cloth will prevent you from spreading dirt and grime around your floors.
* Vacuum or Sweep First: Before you start mopping, make sure to vacuum or sweep your floors to remove any loose dirt and debris.
* Spot Clean as Needed: For stubborn stains or spills, use a concentrated cleaning solution and a clean microfiber cloth to spot clean the area.
* Consider Your Flooring Type: Different types of flooring require different cleaning solutions. For example, hardwood floors should be cleaned with a pH-neutral cleaner to avoid damaging the finish.
* Experiment with Essential Oils: Essential oils can add a pleasant fragrance to your cleaning solution and may also have antibacterial or antifungal properties. Some popular choices for cleaning include lemon, lavender, tea tree, and eucalyptus.
* Be Mindful of Allergies: If you have allergies or sensitivities, be careful when choosing your cleaning solution and essential oils.
* Store Your Cloths Properly: After washing your microfiber cloths, store them in a clean, dry place. Avoid storing them in a damp or humid environment, as this can lead to mold and mildew growth.
* Replace Worn Cloths: Over time, microfiber cloths will lose their absorbency and effectiveness. When your cloths start to look worn or frayed, it’s time to replace them.
Troubleshooting Common Issues
Even with the best instructions, you might encounter a few issues along the way. Here are some common problems and how to fix them:
* Streaky Floors: This is usually caused by using too much cleaning solution or by using a dirty cloth. Try using less solution and changing your cloth more frequently. You can also try rinsing your floors with clean water after mopping.
* Sticky Floors: This is often caused by using too much soap in your cleaning solution. Try reducing the amount of soap you use or switching to a soap-free cleaner.
* Dull Floors: This can be caused by using a cleaning solution that’s too harsh or by not rinsing your floors properly. Try using a pH-neutral cleaner and rinsing your floors with clean water after mopping.
* Lingering
Conclusion
So, there you have it! This simple wet mopping cloth hack is more than just a cleaning shortcut; it’s a game-changer for anyone looking to streamline their cleaning routine, save money, and achieve sparkling floors with minimal effort. We’ve shown you how to transform ordinary materials into effective, reusable cleaning tools, reducing waste and maximizing your cleaning power.
Why is this a must-try? Because it’s efficient, economical, and eco-friendly. Think about it: no more constantly buying disposable wet mop refills that end up in landfills. No more struggling with flimsy cloths that don’t quite get the job done. This DIY approach allows you to customize your cleaning solution, ensuring it’s perfectly suited to your specific flooring type and cleaning needs. Plus, the satisfaction of creating something useful and sustainable is an added bonus!
But the beauty of this hack lies in its versatility. Feel free to experiment with different types of fabrics. Old t-shirts, microfiber cloths, even flannel sheets can be repurposed into effective mopping cloths. Consider the absorbency and texture of the fabric to determine its suitability for different floor types. For instance, microfiber is excellent for trapping dirt and grime on tile and laminate, while softer fabrics might be better suited for delicate hardwood floors.
And don’t be afraid to play around with your cleaning solution! Add a few drops of your favorite essential oil for a fresh, clean scent. Lemon, lavender, and tea tree oil are all great options that not only smell wonderful but also possess natural antibacterial properties. For tougher stains, consider adding a splash of white vinegar to your solution. Just be sure to test any new cleaning solution in an inconspicuous area first to ensure it doesn’t damage your flooring.
We’re confident that once you try this wet mopping cloth hack, you’ll wonder how you ever lived without it. It’s a simple, effective, and sustainable way to keep your floors clean and your home sparkling. So, ditch the disposable refills and embrace the DIY spirit!
Now, we want to hear from you! Give this hack a try and let us know what you think. Share your experiences, your variations, and your tips in the comments below. What fabrics did you use? What cleaning solutions did you find most effective? We’re eager to learn from your experiences and build a community of DIY cleaning enthusiasts. Together, we can make cleaning less of a chore and more of a sustainable and satisfying activity. Don’t forget to share this article with your friends and family so they can benefit from this amazing hack too! Let’s revolutionize the way we clean, one DIY wet mopping cloth at a time!
Frequently Asked Questions (FAQ)
What types of fabrics work best for DIY wet mopping cloths?
The best fabrics for DIY wet mopping cloths are absorbent, durable, and lint-free. Microfiber cloths are an excellent choice due to their superior absorbency and ability to trap dirt and grime. Old t-shirts (cotton or cotton blends) are also a great option, as they are readily available and can be cut to the desired size. Flannel sheets are soft and absorbent, making them suitable for delicate hardwood floors. Avoid using fabrics that are prone to shedding lint, as this can leave streaks on your floors. Consider the texture of the fabric as well; rougher textures can provide extra scrubbing power for stubborn stains.
Can I use any cleaning solution with my DIY wet mopping cloths?
While you can use a variety of cleaning solutions, it’s important to choose one that is appropriate for your flooring type. For tile and laminate floors, you can use a mixture of water and a mild detergent, or a commercial floor cleaner. For hardwood floors, it’s best to use a pH-neutral cleaner specifically designed for hardwood. Avoid using harsh chemicals or abrasive cleaners, as these can damage the finish. You can also create your own natural cleaning solution by mixing water with white vinegar or lemon juice. Always test any new cleaning solution in an inconspicuous area first to ensure it doesn’t damage your flooring.
How do I clean and maintain my DIY wet mopping cloths?
Cleaning and maintaining your DIY wet mopping cloths is essential for ensuring their longevity and effectiveness. After each use, rinse the cloth thoroughly with water to remove any dirt or debris. For heavily soiled cloths, you can wash them in the washing machine with a mild detergent. Avoid using fabric softeners, as these can reduce the absorbency of the cloth. Tumble dry on low heat or hang to dry. To disinfect the cloths, you can soak them in a solution of water and bleach (1/4 cup bleach per gallon of water) for 30 minutes, then rinse thoroughly. Replace your DIY wet mopping cloths when they become worn or damaged.
How often should I replace my DIY wet mopping cloths?
The lifespan of your DIY wet mopping cloths will depend on how frequently you use them and how well you maintain them. In general, you should replace your cloths every few months, or when they start to show signs of wear and tear, such as fraying edges, thinning fabric, or reduced absorbency. If you notice that your cloths are no longer effectively cleaning your floors, it’s time to replace them.
Can I use essential oils in my cleaning solution for my DIY wet mopping cloths?
Yes, you can definitely add essential oils to your cleaning solution for your DIY wet mopping cloths. Essential oils not only add a pleasant scent to your home but also possess natural antibacterial and antifungal properties. Some popular essential oils for cleaning include lemon, lavender, tea tree, eucalyptus, and peppermint. Add a few drops of your favorite essential oil to your cleaning solution for a fresh and clean scent. Be sure to use high-quality essential oils and dilute them properly before adding them to your cleaning solution.
Is this wet mopping cloth hack suitable for all types of floors?
This wet mopping cloth hack is generally suitable for most types of floors, but it’s important to consider the specific needs of your flooring. For delicate hardwood floors, use a soft, absorbent cloth and a pH-neutral cleaner. Avoid using excessive water, as this can damage the wood. For tile and laminate floors, you can use a more abrasive cloth and a stronger cleaning solution. For stone floors, use a cleaner specifically designed for stone and avoid using acidic cleaners, such as vinegar. Always test any new cleaning solution in an inconspicuous area first to ensure it doesn’t damage your flooring.
What if I don’t have a wet mop? Can I still use this hack?
Even if you don’t have a traditional wet mop, you can still use this hack! You can simply use the DIY wet mopping cloth with a regular mop handle or even by hand. If using by hand, be sure to wear gloves to protect your skin from the cleaning solution. You can also attach the cloth to a Swiffer-type mop using rubber bands or clips. The key is to find a way to securely attach the cloth to a handle so you can easily clean your floors.
How does this DIY hack save money compared to buying disposable wet mop refills?
The primary way this DIY hack saves money is by eliminating the need to constantly purchase disposable wet mop refills. These refills can be quite expensive over time, especially if you clean your floors frequently. By using reusable DIY wet mopping cloths, you only need to invest in the initial materials (such as old t-shirts or microfiber cloths), which are significantly cheaper than disposable refills. You can also save money by making your own cleaning solution using inexpensive ingredients like water, vinegar, and essential oils. Over the long term, this DIY hack can save you a significant amount of money on cleaning supplies.
Leave a Comment