
Grout cleaning with Oxiclean toilet cleaner might sound a little unconventional, but trust me, it’s a game-changer! Are you tired of staring at dingy, discolored grout lines that seem impossible to clean? I know I was! I’ve tried countless products and methods over the years, from harsh chemicals to elbow grease-intensive scrubbing, with minimal success. It felt like a never-ending battle against the grime.
The quest for sparkling grout is as old as tiled surfaces themselves! From the intricate mosaics of ancient Rome to the vibrant tilework of Moorish Spain, people have always sought ways to maintain the beauty of their tiled creations. While our ancestors might have relied on natural remedies like vinegar and lemon juice, we now have access to powerful cleaning agents like Oxiclean. But who would have thought to combine it with toilet bowl cleaner?
That’s where this DIY trick comes in. Let’s face it, nobody enjoys spending hours scrubbing grout. It’s back-breaking work, and often, the results are disappointing. This method offers a surprisingly effective and relatively easy way to restore your grout to its former glory. You need this hack because it saves you time, money, and a whole lot of frustration. Plus, using grout cleaning with Oxiclean toilet cleaner is a clever way to repurpose a product you likely already have under your sink. So, ditch the harsh chemicals and endless scrubbing – let’s get that grout sparkling!
Grow Your Own Corn in a Bag: A Fun and Easy DIY Project!
Hey there, fellow gardening enthusiasts! Ever thought about growing corn, but felt limited by space or soil conditions? Well, I’ve got a fantastic solution for you: growing corn in a bag! It’s a surprisingly simple and rewarding project that’s perfect for beginners and experienced gardeners alike. Plus, it’s a great way to get fresh, homegrown corn even if you only have a balcony or patio. Let’s dive in!
What You’ll Need
Before we get started, let’s gather all the necessary materials. This will make the process smoother and more enjoyable. Trust me, being prepared is half the battle!
* A Large, Sturdy Bag: We’re talking about a heavy-duty garbage bag, a burlap sack, or even a large grow bag specifically designed for plants. The bigger, the better – aim for at least 20 gallons. This will give your corn roots plenty of room to spread out.
* Potting Mix: Don’t skimp on the quality of your potting mix! A well-draining mix is crucial for healthy corn growth. I recommend a blend of compost, peat moss, and perlite or vermiculite. Avoid using garden soil directly, as it can compact and hinder drainage.
* Corn Seeds: Choose a variety of corn that’s suitable for your climate and growing season. Sweet corn is a popular choice, but you can also experiment with other types like popcorn or ornamental corn.
* Fertilizer: Corn is a heavy feeder, so you’ll need to provide it with plenty of nutrients. A slow-release fertilizer or a liquid fertilizer specifically formulated for vegetables will work well.
* Watering Can or Hose: Essential for keeping your corn plants hydrated.
* Scissors or a Knife: For making drainage holes in the bag.
* Optional: Stakes or Trellis: Depending on the variety of corn you choose, you might need to provide support as the plants grow taller.
Step-by-Step Instructions: Planting Your Corn
Alright, let’s get our hands dirty! This is the fun part. Follow these steps carefully, and you’ll be well on your way to harvesting your own homegrown corn.
1. Prepare the Bag: First, we need to get our bag ready for planting. If you’re using a plastic garbage bag, make sure it’s clean and free of any tears or holes (other than the ones we’re about to make!). Now, using your scissors or knife, carefully poke several drainage holes in the bottom of the bag. This is super important to prevent waterlogging, which can lead to root rot. I usually make about 6-8 holes, spaced evenly apart.
2. Fill the Bag with Potting Mix: Next, it’s time to fill the bag with our potting mix. Leave about 4-6 inches of space at the top of the bag. This will make watering easier and prevent the soil from spilling out. As you fill the bag, gently pat down the soil to remove any air pockets.
3. Plant the Corn Seeds: Now for the main event! Plant your corn seeds about 1-2 inches deep and 4-6 inches apart. I usually plant 4-6 seeds per bag, depending on the size of the bag and the variety of corn. Planting multiple seeds increases the chances of successful germination.
4. Water Thoroughly: After planting, give the bag a good watering. Make sure the soil is evenly moist, but not soggy. Water until you see water draining out of the drainage holes. This will help settle the soil and encourage germination.
5. Choose a Sunny Location: Corn needs plenty of sunlight to thrive, so choose a location that receives at least 6-8 hours of direct sunlight per day. A south-facing balcony or patio is ideal.
Caring for Your Corn: From Seedling to Harvest
Once your corn seeds have sprouted, it’s time to focus on providing them with the care they need to grow strong and healthy. This involves regular watering, fertilizing, and pest control.
1. Watering: Corn plants need consistent moisture, especially during hot weather. Water deeply whenever the top inch of soil feels dry to the touch. Avoid overwatering, as this can lead to root rot. I usually water my corn plants every 2-3 days, but this will depend on the weather and the drainage of your potting mix.
2. Fertilizing: As I mentioned earlier, corn is a heavy feeder, so you’ll need to fertilize it regularly. Start fertilizing about 2-3 weeks after the seedlings emerge. Use a slow-release fertilizer or a liquid fertilizer specifically formulated for vegetables. Follow the instructions on the fertilizer package carefully. I like to use a balanced fertilizer with equal amounts of nitrogen, phosphorus, and potassium.
3. Thinning: If all of your corn seeds germinate, you’ll need to thin out the seedlings to prevent overcrowding. Once the seedlings are a few inches tall, choose the strongest and healthiest plants and remove the weaker ones. I usually leave about 2-3 plants per bag.
4. Pollination: Corn is wind-pollinated, so you might need to give it a little help, especially if you’re growing it in a sheltered location. When the tassels (the male flowers at the top of the plant) appear, gently shake the plants to release the pollen. You can also use a small paintbrush to transfer pollen from the tassels to the silks (the female flowers that emerge from the ears of corn).
5. Pest Control: Keep an eye out for common corn pests like corn earworms, aphids, and spider mites. If you notice any signs of infestation, take action immediately. You can use organic pest control methods like insecticidal soap or neem oil. I also like to handpick any pests that I see on the plants.
6. Supporting the Plants: As your corn plants grow taller, they might need some support to prevent them from falling over. You can use stakes or a trellis to provide support. I usually use bamboo stakes and tie the plants to the stakes with twine.
Harvesting Your Corn: The Sweet Reward
After all your hard work, it’s finally time to harvest your corn! This is the most rewarding part of the whole process.
1. Knowing When to Harvest: The key to harvesting sweet corn at its peak flavor is to pick it when the kernels are plump and juicy. The silks should be brown and dry, and the ear should feel full and firm. You can also peel back a small portion of the husk to check the kernels. If they release a milky liquid when punctured, the corn is ready to harvest.
2. Harvesting the Ears: To harvest the corn, grasp the ear firmly and twist it downwards. The ear should snap off easily from the stalk.
3. Enjoying Your Harvest: Freshly harvested corn is best enjoyed immediately. You can grill it, boil it, roast it, or even eat it raw! I love to grill my corn and top it with butter, salt, and pepper.
Troubleshooting: Common Problems and Solutions
Even with the best care, you might encounter some problems while growing corn in a bag. Here are some common issues and how to address them:
* Poor Germination: If your corn seeds don’t germinate, it could be due to several factors, such as old seeds, cold soil, or overwatering. Make sure you’re using fresh seeds and that the soil is warm enough. Avoid overwatering, as this can cause the seeds to rot.
* Yellowing Leaves: Yellowing leaves can be a sign of nutrient deficiency. Make sure you’re fertilizing your corn plants regularly with a balanced fertilizer.
* Stunted Growth: Stunted growth can be caused by a variety of factors, such as poor soil, lack of sunlight, or pest infestation. Make sure your corn plants are getting enough sunlight and that the soil is well-draining and nutrient-rich. Check for pests and take action if necessary.
* Root Rot: Root rot is a common problem in container gardening, especially if the soil is poorly drained. Make sure your bag has plenty of drainage holes and avoid overwatering.
Tips for Success
Here are a few extra tips to help you succeed with your corn-in-a-bag project:
* Choose the Right Variety: Select a corn variety that’s well-suited for container gardening and your local climate.
* Use High-Quality Potting Mix: Don’t skimp on the quality of your potting mix. A well-draining mix is essential for healthy corn growth.
* Provide Plenty of Sunlight: Corn needs at least 6-8 hours of direct sunlight per day.
* Water Regularly: Keep the soil consistently moist, but avoid overwatering.
* Fertilize Regularly: Corn is a heavy feeder, so you’ll need to fertilize it regularly.
* Protect from Pests: Keep an eye out for common corn pests and take action if necessary.
* Have
Conclusion
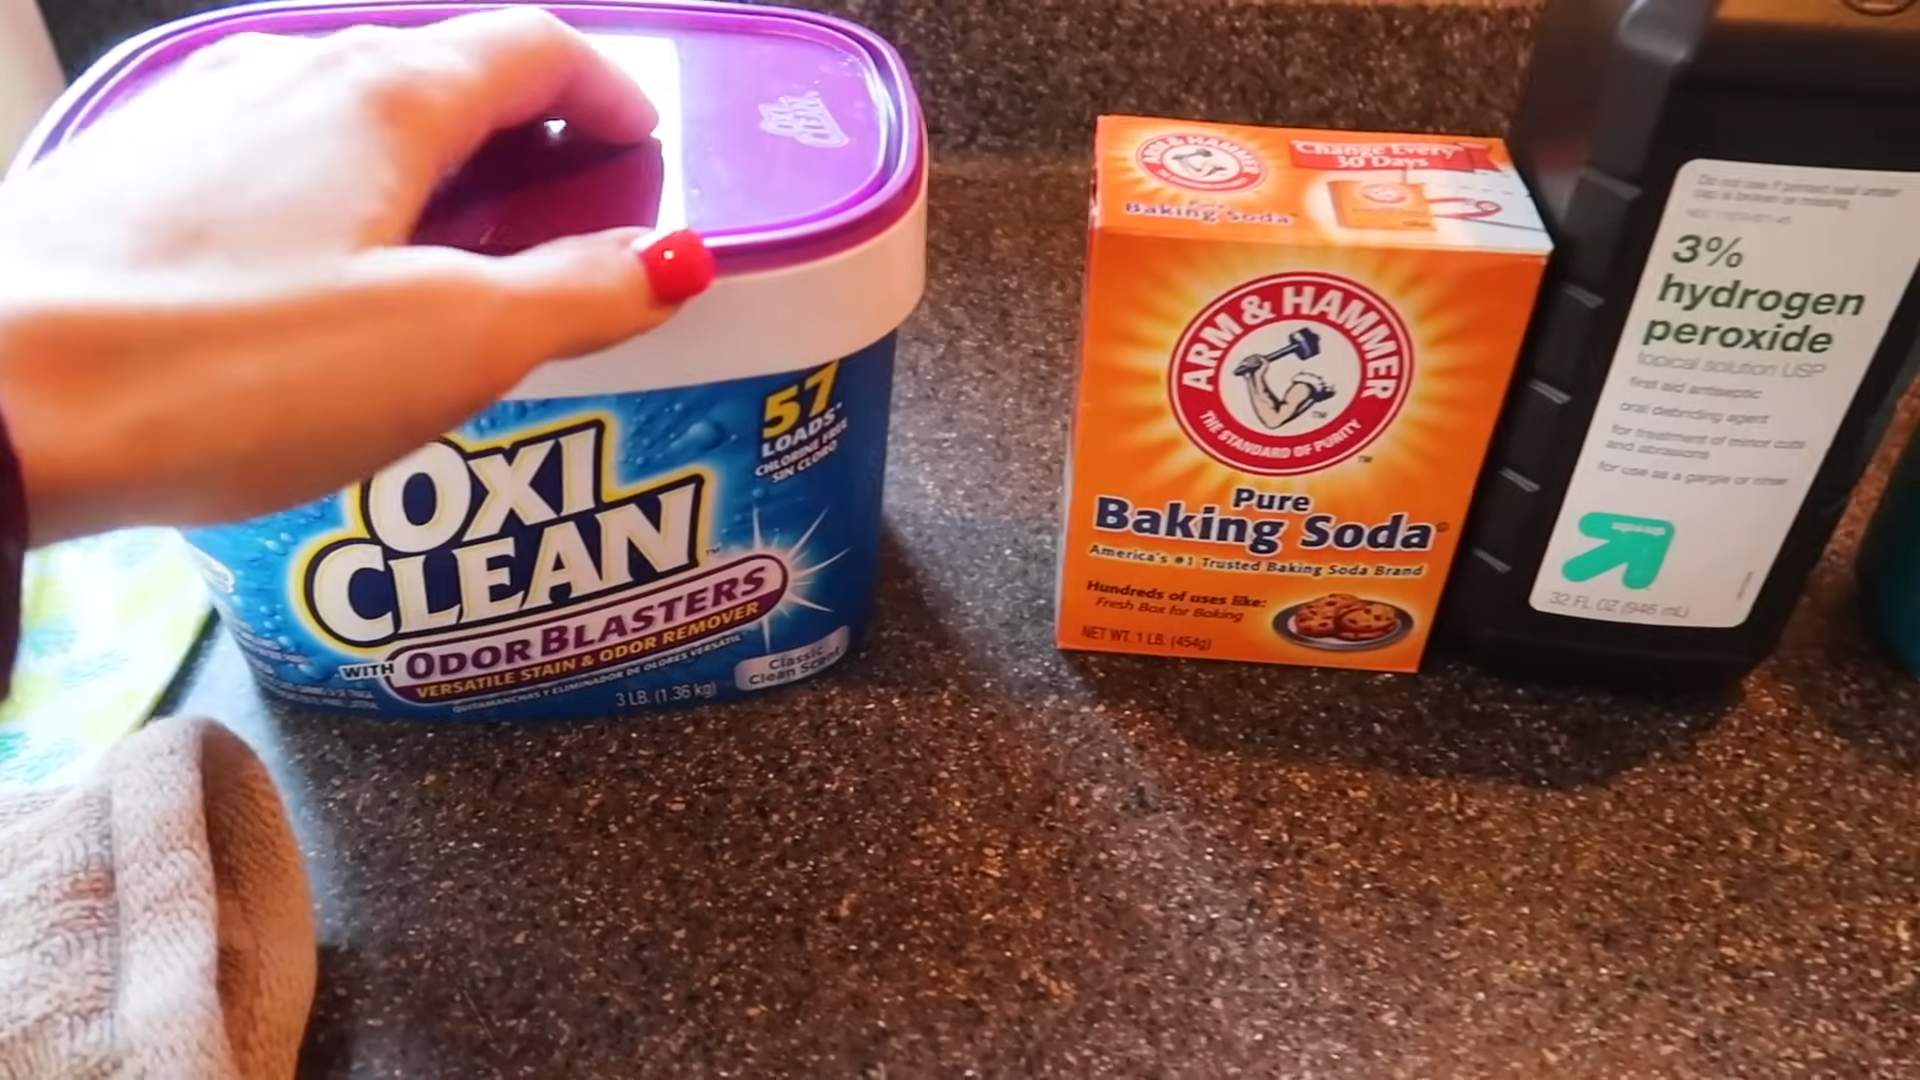
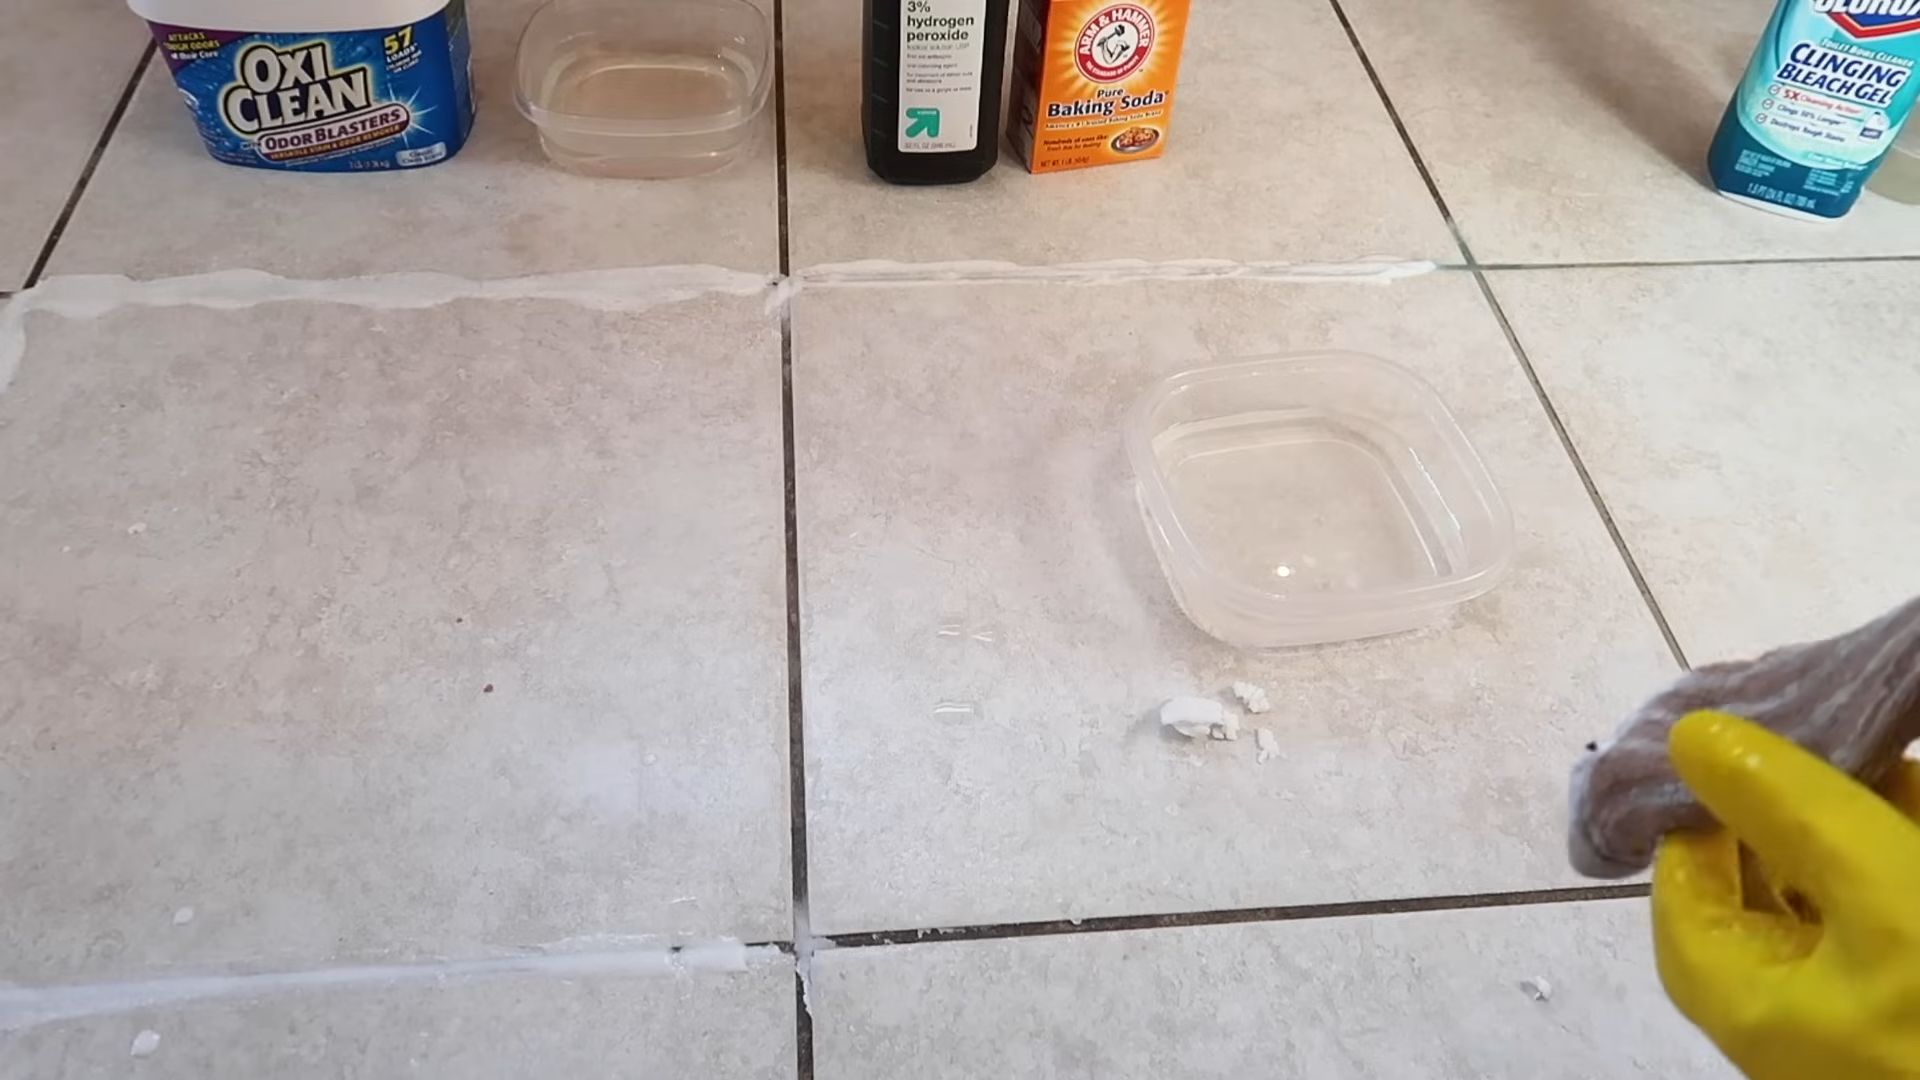
So, there you have it! This simple, yet incredibly effective, DIY grout cleaning trick using OxiClean and toilet bowl cleaner is a game-changer for anyone battling stubborn stains and discoloration in their tiled spaces. We’ve walked you through the process, highlighting its ease, affordability, and impressive results. But why is this method a must-try?
Firstly, it’s a powerful combination. OxiClean’s oxygen-based bleaching action works synergistically with the toilet bowl cleaner’s cleaning agents to lift dirt, grime, and even mold from deep within the grout lines. This dynamic duo tackles the toughest stains that many commercial grout cleaners struggle with, leaving your grout looking noticeably brighter and cleaner. Secondly, it’s budget-friendly. Compared to expensive professional grout cleaning services or specialized cleaning products, this DIY solution utilizes readily available and inexpensive household items. You’ll save a significant amount of money while achieving professional-level results. Thirdly, it’s surprisingly easy. The application process is straightforward and requires minimal effort. No special equipment or complicated techniques are needed. You can easily incorporate this cleaning method into your regular cleaning routine.
But the benefits don’t stop there. This method is also versatile. While we’ve focused on bathroom grout, this DIY grout cleaning solution can be used on tiled floors, kitchen backsplashes, and even outdoor patios. Just be sure to test a small, inconspicuous area first to ensure compatibility with your specific tile and grout type.
Looking for variations? Consider adding a few drops of your favorite essential oil, like tea tree or eucalyptus, to the mixture for a fresh, clean scent and added antimicrobial properties. For particularly stubborn stains, you can let the mixture sit for a longer period, up to an hour, before scrubbing. You can also use an old toothbrush or a grout brush for more targeted cleaning. Remember to always wear gloves and eye protection when working with cleaning chemicals.
We are confident that this DIY grout cleaning trick will transform your cleaning routine and leave your tiled surfaces sparkling. But don’t just take our word for it. We encourage you to try this method yourself and experience the difference firsthand. We are eager to hear about your results! Share your before-and-after photos and your experiences in the comments section below. Let us know if you have any questions or variations that you’ve discovered. Together, we can conquer even the most challenging grout cleaning projects and achieve a cleaner, brighter home. So, grab your OxiClean, your toilet bowl cleaner, and get ready to say goodbye to dirty grout and hello to sparkling clean tiles!
Frequently Asked Questions (FAQ)
Is this DIY grout cleaning method safe for all types of grout?
While this method is generally safe and effective, it’s always best to test it on a small, inconspicuous area first. Different types of grout react differently to cleaning agents. Some colored grout may be more susceptible to fading or discoloration. Apply the mixture to a small area, let it sit for a few minutes, and then rinse it off. If you don’t notice any adverse effects, you can proceed with cleaning the rest of the grout. Avoid using this method on grout that is known to be particularly delicate or sensitive. If you are unsure about your grout type, consult with a professional tile installer or cleaning specialist.
What type of toilet bowl cleaner should I use?
We recommend using a standard toilet bowl cleaner that contains bleach. The bleach will help to disinfect and brighten the grout. However, avoid using toilet bowl cleaners that contain harsh chemicals or abrasives, as these can damage the grout. Look for a toilet bowl cleaner that is specifically designed for cleaning and disinfecting, and that does not contain any harsh scrubbing agents. Always read the label carefully before using any cleaning product.
How long should I let the OxiClean and toilet bowl cleaner mixture sit on the grout?
For most grout cleaning projects, letting the mixture sit for 10-15 minutes is sufficient. This allows the cleaning agents to penetrate the grout and loosen the dirt and grime. For particularly stubborn stains, you can let the mixture sit for a longer period, up to an hour. However, be sure to monitor the grout closely to ensure that it does not become damaged or discolored. If you notice any adverse effects, rinse the mixture off immediately.
What type of brush should I use to scrub the grout?
An old toothbrush or a grout brush is ideal for scrubbing grout. A toothbrush is small and maneuverable, making it easy to reach tight spaces and corners. A grout brush is specifically designed for cleaning grout and has stiff bristles that can effectively remove dirt and grime. Avoid using brushes with metal bristles, as these can scratch the tile.
How do I prevent grout from getting dirty in the future?
Preventing grout from getting dirty in the first place is the best way to keep it clean. Here are a few tips:
* Seal your grout: Sealing your grout will help to protect it from stains and dirt. Apply a grout sealer every 6-12 months, or as needed.
* Wipe up spills immediately: Spills can quickly stain grout, so it’s important to wipe them up as soon as they occur.
* Clean your grout regularly: Regular cleaning will help to prevent dirt and grime from building up. Clean your grout at least once a month, or more often if needed.
* Use a doormat: A doormat will help to trap dirt and debris before it enters your home.
* Ventilate your bathroom: Proper ventilation will help to prevent mold and mildew from growing in your bathroom grout.
Is it safe to use this method on colored grout?
As mentioned earlier, it’s crucial to test this method on an inconspicuous area of colored grout first. The bleach in the toilet bowl cleaner could potentially lighten or discolor the grout. If you notice any color change during your test, dilute the mixture further with water or consider using a grout cleaner specifically designed for colored grout.
Can I use this method on natural stone tiles?
No, this method is generally not recommended for natural stone tiles like marble, granite, or travertine. The acidic nature of some toilet bowl cleaners and the abrasive nature of scrubbing can damage the surface of natural stone. Use a cleaner specifically formulated for natural stone.
What safety precautions should I take when using this method?
Always wear gloves and eye protection when working with cleaning chemicals. This will protect your skin and eyes from irritation. Work in a well-ventilated area to avoid inhaling fumes. Keep children and pets away from the area while you are cleaning. Never mix OxiClean with other cleaning products besides toilet bowl cleaner, as this can create dangerous fumes.
What if the stains are still there after trying this method?
If the stains persist, you may need to repeat the process or try a stronger cleaning solution. Consider using a commercial grout cleaner that is specifically designed for removing stubborn stains. You can also try using a steam cleaner to loosen the dirt and grime. In some cases, you may need to re-grout the tile.
Can I use baking soda and vinegar instead of OxiClean and toilet bowl cleaner?
Baking soda and vinegar is a natural cleaning alternative, but it may not be as effective for deeply ingrained stains as the OxiClean and toilet bowl cleaner method. However, it’s a good option for regular maintenance cleaning and for those who prefer to avoid harsh chemicals.
How often should I clean my grout using this method?
The frequency of cleaning depends on the amount of traffic and exposure to dirt and grime. In high-traffic areas like bathrooms and kitchens, you may need to clean your grout every few weeks. In less frequently used areas, you can clean your grout every few months. Regular maintenance cleaning will help to prevent stains from building up and make it easier to keep your grout clean.

Leave a Comment