
Grow Kohlrabi at Home? Absolutely! And I’m here to tell you it’s easier than you think! Forget those bland, store-bought veggies – imagine biting into a crisp, slightly sweet kohlrabi, fresh from your own backyard. Sounds amazing, right?
Kohlrabi, sometimes called a German turnip (though it’s not a turnip at all!), has a fascinating history. It’s believed to have originated in Northern Europe and has been a staple in European and Asian cuisines for centuries. For generations, gardeners have enjoyed its unique flavor and versatility, using it in everything from salads to stir-fries.
But why should you learn to grow kohlrabi at home? Well, for starters, homegrown kohlrabi tastes infinitely better than anything you’ll find at the supermarket. Plus, you control exactly what goes into your garden, ensuring you’re eating healthy, organic produce. In this article, I’m going to share some simple DIY tricks and hacks that will have you harvesting a bountiful crop of kohlrabi in no time, even if you’re a complete beginner. Get ready to discover the joy of growing your own food!
Grow Your Own Delicious Kohlrabi: A Beginner’s Guide
Hey there, fellow gardening enthusiasts! Ever wanted to try growing something a little different, something that looks like it came straight out of a sci-fi movie but tastes surprisingly delicious? Then kohlrabi is your answer! This quirky vegetable, often called a “German turnip” (though it’s not really a turnip), is incredibly versatile and relatively easy to grow at home. I’m going to walk you through everything you need to know to successfully cultivate your own kohlrabi crop, from seed to table.
Understanding Kohlrabi: The Basics
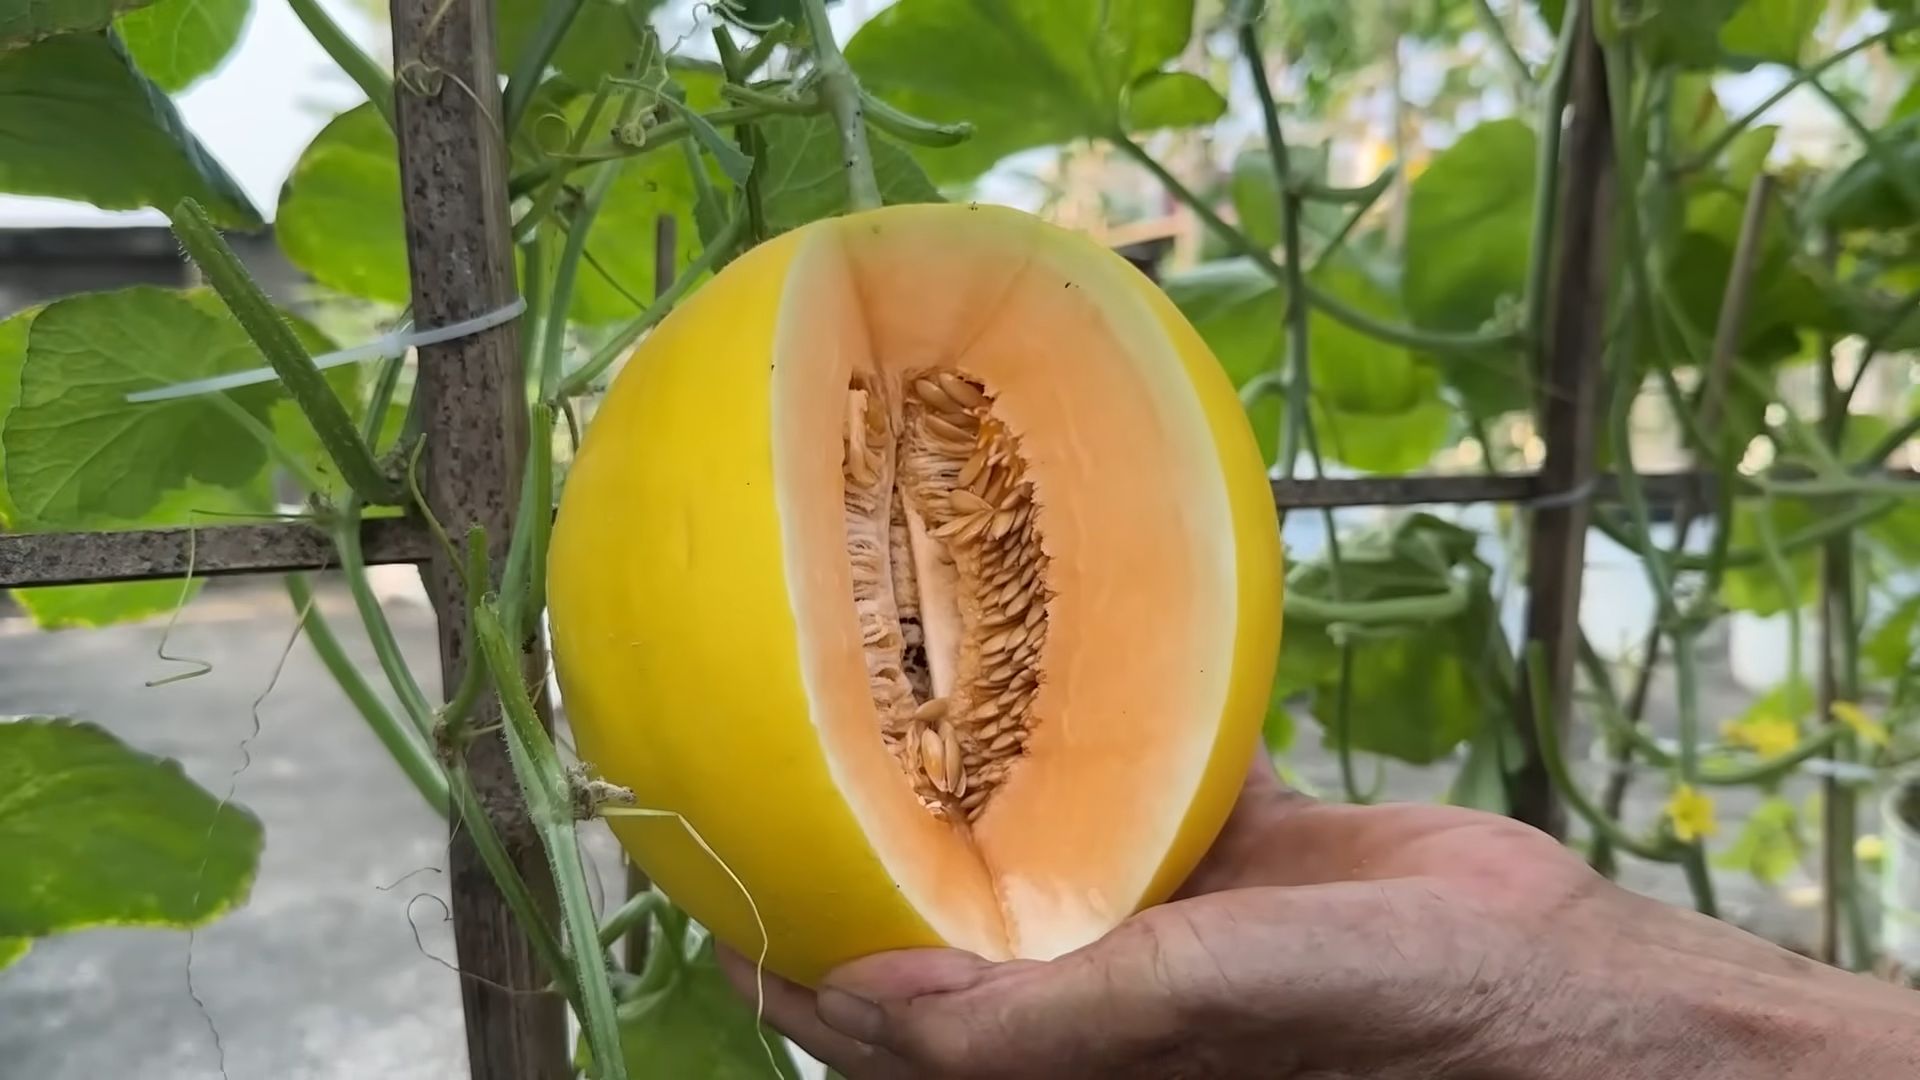
Before we dive into the nitty-gritty, let’s get acquainted with our star vegetable. Kohlrabi is a member of the cabbage family, and the part we eat is the swollen stem that grows above ground. It comes in various colors, including green, purple, and white, and the taste is often described as a cross between a turnip and a cabbage, with a slightly sweet and mild flavor.
Why grow kohlrabi?
* Unique Flavor: It adds a delightful crunch and subtle sweetness to salads, slaws, stir-fries, and more.
* Nutrient-Rich: Kohlrabi is packed with vitamins, minerals, and fiber, making it a healthy addition to your diet.
* Easy to Grow: With the right conditions, kohlrabi is a relatively low-maintenance crop.
* Fast Growing: You can harvest kohlrabi in as little as 6-8 weeks, making it a rewarding choice for impatient gardeners like me!
* Space-Saving: Kohlrabi doesn’t require a ton of space, making it suitable for small gardens or even containers.
Getting Started: Planning and Preparation
Success in gardening always starts with a good plan. Here’s what you need to consider before planting your kohlrabi:
* Timing is Key: Kohlrabi thrives in cool weather. For a spring harvest, start seeds indoors 4-6 weeks before the last expected frost. For a fall harvest, direct sow seeds in late summer.
* Sunlight Requirements: Kohlrabi needs at least 6 hours of sunlight per day. Choose a sunny spot in your garden or on your patio.
* Soil Preparation: Kohlrabi prefers well-drained, fertile soil with a pH between 6.0 and 7.5. Amend your soil with compost or well-rotted manure to improve its structure and nutrient content.
* Variety Selection: There are several kohlrabi varieties to choose from. ‘Early White Vienna’ and ‘Early Purple Vienna’ are popular choices for their early maturity. ‘Grand Duke’ is a larger variety that’s great for fall harvests. I personally love the ‘Superschmelz’ variety because it can grow to a huge size without losing its tenderness.
* Gather Your Supplies: You’ll need kohlrabi seeds, seed starting trays (if starting indoors), potting mix, a garden trowel, fertilizer, and a watering can or hose.
Step-by-Step Guide: Growing Kohlrabi from Seed
Now for the fun part – planting! Whether you’re starting seeds indoors or direct sowing, follow these steps for a successful kohlrabi crop:
Starting Seeds Indoors (Recommended for Spring Harvest)
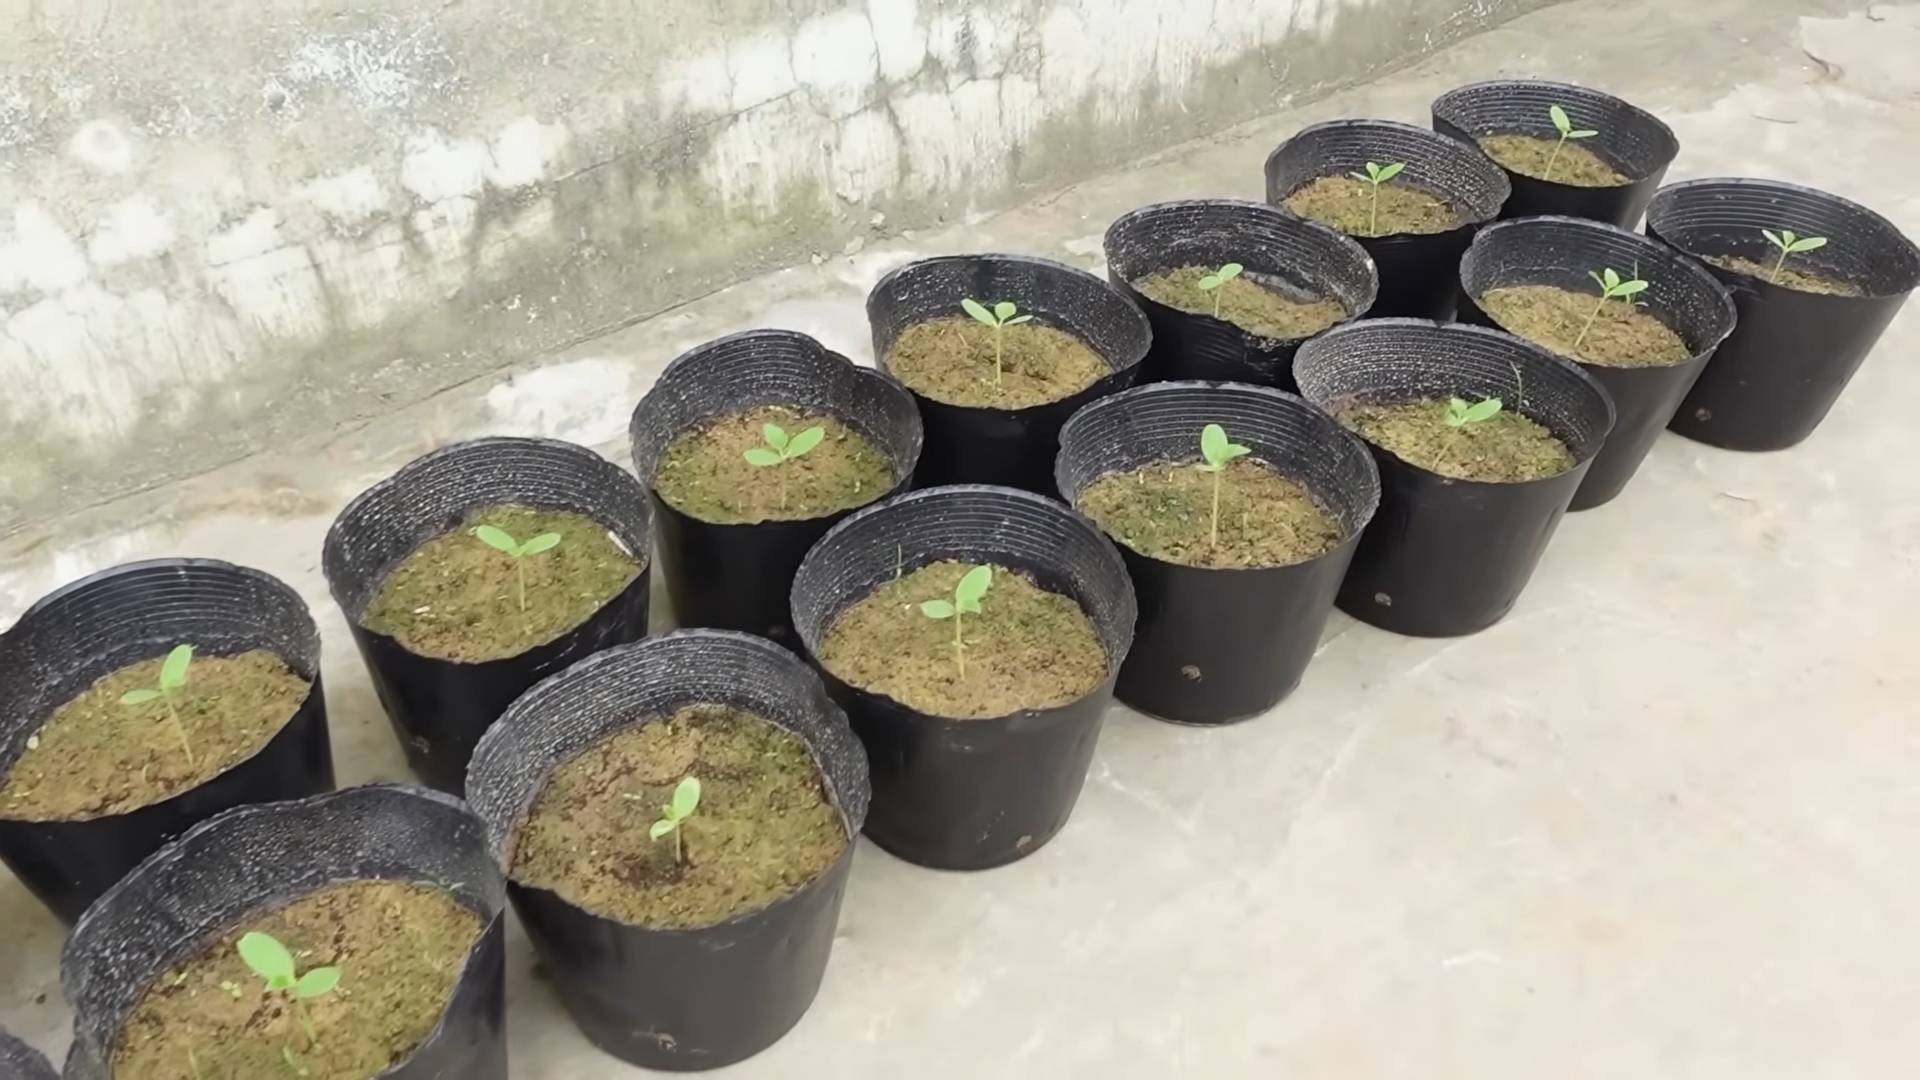
1. Prepare Your Seed Starting Trays: Fill your seed starting trays with a high-quality seed starting mix. Moisten the mix thoroughly.
2. Sow the Seeds: Sow 2-3 kohlrabi seeds per cell, about ¼ inch deep. Gently cover the seeds with soil.
3. Provide Warmth and Light: Place the trays in a warm location (around 70°F) and provide plenty of light. A sunny windowsill or a grow light will work well.
4. Keep the Soil Moist: Water the seedlings regularly, keeping the soil consistently moist but not waterlogged.
5. Thin the Seedlings: Once the seedlings have developed their first true leaves (the second set of leaves), thin them to one seedling per cell. Choose the strongest and healthiest-looking seedling.
6. Harden Off the Seedlings: About a week before transplanting, gradually acclimate the seedlings to outdoor conditions. Start by placing them outside for a few hours each day, increasing the time each day. This process, called “hardening off,” helps the seedlings adjust to the sun, wind, and temperature changes.
Direct Sowing (Recommended for Fall Harvest)
1. Prepare the Soil: Clear the planting area of weeds and debris. Amend the soil with compost or well-rotted manure.
2. Sow the Seeds: Sow kohlrabi seeds directly into the soil, about ½ inch deep and 1-2 inches apart.
3. Water Gently: Water the seeds gently to avoid washing them away.
4. Keep the Soil Moist: Keep the soil consistently moist until the seedlings emerge.
5. Thin the Seedlings: Once the seedlings are a few inches tall, thin them to 6-8 inches apart.
Transplanting Kohlrabi Seedlings
If you started your kohlrabi seeds indoors, it’s time to transplant them into your garden.
1. Choose a Cloudy Day: Transplanting on a cloudy day will help prevent the seedlings from getting stressed by the sun.
2. Prepare the Planting Holes: Dig holes that are slightly larger than the root balls of the seedlings, spacing them 6-8 inches apart.
3. Gently Remove the Seedlings: Carefully remove the seedlings from their cells, being careful not to damage the roots.
4. Plant the Seedlings: Place the seedlings in the holes, making sure the top of the root ball is level with the soil surface.
5. Fill the Holes: Fill the holes with soil and gently firm the soil around the seedlings.
6. Water Thoroughly: Water the seedlings thoroughly after transplanting.
Caring for Your Kohlrabi Plants
Once your kohlrabi plants are in the ground, it’s important to provide them with the care they need to thrive.
* Watering: Kohlrabi needs consistent moisture to grow properly. Water regularly, especially during dry periods. Aim for about 1 inch of water per week.
* Fertilizing: Fertilize your kohlrabi plants every 2-3 weeks with a balanced fertilizer. Follow the instructions on the fertilizer package. I like to use a liquid seaweed fertilizer for an extra boost.
* Weeding: Keep the area around your kohlrabi plants free of weeds. Weeds compete with the kohlrabi for nutrients and water.
* Mulching: Apply a layer of mulch around your kohlrabi plants to help retain moisture, suppress weeds, and regulate soil temperature. Straw, wood chips, or shredded leaves are all good options.
* Pest Control: Kohlrabi can be susceptible to pests such as cabbage worms, aphids, and flea beetles. Inspect your plants regularly and take action if you see any signs of infestation. You can use insecticidal soap, neem oil, or handpick the pests off the plants. Row covers can also help prevent pests from reaching your kohlrabi.
Harvesting Your Kohlrabi
The moment we’ve all been waiting for! Harvesting kohlrabi is easy, and the timing is crucial for the best flavor and texture.
* Harvest Time: Kohlrabi is typically ready to harvest 6-8 weeks after planting. The ideal size for harvesting is about 2-3 inches in diameter. Larger kohlrabi can become tough and woody.
* How to Harvest: Use a sharp knife to cut the kohlrabi stem just above the soil surface.
* Storage: Store kohlrabi in the refrigerator for up to several weeks. Remove the leaves before storing, as they can draw moisture from the bulb.
Troubleshooting Common Kohlrabi Problems
Even with the best care, you might encounter some challenges when growing kohlrabi. Here are some common problems and how to address them:
* Splitting Bulbs: This can be caused by inconsistent watering or rapid growth spurts. Ensure consistent watering and avoid over-fertilizing.
* Tough or Woody Bulbs: This is usually due to harvesting too late. Harvest kohlrabi when it’s still relatively small.
* Pest Infestations: As mentioned earlier, kohlrabi can be susceptible to various pests. Monitor your plants regularly and take action promptly.
* Bolting: Bolting (premature flowering) can occur if kohlrabi is exposed to prolonged periods of hot weather. Choose heat-tolerant varieties and provide shade during the hottest part of the day.
Enjoying Your Homegrown Kohlrabi
Now that you’ve successfully grown your own kohlrabi, it’s time to enjoy the fruits (or
Conclusion
So, there you have it! Growing kohlrabi at home is not only achievable, but it’s also incredibly rewarding. From the crisp, refreshing taste of the bulb to the nutritious greens, you’re getting a two-for-one deal with this unique vegetable. Forget those bland, store-bought options – imagine biting into a kohlrabi you nurtured from seed, bursting with fresh, homegrown flavor.
This DIY approach puts you in complete control. You choose the variety, the soil, and the growing conditions, ensuring a healthier and more flavorful harvest. Plus, you’ll avoid the pesticides and herbicides often used in commercial farming. It’s a win-win for your taste buds and your peace of mind.
But the benefits don’t stop there. Growing your own kohlrabi is a fantastic way to connect with nature, learn about the growing process, and even get some exercise. It’s a project the whole family can enjoy, from planting the seeds to harvesting the delicious results.
Why is this DIY trick a must-try? Because it empowers you to enjoy fresh, flavorful, and healthy kohlrabi without relying on grocery stores. It’s a sustainable and rewarding way to add a unique vegetable to your diet.
Looking for variations? Consider these ideas:
* Container Gardening: If you’re short on space, kohlrabi thrives in containers. Choose a pot that’s at least 12 inches deep and wide to allow for proper root development.
* Succession Planting: Plant seeds every few weeks to ensure a continuous harvest throughout the growing season.
* Companion Planting: Plant kohlrabi alongside beneficial companions like chamomile, dill, or onions to deter pests and improve growth.
* Different Varieties: Experiment with different kohlrabi varieties, such as ‘Early White Vienna,’ ‘Purple Vienna,’ or ‘Gigante,’ to discover your favorite flavor and texture.
* Kohlrabi Slaw: Use your homegrown kohlrabi to make a delicious and healthy slaw. Simply shred the bulb and mix it with carrots, cabbage, and a light vinaigrette.
* Roasted Kohlrabi: Roasting kohlrabi brings out its natural sweetness. Toss it with olive oil, herbs, and spices, and roast until tender.
Don’t be intimidated by the unfamiliar. Growing kohlrabi at home is easier than you might think. With a little planning and effort, you can enjoy a bountiful harvest of this delicious and nutritious vegetable.
So, what are you waiting for? Grab some seeds, prepare your garden, and get ready to experience the joy of growing your own kohlrabi. We’re confident you’ll be amazed by the results.
We encourage you to try this DIY trick and share your experience with us! Post photos of your kohlrabi harvest on social media using #HomegrownKohlrabi and let us know your favorite ways to enjoy this versatile vegetable. We can’t wait to see what you create!
FAQ
What is kohlrabi and what does it taste like?
Kohlrabi is a member of the cabbage family, known for its bulbous stem that grows above ground. It has a mild, slightly sweet flavor, often compared to a cross between a turnip and a cabbage. The texture is crisp and refreshing, similar to a water chestnut. Both the bulb and the leaves are edible.
When is the best time to plant kohlrabi?
The best time to plant kohlrabi depends on your climate. In cooler regions, start seeds indoors 4-6 weeks before the last expected frost. Transplant seedlings outdoors 2-3 weeks before the last frost. In warmer regions, plant kohlrabi in the fall for a winter harvest. Avoid planting during the hottest months of summer, as high temperatures can cause the bulbs to become tough and bitter.
How much sunlight does kohlrabi need?
Kohlrabi needs at least 6 hours of sunlight per day to thrive. Choose a sunny location in your garden or provide supplemental lighting if growing indoors.
What kind of soil is best for growing kohlrabi?
Kohlrabi prefers well-drained, fertile soil with a pH between 6.0 and 7.5. Amend the soil with compost or other organic matter to improve drainage and fertility. Avoid heavy clay soils, as they can become waterlogged and inhibit root growth.
How often should I water kohlrabi?
Kohlrabi needs consistent moisture to produce plump, juicy bulbs. Water deeply and regularly, especially during dry periods. Aim for about 1 inch of water per week. Avoid overwatering, as this can lead to root rot.
How do I fertilize kohlrabi?
Fertilize kohlrabi with a balanced fertilizer at planting time. Side-dress with a nitrogen-rich fertilizer a few weeks after transplanting to promote leafy growth. Avoid over-fertilizing, as this can cause the bulbs to crack.
What are some common pests and diseases that affect kohlrabi?
Common pests that affect kohlrabi include cabbage worms, aphids, and flea beetles. Protect your plants with row covers or use organic pest control methods like insecticidal soap or neem oil. Common diseases include clubroot and black rot. Choose disease-resistant varieties and practice crop rotation to prevent these problems.
When is kohlrabi ready to harvest?
Kohlrabi is typically ready to harvest 6-8 weeks after planting. Harvest the bulbs when they are about 2-3 inches in diameter. Larger bulbs can become tough and woody. The leaves can be harvested at any time.
How do I store kohlrabi?
Store kohlrabi bulbs in the refrigerator for up to several weeks. Remove the leaves before storing, as they can draw moisture from the bulbs. The leaves can be stored separately in the refrigerator for a few days.
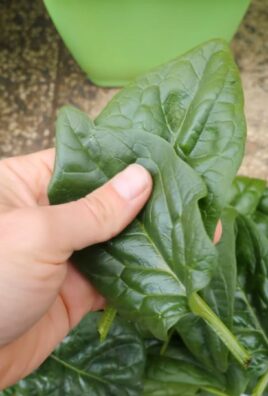
Can I eat the kohlrabi leaves?
Yes, the kohlrabi leaves are edible and nutritious. They can be used in salads, stir-fries, or soups. The leaves have a slightly stronger flavor than the bulb.
My kohlrabi bulbs are cracking. What am I doing wrong?
Cracking in kohlrabi bulbs is often caused by inconsistent watering or over-fertilizing. Ensure that your plants receive consistent moisture and avoid applying too much fertilizer.
My kohlrabi bulbs are tough and woody. What am I doing wrong?
Tough and woody kohlrabi bulbs are often caused by harvesting too late or growing in hot weather. Harvest the bulbs when they are young and tender, and avoid planting during the hottest months of summer.
Can I grow kohlrabi in containers?
Yes, kohlrabi can be grown in containers. Choose a pot that is at least 12 inches deep and wide to allow for proper root development. Use a well-draining potting mix and provide regular watering and fertilization.
Is kohlrabi a good source of nutrients?
Yes, kohlrabi is a good source of vitamins, minerals, and fiber. It is particularly rich in vitamin C, potassium, and fiber. It’s a healthy and delicious addition to any diet.
Leave a Comment