
Grow Taro at Home: Ever dreamt of harvesting your own exotic, starchy goodness right from your backyard? I know I have! For centuries, taro has been a staple in Polynesian and Asian cultures, not just as a food source but also as a symbol of sustenance and connection to the land. Imagine bringing that rich history and flavor to your own table, all thanks to your green thumb.
But let’s be honest, the idea of cultivating this tropical plant can seem a little daunting, right? That’s where this DIY guide comes in! Many people are intimidated by the thought of growing taro, believing it requires specialized knowledge or a tropical climate. The truth is, with a few clever tricks and a little bit of patience, you can successfully grow taro at home, even if you don’t live in Hawaii.
This article is packed with easy-to-follow instructions and insider tips that will demystify the process. We’ll cover everything from selecting the right variety and preparing the soil to providing the perfect amount of water and sunlight. So, ditch the grocery store taro and get ready to embark on a rewarding gardening adventure. Let’s unlock the secrets to growing your own delicious and nutritious taro crop!
Growing Taro at Home: A Beginner’s Guide
Hey there, fellow plant enthusiasts! Ever thought about growing your own taro? It might seem intimidating, but trust me, it’s totally doable, even if you don’t have a sprawling garden. I’m going to walk you through everything you need to know to cultivate this fascinating and delicious plant right at home.
Choosing Your Taro Variety
First things first, let’s talk taro varieties. There are a bunch out there, each with its own unique characteristics. Some are better suited for certain climates, and others have different flavor profiles. Here are a few popular options:
* Bun Long: This is a common variety, known for its large corms and good flavor. It’s a reliable choice for beginners.
* Dasheen: Another widely grown variety, Dasheen produces smaller corms but is still quite productive.
* Eddoe: Eddoe taro produces smaller, more numerous corms and is often grown for its leaves as well.
When choosing, consider your local climate and what you plan to do with your taro. If you’re mainly interested in the corms, Bun Long or Dasheen might be your best bet. If you want to use the leaves in cooking, Eddoe could be a good option.
Getting Started: Propagation Methods
You have a couple of options when it comes to starting your taro plant: from corms (the underground stem) or from cuttings. I personally prefer starting from corms, as I find it a bit easier.
Starting from Corms
1. Source Your Corms: You can usually find taro corms at Asian grocery stores or online nurseries. Look for firm, healthy corms without any signs of rot or damage.
2. Prepare the Corms: Before planting, you can encourage sprouting by placing the corms in a shallow dish of water. Make sure only the bottom part of the corm is submerged. Keep the dish in a warm, bright location. You should see sprouts emerging within a week or two.
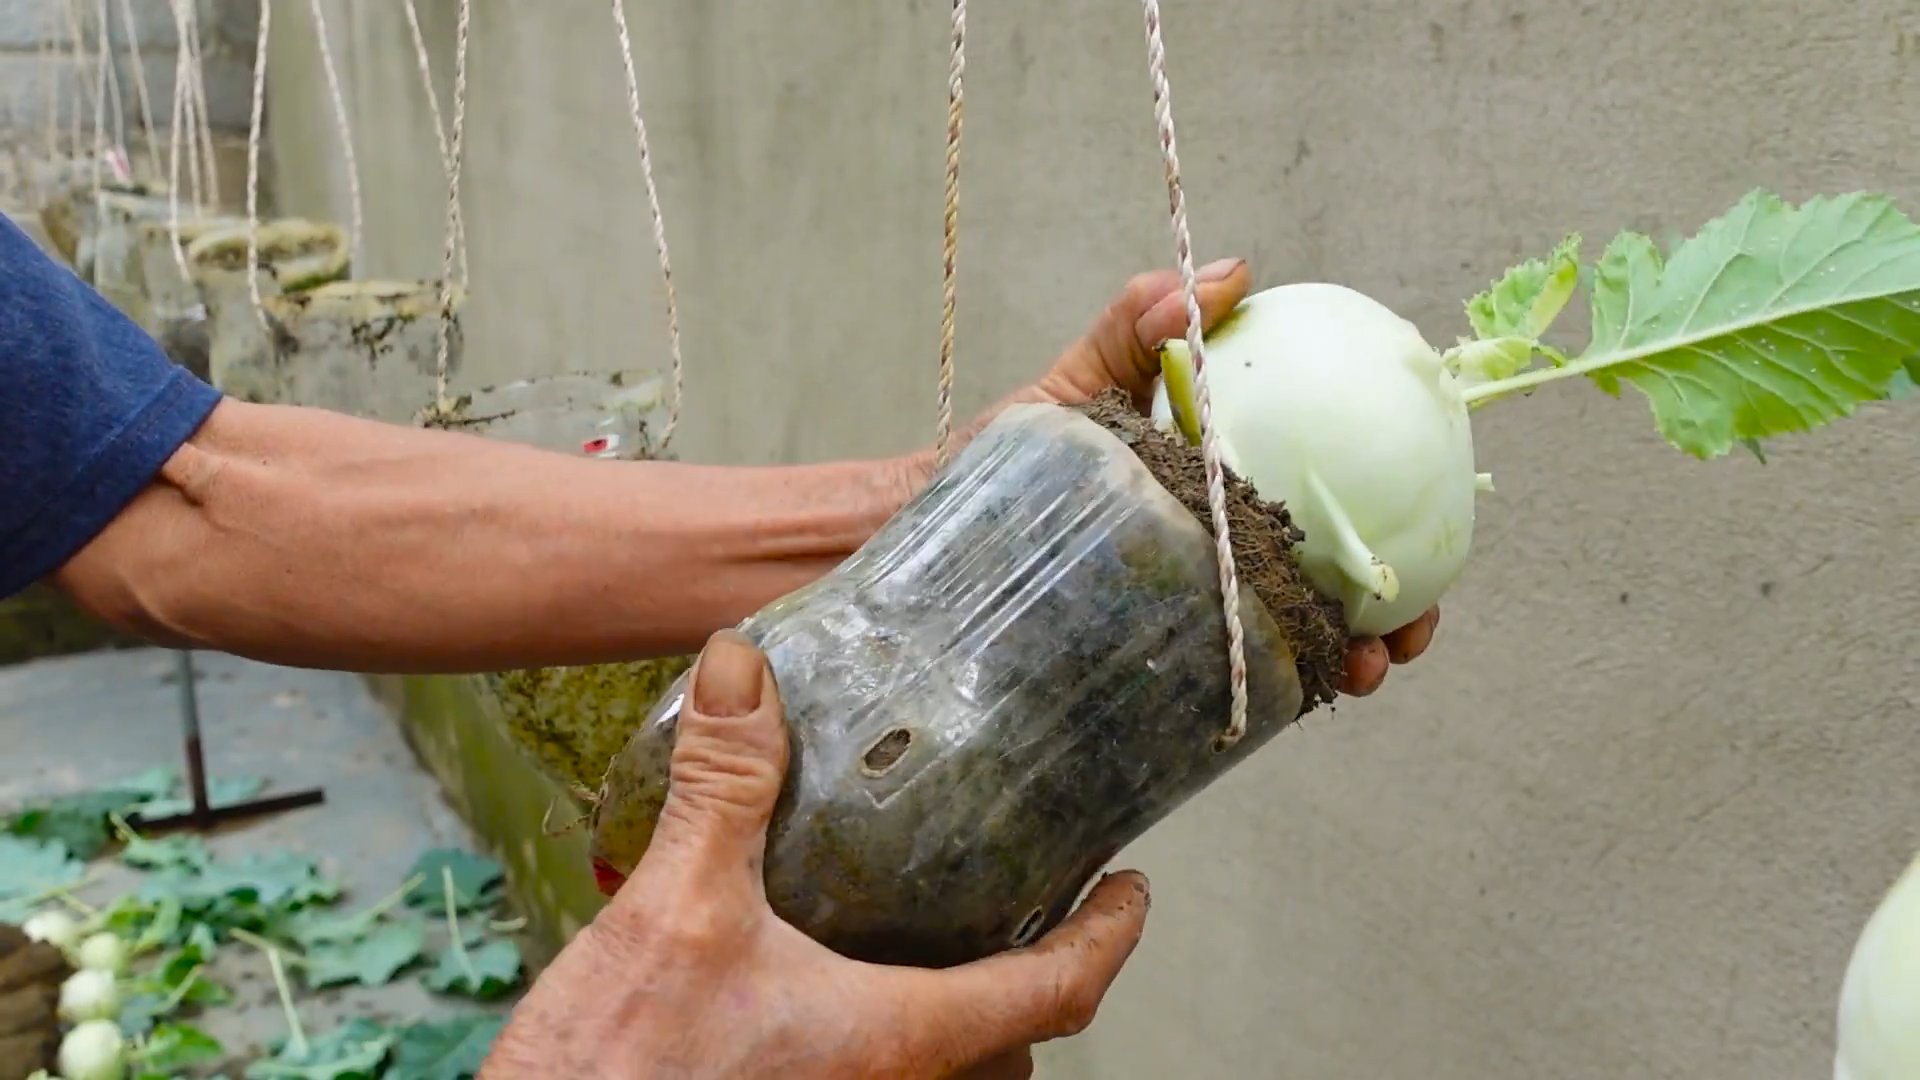
3. Planting the Corms: Once the sprouts are a few inches long, it’s time to plant! Choose a pot that’s at least 12 inches in diameter and has good drainage. Fill the pot with a well-draining potting mix that’s rich in organic matter.
4. Bury the Corm: Plant the corm about 2-3 inches deep, with the sprouts facing upwards. Water thoroughly after planting.
5. Location, Location, Location: Taro loves warmth and humidity. Place your pot in a location that receives plenty of sunlight (at least 6 hours a day) and is protected from strong winds.
Starting from Cuttings
1. Obtain Cuttings: You’ll need a healthy taro plant to take cuttings from. Look for stems that are at least 6 inches long and have a few leaves.
2. Prepare the Cuttings: Remove the lower leaves from the stem, leaving only the top few leaves. This will help prevent rot when you place the cutting in water.
3. Rooting the Cuttings: Place the cuttings in a glass or jar of water, making sure the bottom part of the stem is submerged. Change the water every few days to keep it fresh.
4. Wait for Roots: Within a few weeks, you should see roots emerging from the stem. Once the roots are a few inches long, it’s time to plant.
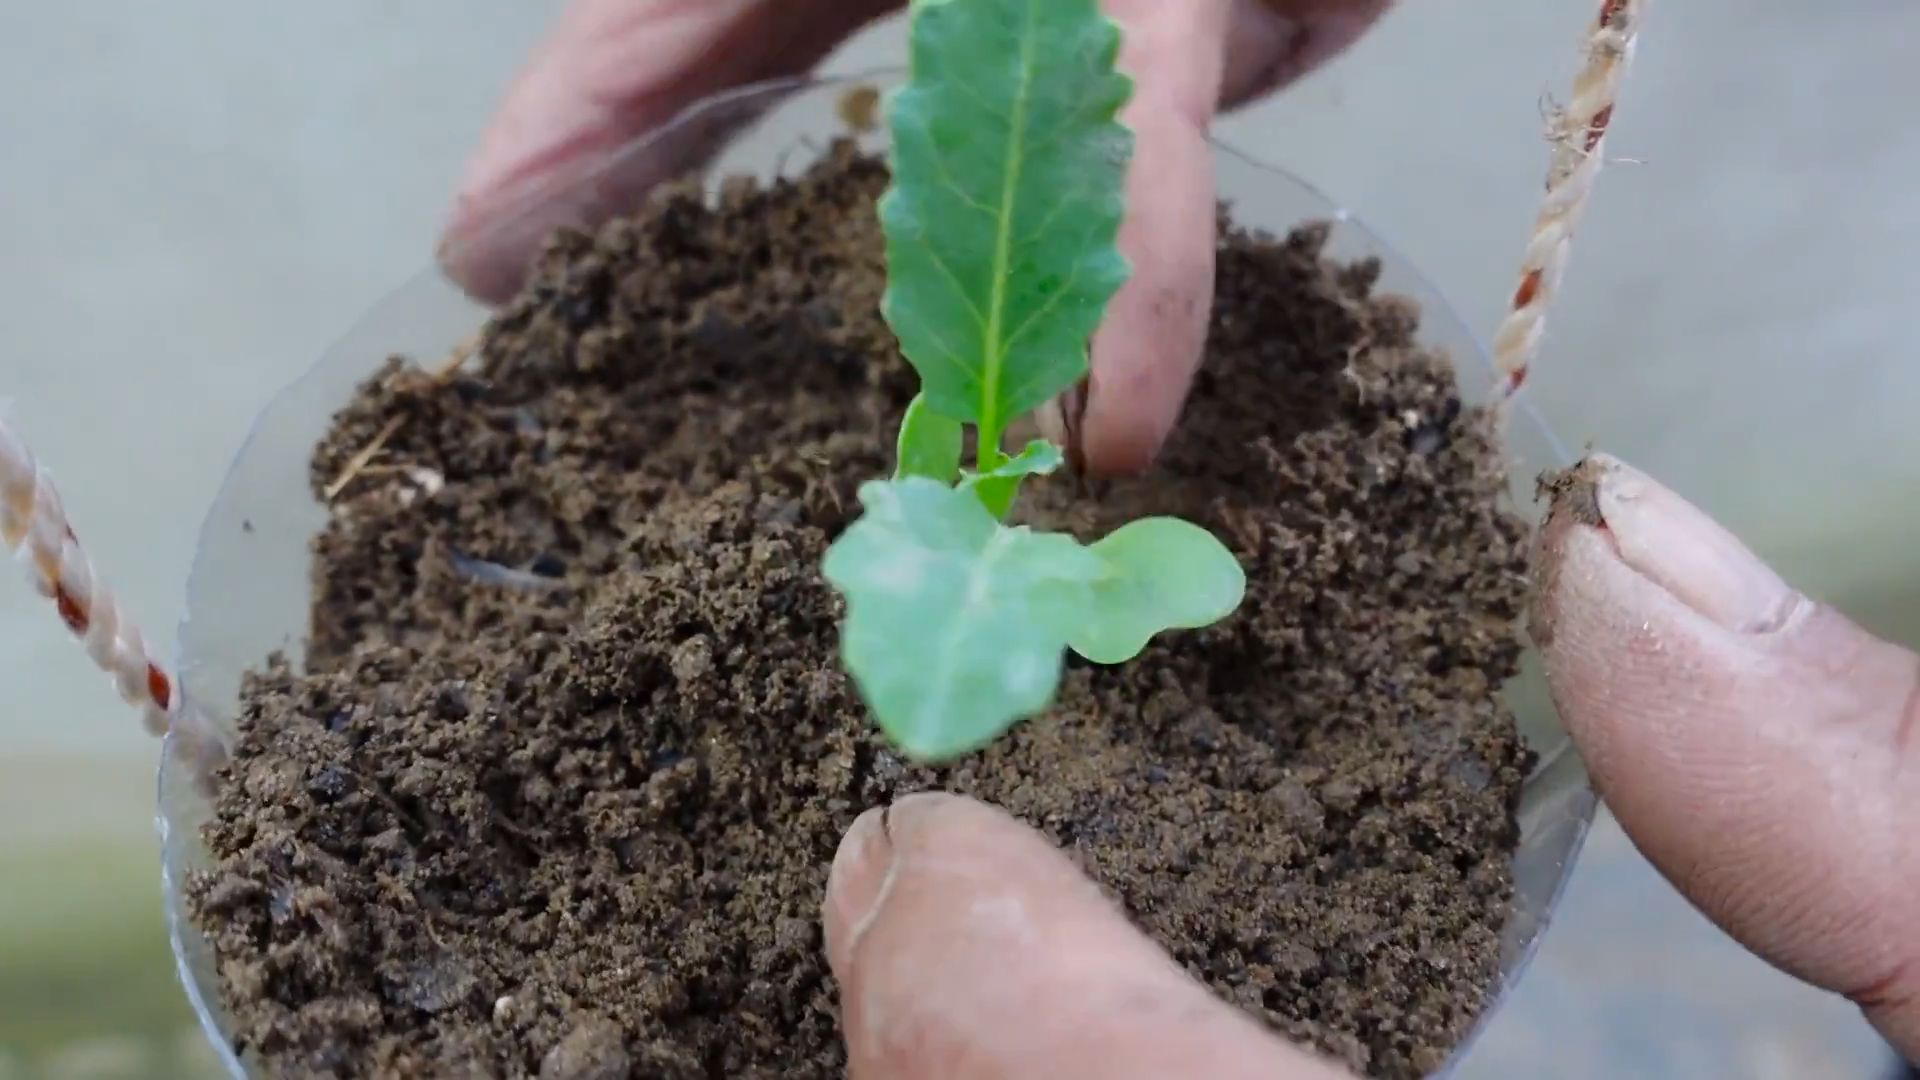
5. Planting the Cuttings: Plant the rooted cuttings in a pot filled with well-draining potting mix, just like you would with corms. Water thoroughly after planting.
Caring for Your Taro Plant
Once your taro plant is established, it’s relatively easy to care for. Here’s what you need to keep in mind:
* Watering: Taro loves water! Keep the soil consistently moist, but not waterlogged. Water deeply whenever the top inch of soil feels dry. During hot weather, you may need to water daily.
* Humidity: Taro thrives in humid environments. If you live in a dry climate, you can increase humidity by misting the leaves regularly or placing the pot on a tray filled with pebbles and water.
* Fertilizing: Feed your taro plant every few weeks with a balanced liquid fertilizer. Follow the instructions on the fertilizer label.
* Sunlight: Taro needs plenty of sunlight to grow well. Aim for at least 6 hours of direct sunlight per day. If you’re growing your taro indoors, place it near a sunny window or use a grow light.
* Temperature: Taro prefers warm temperatures, ideally between 70°F and 85°F (21°C and 29°C). Protect your plant from frost and cold temperatures.
* Pest Control: Keep an eye out for common pests like aphids, spider mites, and mealybugs. If you spot any pests, treat your plant with an insecticidal soap or neem oil.
* Pruning: Remove any yellowing or dead leaves to keep your plant healthy and attractive.
Harvesting Your Taro
The time it takes to harvest your taro will depend on the variety and growing conditions. Generally, you can expect to harvest your taro corms after about 6-12 months.
1. Signs of Maturity: Look for signs that your taro is ready to harvest, such as yellowing leaves and a slowing of growth.
2. Digging Up the Corms: Carefully dig around the base of the plant to loosen the soil. Gently lift the plant out of the pot, being careful not to damage the corms.
3. Cleaning the Corms: Wash the corms thoroughly to remove any dirt or debris.
4. Storing the Corms: Store the corms in a cool, dry place. They should keep for several weeks.
Cooking with Taro
Taro is a versatile ingredient that can be used in a variety of dishes. The corms are often boiled, steamed, or fried. The leaves can also be cooked and eaten, but they must be cooked thoroughly to remove any toxins.
Important Note: Raw taro contains calcium oxalate crystals, which can cause irritation and discomfort. Always cook taro thoroughly before eating it.
Here are a few ideas for using your homegrown taro:
* Taro Chips: Slice the corms thinly and fry them until crispy.
* Poi: A traditional Hawaiian dish made from mashed taro corms.
* Taro Curry: Add diced taro to your favorite curry recipe.
* Taro Leaf Stew: Cook the leaves with coconut milk and spices for a flavorful stew.
Troubleshooting Common Problems
Even with the best care, you might encounter some problems while growing taro. Here are a few common issues and how to address them:
* Yellowing Leaves: This could be a sign of overwatering, underwatering, nutrient deficiency, or pest infestation. Check the soil moisture, fertilize your plant, and inspect it for pests.
* Slow Growth: This could be due to insufficient sunlight, low temperatures, or poor soil. Move your plant to a sunnier location, ensure the temperature is warm enough, and amend the soil with organic matter.
* Root Rot: This is caused by overwatering and poor drainage. Make sure your pot has good drainage and avoid overwatering. If you suspect root rot, repot your plant in fresh soil.
* Pest Infestation: Treat your plant with an insecticidal soap or neem oil to get rid of pests.
Adapting to Different Climates
Taro is a tropical plant, so it thrives in warm, humid climates. However, with a little extra care, you can grow taro even in cooler regions.
* Cool Climates: If you live in a cool climate, you’ll need to protect your taro plant from frost. You can grow it in a pot and bring it indoors during the winter months. You can also use a greenhouse or cold frame to extend the growing season.
* Dry Climates: If you live in a dry climate, you’ll need to provide extra humidity for your taro plant. You can mist the leaves regularly or place the pot on a tray filled with pebbles and water.
Container Gardening Tips
Growing taro in containers is a great option if you don’t have a garden or if you want to move your plant indoors during the winter. Here are a few tips for container gardening with taro:
* Choose the Right Pot: Select a pot that’s at least 12 inches in diameter and has good drainage.
* Use a Well-Draining Potting Mix: Taro needs a well-draining potting mix that’s rich in organic matter.
* Water Regularly: Keep the soil consistently moist, but not waterlogged.
* Fertilize Regularly: Feed your plant every few weeks with a balanced liquid fertilizer.
* Provide Plenty of
Conclusion
So, there you have it! Growing taro at home, while it might seem daunting at first, is surprisingly achievable and incredibly rewarding. We’ve walked you through the process, from selecting the right corm to nurturing your plant to a bountiful harvest. But why should you actually take the plunge and try this DIY project?
The answer is multifaceted. First and foremost, growing your own taro allows you to control the entire process, ensuring that your crop is free from harmful pesticides and grown with the utmost care. You know exactly what goes into nurturing your plant, resulting in a healthier and more flavorful final product. Imagine the satisfaction of harvesting your own taro, knowing that you cultivated it from start to finish. That’s a feeling you simply can’t replicate with store-bought produce.
Beyond the health benefits, growing taro at home is a fantastic way to connect with nature and learn about the origins of your food. It’s a tangible way to appreciate the effort and resources that go into producing the food we often take for granted. Plus, it’s a wonderful educational opportunity for children, teaching them about plant life cycles, responsibility, and the importance of sustainable practices.
But the benefits don’t stop there. Taro is a versatile ingredient that can be used in a wide variety of dishes, from savory stews and curries to sweet desserts and snacks. Having a readily available supply of homegrown taro opens up a world of culinary possibilities.
Ready to experiment? Consider these variations to personalize your taro-growing experience:
* Container Gardening: If you’re short on space, try growing taro in large containers. This allows you to move your plants indoors during colder months and provides better control over soil conditions.
* Hydroponics: For a more advanced approach, explore growing taro hydroponically. This method can accelerate growth and minimize the risk of soilborne diseases.
* Different Varieties: Experiment with different varieties of taro to discover your favorite flavor and texture. Some varieties are better suited for specific dishes than others.
* Companion Planting: Enhance your taro patch by planting companion plants like basil, marigolds, or beans. These plants can help deter pests and improve soil health.
Ultimately, the best way to discover the joys of growing taro at home is to simply give it a try. Don’t be afraid to experiment, learn from your mistakes, and adapt the process to suit your specific environment and preferences.
We’re confident that you’ll find the experience to be both challenging and deeply rewarding. So, grab a taro corm, gather your supplies, and embark on this exciting journey. And most importantly, don’t forget to share your experiences with us! We’d love to hear about your successes, challenges, and any unique tips or tricks you discover along the way. Share your photos and stories on social media using #HomeGrownTaro or leave a comment below. Let’s build a community of taro enthusiasts and inspire others to embrace the joys of growing their own food. This DIY taro growing adventure awaits!
Frequently Asked Questions (FAQs)
What is the best time of year to plant taro?
The ideal time to plant taro is during the warm, frost-free months, typically in late spring or early summer. Taro thrives in warm temperatures and requires a long growing season of at least 7-9 months. Planting during this period ensures that the plant has ample time to establish itself and produce a good yield before the onset of colder weather. If you live in an area with mild winters, you may be able to extend the growing season or even grow taro year-round. However, in colder climates, it’s essential to start the plants indoors or in a greenhouse to protect them from frost.
How much sunlight does taro need?
Taro prefers partial shade, especially during the hottest part of the day. While it needs sunlight to thrive, excessive direct sunlight can scorch the leaves. Aim for about 4-6 hours of filtered sunlight per day. If you’re growing taro indoors, place it near a bright window but shield it from direct sunlight with a sheer curtain or blind. If you’re growing it outdoors, choose a location that receives morning sun and afternoon shade. Observe your plants closely and adjust their position as needed to ensure they’re getting the right amount of light.
What type of soil is best for growing taro?
Taro thrives in rich, well-draining soil that is high in organic matter. The ideal soil pH is between 5.5 and 6.5. Before planting, amend the soil with compost, well-rotted manure, or other organic materials to improve its fertility and drainage. Taro also benefits from soil that retains moisture, so consider adding peat moss or coconut coir to the soil mix. Avoid heavy clay soils, as they can become waterlogged and lead to root rot. If you have clay soil, amend it with plenty of organic matter and consider growing taro in raised beds or containers to improve drainage.
How often should I water my taro plants?
Taro requires consistent moisture to thrive. Water your plants regularly, especially during hot, dry weather. The soil should be kept consistently moist but not waterlogged. Check the soil moisture regularly by sticking your finger into the soil. If the top inch of soil feels dry, it’s time to water. Avoid letting the soil dry out completely, as this can stress the plants and reduce their yield. When watering, water deeply and thoroughly, ensuring that the water reaches the roots. During periods of heavy rain, you may need to reduce watering to prevent waterlogging.
How do I know when my taro is ready to harvest?
Taro is typically ready to harvest when the leaves begin to turn yellow and die back. This usually occurs about 7-9 months after planting. You can also check the size of the corms by gently digging around the base of the plant. The corms should be firm and well-developed. To harvest, carefully dig up the entire plant, being careful not to damage the corms. Remove the leaves and stems, leaving about an inch of stem attached to the corms. Wash the corms thoroughly and store them in a cool, dry place.
Are there any common pests or diseases that affect taro?
Yes, taro can be susceptible to certain pests and diseases, including aphids, spider mites, and root rot. Aphids and spider mites can be controlled with insecticidal soap or neem oil. Root rot is a fungal disease that can occur in waterlogged soils. To prevent root rot, ensure that your soil is well-draining and avoid overwatering. If you notice signs of root rot, such as yellowing leaves and wilting, remove the affected plants and treat the soil with a fungicide. Regularly inspect your plants for signs of pests or diseases and take action promptly to prevent them from spreading.
Can I eat the leaves of the taro plant?
Yes, the leaves of the taro plant are edible, but they must be cooked thoroughly to remove calcium oxalate crystals, which can cause irritation to the mouth and throat. The leaves can be boiled, steamed, or stir-fried. They are often used in soups, stews, and curries. However, it’s important to note that some people may be more sensitive to calcium oxalate than others. If you experience any irritation after eating taro leaves, discontinue use.
How do I store taro corms after harvesting?
After harvesting, store taro corms in a cool, dry, and well-ventilated place. Avoid storing them in the refrigerator, as this can cause them to become mushy. The corms can be stored for several weeks or even months if stored properly. Check the corms regularly for signs of spoilage, such as soft spots or mold. Discard any corms that show signs of spoilage. You can also freeze taro corms after cooking them. To freeze, peel and slice the corms, then blanch them in boiling water for a few minutes. Drain and cool the corms, then freeze them in a single layer on a baking sheet. Once frozen, transfer them to a freezer bag or container.
Is growing taro at home difficult for beginners?
While growing taro requires some attention and care, it’s not necessarily difficult for beginners. The key is to provide the plants with the right conditions, including warm temperatures, partial shade, moist soil, and regular watering. Start with a small number of plants and gradually increase the scale as you gain experience. Don’t be afraid to experiment and learn from your mistakes. There are many resources available online and in libraries to help you succeed. With a little patience and effort, you can enjoy the satisfaction of growing your own taro at home.
Leave a Comment