
Harvesting Okra at Home can feel like striking gold in your backyard! Imagine stepping outside and gathering fresh, vibrant okra pods, ready to be transformed into a delicious gumbo, crispy fried treat, or a flavorful side dish. But let’s be honest, knowing when and how to harvest okra can be a little tricky. Pick them too early, and they’re underdeveloped; wait too long, and they become tough and woody.
Okra, also known as “lady’s fingers,” has a rich history, originating in Africa and making its way to the Americas during the transatlantic slave trade. It became a staple in Southern cuisine, symbolizing resilience and resourcefulness. Today, growing your own okra connects you to this heritage and provides a sustainable source of fresh produce.
That’s where this DIY guide comes in! I’m going to share my tried-and-true secrets for harvesting okra at home like a pro. We’ll cover everything from identifying the perfect harvesting window to the best tools and techniques to use. No more guessing games or disappointing harvests! With a little know-how, you can enjoy a bountiful supply of tender, flavorful okra all season long. So, grab your gardening gloves, and let’s get started!
Harvesting Okra Like a Pro: A Step-by-Step Guide
Okra, also known as lady’s fingers, is a warm-season vegetable that’s surprisingly easy to grow at home. But knowing when and how to harvest okra is crucial for getting the most tender and flavorful pods. Harvest too late, and you’ll end up with tough, woody okra that’s not very palatable. Harvest too early, and you’re missing out on potential yield. Don’t worry, I’m here to guide you through the process!
Understanding Okra Growth
Before we dive into the harvesting process, let’s quickly understand how okra grows. Okra plants are fast growers, often reaching heights of 4-8 feet. They produce beautiful, hibiscus-like flowers, and the okra pods develop from these flowers. The pods grow quickly, and it’s important to check your plants daily during peak season.
When to Harvest Okra: The Golden Rule
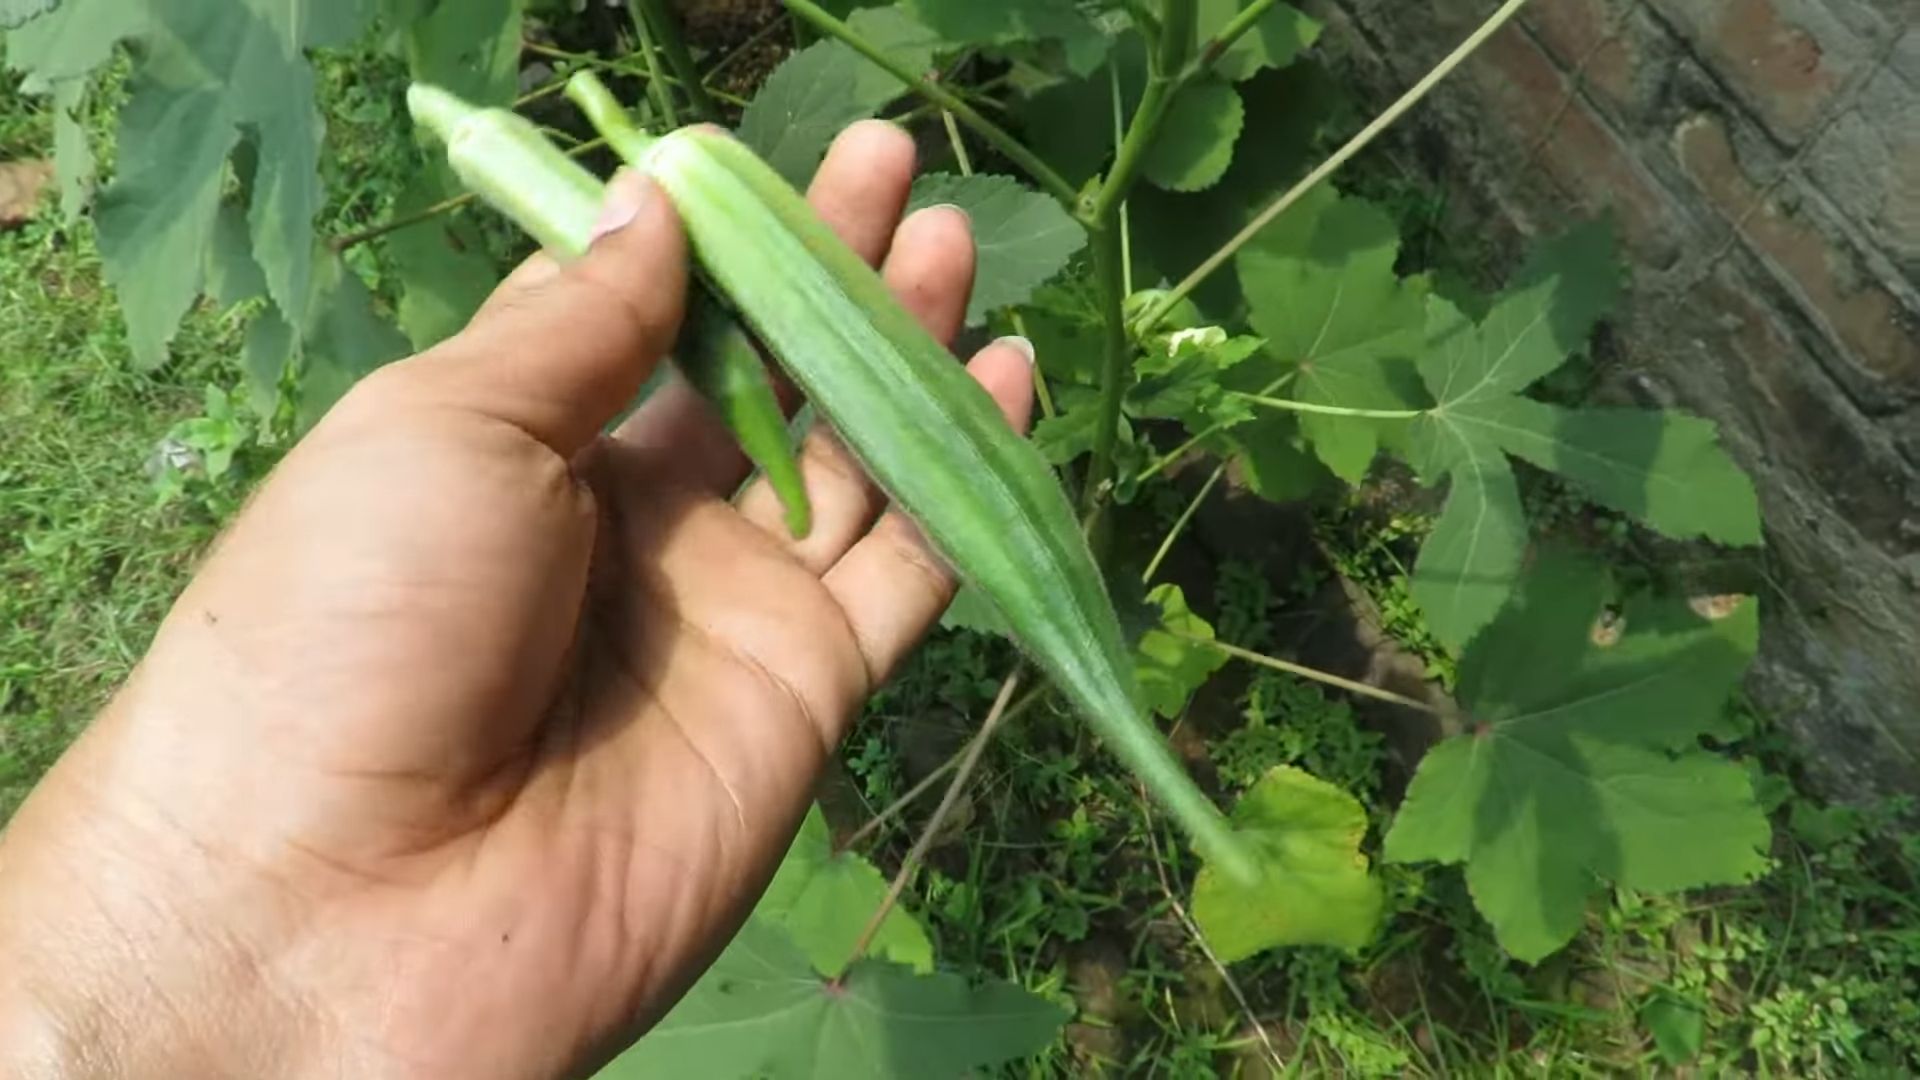
The most important thing to remember is that okra pods are best harvested when they are young and tender. The ideal length for most varieties is between 2-4 inches long. Larger pods tend to become tough and fibrous.
Here’s a quick checklist to help you determine if your okra is ready for harvest:
* **Pod Size:** Aim for 2-4 inches in length. Some varieties might have slightly different optimal sizes, so check your seed packet or plant tag for specific recommendations.
* **Tenderness:** Gently squeeze the pod. It should feel firm but yield slightly to pressure. If it feels hard and woody, it’s likely too mature.
* **Color:** The pod should have a vibrant green color. Avoid pods that are starting to turn yellow or brown.
* **Spines:** Some okra varieties have spines on the pods. These spines can become more irritating as the pods mature.
Tools You’ll Need
To harvest okra effectively and safely, you’ll need a few essential tools:
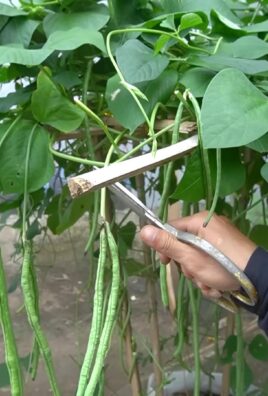
* **Sharp Knife or Pruning Shears:** A sharp blade is crucial for making clean cuts and preventing damage to the plant.
* **Gloves:** Okra plants can be prickly and cause skin irritation, so wearing gloves is highly recommended. I personally prefer gardening gloves with a good grip.
* **Basket or Bucket:** You’ll need something to collect your harvested okra pods.
* **Long Sleeves (Optional):** If you’re particularly sensitive to the okra plant’s prickles, wearing long sleeves can provide extra protection.
Step-by-Step Harvesting Guide
Now, let’s get to the fun part: harvesting your okra!
1. **Gear Up:** Put on your gloves and, if desired, your long sleeves. This will protect your hands and arms from the okra plant’s prickles. Trust me, those little spines can be annoying!
2. **Inspect Your Plants:** Walk through your okra patch and carefully examine each plant. Look for pods that meet the criteria for harvesting: 2-4 inches long, tender, and vibrant green.
3. **Locate the Pod’s Stem:** Once you’ve identified a ripe pod, locate the stem that connects it to the main plant.
4. **Make the Cut:** Using your sharp knife or pruning shears, make a clean cut through the stem about 1/2 to 1 inch above the pod. Be careful not to damage the main stem of the plant. A clean cut helps the plant heal quickly and encourages further pod production.
5. **Gently Remove the Pod:** Carefully remove the harvested pod from the plant.
6. **Place the Pod in Your Basket or Bucket:** Place the harvested okra pod in your basket or bucket.
7. **Repeat the Process:** Continue inspecting your plants and harvesting ripe pods until you’ve collected all the okra that’s ready.
8. **Harvest Regularly:** Okra pods mature quickly, so it’s important to harvest them every day or every other day during peak season. Regular harvesting encourages the plant to produce more pods.
Dealing with Mature Okra Pods
Sometimes, you might miss a pod or two and find that they’ve grown too large and tough. Don’t despair! While they might not be ideal for eating whole, you can still use them.
* **Seed Saving:** Allow the mature pods to dry completely on the plant. Once they’re dry and brown, you can harvest the seeds for planting next year. This is a great way to save money and ensure you have a supply of okra seeds for future seasons.
* **Composting:** If you don’t want to save the seeds, you can compost the mature pods. They’ll break down and add valuable nutrients to your compost pile.
Tips for Maximizing Your Okra Harvest
Here are a few extra tips to help you get the most out of your okra plants:
* **Water Regularly:** Okra plants need consistent watering, especially during hot, dry weather. Water deeply and regularly to keep the soil moist but not waterlogged.
* **Fertilize:** Okra plants benefit from regular fertilization. Use a balanced fertilizer or a fertilizer specifically formulated for vegetables. Follow the instructions on the fertilizer package.
* **Pest Control:** Keep an eye out for pests such as aphids, flea beetles, and okra stink bugs. Take action to control these pests if they become a problem. Organic pest control methods are always a good option.
* **Pruning:** Pruning okra plants can help improve air circulation and encourage more pod production. Remove any yellowing or damaged leaves.
* **Choose the Right Variety:** Different okra varieties have different characteristics, such as pod size, color, and spininess. Choose a variety that’s well-suited to your climate and growing conditions. Some popular varieties include Clemson Spineless, Emerald, and Burgundy.
* Wear Protective Clothing: I can’t stress this enough! Okra plants can be irritating to the skin. Gloves and long sleeves are your best friends when harvesting.
* Harvest Early in the Day: Harvesting okra in the morning, before the heat of the day sets in, can help preserve the quality of the pods. They’ll be crisper and more flavorful.
* Store Okra Properly: After harvesting, store okra in the refrigerator in a plastic bag. It will keep for about a week.
Storing Your Harvested Okra
Proper storage is key to keeping your freshly harvested okra at its best. Here’s how I like to do it:
1. **Don’t Wash Immediately:** Avoid washing the okra pods until you’re ready to use them. Washing them beforehand can promote spoilage.
2. **Store in a Plastic Bag:** Place the unwashed okra pods in a plastic bag. You can use a zip-top bag or a produce bag from the grocery store.
3. **Refrigerate:** Store the bag of okra in the refrigerator. It will keep for about a week.
4. **Freezing Okra:** If you have a large harvest and want to store okra for longer, you can freeze it. To freeze okra, wash and trim the pods, then blanch them in boiling water for 2-3 minutes. Cool them quickly in ice water, then drain and dry them thoroughly. Place the blanched okra pods in freezer bags or containers and freeze. Frozen okra will keep for several months.
Enjoying Your Homegrown Okra
Now that you’ve harvested and stored your okra, it’s time to enjoy it! Okra is a versatile vegetable that can be used in a variety of dishes. Here are a few ideas:
* **Fried Okra:** A classic Southern dish! Slice the okra pods, dredge them in cornmeal, and fry them until golden brown.
* **Okra Gumbo:** A hearty and flavorful stew that’s perfect for a cold day.
* **Grilled Okra:** Toss the okra pods with olive oil and grill them until tender and slightly charred.
* **Pickled Okra:** A tangy and delicious way to preserve okra.
* **Roasted Okra:** Roast the okra pods in the oven with olive oil and your favorite seasonings.
* Okra Soup: A simple and nutritious soup that’s easy to make.
Troubleshooting Common Okra Harvesting Issues
Even with the best planning, you might encounter a few challenges when harvesting okra. Here are some common issues and how to address them:
* **Tough Okra Pods:** If you find that your okra pods are consistently tough, it could be due to a few factors:
* **Harvesting Too Late:** Make sure you’re harvesting the pods when they’re 2-4 inches long.
* **Dry Conditions:** Okra plants need consistent moisture to produce tender pods. Water regularly, especially during dry spells.
* **Variety:** Some okra varieties are more prone to toughness than others. Consider trying a different variety next year.
* **Yellowing Okra Pods:** Yellowing pods are a sign that the okra is overripe. Harvest them immediately, even if they’re larger than ideal.
* **Small Okra Harvest:** If you’re not getting a good yield, it could be due to:
* **
Conclusion
So, there you have it! Harvesting okra at home doesn’t have to be a guessing game. By following these simple guidelines, you can ensure a bountiful harvest of tender, delicious pods all season long. This DIY trick, focusing on timing and technique, is a game-changer for any home gardener looking to maximize their okra yield and minimize tough, woody pods.
Why is this a must-try? Because it empowers you to control the quality of your okra. Store-bought okra often sits for days, losing its freshness and becoming less palatable. Harvesting your own allows you to enjoy okra at its peak flavor and tenderness, whether you’re frying it up Southern-style, adding it to a flavorful gumbo, or pickling it for a tangy treat. Plus, there’s a unique satisfaction in enjoying the fruits (or, in this case, vegetables) of your labor.
But don’t stop there! Experiment with different okra varieties to find your favorite. Clemson Spineless is a classic choice, known for its smooth pods and high yields. Burgundy okra adds a beautiful splash of color to your garden and your plate. And for those with limited space, dwarf varieties like Baby Bubba are perfect for container gardening.
Consider the time of day for harvesting as well. Harvesting in the cooler morning hours can help preserve the okra’s moisture and prevent it from wilting in the sun. And remember to wear gloves and long sleeves to protect your skin from the okra plant’s prickly hairs.
We encourage you to give this DIY okra harvesting method a try. You’ll be amazed at the difference it makes in the taste and texture of your okra. Don’t be afraid to experiment and adapt the techniques to suit your specific growing conditions and preferences.
Most importantly, share your experience with us! Let us know what varieties you’re growing, what harvesting tips you’ve discovered, and what delicious dishes you’re creating with your homegrown okra. Post your photos and stories on social media using #HomegrownOkra and #DIYHarvesting. We can’t wait to see what you’re growing!
Frequently Asked Questions (FAQs)
What happens if I leave the okra pods on the plant too long?
Leaving okra pods on the plant for too long is a common mistake that many gardeners make. When okra pods mature beyond their ideal harvesting size (typically 3-4 inches for most varieties), they become tough, woody, and less palatable. The plant also redirects its energy into seed production, which can reduce the overall yield of the plant. Regularly harvesting your okra at the right size encourages the plant to continue producing new pods.
How often should I harvest my okra?
Okra is a fast-growing vegetable, and you’ll likely need to harvest it every one to two days during peak season. Check your plants daily for pods that are ready to be picked. Consistent harvesting is key to maintaining a steady supply of tender okra.
What is the best way to store freshly harvested okra?
To keep your freshly harvested okra at its best, store it unwashed in a perforated plastic bag in the refrigerator. This will help maintain humidity and prevent the okra from drying out. Use the okra within 3-5 days for optimal flavor and texture. You can also freeze okra for longer storage. Blanch the pods for 2-3 minutes in boiling water, then plunge them into ice water to stop the cooking process. Drain well, pack into freezer bags, and freeze for up to 8 months.
Why is my okra plant not producing any pods?
There are several reasons why your okra plant might not be producing pods. Insufficient sunlight is a common culprit. Okra needs at least 6-8 hours of direct sunlight per day to thrive. Poor soil fertility can also hinder pod production. Amend your soil with compost or a balanced fertilizer before planting and throughout the growing season. Overwatering or underwatering can also stress the plant and reduce yields. Ensure the soil is consistently moist but not waterlogged. Finally, some okra varieties are slower to mature than others. Check the seed packet or plant tag for information on the expected time to harvest.
How do I know when okra is overripe?
Overripe okra pods will be noticeably larger, tougher, and more fibrous than tender pods. The pods may also start to turn yellow or brown. If you try to bend an overripe pod, it will be stiff and resistant, whereas a tender pod will snap easily. While overripe okra isn’t ideal for eating fresh, you can still use the seeds for planting next year or add the pods to compost.
Can I eat okra leaves?
Yes, okra leaves are edible and nutritious! They have a mild, slightly mucilaginous flavor similar to okra pods. Young, tender leaves are best for eating raw in salads or sandwiches. Older leaves can be cooked like spinach or other leafy greens. Okra leaves are a good source of vitamins A and C, as well as fiber and antioxidants.
What are some common pests and diseases that affect okra?
Common pests that affect okra include aphids, flea beetles, and stink bugs. These pests can damage the leaves and pods, reducing yields. Control pests by handpicking them off the plants, using insecticidal soap, or introducing beneficial insects like ladybugs. Common diseases that affect okra include powdery mildew and Fusarium wilt. Prevent diseases by providing good air circulation, avoiding overhead watering, and using disease-resistant varieties.
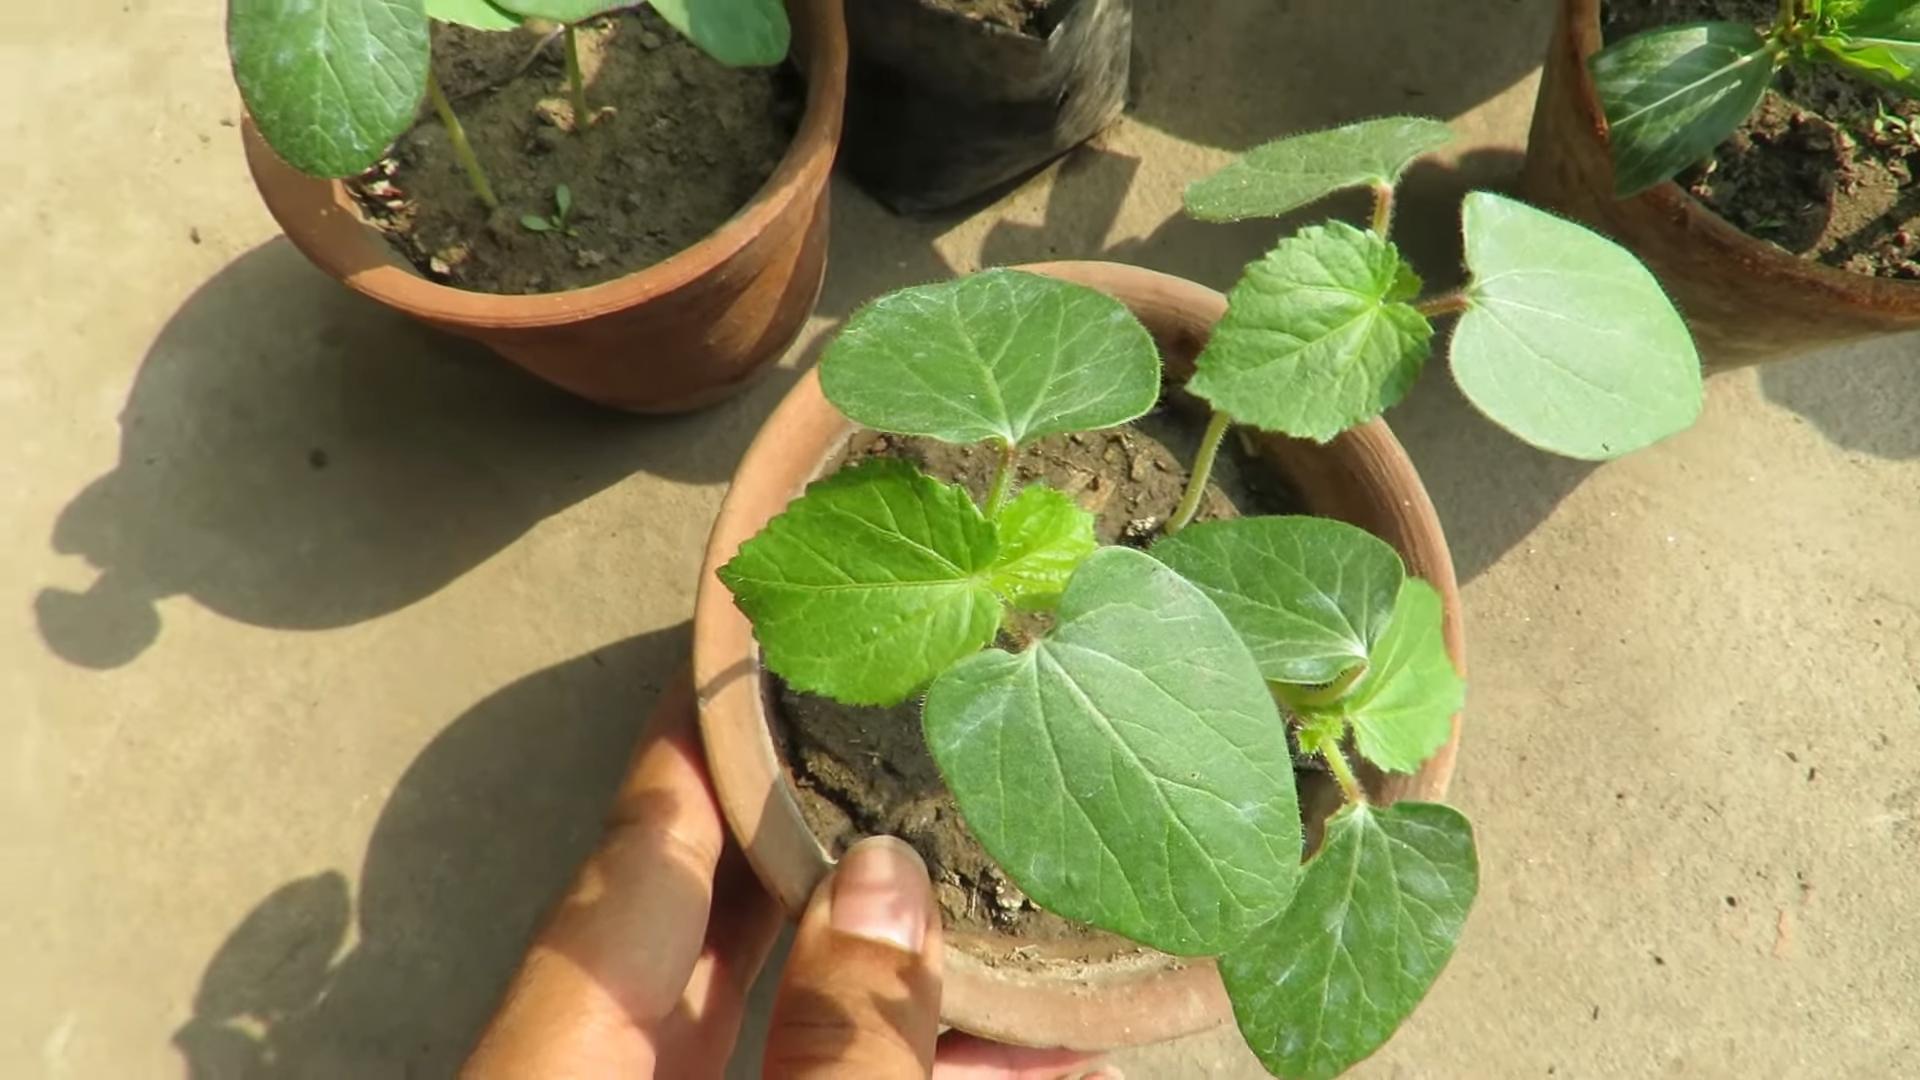
Is okra easy to grow in containers?
Yes, okra can be successfully grown in containers, especially dwarf varieties. Choose a large container (at least 10 gallons) with good drainage. Use a high-quality potting mix and provide plenty of sunlight and water. Fertilize regularly to ensure the plant has the nutrients it needs to produce pods. Container-grown okra may require more frequent watering than okra grown in the ground.
What are some good companion plants for okra?
Companion planting can help improve the health and yield of your okra plants. Good companion plants for okra include basil, marigolds, and peppers. Basil repels many common okra pests, while marigolds attract beneficial insects. Peppers can help deter flea beetles. Avoid planting okra near beans or cabbage, as these plants can compete for nutrients.

Leave a Comment