
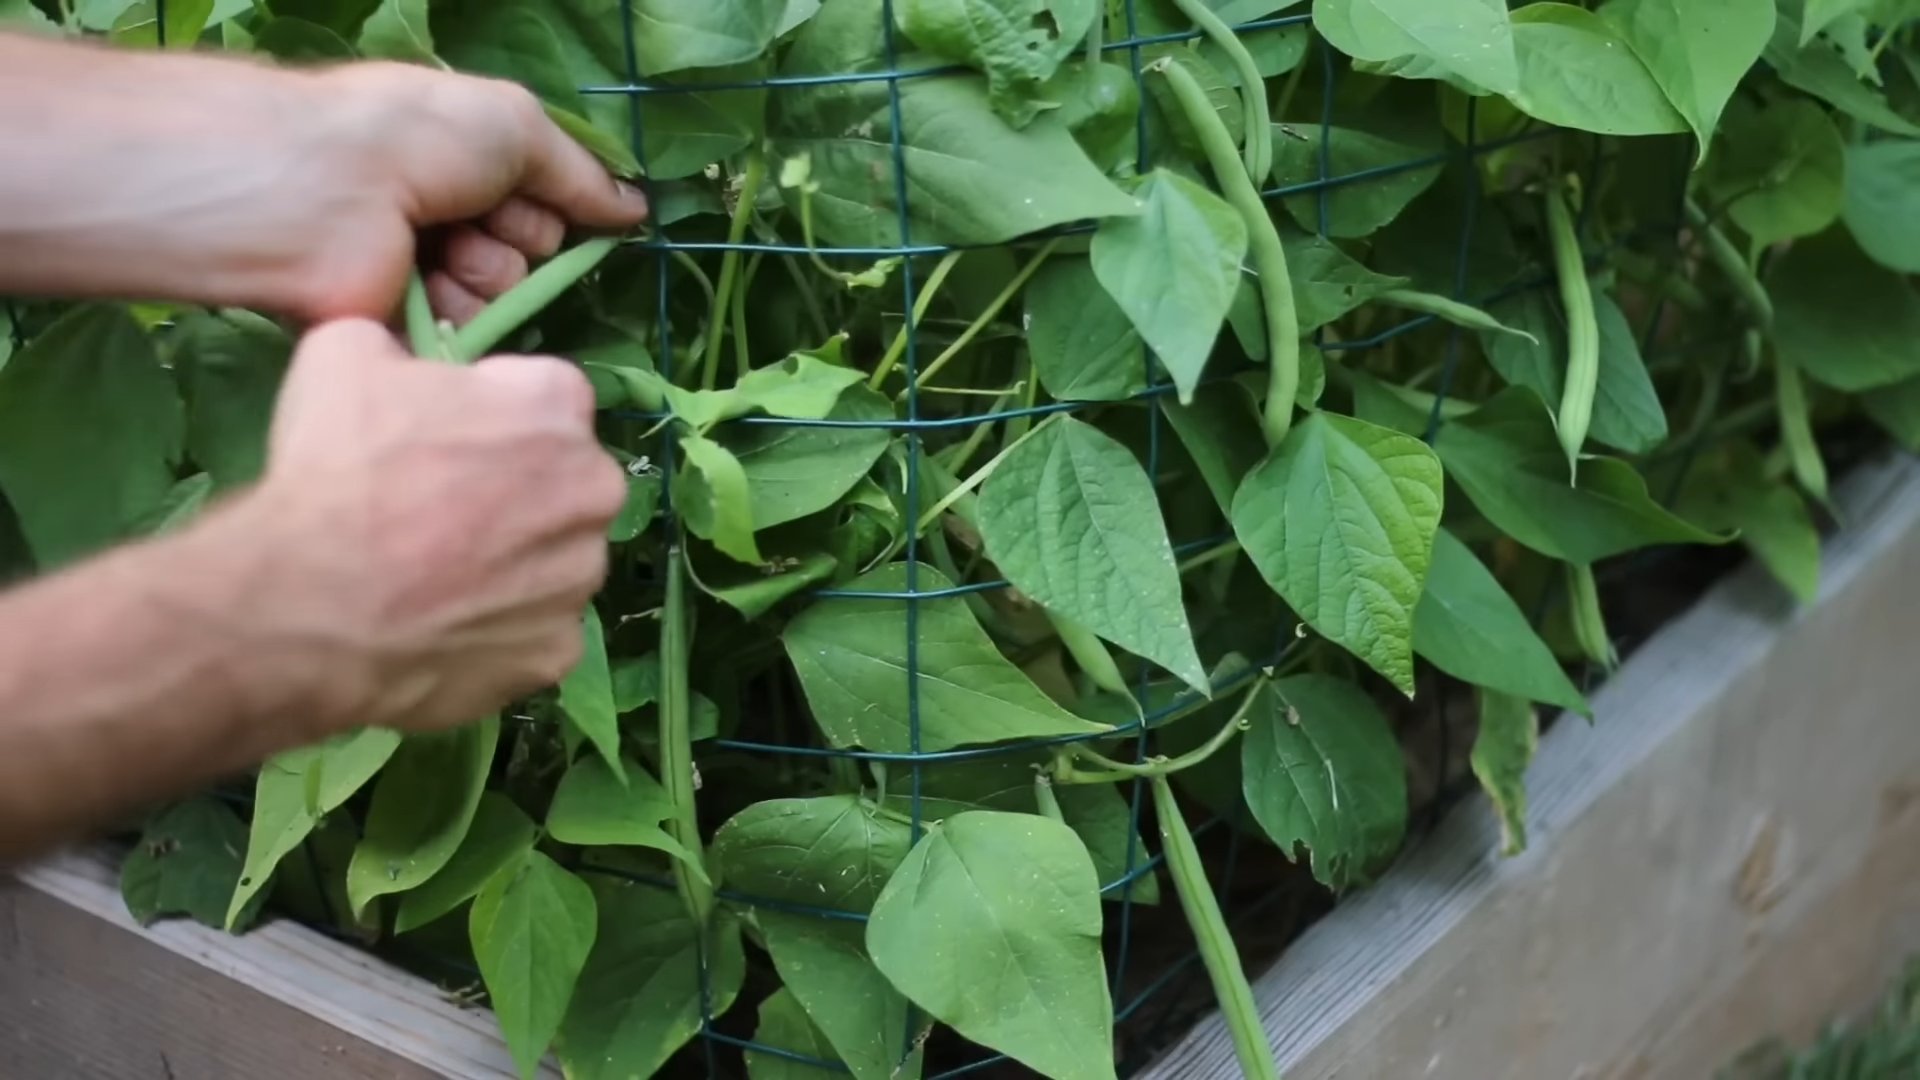
Grow Bush Beans Easily
I’ve always loved the taste of fresh, homegrown bush beans—that sweet, snap-crisp flavor you just can’t get from the supermarket. But for years, I struggled. My attempts at growing bush beans resulted in disappointing harvests, or worse, complete failures! That’s why I’m so excited to share these simple yet effective Grow Bush Beans Easily tricks and DIY solutions I’ve discovered. This article isn’t just about planting seeds; it’s about unlocking the secrets to a bountiful bean harvest, transforming your gardening experience from frustrating to fulfilling.
The history of cultivating beans is rich and fascinating, stretching back millennia. Beans have been a staple crop for countless cultures, providing essential protein and nutrients. From ancient civilizations to modern-day home gardeners, the desire to grow our own food remains a powerful connection to nature and a source of immense satisfaction. And let’s be honest, there’s nothing quite like the pride of picking your own beans straight from the vine!
Why You Need These Grow Bush Beans Easily Tips
In today’s fast-paced world, many of us crave a connection to nature and a healthier lifestyle. Growing your own food, even something as seemingly simple as bush beans, offers a tangible way to achieve both. These Grow Bush Beans Easily techniques will help you overcome common challenges, maximizing your yield and minimizing your effort. Whether you’re a seasoned gardener or a complete beginner, you’ll find practical advice and innovative DIY solutions to help you cultivate a thriving bean patch. Imagine the joy of enjoying fresh, flavorful beans all summer long—all thanks to your own green thumb!
Growing Strawberries at Home: A Complete DIY Guide
So you want to grow your own delicious strawberries? It’s easier than you think! Follow these steps and you’ll be enjoying homegrown berries in no time.
Choosing Your Strawberries and Planting Method
- Select your strawberry plants: You have a few choices here. You can buy strawberry plants from a local nursery or garden center. These are usually already established and will produce fruit faster. Alternatively, you can start from seeds, but this takes longer and requires more patience. June-bearing varieties produce a large crop once a year, everbearing varieties produce smaller crops throughout the growing season, and day-neutral varieties produce fruit continuously throughout the growing season. Consider your climate and desired harvest time when making your selection.
- Decide on your planting method: You can plant your strawberries directly in the ground, in raised beds, or even in containers. Containers are great for smaller spaces or if you have poor soil quality. Raised beds offer excellent drainage and soil control. Direct ground planting is ideal if you have ample space and good soil.
Preparing Your Planting Area
1. Choose a sunny spot: Strawberries need at least 6-8 hours of sunlight per day. Find a location in your yard that receives plenty of sun. A south-facing location is usually ideal in the Northern Hemisphere.
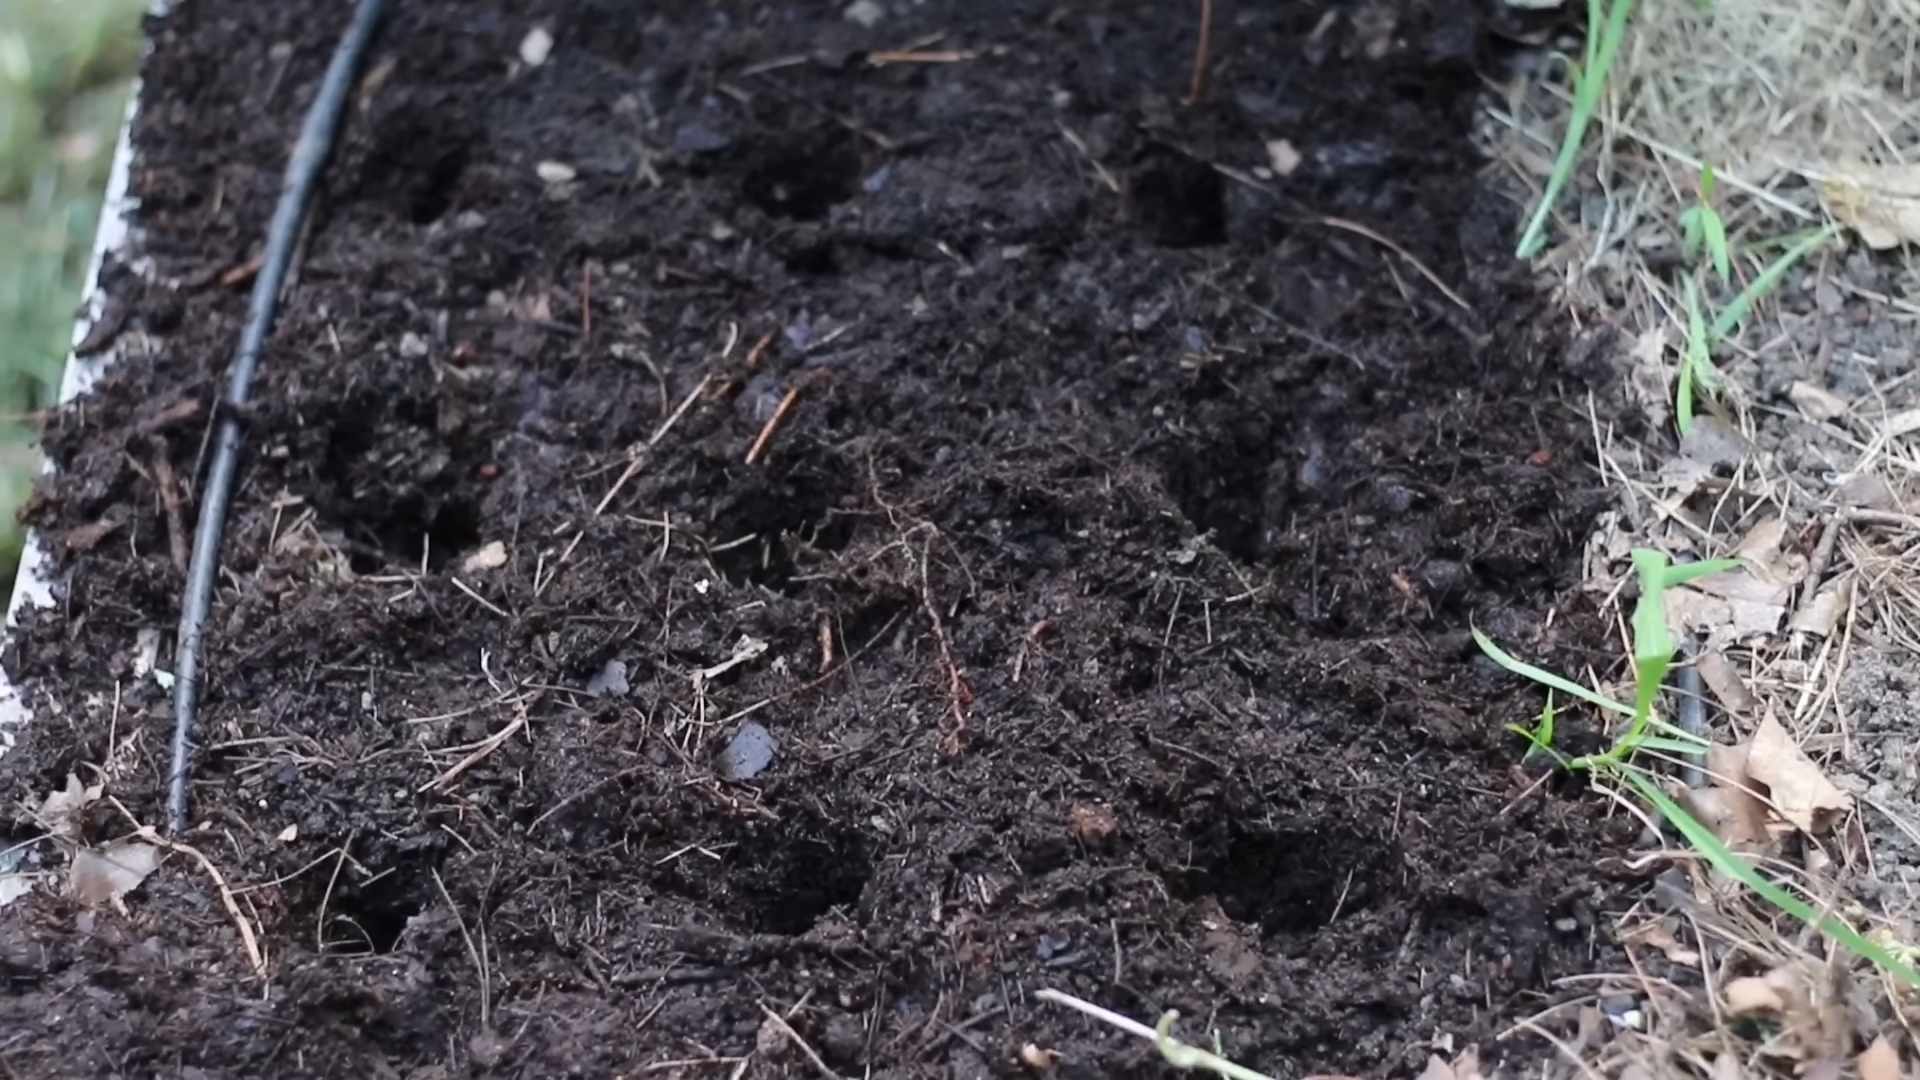
2. Prepare the soil: Strawberries thrive in well-drained soil that’s rich in organic matter. Test your soil’s pH; strawberries prefer a slightly acidic pH between 6.0 and 6.8. If your soil is too alkaline, you can amend it with peat moss or sulfur. If it’s too acidic, add lime. I like to till the soil to a depth of about 12 inches to loosen it up and improve drainage. Incorporate plenty of compost or aged manure to enrich the soil.
3. Amend the soil (if necessary): Based on your soil test, add the necessary amendments to adjust the pH and improve soil structure. Mix them thoroughly into the soil.
4. Prepare your containers or raised beds (if using): If you’re using containers, choose ones that are at least 12 inches deep and have drainage holes. For raised beds, build them to a height of at least 12 inches and ensure good drainage. Fill them with the prepared soil mix.
Planting Your Strawberry Plants
1. Dig planting holes: Dig holes that are slightly larger than the root ball of your strawberry plants. Space the plants about 12-18 inches apart, depending on the variety. For June-bearing varieties, space them further apart.
2. Plant the strawberries: Gently remove the strawberry plants from their containers, being careful not to damage the roots. Place the plants in the holes, ensuring the crown (the point where the leaves meet the roots) is at or slightly above the soil surface. Don’t bury the crown too deep, as this can lead to rotting.
3. Backfill the holes: Gently fill the holes with soil, firming it around the roots to eliminate air pockets.
4. Water thoroughly: After planting, water the strawberries deeply to help settle the soil and encourage root growth.
Ongoing Care and Maintenance
1. Watering: Strawberries need consistent moisture, especially during dry periods. Water deeply and regularly, aiming for about 1 inch of water per week. Avoid overhead watering, as this can lead to fungal diseases. Instead, use drip irrigation or a soaker hose.
2. Mulching: Applying a layer of mulch, such as straw or shredded leaves, around the plants helps retain moisture, suppress weeds, and regulate soil temperature. Keep the mulch away from the crown of the plants to prevent rot.
3. Fertilizing: Feed your strawberry plants with a balanced fertilizer in early spring and again after the first harvest. Follow the instructions on the fertilizer package for the correct application rate. Avoid over-fertilizing, as this can lead to excessive foliage growth at the expense of fruit production.
4. Weed control: Regularly remove weeds from around the plants to prevent competition for nutrients and water. Mulching helps significantly with weed control.
5. Pest and disease control: Regularly inspect your plants for signs of pests or diseases. Address any problems promptly using appropriate organic or chemical controls. Good air circulation helps prevent fungal diseases.
6. Winter protection (if necessary): In colder climates, you may need to protect your strawberry plants from freezing temperatures. You can do this by covering them with a layer of mulch or row cover.
Harvesting Your Strawberries
1. Harvest at the right time: Strawberries are ready for harvest when they are fully ripe and a deep red color. They should be firm and slightly fragrant.
2. Harvest gently: Gently pull the ripe strawberries from the plant, leaving the green berries to ripen. Avoid damaging the plant or the remaining berries.
3. Enjoy your homegrown strawberries! You can eat them fresh, make jam, or use them in other recipes.
Troubleshooting Common Problems
Problem: Yellowing leaves
Possible causes: Nutrient deficiencies, overwatering, or underwatering.
Solutions: Test your soil’s pH and nutrient levels. Adjust watering accordingly. Apply a balanced fertilizer if necessary.
Problem: Small or deformed berries
Possible causes: Lack of pollination, nutrient deficiencies, or pest damage.
Solutions: Ensure adequate pollination by planting bee-attracting flowers nearby. Address any nutrient deficiencies or pest problems.
Problem: Rotting fruit
Possible causes: Overwatering, poor drainage, or fungal diseases.
Solutions: Improve drainage. Avoid overhead watering. Remove affected berries and apply an appropriate fungicide if necessary.
Problem: Pest infestations
Possible causes: Various insects, such as aphids, spider mites, or slugs.
Solutions: Identify the pest and use appropriate control methods, such as insecticidal soap or neem oil. Encourage beneficial insects like ladybugs.
With a little patience and care, you’ll be enjoying the sweet taste of homegrown strawberries for years to come!
Conclusion
So there you have it! Our guide to growing bush beans easily. This DIY method, focusing on simple techniques and readily available materials, offers a rewarding experience for gardeners of all levels. You’ll be amazed at how quickly and easily you can cultivate a bountiful harvest of delicious, homegrown bush beans. This isn’t just about saving money on groceries; it’s about connecting with nature, understanding the growth cycle of a plant, and enjoying the unparalleled taste of fresh-from-the-garden beans. The satisfaction of nurturing a seed into a thriving plant, bursting with plump, juicy beans, is truly unmatched. This simple, yet effective, approach to bush bean cultivation makes it accessible to everyone, regardless of experience or available space. Whether you have a sprawling garden or just a small balcony, you can successfully grow your own bush beans using these techniques.
Beyond the basic method outlined, there’s plenty of room for experimentation and customization. Consider trying different varieties of bush beans to discover your favorites – from the classic green beans to yellow wax beans or even the intriguing purple pole beans. Experiment with companion planting; marigolds, for example, are known to deter pests that might affect your bean plants. You can also adjust the planting density based on your space and the specific variety you choose. Remember to always check the seed packet for specific instructions regarding spacing. For those with limited space, consider vertical gardening techniques, using trellises or stakes to support the plants and maximize your yield. And don’t be afraid to get creative! Experiment with different soil amendments to optimize your soil’s health and nutrient content.
Ultimately, the most important thing is to get out there and try it! Growing your own bush beans is a rewarding and surprisingly simple process. We encourage you to embark on this gardening adventure and experience the joy of harvesting your own fresh, flavorful beans. Share your experiences with us – we’d love to hear about your successes (and even your challenges!). Post pictures of your thriving bean plants and your delicious harvests on social media using #GrowBushBeansEasily. Let’s build a community of home gardeners, sharing tips, tricks, and the satisfaction of a successful harvest. Remember, even small successes contribute to a larger sense of accomplishment and connection to the natural world. So grab some seeds, get your hands dirty, and enjoy the journey of growing your own bush beans! You won’t regret it.
Frequently Asked Questions
What type of soil is best for growing bush beans?
Bush beans thrive in well-drained, loose soil that is rich in organic matter. Amend heavy clay soils with compost or other organic materials to improve drainage and aeration. Sandy soils may benefit from the addition of peat moss or other organic matter to retain moisture. A slightly acidic to neutral pH (6.0-7.0) is ideal. Testing your soil’s pH using a home soil testing kit is recommended to ensure optimal conditions for your bean plants.
How much sunlight do bush beans need?
Bush beans are sun-loving plants and require at least six to eight hours of direct sunlight per day to flourish. Choose a location in your garden that receives ample sunlight throughout the day. Insufficient sunlight can lead to reduced yields and weaker plants. Observe your garden throughout the day to identify the sunniest areas.
When is the best time to plant bush beans?
The best time to plant bush beans depends on your climate. In most regions, bush beans can be planted after the last frost, when soil temperatures are consistently above 60°F (15°C). You can even start seeds indoors several weeks before the last frost to get a head start on the growing season. Check your local frost dates to determine the optimal planting time for your area. Successive plantings, every two to three weeks, can extend your harvest throughout the summer.
How often should I water my bush beans?
Consistent watering is crucial for healthy bush bean plants. Aim to keep the soil consistently moist, but not waterlogged. Water deeply and less frequently, rather than shallowly and often. The frequency of watering will depend on your climate and soil conditions. During hot, dry periods, you may need to water daily, while in cooler, wetter conditions, watering every other day or even less frequently may suffice. Observe the soil moisture level regularly to determine when watering is necessary. Mulching around the plants can help retain soil moisture and reduce the frequency of watering.
What are some common pests and diseases that affect bush beans?
Bush beans can be susceptible to various pests and diseases, including aphids, bean beetles, and fungal diseases like anthracnose and powdery mildew. Regularly inspect your plants for signs of pests or diseases. Implementing preventative measures, such as crop rotation and companion planting, can help minimize pest and disease problems. Organic pest control methods, such as insecticidal soap or neem oil, can be effective against many common pests. For fungal diseases, ensuring good air circulation and avoiding overhead watering can help prevent infection. If problems persist, consult your local garden center or agricultural extension office for advice on appropriate treatment options.
What should I do with my harvested bush beans?
Freshly harvested bush beans are best enjoyed immediately. However, you can also store them in the refrigerator for a few days. Snap off the ends of the beans and store them in a plastic bag or container lined with paper towels to absorb excess moisture. For longer storage, you can freeze or can your bush beans. Freezing preserves the beans’ flavor and texture, while canning allows for longer-term storage. Numerous online resources provide detailed instructions on freezing and canning bush beans. Experiment with different recipes to enjoy your homegrown harvest!

Leave a Comment