
Smart Sponge Cleaning Hacks
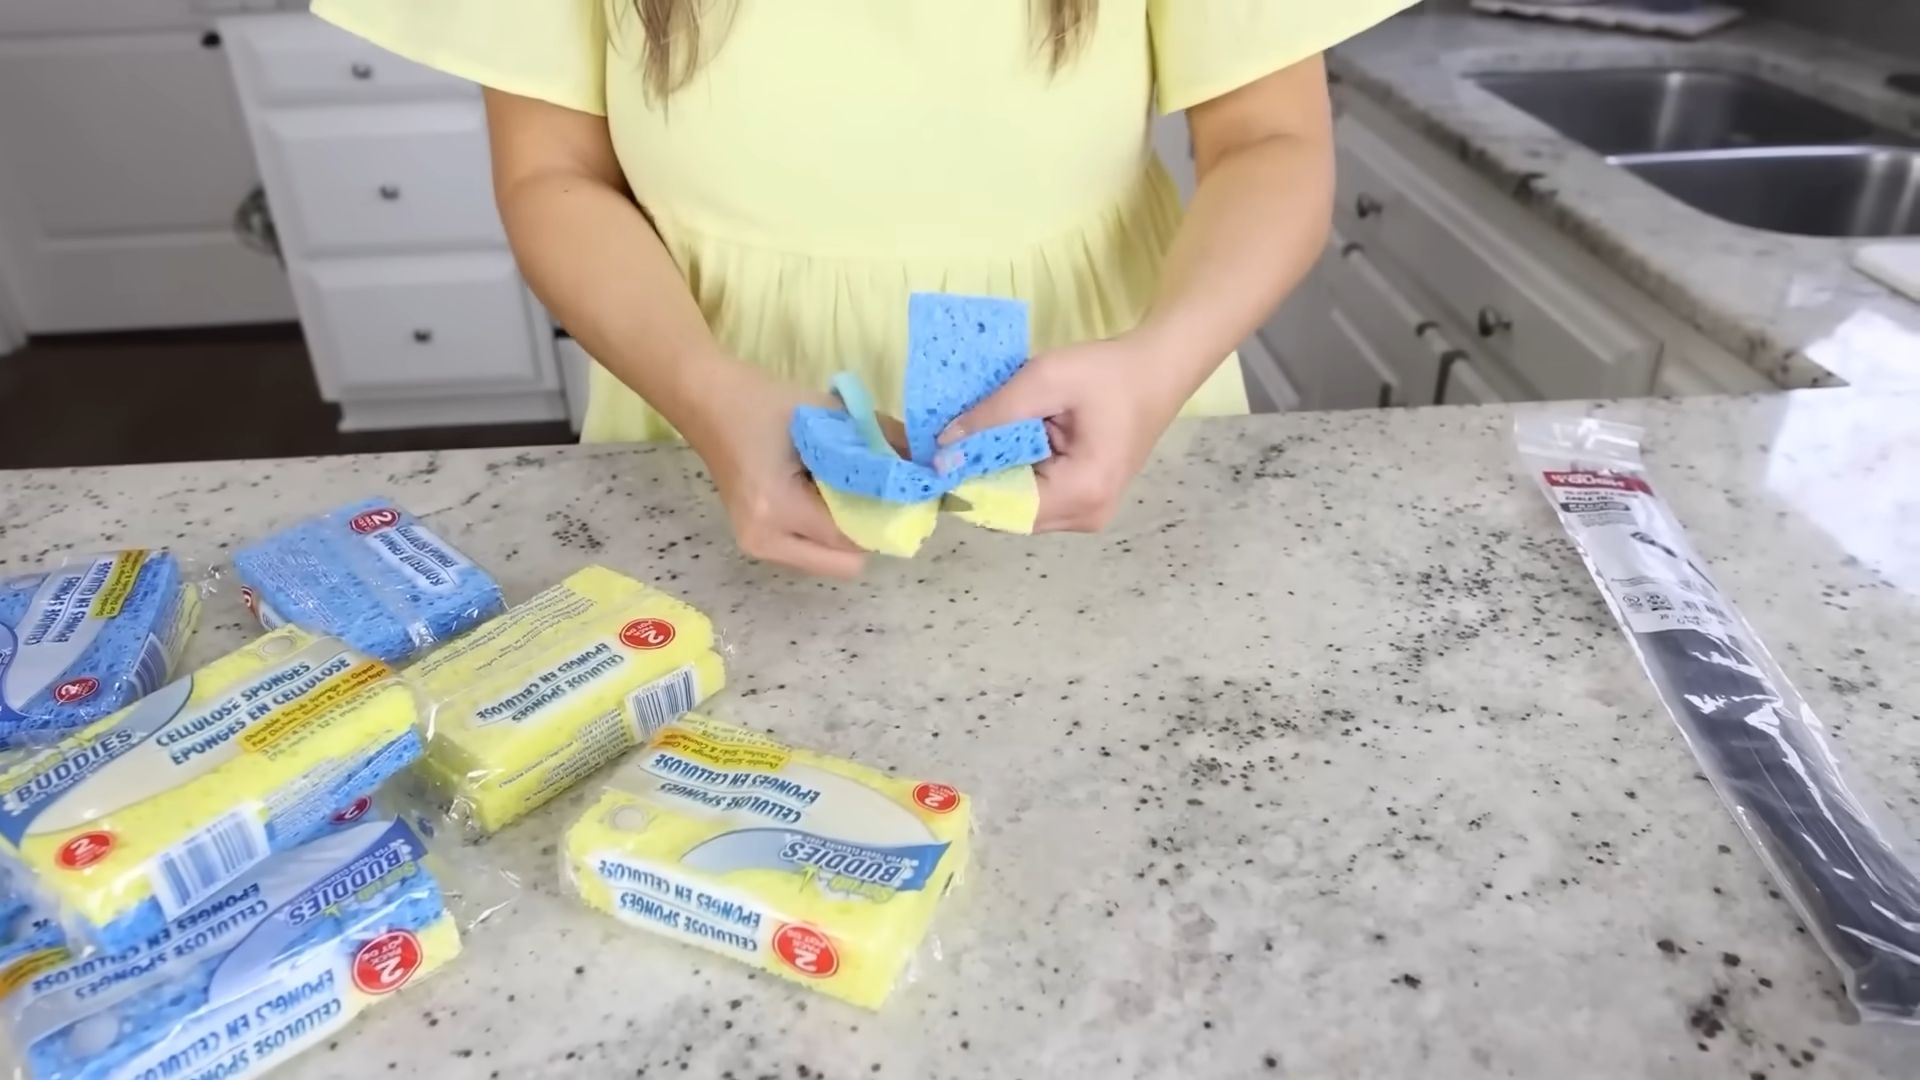
I’ve always loved the satisfaction of a truly clean home, but let’s be honest, cleaning can be a chore! That’s why I’m so excited to share some smart sponge cleaning hacks with you – clever tricks and DIY solutions that will make your cleaning routine easier, faster, and more effective. Forget battling stubborn grime with harsh chemicals and endless scrubbing; these smart sponge cleaning hacks are your secret weapons for a sparkling clean house.
The humble sponge: a seemingly simple tool with a surprisingly rich history. From the earliest sea sponges used for centuries in bathing and cleaning, to the synthetic versions we use today, the sponge has played a vital role in maintaining hygiene across cultures and throughout time. But even with modern advancements, knowing how to properly clean and care for your sponges is crucial for maintaining a truly sanitary home.
Why are these DIY tricks so important? Well, dirty sponges are breeding grounds for bacteria, which can lead to illness and unpleasant odors. Replacing sponges frequently can be expensive, and let’s face it, sometimes we just forget! These smart sponge cleaning hacks will help you extend the life of your sponges, keeping them clean and hygienic for longer, saving you money and reducing waste. You’ll learn how to sanitize your sponges effectively, removing lingering bacteria and odors, leaving your kitchen and bathroom sparkling.
Ready to transform your cleaning routine? Let’s dive in!
Building a Custom Bookshelf from Reclaimed Wood
I love the look of reclaimed wood, and I’ve always wanted a unique bookshelf. So, I decided to build my own! This project took a bit of time, but the result is a beautiful, one-of-a-kind piece of furniture that I’m incredibly proud of. Here’s how I did it.
Gathering Your Materials
- Reclaimed wood planks (I used about 10, varying in width and length – aim for a mix of interesting textures and colors!)
- Wood glue
- Wood screws (various lengths, depending on the thickness of your planks)
- Wood filler
- Sandpaper (various grits, starting with coarser and moving to finer)
- Wood stain (your choice of color – I went with a dark walnut)
- Polyurethane sealant (to protect the finish)
- Measuring tape
- Level
- Drill with drill bits (matching your screw sizes)
- Safety glasses
- Work gloves
- Clamps (lots of them!)
- Putty knife
- Paintbrushes (for stain and sealant)
- Drop cloths or old newspapers to protect your work area
Preparing the Wood
1. Clean the wood: Before you start, thoroughly clean your reclaimed wood planks. I used a stiff brush and some soapy water to remove any dirt, grime, or loose debris. Let them dry completely. This step is crucial for a good bond with the stain and sealant later on.
2. Assess and cut: Once dry, lay out your planks to visualize your bookshelf design. I wanted a slightly asymmetrical look, so I didn’t worry about making everything perfectly even. Measure and cut the planks to your desired lengths using a saw (a circular saw works well, but a hand saw is fine if you’re patient). Remember to always wear safety glasses when using power tools!
3. Sanding is key: Sand each plank thoroughly, starting with a coarser grit sandpaper (around 80 grit) to remove any rough spots or splinters. Gradually move to finer grits (120, then 220) for a smoother finish. This step is essential for a professional-looking final product. Take your time; it’s worth the effort!
Assembling the Bookshelf
1. Apply glue and clamp: Start assembling your bookshelf by applying a generous amount of wood glue to the ends of the planks where they will meet. I found it helpful to work in sections, building up the shelves one at a time. Use clamps to hold the pieces firmly together while the glue dries. Make sure the planks are aligned and level. I used a lot of clamps – more than I initially thought I’d need!
2. Secure with screws: Once the glue has set (check the glue’s instructions for drying time), reinforce the joints by drilling pilot holes and screwing the planks together. Use screws that are long enough to go through the thickness of the planks and provide a secure hold. Pre-drilling the pilot holes prevents the wood from splitting.
3. Fill any gaps: After screwing everything together, you might notice some small gaps between the planks. Don’t worry, this is normal with reclaimed wood. Use wood filler to fill these gaps, smoothing it out with a putty knife. Let the filler dry completely before sanding it down smooth.
4. Final sanding: Once the wood filler is dry, give the entire bookshelf another thorough sanding. This will ensure a smooth surface for staining and sealing. Pay close attention to any areas where the wood filler was applied.
Finishing Touches
1. Apply wood stain: Once the bookshelf is sanded and clean, apply your chosen wood stain according to the manufacturer’s instructions. I used a dark walnut stain, applying two thin coats with a brush, allowing each coat to dry completely before applying the next. Work in the direction of the wood grain for a more even finish.
2. Seal the wood: After the stain has dried, apply a few coats of polyurethane sealant. This will protect the wood from moisture and scratches, extending the life of your bookshelf. Again, let each coat dry completely before applying the next. I used a satin finish polyurethane, which gave the wood a nice sheen without being too glossy.
3. Let it cure: Allow the sealant to cure completely before placing any books on the shelves. This usually takes a few days, depending on the type of sealant you used. Check the manufacturer’s instructions for the recommended curing time.
Tips and Tricks
Choosing Reclaimed Wood:
The beauty of reclaimed wood is its unique character. Look for planks with interesting textures, knots, and variations in color. Don’t be afraid to mix and match different types of wood for a truly one-of-a-kind look.
Working with Uneven Planks:
Reclaimed wood is often uneven in thickness and width. This adds to its charm, but it can also make assembly a bit more challenging. Use clamps strategically to ensure that the planks are aligned and level. Don’t be afraid to adjust your design as you go to accommodate the unique characteristics of your wood.
Safety First:
Always wear safety glasses and work gloves when working with power tools and wood. Work in a well-ventilated area when using stain and sealant.
Enjoy Your New Bookshelf!
Building this bookshelf was a rewarding experience. I loved the process of transforming reclaimed wood into a functional and beautiful piece of furniture. I hope this guide inspires you to create your own unique bookshelf!

Conclusion
So there you have it! Our collection of smart sponge cleaning hacks has armed you with a range of techniques to revitalize your sponges and keep your kitchen sparkling. From tackling stubborn grease and grime to banishing those persistent odors, these methods offer a simple, effective, and eco-friendly alternative to constantly replacing your sponges. By implementing these DIY tricks, you’re not only saving money but also reducing waste and contributing to a more sustainable lifestyle. This isn’t just about clean sponges; it’s about a cleaner, greener kitchen and a more responsible approach to household chores. The time and effort invested are minimal, and the rewards – sparkling dishes and a cleaner conscience – are immeasurable.
Don’t be afraid to experiment! Try combining different methods to find what works best for your sponge type and the level of soiling. For instance, you could pre-treat heavily soiled sponges with baking soda before microwaving or boiling them. If you have particularly delicate sponges, opt for the gentler methods like soaking in vinegar or lemon juice. Feel free to adjust the soaking times depending on the stubbornness of the stains. And remember, regular cleaning is key to preventing the buildup of bacteria and odors, so aim to incorporate these hacks into your routine cleaning schedule.
Beyond the specific techniques outlined, the overarching message is this: your sponges are a valuable resource, and with a little care and attention, they can last much longer than you might think. By embracing these smart sponge cleaning hacks, you’re not only extending the lifespan of your sponges but also enhancing the overall cleanliness and hygiene of your kitchen. It’s a win-win situation for your wallet, your environment, and your peace of mind.
We strongly encourage you to try these smart sponge cleaning hacks and share your experiences with us! Let us know which method worked best for you, any variations you experimented with, and any additional tips you’ve discovered. Your feedback will help others discover the joy and efficiency of these simple yet powerful cleaning techniques. Join the conversation and let’s build a community of smart, sustainable cleaners together!
Frequently Asked Questions
Q: How often should I clean my sponges?
Ideally, you should clean your sponges daily, or at least after each major cleaning session. This prevents the buildup of bacteria and food particles. However, even with daily cleaning, a more thorough deep clean using one of the methods described above should be performed at least once a week, or more frequently if your sponges are heavily soiled.
Q: Can I use these methods on all types of sponges?
Most of these methods are suitable for various sponge types, including cellulose sponges, microfiber sponges, and even some natural sea sponges. However, always check the manufacturer’s instructions for your specific sponge before using high heat methods like microwaving or boiling. Delicate sponges might benefit more from the gentler soaking methods using vinegar or lemon juice.
Q: What if my sponge still smells bad after trying these methods?
If the odor persists even after trying multiple cleaning methods, it’s likely time to replace your sponge. Persistent odors often indicate a deep-seated bacterial buildup that’s difficult to eliminate. While these smart sponge cleaning hacks are highly effective, they aren’t a miracle cure for severely contaminated sponges.
Q: Are these methods safe for the environment?
Yes, these methods are generally environmentally friendly. They utilize readily available, natural ingredients like vinegar, baking soda, and lemon juice, minimizing the use of harsh chemicals. By extending the lifespan of your sponges, you also reduce the amount of waste sent to landfills.
Q: Can I use these methods on cleaning cloths as well?
Many of these methods can be adapted for cleaning cloths, especially those made from cotton or microfiber. However, be mindful of the fabric type and avoid high heat methods that could damage delicate materials. Soaking in vinegar or lemon juice solutions, followed by thorough rinsing and air drying, is generally a safe and effective approach for cleaning cloths.
Q: What if I don’t have a microwave or a dishwasher?
Don’t worry! The methods involving soaking in vinegar or lemon juice solutions, or boiling the sponges in a pot on the stovetop, are excellent alternatives. These methods are just as effective in eliminating bacteria and odors, and they don’t require any specialized equipment.
Q: Are there any health risks associated with these methods?
The ingredients used in these smart sponge cleaning hacks are generally safe for household use. However, always ensure proper ventilation when using vinegar or lemon juice, as their strong fumes can be irritating to some individuals. Always wear gloves when handling hot water or boiling sponges to prevent burns.
Leave a Comment