
Lime Juice Cleaning Hacks
I’ve always loved the fresh, zesty scent of limes, but lately I’ve discovered something even more amazing: their incredible cleaning power! Forget harsh chemicals and expensive cleaning products; lime juice cleaning hacks are a game-changer. This isn’t just some newfangled trend; the use of citrus fruits for cleaning dates back centuries, with evidence suggesting their use in ancient civilizations for everything from brightening surfaces to deodorizing homes. It’s a natural, eco-friendly approach that’s both effective and surprisingly versatile.
In this article, I’ll share my favorite lime juice cleaning hacks, proven methods that will leave your home sparkling without the harmful chemicals. Why bother with all those store-bought cleaners when you can achieve similar, if not better, results with something as simple and readily available as a lime? You’ll save money, reduce your environmental impact, and feel good knowing you’re using a natural, non-toxic solution. Plus, the fresh scent is a bonus!
Why You Need These Lime Juice Cleaning Hacks
Whether you’re a seasoned gardener with a green thumb or a beginner just starting out, these lime juice cleaning hacks will become your new secret weapon. From tackling stubborn stains on your patio furniture to polishing your silverware, the possibilities are endless. So, let’s dive in and unlock the cleaning power of this amazing citrus fruit!
Building a Custom Bookshelf from Reclaimed Wood
I love the look of reclaimed wood, and I’ve always wanted a unique bookshelf. So, I decided to build my own! This project took a bit of time, but the result is a beautiful, one-of-a-kind piece of furniture that I’m incredibly proud of. Here’s how I did it:
Gathering Your Materials
- Reclaimed wood planks (I used about 10, varying in width and length – aim for a total length that suits your space and desired shelf height). Make sure the wood is clean and relatively dry.
- Wood glue
- Wood screws (various lengths depending on plank thickness)
- Wood filler
- Sandpaper (various grits, starting with coarser and moving to finer)
- Wood stain (your choice of color – I used a dark walnut)
- Polyurethane sealant (to protect the finish)
- Measuring tape
- Level
- Drill with drill bits (matching your screw sizes)
- Safety glasses
- Work gloves
- Clamps (helpful for holding pieces together while the glue dries)
- Putty knife
- Brushes (for stain and sealant)
- Drop cloths or newspaper to protect your work area
Preparing the Wood
1. Clean the wood: Before you start, thoroughly clean your reclaimed wood planks. I used a stiff brush and a damp cloth to remove any dirt, debris, or loose pieces of bark. Let the wood dry completely.
2. Assess and cut: Measure and cut your planks to your desired lengths. I wanted varying shelf heights, so I had a mix of lengths. Use a saw (circular saw or hand saw, depending on your comfort level and the wood’s thickness). Safety first! Always wear safety glasses when using power tools.
3. Sand the wood: Sand each plank thoroughly, starting with a coarser grit sandpaper (around 80-100 grit) to remove any rough spots or splinters. Gradually move to finer grits (120-220 grit) for a smoother finish. Sand in the direction of the wood grain for the best results. This step is crucial for a professional-looking final product. Take your time; it’s worth the effort!
Assembling the Bookshelf
1. Plan your layout: Before you start gluing and screwing, lay out your planks on the floor to visualize the final arrangement. This helps you ensure the shelves are evenly spaced and the overall look is balanced. I opted for a slightly staggered look, with some shelves slightly longer than others.
2. Apply glue and screws: Once you’re happy with the layout, start assembling the bookshelf. Apply wood glue to the ends of the planks where they will meet. Then, clamp the pieces together, ensuring they are aligned and level. Pre-drill pilot holes (slightly smaller than your screw size) to prevent the wood from splitting. Screw the planks together using appropriate-length screws. Don’t overtighten the screws!
3. Fill any gaps: After assembling, you might notice small gaps between some planks. Use wood filler to fill these gaps, smoothing it out with a putty knife. Let the wood filler dry completely according to the manufacturer’s instructions.
4. Sand again: Once the wood filler is dry, sand the entire bookshelf again, smoothing out any remaining rough spots or imperfections. This time, focus on the areas where you applied the wood filler.
Finishing the Bookshelf
1. Apply wood stain: Apply your chosen wood stain evenly to all surfaces of the bookshelf using a brush. Follow the manufacturer’s instructions for drying time. I applied two coats for a richer, more even color. Make sure to work in a well-ventilated area.
2. Apply sealant: Once the stain is completely dry, apply a coat of polyurethane sealant to protect the wood and enhance its durability. Again, follow the manufacturer’s instructions for drying time. I applied two coats of sealant, allowing each coat to dry completely before applying the next.
3. Let it cure: Allow the sealant to cure completely before placing any books on the shelves. This usually takes a few days. Patience is key here!
Optional Enhancements
- Add a back panel: For extra stability, you can add a back panel to your bookshelf. Use plywood or another suitable material.
- Incorporate different wood types: Get creative and use different types of reclaimed wood for a more eclectic look.
- Add decorative elements: Consider adding metal brackets or other decorative elements to enhance the aesthetic appeal.
- Customize the shelf spacing: Adjust the spacing between shelves to accommodate different sized books and objects.
And there you have it! Your very own custom bookshelf made from reclaimed wood. Enjoy the process and the beautiful, unique piece you’ve created!
Conclusion
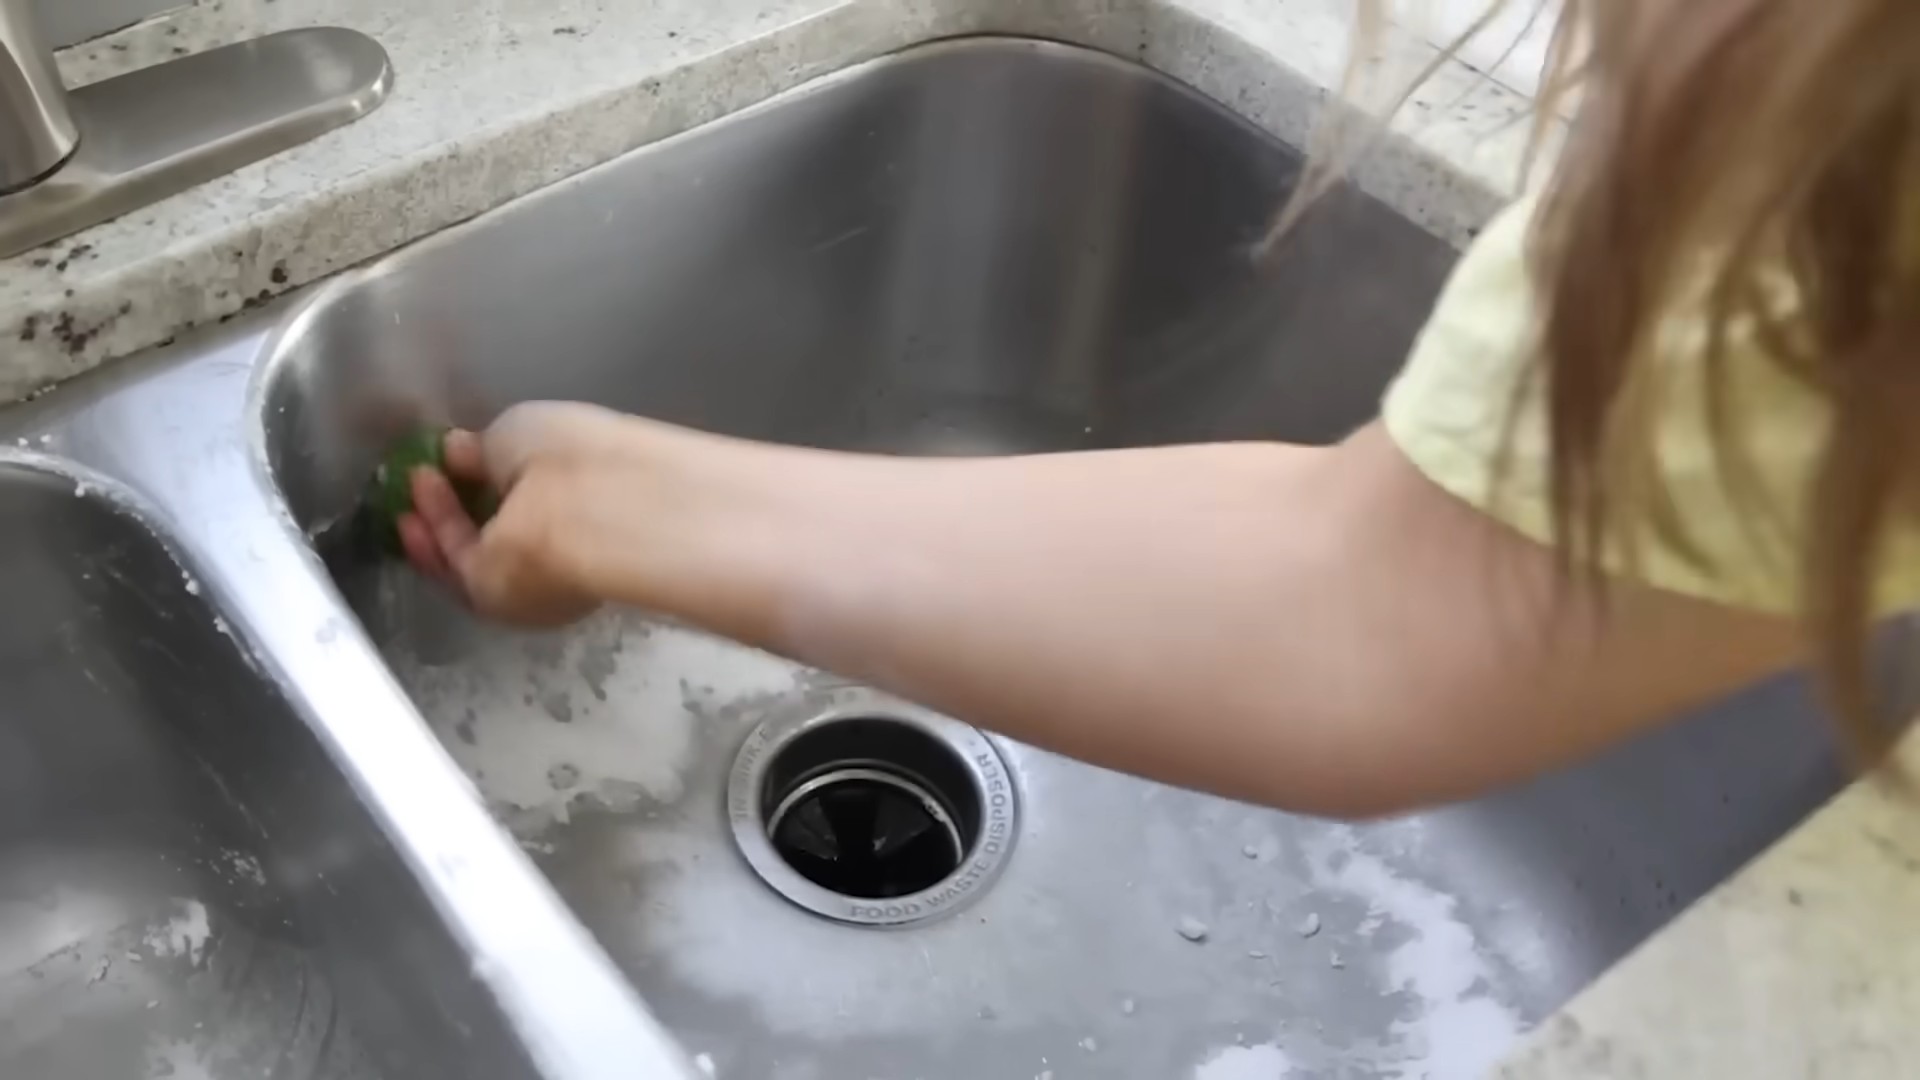
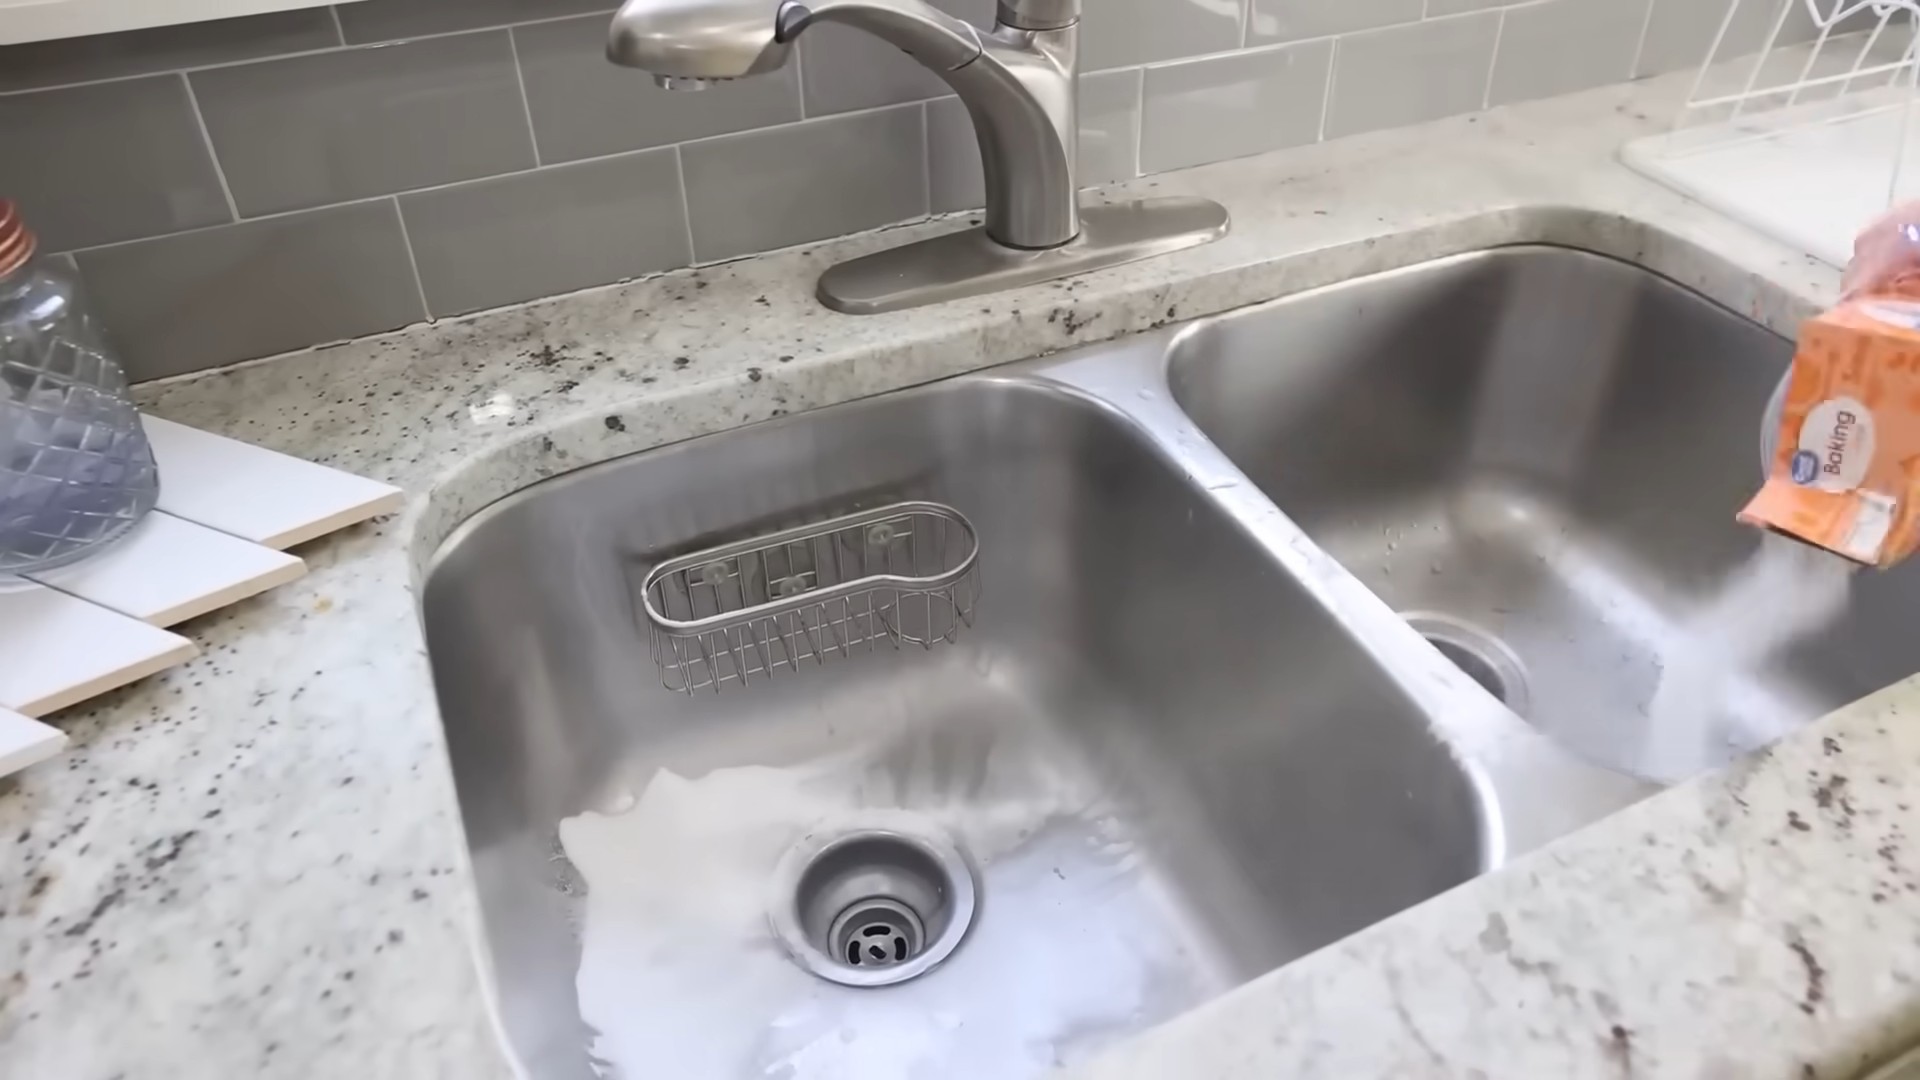
So there you have it – a comprehensive guide to unlocking the incredible cleaning power of lime juice! This simple, natural, and surprisingly effective DIY cleaning solution is a must-try for anyone looking to ditch harsh chemicals and embrace a more eco-friendly approach to household cleaning. From tackling stubborn stains on cutting boards to leaving your kitchen sparkling, the versatility of lime juice is truly remarkable. We’ve shown you how it can effortlessly remove grime, disinfect surfaces, and even leave behind a fresh, citrusy scent. This lime juice cleaning hack is not just about cleanliness; it’s about creating a healthier and more sustainable home environment. The cost-effectiveness is another significant advantage, making it a budget-friendly alternative to expensive commercial cleaners.
Beyond the specific applications we’ve detailed, the possibilities are endless. Experiment with different combinations! Try adding a touch of baking soda to create a gentle scrubbing paste for particularly stubborn stains. For a more potent disinfectant, consider combining lime juice with white vinegar. The ratio can be adjusted to your preference; a 1:1 mixture is a good starting point. You can also experiment with essential oils to customize the scent. A few drops of tea tree oil, for instance, can add an extra layer of antimicrobial power. Remember to always test any new mixture on a small, inconspicuous area first to ensure it doesn’t damage the surface.
Don’t be afraid to get creative and adapt these techniques to your specific cleaning needs. Whether you’re tackling a greasy stovetop, cleaning your microwave, or brightening up your bathroom fixtures, lime juice offers a natural and effective solution. This is more than just a cleaning hack; it’s a lifestyle choice. It’s about embracing simple, sustainable solutions that are good for your home and good for the planet.
We strongly encourage you to try these lime juice cleaning hacks and share your experiences with us! Let us know which applications worked best for you, what variations you experimented with, and any other tips you’ve discovered. Your feedback will help inspire others to embrace the power of natural cleaning. Join the growing community of eco-conscious cleaners and help spread the word about the amazing cleaning potential of this readily available citrus fruit. Let’s make our homes cleaner, healthier, and more sustainable, one lime at a time!
Frequently Asked Questions
What types of surfaces are safe to clean with lime juice?
Lime juice is generally safe for use on most non-porous surfaces such as countertops (granite, marble, etc. – always test in an inconspicuous area first!), glass, stainless steel, and porcelain. However, it’s crucial to avoid using it on delicate surfaces like polished wood or certain types of stone that could be etched by the acid. Always test a small, inconspicuous area first before applying it to a larger surface.
Will lime juice damage my cutting board?
For wooden cutting boards, lime juice is generally safe, but it’s important to rinse thoroughly and allow it to dry completely to prevent any potential damage from prolonged exposure to the acid. For plastic cutting boards, lime juice is usually fine, but again, always test a small area first.
How often can I use lime juice as a cleaning agent?
You can use lime juice as a cleaning agent as often as needed. Its natural properties make it a safe and sustainable alternative to harsh chemicals. However, for heavily soiled areas, you might need to combine it with other cleaning agents or repeat the process.
Does lime juice disinfect as well as commercial cleaners?
While lime juice possesses natural antimicrobial properties, its disinfecting power might not be as strong as some commercial disinfectants. For optimal disinfection, consider combining lime juice with white vinegar or using a separate, proven disinfectant after cleaning with lime juice.
Can I use lime juice on fabrics?
Lime juice is not recommended for use on fabrics, as it can potentially bleach or stain certain materials. It’s best to stick to dedicated fabric cleaners for clothing and upholstery.
What should I do if I accidentally get lime juice in my eyes?
If lime juice gets in your eyes, immediately flush them with plenty of cool, clean water for at least 15 minutes. Seek medical attention if irritation persists.
Can I store my lime juice cleaning solution?
Yes, you can store your lime juice cleaning solution in an airtight container in the refrigerator for up to a week. However, it’s best to prepare fresh solution for each cleaning session to ensure maximum effectiveness.
Are there any health risks associated with using lime juice as a cleaner?
Lime juice is generally safe to use as a cleaner, but it’s important to avoid contact with eyes and skin. Always wear gloves if you have sensitive skin. If you experience any adverse reactions, discontinue use and consult a doctor.
What are some other uses for leftover lime juice?
Don’t throw away leftover lime juice! It can be used in cooking, added to drinks, or even used as a natural hair rinse to add shine and condition.
Where can I find more information on natural cleaning methods?
There are many online resources and books available that provide detailed information on natural cleaning methods and recipes. A quick search for “natural cleaning solutions” or “eco-friendly cleaning” will yield a wealth of information.
Leave a Comment