
Growing Kale in a Bottle: Sounds a little crazy, right? But trust me, it’s a game-changer! Forget those sprawling garden beds and back-breaking weeding sessions. I’m about to show you how to cultivate your own little kale oasis in something you probably already have lying around – a humble bottle.
For centuries, humans have sought innovative ways to cultivate food, especially in limited spaces. From ancient hanging gardens to modern-day vertical farms, the desire to connect with nature and grow our own sustenance has always been strong. This DIY project taps into that very spirit, offering a sustainable and space-saving solution for fresh, homegrown greens.
Why do you need this DIY trick? Well, imagine having fresh, organic kale readily available, no matter the season or the size of your living space. Whether you’re a city dweller with a tiny balcony, a student in a dorm room, or simply someone who wants to experiment with a fun and eco-friendly gardening project, growing kale in a bottle is the answer. It’s a fantastic way to reduce your carbon footprint, save money on groceries, and enjoy the satisfaction of nurturing your own food from seed to table. Plus, it’s a super cool conversation starter! Let’s dive in and unlock the secrets to bottle-based kale cultivation!
Growing Kale in a Bottle: A Fun and Space-Saving DIY Project
Hey there, fellow gardening enthusiasts! Are you short on space but still craving fresh, homegrown kale? Well, I’ve got the perfect solution for you: growing kale in a bottle! It’s a super fun, surprisingly easy, and visually appealing way to cultivate this leafy green, even if you only have a windowsill to work with. Let’s dive in!
What You’ll Need
Before we get started, let’s gather all the necessary supplies. Trust me, having everything ready beforehand will make the process much smoother.
* A Large Plastic Bottle: Think a 2-liter soda bottle, a juice bottle, or even a larger water bottle. Make sure it’s clean and clear.
* Kale Seeds: Choose your favorite variety! I personally love ‘Lacinato’ (dinosaur kale) for its unique texture and flavor, but ‘Red Russian’ or ‘Curly Kale’ are also great options.
* Potting Mix: A good quality potting mix is crucial for healthy kale growth. Avoid using garden soil, as it can be too dense and may contain pests or diseases.
* Scissors or a Utility Knife: For cutting the bottle. Be careful!
* Drill or Nail and Hammer (Optional): For creating drainage holes.
* Water: For watering your kale.
* Spray Bottle: For misting the seedlings.
* Small Pebbles or Gravel: For drainage at the bottom of the bottle.
* Measuring Cup or Spoon: For measuring potting mix.
* Marker: For marking the bottle.
* Gloves (Optional): To keep your hands clean.
Preparing the Bottle
This is where we transform our humble plastic bottle into a mini kale garden!
1. Clean the Bottle: Thoroughly wash the bottle with soap and water to remove any residue. Rinse it well and let it dry completely. This is important to prevent mold or bacteria growth.
2. Cut the Bottle: Decide how you want to orient your bottle garden. There are two main options:
* Horizontal Garden: Cut a large rectangular opening along one side of the bottle, leaving the bottom intact. This creates a trough-like planter. I find this method works best for displaying the kale.
* Vertical Garden: Cut the bottle in half horizontally. You’ll use the bottom half as the planter and the top half (inverted) as a sort of humidity dome initially.
I’m going to describe the horizontal method for this guide. Using your scissors or utility knife, carefully cut a rectangular opening along one side of the bottle. The size of the opening depends on the size of your bottle, but aim for something around 4-6 inches wide and 6-8 inches long. Be extra careful when using the knife!
3. Create Drainage Holes: Drainage is essential to prevent waterlogging and root rot. If your bottle doesn’t already have drainage holes, you’ll need to create some. You can use a drill with a small drill bit or carefully poke holes in the bottom of the bottle with a nail and hammer. I usually make about 4-5 holes.
4. Add Drainage Layer: Pour a layer of small pebbles or gravel into the bottom of the bottle. This will help improve drainage and prevent the potting mix from becoming waterlogged. Aim for a layer about 1-2 inches thick.
Planting the Kale Seeds
Now for the fun part – planting the kale seeds!
1. Fill with Potting Mix: Carefully fill the bottle with potting mix, leaving about an inch of space at the top. Gently pat down the soil to remove any air pockets.
2. Sow the Seeds: Sprinkle the kale seeds evenly over the surface of the potting mix. Don’t overcrowd them! A good rule of thumb is to space them about an inch apart.
3. Cover the Seeds: Lightly cover the seeds with a thin layer of potting mix (about ¼ inch).
4. Water Gently: Gently water the potting mix using a watering can or spray bottle. You want to moisten the soil without disturbing the seeds.
5. Create a Mini Greenhouse (Optional): If you opted for the vertical method, place the inverted top half of the bottle over the bottom half to create a mini greenhouse. This will help retain moisture and warmth, which is beneficial for germination. If you used the horizontal method, you can cover the bottle with plastic wrap to achieve a similar effect. Just make sure to remove the cover once the seedlings emerge.
Caring for Your Kale Seedlings
Proper care is crucial for healthy kale growth.
1. Provide Adequate Light: Kale needs plenty of sunlight to thrive. Place your bottle garden in a sunny location, such as a windowsill that receives at least 6 hours of direct sunlight per day. If you don’t have enough natural light, you can supplement with a grow light.
2. Water Regularly: Keep the potting mix consistently moist, but not waterlogged. Water when the top inch of soil feels dry to the touch. Avoid overwatering, as this can lead to root rot. I usually check the moisture level every day or two.
3. Mist the Seedlings: Mist the seedlings with water regularly, especially during dry weather. This will help keep them hydrated and prevent them from drying out.
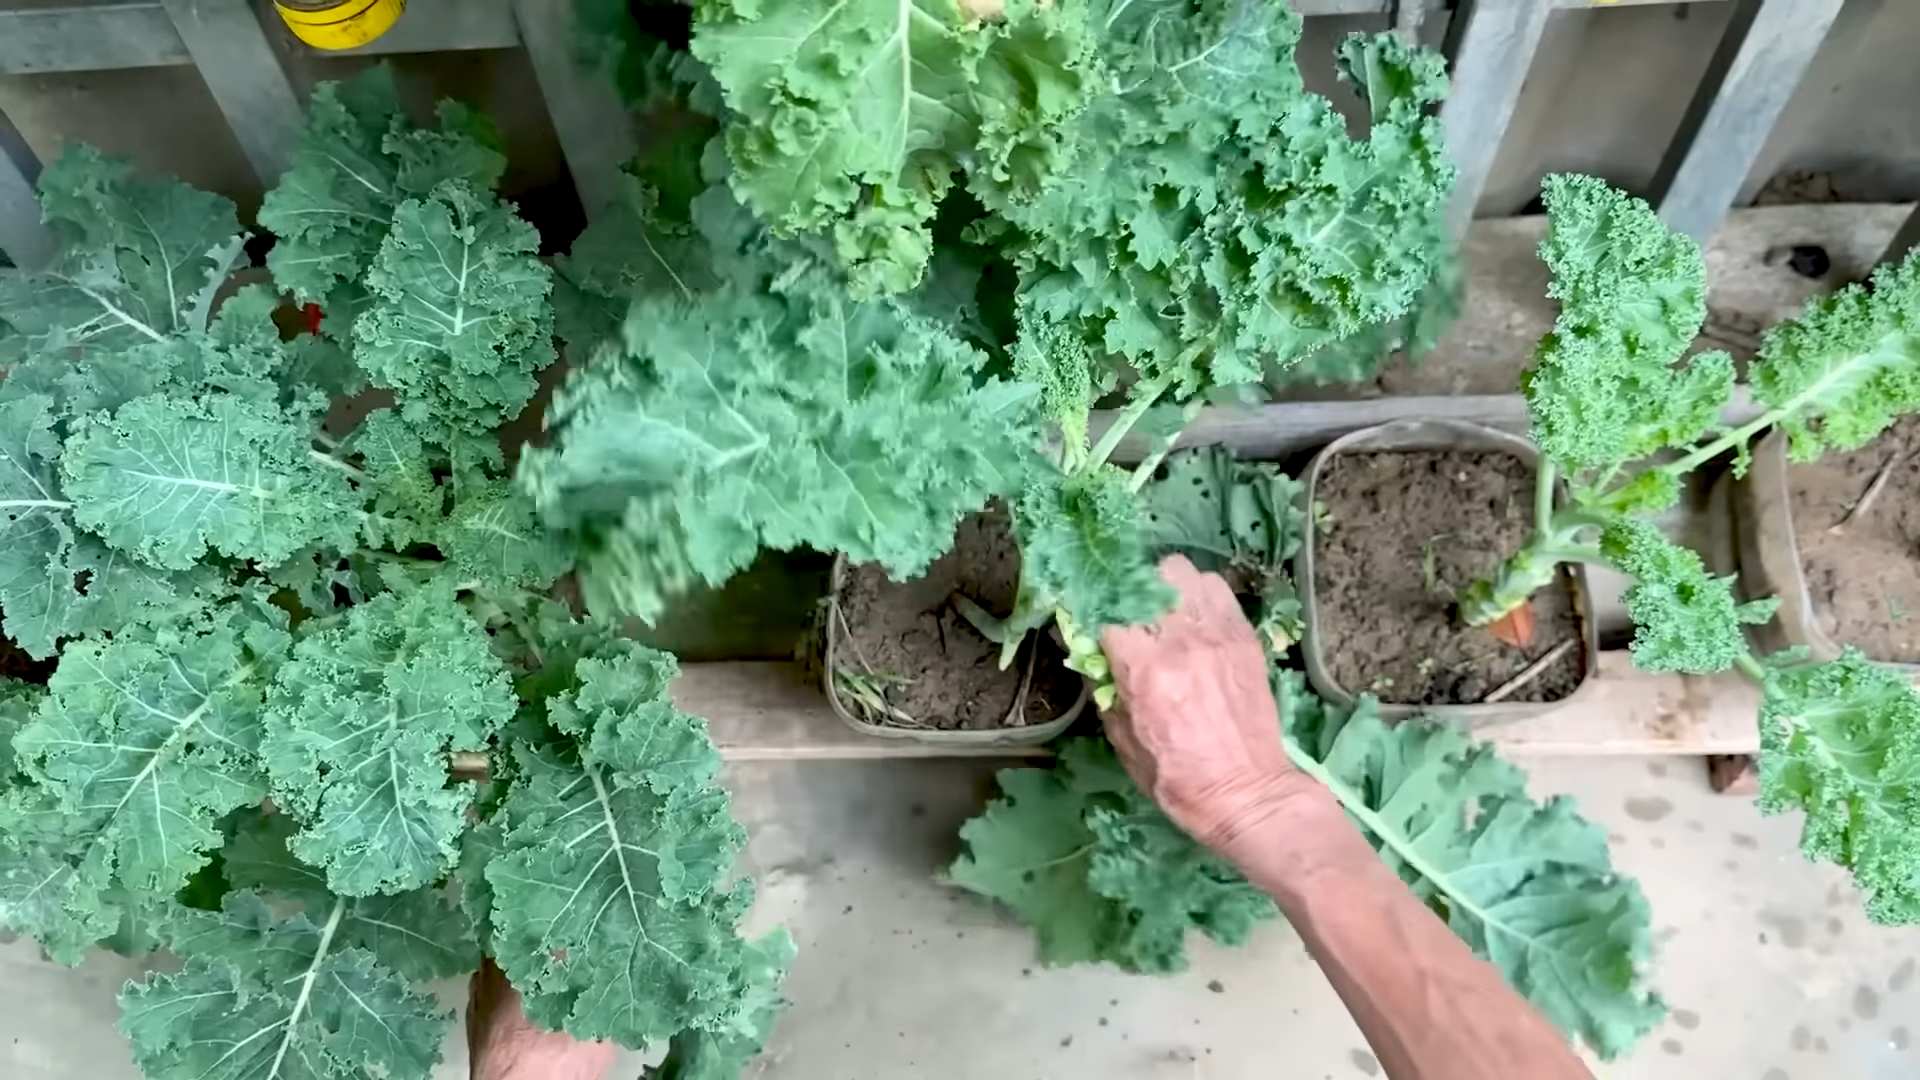
4. Thin the Seedlings: Once the seedlings have developed a few sets of true leaves (the leaves that look like miniature kale leaves), you’ll need to thin them out. This means removing some of the seedlings to give the remaining ones more space to grow. Choose the strongest and healthiest seedlings and gently remove the weaker ones. I know it feels a little cruel, but it’s necessary!
5. Fertilize Regularly: Kale is a heavy feeder, so it needs regular fertilization to grow well. Use a balanced liquid fertilizer diluted to half strength. Fertilize every 2-3 weeks. I like to use an organic fertilizer for the best flavor.
6. Monitor for Pests and Diseases: Keep an eye out for pests and diseases. Common kale pests include aphids, cabbage worms, and flea beetles. If you notice any pests, you can try spraying them with insecticidal soap or neem oil. Diseases are less common, but can occur if the kale is overwatered or exposed to poor air circulation.
Harvesting Your Kale
The best part!
1. Harvesting Leaves: You can start harvesting kale leaves once they are about 4-6 inches long. Simply cut off the outer leaves with scissors or a knife, leaving the inner leaves to continue growing.
2. Harvesting Tips: Harvest kale in the morning, when the leaves are crisp and hydrated. Avoid harvesting during the hottest part of the day, as the leaves may be wilted.
3. Enjoy Your Harvest: Use your homegrown kale in salads, smoothies, soups, stews, or sautéed as a side dish. The possibilities are endless!
Troubleshooting
Even with the best care, you might encounter a few challenges along the way. Here are some common problems and how to fix them:
* Yellowing Leaves: This could be a sign of overwatering, underwatering, or nutrient deficiency. Check the moisture level of the soil and adjust your watering schedule accordingly. If the soil is dry, water more frequently. If the soil is waterlogged, allow it to dry out before watering again. You may also need to fertilize your kale.
* Leggy Seedlings: This means the seedlings are stretching towards the light and becoming weak and spindly. This is usually caused by insufficient light. Move your bottle garden to a sunnier location or supplement with a grow light.
* Pest Infestation: As mentioned earlier, aphids, cabbage worms, and flea beetles are common kale pests. Inspect your plants regularly and take action as soon as you notice any pests. Insecticidal soap or neem oil are effective treatments.
* Slow Growth: This could be due to a variety of factors, including insufficient light, poor soil, or lack of nutrients. Make sure your kale is getting enough sunlight, use a good quality potting mix, and fertilize regularly.
And that’s it! With a little bit of effort and care, you can enjoy fresh, homegrown kale right from your windowsill. Happy gardening!
Conclusion
So, there you have it! Growing kale in a bottle isn’t just a quirky gardening experiment; it’s a surprisingly effective and space-saving method for enjoying fresh, homegrown greens, even if you’re short on space or time. This DIY trick transforms discarded plastic bottles into miniature kale gardens, offering a sustainable and visually appealing way to cultivate your own food.
Why is this a must-try? Because it democratizes gardening. No sprawling backyard is required, no expensive equipment is necessary. All you need is a plastic bottle, some soil, kale seeds, and a little bit of sunshine. It’s an incredibly accessible project for beginners, children, and seasoned gardeners alike. Plus, it’s a fantastic way to reduce plastic waste and contribute to a more sustainable lifestyle. Imagine the satisfaction of harvesting your own vibrant, nutrient-rich kale leaves, knowing you grew them yourself in a recycled container!
Beyond the basic method, there’s plenty of room for experimentation. Try using different types of kale seeds – curly kale, dinosaur kale (lacinato), or red Russian kale – to add variety to your harvest. You can also experiment with different soil mixes to see what works best for your local climate and growing conditions. Consider adding companion plants like herbs (thyme or oregano) to your bottle garden to deter pests and enhance the flavor of your kale. For a decorative touch, paint the bottles with vibrant colors or add labels to identify your kale varieties.
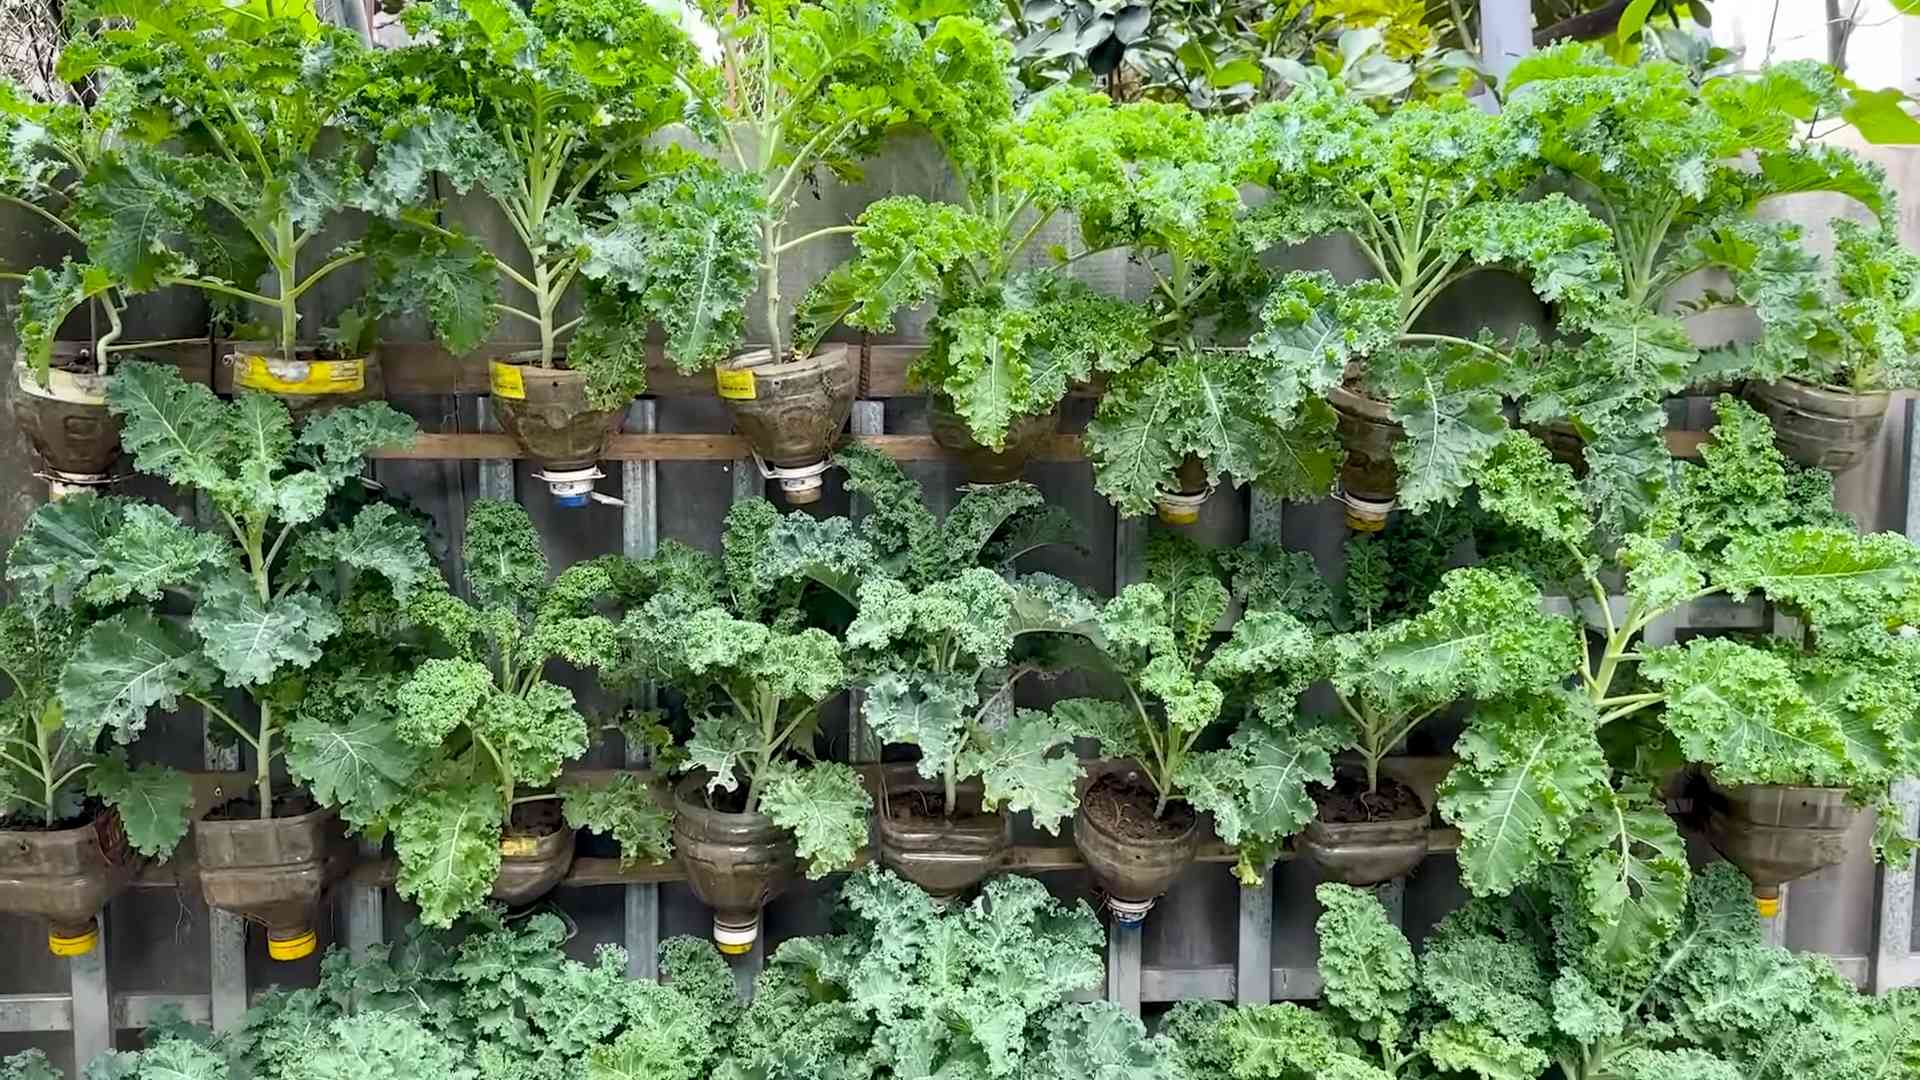
Don’t be afraid to get creative and personalize your bottle garden. You can even create a vertical garden by hanging multiple bottles from a wall or balcony, maximizing your growing space and creating a stunning visual display. If you live in a colder climate, you can bring your bottle gardens indoors during the winter months to extend your growing season. Just make sure to provide adequate light, either through a sunny window or with a grow light.
The beauty of this DIY trick lies in its simplicity and adaptability. It’s a low-maintenance way to enjoy fresh, healthy kale without the hassle of traditional gardening. It’s also a great conversation starter and a fun project to share with friends and family.
We wholeheartedly encourage you to give growing kale in a bottle a try. It’s a rewarding experience that connects you to nature, promotes sustainability, and provides you with delicious, homegrown greens. Once you’ve tried it, we’d love to hear about your experience! Share your photos, tips, and challenges in the comments below. Let’s build a community of bottle garden enthusiasts and inspire others to embrace this simple yet powerful DIY trick. What are you waiting for? Grab a bottle, some seeds, and get growing! Let us know how your kale growing goes!
Frequently Asked Questions (FAQ)
What kind of plastic bottle is best for growing kale?
Ideally, you should use a clear or translucent plastic bottle that is at least 2 liters in size. This provides enough space for the kale roots to grow and allows sunlight to reach the plant. Avoid using bottles that have contained harmful chemicals or pesticides, and make sure to thoroughly clean the bottle before planting. Soda bottles, water bottles, and juice bottles are all good options. The sturdier the plastic, the longer the bottle will last.
What type of soil should I use for growing kale in a bottle?
A well-draining potting mix is essential for growing healthy kale in a bottle. You can use a commercially available potting mix or create your own by combining equal parts of garden soil, compost, and perlite or vermiculite. The compost provides nutrients, while the perlite or vermiculite improves drainage and aeration. Avoid using heavy clay soil, as it can become waterlogged and suffocate the kale roots.
How much sunlight does kale need when grown in a bottle?
Kale thrives in full sun, which means it needs at least 6 hours of direct sunlight per day. If you don’t have a sunny spot in your garden or balcony, you can supplement with a grow light. Place the bottle garden in a location that receives morning sun, as this is less intense than afternoon sun and can help prevent the kale from overheating. Rotate the bottle regularly to ensure that all sides of the plant receive adequate sunlight.
How often should I water kale grown in a bottle?
The frequency of watering depends on the climate, the size of the bottle, and the type of soil you’re using. Generally, you should water the kale when the top inch of soil feels dry to the touch. Avoid overwatering, as this can lead to root rot. Make sure the bottle has drainage holes to allow excess water to escape. During hot weather, you may need to water the kale more frequently.
How do I fertilize kale grown in a bottle?
Kale is a heavy feeder, so it needs regular fertilization to thrive. You can use a liquid fertilizer or a slow-release granular fertilizer. Follow the instructions on the fertilizer package for application rates. For liquid fertilizer, apply it every two weeks during the growing season. For granular fertilizer, mix it into the soil at planting time and then reapply every few months. Organic options like compost tea or fish emulsion are also excellent choices.
How do I harvest kale from a bottle garden?
You can start harvesting kale leaves when they are about 4-6 inches long. Harvest the outer leaves first, leaving the inner leaves to continue growing. This will encourage the plant to produce more leaves. Use a sharp knife or scissors to cut the leaves close to the stem. Avoid tearing the leaves, as this can damage the plant.
What pests and diseases affect kale grown in a bottle?
Common pests that affect kale include aphids, cabbage worms, and flea beetles. You can control these pests by handpicking them off the plants, spraying them with insecticidal soap, or using row covers to protect the plants. Common diseases that affect kale include powdery mildew and black rot. You can prevent these diseases by providing good air circulation, avoiding overwatering, and using disease-resistant varieties.
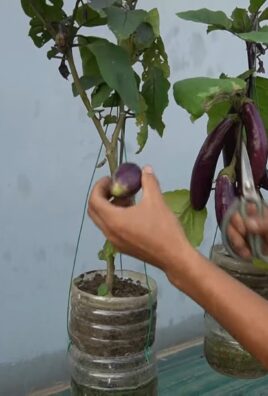
Can I grow other vegetables in a bottle besides kale?
Yes, you can grow other leafy greens and herbs in a bottle, such as lettuce, spinach, arugula, chard, basil, parsley, and mint. Choose varieties that are compact and don’t require a lot of space. You can also grow small vegetables like radishes and bush beans in larger bottles.
How long will kale plants last when grown in a bottle?
With proper care, kale plants can last for several months, even up to a year, when grown in a bottle. However, they may eventually become leggy and less productive. When this happens, you can start new plants from seed or cuttings.
What do I do with the bottle after the kale plant is finished?
You can reuse the bottle to grow other plants, or you can recycle it. If you choose to recycle it, make sure to remove any soil or plant debris first. You can also repurpose the bottle for other uses, such as a bird feeder, a planter, or a storage container.
Leave a Comment