
Clean frying pan baking soda: sounds simple, right? But trust me, this unassuming combination is about to become your new best friend in the kitchen! We’ve all been there – staring down at a frying pan caked with stubborn, burnt-on food, wondering if it’s even salvageable. Before you resign yourself to endless scrubbing or, worse, tossing it in the trash, let me share a game-changing DIY trick that will restore your cookware to its former glory.
The power of baking soda as a cleaning agent isn’t exactly a new discovery. In fact, our grandmothers and great-grandmothers relied on this humble ingredient for everything from deodorizing refrigerators to polishing silverware. It’s a testament to its effectiveness and versatility that it’s still a staple in households today. But when combined with a little know-how, baking soda can work wonders on even the most challenging kitchen messes.
Why is this DIY trick so essential? Because a clean frying pan isn’t just about aesthetics; it’s about hygiene and cooking performance. Burnt food residue can affect the taste of your dishes and even harbor harmful bacteria. Plus, a clean pan heats more evenly, ensuring your food cooks perfectly every time. So, ditch the harsh chemicals and expensive cleaners. I’m going to show you how to use clean frying pan baking soda to effortlessly remove those stubborn stains and keep your cookware looking and performing its best. Get ready to say goodbye to scrubbing and hello to sparkling clean frying pans!
DIY: Revive Your Scorched Frying Pan with Baking Soda Magic!
Okay, let’s face it, we’ve all been there. You’re cooking up a storm, get distracted for a minute (or ten!), and suddenly your trusty frying pan is sporting a lovely layer of burnt-on gunk that seems impossible to remove. Don’t despair! Before you toss that pan in the trash, I’m going to show you a super effective, eco-friendly way to bring it back to life using the power of baking soda. This method is gentle enough for most pan types (but always test in an inconspicuous area first!), and it’s a whole lot cheaper than buying a new one.
What You’ll Need:
* Baking Soda (the star of the show!)
* Water
* White Vinegar (optional, but adds extra oomph)
* Dish Soap
* A Non-Abrasive Sponge or Scrub Brush (avoid steel wool or anything too harsh)
* A Soft Cloth or Paper Towels
* A Large Pot or Sink (big enough to submerge the pan)
* Patience (a little elbow grease might be required!)
Step-by-Step Instructions:
Here’s the breakdown of how we’re going to tackle this burnt pan situation:
1. Assess the Damage: Take a good look at your pan. How thick is the burnt layer? Is it just a light coating, or is it a hardened, crusty mess? This will help you determine how much baking soda and water you’ll need, and how long you’ll need to let it soak.
2. Initial Soak (for heavily burnt pans): If your pan is seriously scorched, start with a pre-soak. Fill the pan with hot, soapy water and let it sit for at least 30 minutes, or even overnight. This will help loosen some of the burnt-on food and make the baking soda treatment even more effective.
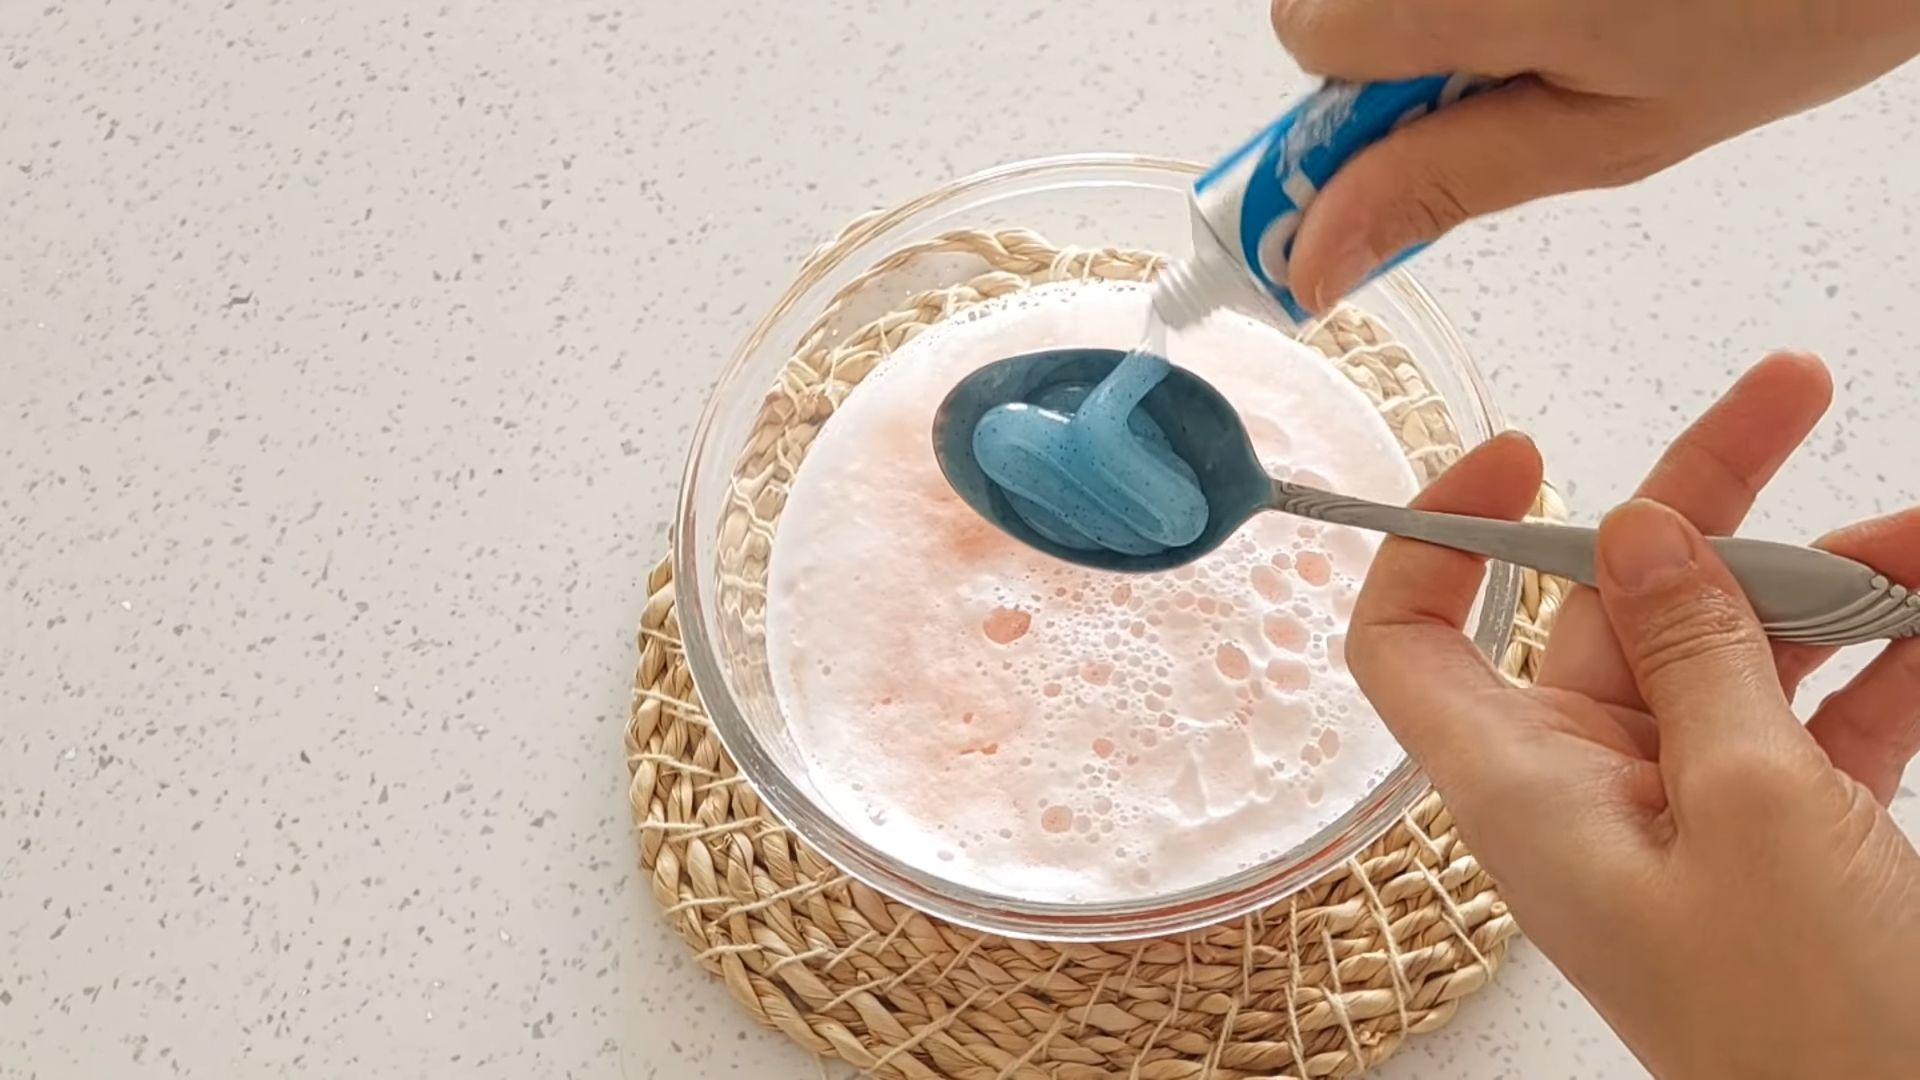
3. Create the Baking Soda Paste: This is where the magic begins! In a bowl, mix baking soda with just enough water to form a thick paste. You want it to be spreadable, but not too runny. A good ratio is usually about 3 parts baking soda to 1 part water. If you’re feeling ambitious, you can add a tablespoon or two of white vinegar to the paste for extra cleaning power. The vinegar will react with the baking soda, creating a fizzing action that helps lift the burnt food.
4. Apply the Paste: Using your non-abrasive sponge or scrub brush, generously apply the baking soda paste to all the burnt areas of the pan. Make sure you cover every inch of the affected surface. Don’t be shy! The more paste you use, the better it will work.
5. Let it Sit (Soaking Time): Now comes the waiting game. Let the baking soda paste sit on the burnt areas for at least 2-3 hours. For really stubborn burns, you can even let it sit overnight. The longer it sits, the more time the baking soda has to penetrate and loosen the burnt-on food.
6. Scrub-a-Dub-Dub: After the soaking period, it’s time to get scrubbing! Using your non-abrasive sponge or scrub brush, start scrubbing the burnt areas in a circular motion. You should start to see the burnt food lifting away from the pan. Don’t be afraid to apply some pressure, but avoid using excessive force, as you don’t want to scratch the pan’s surface.
7. The Boiling Method (for stubborn spots): If you’re still struggling to remove some of the burnt-on food, try the boiling method. Fill the pan with water, add a few tablespoons of baking soda, and bring it to a boil on the stovetop. Let it simmer for about 15-20 minutes. The boiling water and baking soda will help to further loosen the burnt food. After simmering, let the pan cool slightly before scrubbing again.
8. Rinse and Repeat (if necessary): Rinse the pan thoroughly with hot water to remove all traces of baking soda and burnt food. If there are still some stubborn spots remaining, repeat steps 3-7. Sometimes, it takes a couple of applications to completely remove all the burnt-on gunk.
9. Wash with Dish Soap: Once you’ve removed all the burnt-on food, wash the pan with dish soap and water as you normally would. This will remove any remaining residue and leave your pan sparkling clean.
10. Dry Thoroughly: Finally, dry the pan thoroughly with a soft cloth or paper towels. This will prevent water spots and help to keep your pan in good condition.
Dealing with Different Types of Pans:
The baking soda method is generally safe for most types of pans, but here are a few things to keep in mind:
* Non-Stick Pans: Be extra gentle when scrubbing non-stick pans, as you don’t want to damage the non-stick coating. Avoid using abrasive scrub brushes or steel wool.
* Stainless Steel Pans: Stainless steel pans are generally more durable and can withstand a bit more scrubbing. However, avoid using steel wool, as it can scratch the surface.
* Cast Iron Pans: For cast iron pans, avoid soaking them for extended periods of time, as this can cause them to rust. After cleaning, be sure to re-season your cast iron pan to protect it from rust.
* Aluminum Pans: Aluminum pans can sometimes discolor when exposed to baking soda. To prevent discoloration, avoid using excessive amounts of baking soda and rinse the pan thoroughly after cleaning.
Extra Tips and Tricks:
* Prevention is Key: The best way to avoid burnt-on food is to prevent it from happening in the first place! Keep a close eye on your cooking, and don’t let food burn.
* Deglaze the Pan: After cooking, deglaze the pan by adding a liquid (such as water, broth, or wine) to the hot pan and scraping up any browned bits from the bottom. This will not only make cleaning easier, but it will also add flavor to your dish.
* Use a Pan Liner: Consider using a pan liner when cooking foods that are prone to sticking or burning.
* Baking Soda and Lemon Juice: For extra cleaning power, try mixing baking soda with lemon juice instead of water. The lemon juice will help to cut through grease and grime.
* Magic Eraser: For some stubborn stains, a magic eraser can work wonders. Just be sure to test it in an inconspicuous area first, as it can be abrasive.
Troubleshooting:
Sometimes, even with the best efforts, you might encounter some challenges. Here’s how to handle them:
* Burnt Food Still Stuck: If the burnt food is still stubbornly clinging to the pan, don’t give up! Repeat the baking soda treatment, but this time, let the paste sit for a longer period of time (overnight, if possible). You can also try the boiling method again.
* Discoloration: If your pan has become discolored after cleaning, try using a stainless steel cleaner or a copper cleaner (depending on the type of pan) to restore its shine.
* Scratches: If you accidentally scratched your pan while scrubbing, you can try using a metal polish to buff out the scratches. However, deep scratches may not be repairable.
Maintaining Your Clean Pan:
Now that you’ve successfully revived your scorched frying pan, here are a few tips to keep it clean and in good condition:
* Wash After Each Use: Wash your pan with dish soap and water after each use. This will prevent food from building up and becoming difficult to remove.
* Avoid Harsh Cleaners: Avoid using harsh cleaners or abrasive scrub brushes, as they can damage the pan’s surface.
* Store Properly: Store your pan in a safe place where it won’t get scratched or damaged.
* Regular Cleaning: Even if your pan doesn’t look dirty, give it a thorough cleaning every few weeks to remove any hidden buildup.
So there you have it! With a little baking soda, water, and elbow grease, you can revive your scorched frying pan and save yourself the cost of buying a new one. Happy cooking!
Conclusion
So, there you have it! Transforming a grimy, seemingly hopeless frying pan into a sparkling, like-new cooking surface is not only achievable but surprisingly simple with this baking soda cleaning method. Forget spending hours scrubbing with harsh chemicals or resigning yourself to replacing your favorite pan. This DIY trick is a game-changer for anyone who values a clean kitchen and wants to extend the life of their cookware.
Why is this a must-try? Because it’s effective, affordable, and environmentally friendly. You’re likely to already have baking soda in your pantry, making it an incredibly accessible solution. Plus, you’re avoiding the harsh chemicals found in many commercial cleaners, which can be harmful to your health and the environment. The satisfaction of seeing years of baked-on grease and grime lift away with minimal effort is truly rewarding.
But the best part? This method is versatile! While we focused on frying pans, this baking soda cleaning power isn’t limited to just one type of cookware. You can use this same technique on stainless steel pots, baking sheets, and even oven racks. For particularly stubborn stains, try adding a squeeze of lemon juice to the baking soda paste for an extra boost of cleaning power. Another variation involves gently heating the pan on the stovetop after applying the paste. The heat helps to loosen the grime, making it even easier to scrub away. Just be sure to monitor the pan closely and avoid overheating.
Don’t be afraid to experiment! The key is to adjust the amount of baking soda and water to create a paste that’s thick enough to cling to the pan’s surface but not so thick that it’s difficult to spread. And remember, patience is key. For heavily soiled pans, you may need to repeat the process a few times to achieve the desired results.
We’re confident that this DIY baking soda cleaning trick will revolutionize your kitchen cleaning routine. It’s a simple, effective, and sustainable way to keep your cookware looking its best. So, ditch the harsh chemicals and embrace the power of baking soda!
Now, it’s your turn! We encourage you to try this method on your own grimy frying pans and other cookware. We’re eager to hear about your experiences. Did it work as well for you as it did for us? Did you discover any helpful variations or tips? Share your results and insights in the comments below! Let’s build a community of clean cookware enthusiasts and help each other keep our kitchens sparkling. Happy cleaning!
Frequently Asked Questions (FAQ)
What kind of baking soda should I use?
Plain, ordinary baking soda (sodium bicarbonate) is all you need. There’s no need to buy any special or expensive baking soda products. The baking soda you use for baking is the same baking soda you use for cleaning.
Can I use this method on non-stick pans?
While baking soda is generally considered safe for most non-stick surfaces, it’s always best to proceed with caution. The abrasive nature of baking soda could potentially scratch or damage the non-stick coating over time, especially with repeated use. We recommend testing a small, inconspicuous area of the pan first to see how it reacts. If you notice any scratching or damage, discontinue use. For non-stick pans, a gentler cleaning solution, such as dish soap and warm water, is usually sufficient. If you do choose to use baking soda on a non-stick pan, use a very soft sponge or cloth and avoid scrubbing aggressively.
How often can I use this baking soda cleaning method?
For heavily soiled pans, you can use this method as needed. However, for regular maintenance, you may only need to use it once a month or even less frequently. Overusing abrasive cleaners, even baking soda, can eventually dull the finish of your cookware. Observe your pans and clean them when you notice a buildup of grease or grime.
What if the baking soda paste dries out while it’s sitting on the pan?
If the baking soda paste dries out, simply re-wet it with a little water before scrubbing. You can use a spray bottle to lightly mist the paste or add a few drops of water directly to the pan. This will help to soften the dried paste and make it easier to scrub away.
The grime is really stubborn. What else can I try?
For extremely stubborn grime, you can try a few different approaches:
* Soaking: Before applying the baking soda paste, soak the pan in hot, soapy water for several hours or even overnight. This will help to loosen the grime and make it easier to remove.
* Vinegar: After applying the baking soda paste, pour a small amount of white vinegar onto the pan. The vinegar will react with the baking soda, creating a fizzing action that can help to lift the grime. Let the mixture sit for a few minutes before scrubbing.
* Boiling: For pans that can withstand boiling water, fill the pan with water and add a cup of baking soda. Bring the mixture to a boil and let it simmer for 15-20 minutes. This can help to loosen even the most stubborn grime. Be careful when handling hot water and pans.
Can I use steel wool with baking soda?
We strongly advise against using steel wool with baking soda, especially on stainless steel or non-stick pans. Steel wool is highly abrasive and can easily scratch and damage the surface of your cookware. Stick to using soft sponges, cloths, or nylon scrub brushes.
How do I prevent my pans from getting so dirty in the first place?
Prevention is always better than cure! Here are a few tips to help prevent your pans from getting excessively dirty:
* Clean after each use: The best way to prevent grime buildup is to clean your pans immediately after each use. Don’t let food residue sit and harden.
* Use the right amount of oil: Using too much oil can lead to a greasy buildup on your pans. Use just enough oil to prevent food from sticking.
* Avoid overheating: Overheating your pans can cause food to burn and stick, making them harder to clean.
* Proper storage: Store your pans properly to prevent them from getting scratched or damaged. Use pan protectors or stack them carefully.
Is baking soda safe to use around children and pets?
Baking soda is generally considered safe to use around children and pets. It’s non-toxic and doesn’t contain any harsh chemicals. However, it’s always a good idea to keep cleaning products out of reach of children and pets. If ingested in large quantities, baking soda can cause stomach upset.
Will this method remove rust?
While baking soda can help to remove some surface rust, it’s not a rust remover. For more severe rust, you may need to use a dedicated rust remover or other specialized cleaning products.
Can I use this method on cast iron pans?
Cleaning cast iron requires special care to maintain the seasoning. While baking soda can be used sparingly on cast iron, it’s important to re-season the pan afterward. Avoid soaking cast iron in water for extended periods, as this can cause it to rust.

Leave a Comment