
Grow Taro in Containers: Unlock the secrets to cultivating this tropical delight right in your own backyard, even if you don’t have a sprawling garden! Have you ever admired the lush, heart-shaped leaves of taro and wished you could bring that exotic beauty to your home? Well, now you can! This DIY guide will walk you through everything you need to know to successfully grow taro in containers, transforming your patio, balcony, or even a sunny windowsill into a vibrant oasis.
Taro, also known as Kalo in Hawaiian culture, holds deep cultural significance. For centuries, it has been a staple food and a symbol of life and sustenance. Imagine connecting with this rich history by nurturing your own taro plant! But beyond its cultural roots, taro is also incredibly versatile. Its starchy corms are delicious in soups, stews, and even desserts.
Why should you try this DIY trick? Because growing taro doesn’t have to be intimidating! Many people believe you need a large, watery field to cultivate taro, but that’s simply not true. With the right techniques, you can easily grow taro in containers, enjoying its beauty and potentially even harvesting its edible corms. I’m excited to share these simple, effective methods that will empower you to bring a touch of the tropics to your home, regardless of your gardening experience. Let’s get started!
Growing Taro in Containers: A Step-by-Step Guide
Hey there, fellow plant enthusiasts! Ever thought about growing your own taro? It might seem a bit exotic, but trust me, it’s totally doable, even if you don’t have a sprawling garden. Growing taro in containers is a fun and rewarding project, and I’m here to guide you through every step. Let’s get our hands dirty!
Choosing the Right Taro Variety
First things first, not all taro varieties are created equal when it comes to container gardening. Some get HUGE, and we want something manageable. Here are a few that I’ve found work well:
- Bun Long: This variety is known for its smaller size and delicious corms (the edible part). It’s a great choice for beginners.
- Elephant Ear (Colocasia esculenta): While technically an ornamental taro, some varieties of Elephant Ear produce edible corms. Just make sure you do your research to confirm the specific variety you have is safe to eat.
- Illustris: Another ornamental variety that can be grown for its striking foliage. While the corms are not typically eaten, the leaves can be cooked and consumed (always research before consuming any plant part).
Gathering Your Supplies
Okay, now that we’ve picked our taro, let’s gather everything we need. This is like prepping for a cooking show – having everything at your fingertips makes the whole process smoother.
- A Large Container: Taro needs space! I recommend a container that’s at least 15-20 gallons. The bigger, the better, as it allows for more root development and corm growth. Make sure it has drainage holes.
- Well-Draining Potting Mix: Taro loves moisture, but it doesn’t like sitting in soggy soil. A good quality potting mix amended with compost and perlite is ideal.
- Taro Corm or Seedling: You can find these at nurseries, online retailers, or even from friends who already grow taro.
- Slow-Release Fertilizer: Taro is a heavy feeder, so a slow-release fertilizer will provide a steady supply of nutrients. Look for one that’s balanced, like a 10-10-10 or 14-14-14.
- Watering Can or Hose: Essential for keeping your taro happy and hydrated.
- Mulch (Optional): Mulch helps retain moisture and suppress weeds. I like using straw or wood chips.
Planting Your Taro
Alright, time to get planting! This is the fun part where we actually get to put our hands in the soil.
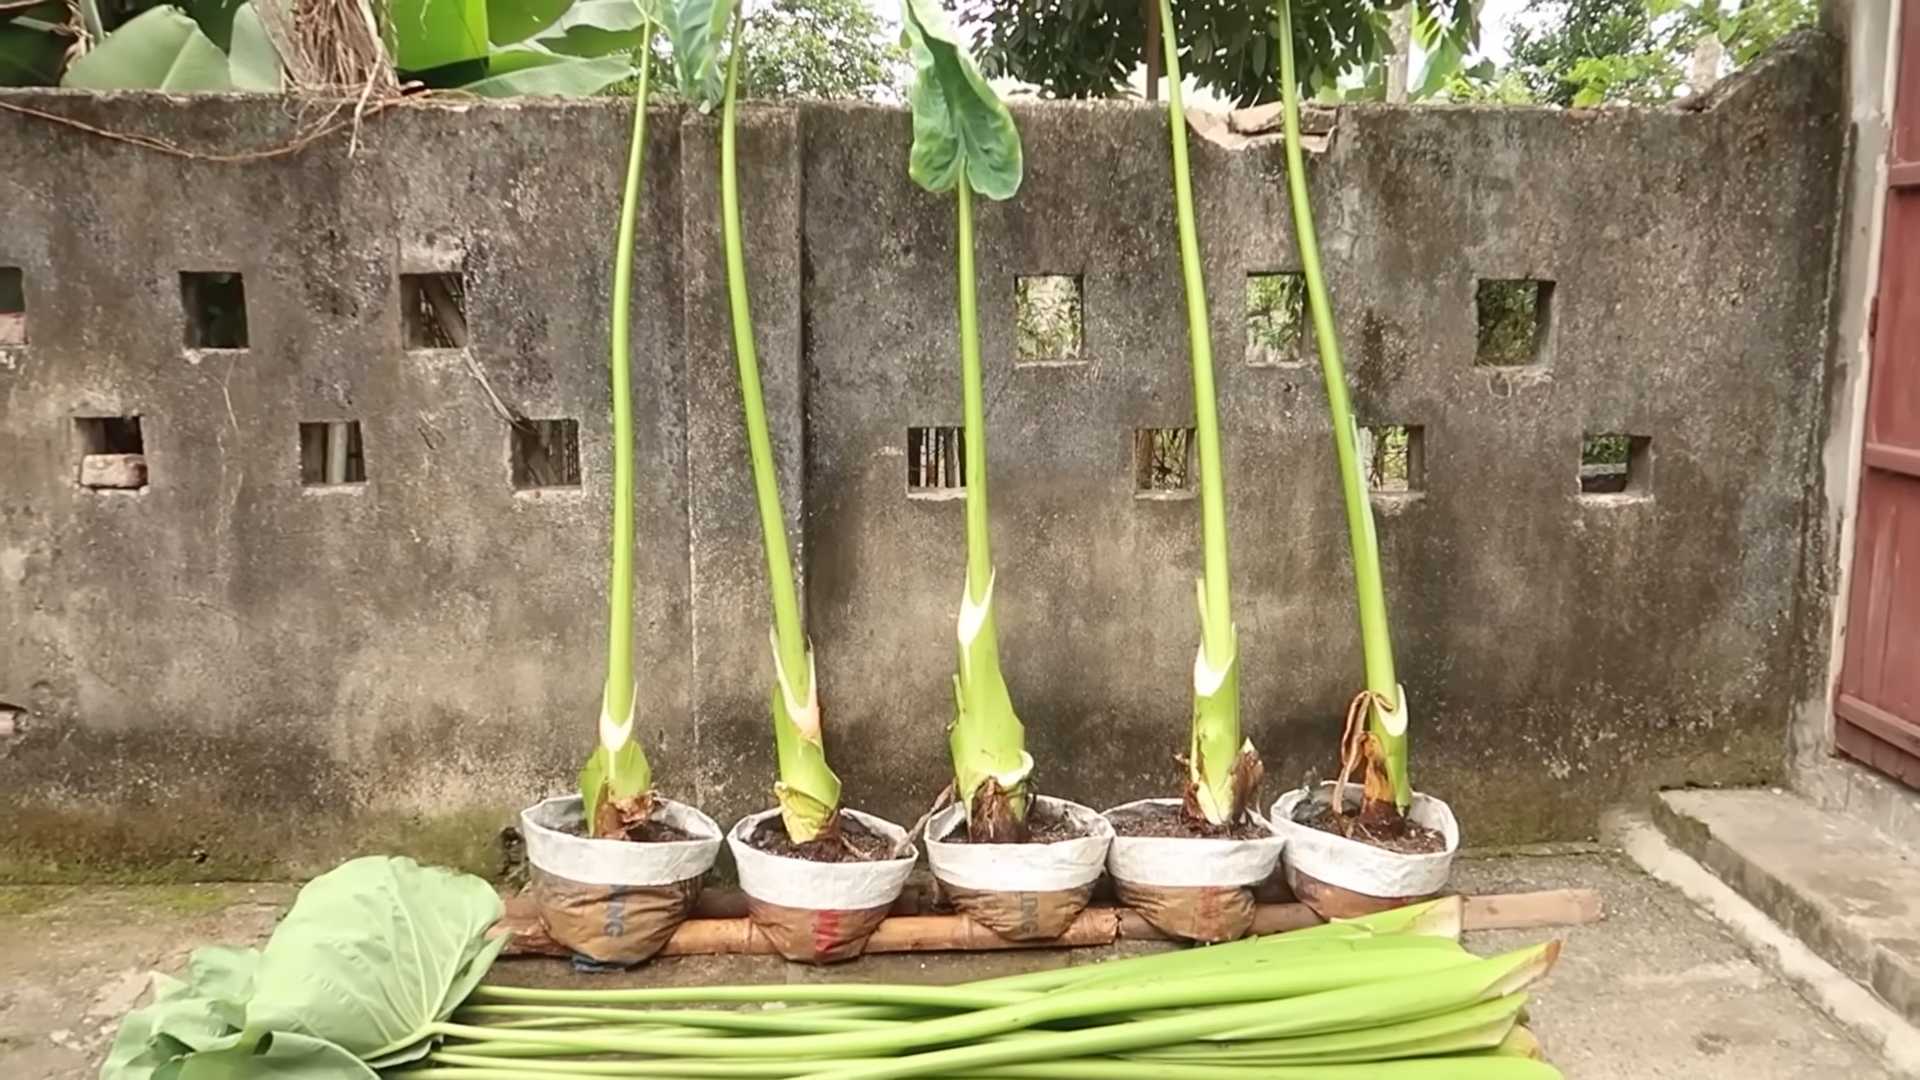
- Prepare the Container: Fill your container about two-thirds full with your well-draining potting mix.
- Plant the Corm or Seedling: If you’re planting a corm, place it about 4-6 inches deep in the soil, with the pointed end facing up. If you’re planting a seedling, gently remove it from its nursery pot and plant it at the same depth it was growing before.
- Fill the Container: Add more potting mix around the corm or seedling, leaving about an inch or two of space at the top of the container.
- Water Thoroughly: Water the container deeply until water drains out of the drainage holes. This helps settle the soil and gets the roots off to a good start.
- Add Slow-Release Fertilizer: Sprinkle the slow-release fertilizer around the base of the plant, following the instructions on the fertilizer package.
- Mulch (Optional): If you’re using mulch, spread a layer around the base of the plant, being careful not to cover the stem.
Caring for Your Taro
Now that your taro is planted, it’s time to provide it with the care it needs to thrive. This involves watering, fertilizing, and providing the right environment.
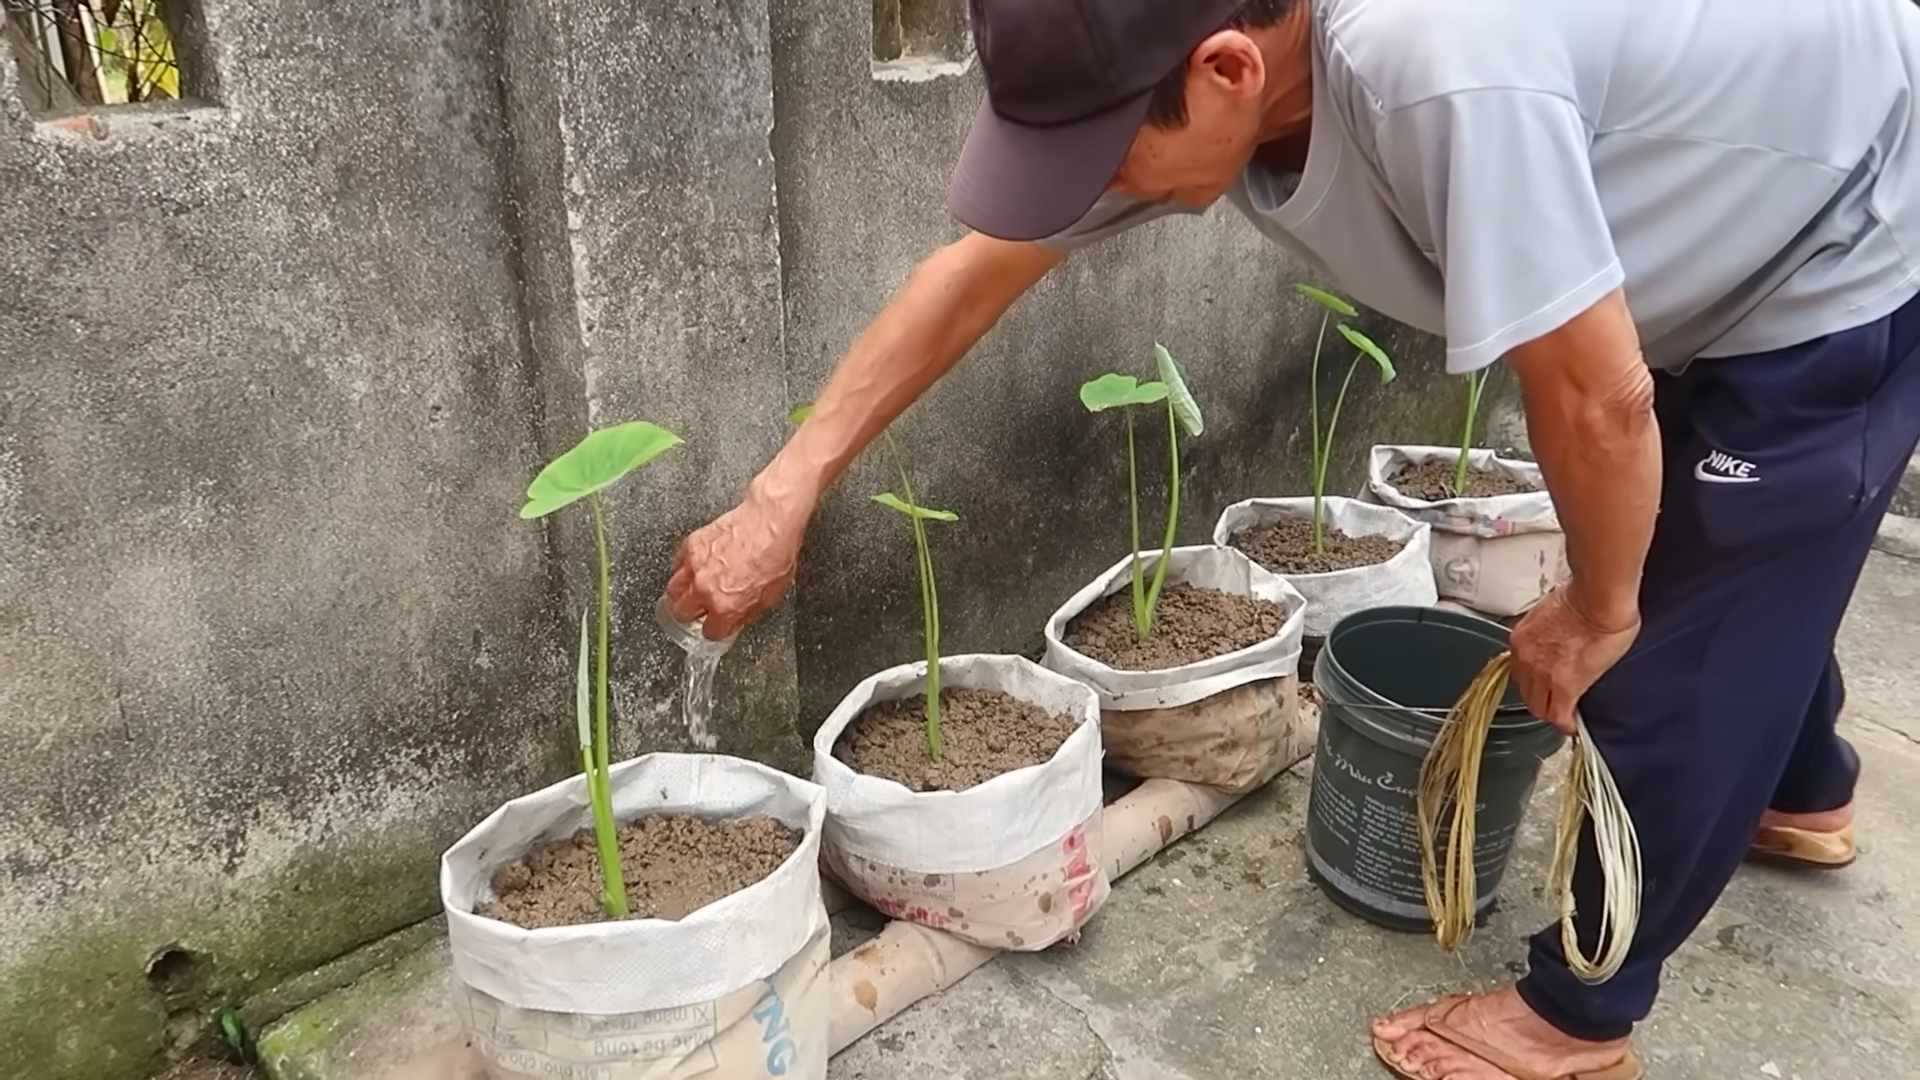
Watering
Taro loves water! Keep the soil consistently moist, but not waterlogged. I usually water my taro every day or two, depending on the weather. Check the soil moisture by sticking your finger about an inch into the soil. If it feels dry, it’s time to water. During hot weather, you might need to water more frequently. You can even place the container in a shallow tray of water to keep the soil consistently moist.
Fertilizing
As I mentioned earlier, taro is a heavy feeder. In addition to the slow-release fertilizer you added at planting, I recommend supplementing with a liquid fertilizer every 2-3 weeks during the growing season (spring and summer). A balanced liquid fertilizer, like a 20-20-20, works well. Just follow the instructions on the fertilizer package.
Sunlight
Taro prefers partial shade to full sun. In hot climates, afternoon shade is essential to prevent the leaves from scorching. I usually place my taro in a spot that gets morning sun and afternoon shade. If you’re growing your taro indoors, make sure it gets plenty of bright, indirect light.
Temperature
Taro thrives in warm temperatures, ideally between 70-85°F (21-29°C). It’s not frost-tolerant, so if you live in a cold climate, you’ll need to bring your container indoors during the winter.
Pest and Disease Control
Taro is generally pest-resistant, but it can occasionally be affected by aphids, spider mites, or mealybugs. If you notice any pests, you can try spraying them off with a strong stream of water or using an insecticidal soap. Root rot can be a problem if the soil is too soggy, so make sure your container has good drainage.
Harvesting Your Taro
The moment we’ve all been waiting for! Harvesting your own taro is incredibly satisfying.
When to Harvest
Taro is typically ready to harvest about 7-12 months after planting. The leaves will start to turn yellow and die back, which is a sign that the corms are mature.
How to Harvest
1. Stop Watering: A week or two before harvesting, stop watering the taro. This will help the corms dry out slightly and make them easier to harvest.
2. Loosen the Soil: Gently loosen the soil around the base of the plant with a trowel or shovel.
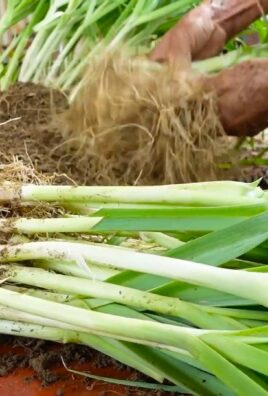
3. Pull Up the Plant: Carefully pull up the entire plant, including the corms and roots.
4. Separate the Corms: Separate the corms from the roots and stems.
5. Clean the Corms: Wash the corms thoroughly to remove any dirt or debris.
Curing and Storing
After harvesting, you’ll need to cure the corms before storing them.
1. Curing: Place the corms in a cool, dry, and well-ventilated place for about a week. This allows the skins to harden and helps prevent rot.
2. Storing: Store the cured corms in a cool, dry, and dark place. They should last for several months. You can also store them in the refrigerator, but they may not last as long.
Enjoying Your Homegrown Taro
Now for the best part – enjoying the fruits (or rather, corms) of your labor! Taro can be cooked in a variety of ways. It can be boiled, steamed, baked, or fried. It’s a staple food in many cultures and is used in dishes like poi, taro chips, and curries. Remember to always cook taro thoroughly before eating it, as raw taro contains calcium oxalate crystals that can cause irritation.
And there you have it! Growing taro in containers is a rewarding experience that allows you to enjoy fresh, homegrown taro even if you don’t have a lot of space. With a little care and attention, you can successfully grow your own taro and impress your friends and family with your gardening skills. Happy growing!
Conclusion
So, there you have it! Growing taro in containers is not only achievable, but it’s also a surprisingly rewarding experience. We’ve walked through the steps, from selecting the right container and soil to nurturing your taro plant to its full, leafy glory. But why should you bother with this DIY project?
Simply put, growing taro in containers opens up a world of possibilities, especially if you don’t have the ideal climate or sprawling garden space for traditional in-ground cultivation. It allows you to control the growing environment, ensuring your taro receives the perfect amount of sunlight, water, and nutrients. Plus, let’s be honest, there’s something incredibly satisfying about nurturing a plant from a humble corm to a thriving, edible crop.
Beyond the practical benefits, growing taro in containers offers a unique opportunity to connect with your food source. You’ll gain a deeper appreciation for the process of cultivation and the effort that goes into producing the ingredients we often take for granted. Imagine harvesting your own taro corms and leaves, knowing that you played an integral role in bringing them to your table.
But the fun doesn’t stop there! Feel free to experiment with different taro varieties to discover your favorites. Some varieties are known for their vibrant leaf colors, while others boast particularly flavorful corms. You can also explore different container sizes and shapes to find what works best for your space and aesthetic preferences.
Consider adding companion plants to your taro container to create a mini-ecosystem. Herbs like basil or mint can help deter pests and attract beneficial insects, while flowering plants like marigolds can add a splash of color and further enhance the overall health of your taro plant.
And if you’re feeling adventurous, why not try growing taro in a water garden or bog garden setting? Taro thrives in moist environments, so it’s a natural fit for these types of setups. Just be sure to provide adequate drainage to prevent the corms from rotting.
Ultimately, the key to success with growing taro in containers is to be patient, observant, and willing to learn. Pay attention to your plant’s needs, adjust your watering and fertilizing schedule as necessary, and don’t be afraid to experiment.
We strongly encourage you to give this DIY trick a try. It’s a fun, educational, and ultimately rewarding experience that will allow you to enjoy the unique flavors and textures of taro, no matter where you live.
Once you’ve embarked on your taro-growing journey, we’d love to hear about your experiences! Share your photos, tips, and challenges in the comments section below. Let’s create a community of taro enthusiasts who can learn from each other and celebrate the joys of homegrown food. So, grab your containers, soil, and taro corms, and get ready to embark on a delicious and fulfilling adventure! Let’s all learn how to grow taro in containers together.
Frequently Asked Questions (FAQ)
What is the best type of container to use for growing taro?
The ideal container for growing taro should be large enough to accommodate the plant’s root system and provide adequate drainage. A container that is at least 12 inches in diameter and 12 inches deep is generally recommended. However, larger containers (18-24 inches in diameter) will provide even more room for the taro to grow and thrive.
The material of the container is less important than its size and drainage capabilities. Plastic, terracotta, and ceramic pots are all suitable options. Just be sure that the container has drainage holes to prevent waterlogging, which can lead to root rot. If you’re using a plastic container, consider adding a layer of gravel or pebbles to the bottom to improve drainage.
What type of soil is best for growing taro in containers?
Taro prefers a rich, well-draining soil that is high in organic matter. A good potting mix for taro should consist of a combination of peat moss, perlite, and compost. You can also add some slow-release fertilizer to provide the plant with a steady supply of nutrients.
Avoid using heavy clay soils, as they tend to retain too much water and can suffocate the roots. If your soil is heavy, amend it with plenty of organic matter, such as compost or well-rotted manure, to improve drainage and aeration.
How often should I water my taro plant?
Taro loves moisture, so it’s important to keep the soil consistently moist, but not waterlogged. Water your taro plant whenever the top inch of soil feels dry to the touch. During hot, dry weather, you may need to water it more frequently, possibly even daily.
When watering, be sure to soak the entire root ball thoroughly. Allow excess water to drain out of the drainage holes in the bottom of the container. Avoid overhead watering, as this can lead to fungal diseases. Instead, water at the base of the plant.
How much sunlight does taro need?
Taro thrives in partial shade to full sun. In hot climates, it’s best to provide some afternoon shade to protect the leaves from scorching. In cooler climates, taro can tolerate full sun.
If you’re growing taro indoors, place it near a sunny window that receives at least 6 hours of direct sunlight per day. You may also need to supplement with artificial lighting, especially during the winter months.
How often should I fertilize my taro plant?
Taro is a heavy feeder, so it’s important to fertilize it regularly to ensure healthy growth. Use a balanced fertilizer (e.g., 10-10-10) every 2-3 weeks during the growing season. You can also use a slow-release fertilizer at the beginning of the growing season to provide a steady supply of nutrients.
Avoid over-fertilizing, as this can burn the roots. Always follow the instructions on the fertilizer label.
When is the best time to harvest taro?
Taro can be harvested when the leaves begin to turn yellow and die back. This typically occurs about 6-9 months after planting. To harvest, carefully dig up the corm from the container.
The corms can be stored in a cool, dry place for several weeks. The leaves can also be harvested and eaten, but they must be cooked thoroughly to remove any calcium oxalate crystals, which can cause irritation.
Are there any pests or diseases that affect taro?
Taro is generally resistant to pests and diseases, but it can be susceptible to certain problems, such as aphids, spider mites, and root rot.
Aphids and spider mites can be controlled with insecticidal soap or neem oil. Root rot is caused by overwatering and poor drainage. To prevent root rot, make sure your container has drainage holes and avoid overwatering.
Can I grow taro indoors?
Yes, you can grow taro indoors, but it requires a bit more attention than growing it outdoors. Taro needs plenty of sunlight, so place it near a sunny window or supplement with artificial lighting. You’ll also need to provide adequate humidity, which can be achieved by misting the plant regularly or placing it on a pebble tray filled with water.
Is taro edible?
Yes, both the corms and leaves of taro are edible, but they must be cooked thoroughly to remove any calcium oxalate crystals, which can cause irritation. The corms can be boiled, baked, fried, or steamed. The leaves can be used in soups, stews, and other dishes.
Can I grow taro from a store-bought corm?
Yes, you can grow taro from a store-bought corm, but it’s important to choose a healthy corm that is firm and free from blemishes. Before planting, soak the corm in water for 24 hours to rehydrate it. Then, plant it in a container filled with well-draining potting mix.
Leave a Comment