
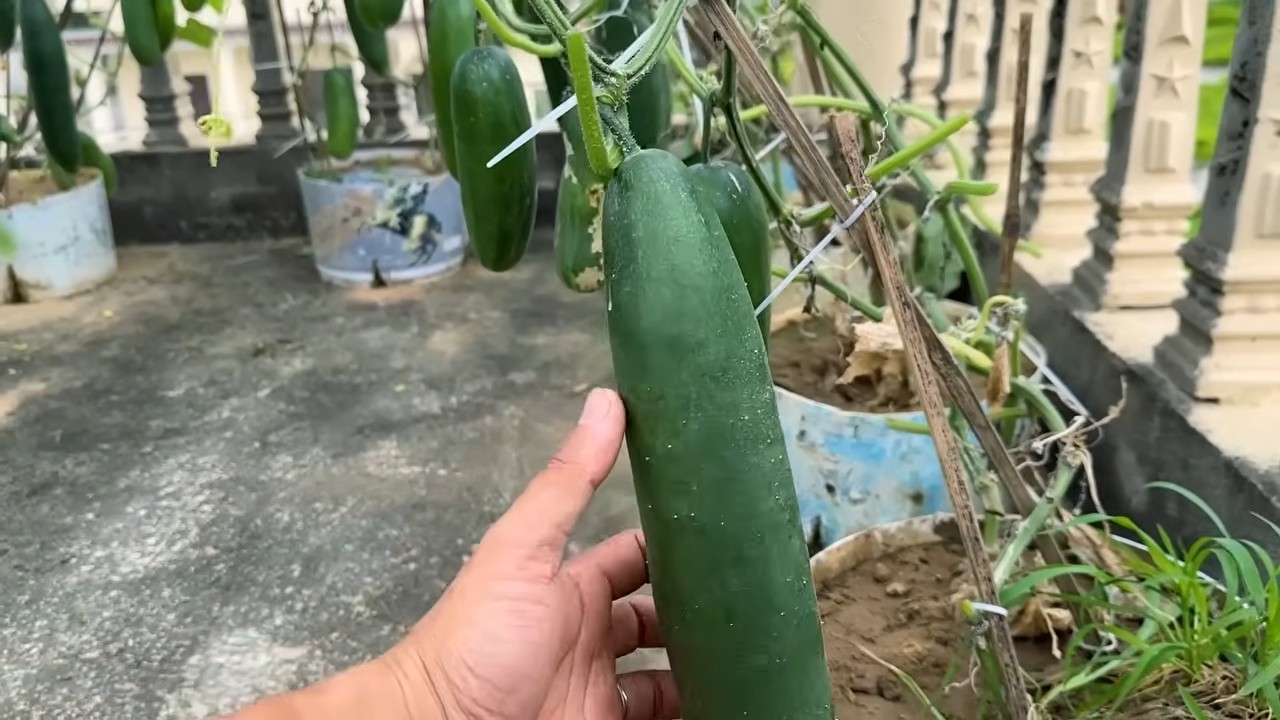
Boost Cucumber Harvest: Dreaming of crisp, refreshing cucumbers straight from your backyard? I know I am! There’s nothing quite like the taste of a homegrown cucumber, especially when you’ve nurtured it from a tiny seed. But let’s be honest, sometimes our cucumber plants just don’t produce as abundantly as we’d hoped. That’s where a few clever DIY tricks come in handy, and I’m here to share my secrets to help you achieve a bumper crop!
For centuries, cucumbers have been a staple in gardens around the world, dating back to ancient civilizations in India. They were prized not only for their refreshing taste but also for their medicinal properties. Today, we still value cucumbers for their versatility in salads, pickles, and even skincare. But maximizing your yield can feel like a challenge.
Why do you need these DIY hacks? Because store-bought cucumbers simply can’t compare to the flavor and satisfaction of harvesting your own. Plus, learning how to boost cucumber harvest means less reliance on grocery stores and more fresh, healthy produce for you and your family. I’m going to show you some simple, effective techniques that will transform your cucumber patch into a thriving, cucumber-producing machine. Get ready to enjoy an abundance of delicious cucumbers all season long!
Growing Water Spinach (Kangkong) at Home: A Beginner’s Guide
Hey there, fellow gardening enthusiasts! Ever wanted to grow your own fresh, leafy greens right in your backyard or even on your balcony? Well, today I’m going to walk you through the surprisingly easy process of growing water spinach, also known as kangkong. This delicious and nutritious vegetable is a staple in many Asian cuisines, and trust me, once you taste homegrown kangkong, you’ll never want to buy it from the store again!
What You’ll Need
Before we dive in, let’s gather our supplies. Don’t worry, you probably have most of these things lying around already!
* **Water Spinach Seeds or Cuttings:** You can find seeds online or at your local Asian grocery store. Cuttings are another option, especially if you know someone who already grows kangkong.
* **A Container or Garden Bed:** A large pot, a plastic tub, or even a section of your garden will work. Just make sure it’s at least 6-8 inches deep.
* **Potting Mix or Garden Soil:** A good quality potting mix is ideal for containers, while garden soil is fine for in-ground planting.
* **Water:** Obviously! Kangkong loves water, so be prepared to water frequently.
* **Sunlight:** Kangkong needs at least 4-6 hours of sunlight per day.
* **Optional: Fertilizer:** A balanced liquid fertilizer can help boost growth, but it’s not strictly necessary.
* **Optional: A Tray or Basin:** If you’re growing in a container, a tray or basin to hold water can help keep the soil consistently moist.
Choosing Your Growing Method
There are a couple of ways to get started with kangkong: from seeds or from cuttings. Both are relatively simple, so choose whichever method you prefer.
* **From Seeds:** This is the most common method and allows you to start from scratch.
* **From Cuttings:** This is a faster way to get started, as you’re essentially cloning an existing plant.
Growing Water Spinach from Seeds
This is my preferred method, as it allows me to control the entire process from the very beginning.
1. **Soaking the Seeds:** To improve germination rates, soak the kangkong seeds in warm water for 12-24 hours before planting. This helps soften the seed coat and encourages sprouting. I usually put them in a small bowl and leave them on the counter overnight.
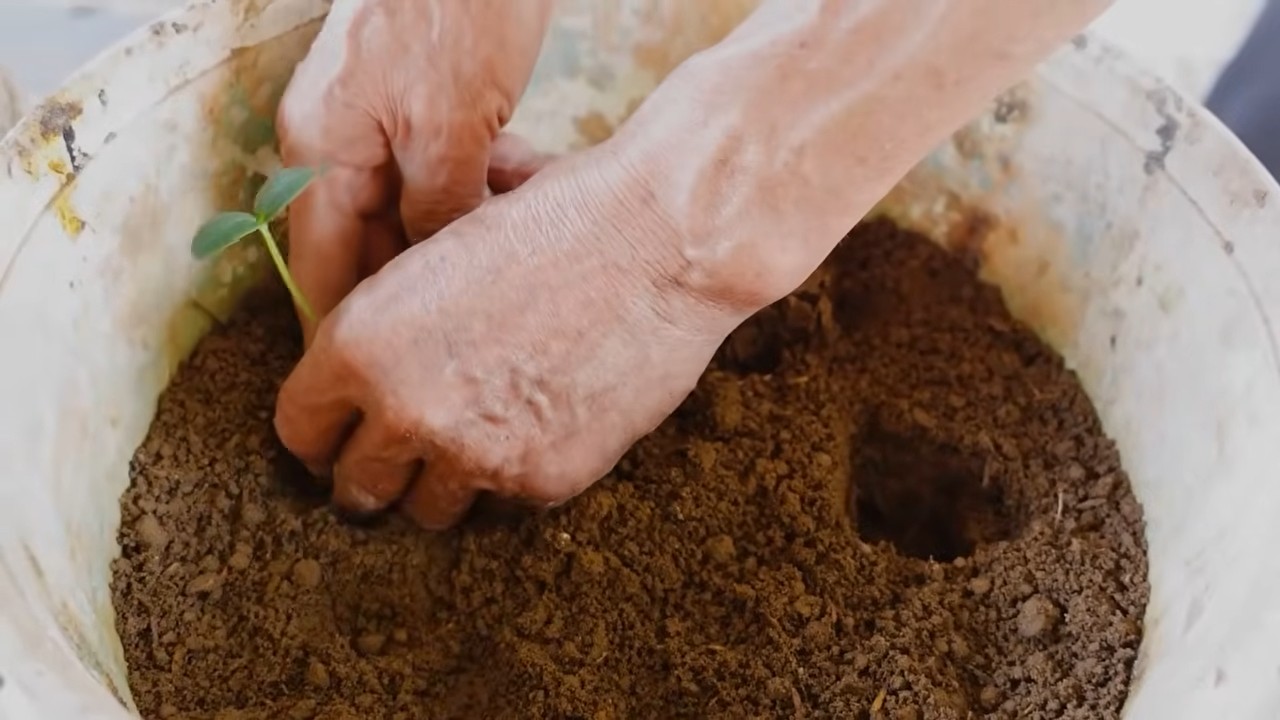
2. **Preparing the Soil:** Fill your container or garden bed with potting mix or garden soil. Make sure the soil is loose and well-draining. If you’re using garden soil, you might want to amend it with some compost or other organic matter to improve its fertility.
3. **Sowing the Seeds:** Sow the seeds about 1/2 inch deep and 1-2 inches apart. You can sow them in rows or scatter them evenly across the surface of the soil.
4. **Watering:** Gently water the soil after sowing the seeds. Keep the soil consistently moist, but not waterlogged. I like to use a spray bottle to avoid disturbing the seeds.
5. **Germination:** The seeds should germinate in 5-10 days. Keep the soil moist and provide plenty of sunlight.
6. **Thinning (Optional):** Once the seedlings have a few leaves, you can thin them out if they’re too crowded. This will give the remaining plants more room to grow.
Growing Water Spinach from Cuttings
This method is great if you already have access to a kangkong plant.
1. **Taking Cuttings:** Choose healthy stems that are about 6-8 inches long. Cut the stems just below a node (the point where leaves emerge). Remove the leaves from the bottom 2-3 inches of the stem.
2. **Rooting the Cuttings:** There are two ways to root the cuttings:
* **In Water:** Place the cuttings in a glass or jar of water, making sure that the bottom 2-3 inches of the stem are submerged. Change the water every day or two. Roots should start to appear in about a week.
* **Directly in Soil:** Plant the cuttings directly into moist potting mix or garden soil. Keep the soil consistently moist.
3. **Planting the Cuttings:** Once the cuttings have developed roots (if rooting in water) or after a week or two (if planting directly in soil), you can transplant them into your container or garden bed. Space the cuttings about 4-6 inches apart.
4. **Watering:** Water the cuttings thoroughly after planting. Keep the soil consistently moist.
Caring for Your Water Spinach
Now that your kangkong is planted, it’s time to give it the care it needs to thrive.
1. **Sunlight:** Kangkong needs at least 4-6 hours of sunlight per day. If you’re growing it indoors, place it near a sunny window or use a grow light.
2. **Watering:** This is crucial! Kangkong loves water, so water it frequently, especially during hot weather. The soil should always be moist, but not waterlogged. I usually water mine every day, sometimes twice a day during the summer.
3. **Fertilizing (Optional):** To boost growth, you can fertilize your kangkong every 2-3 weeks with a balanced liquid fertilizer. Follow the instructions on the fertilizer label.
4. **Pest Control:** Kangkong is relatively pest-resistant, but it can sometimes be affected by aphids or spider mites. If you notice any pests, you can spray them with insecticidal soap or neem oil.
5. **Weeding:** If you’re growing kangkong in your garden, be sure to weed regularly to prevent competition for nutrients and water.
Harvesting Your Water Spinach
The best part! You can start harvesting your kangkong about 4-6 weeks after planting.
1. **Harvesting Method:** To harvest, simply cut the stems about 4-6 inches above the soil line. The plant will regrow from the cut stems, allowing you to harvest multiple times.
2. **Harvesting Frequency:** You can harvest kangkong every 2-3 weeks. The more you harvest, the more it will grow!
3. **Storage:** Freshly harvested kangkong is best used immediately. However, you can store it in the refrigerator for a few days. Wrap it in a damp paper towel and place it in a plastic bag.
Troubleshooting
Even with the best care, you might encounter a few challenges along the way. Here are some common problems and how to fix them:
* **Yellowing Leaves:** This could be a sign of overwatering, underwatering, or nutrient deficiency. Check the soil moisture and adjust your watering accordingly. If the soil is dry, water more frequently. If the soil is waterlogged, allow it to dry out slightly before watering again. You can also try fertilizing with a balanced liquid fertilizer.
* **Slow Growth:** This could be due to insufficient sunlight, poor soil, or lack of fertilizer. Make sure your kangkong is getting enough sunlight and that the soil is fertile. You can also try fertilizing with a balanced liquid fertilizer.
* **Pests:** As mentioned earlier, kangkong can sometimes be affected by aphids or spider mites. Spray them with insecticidal soap or neem oil.
Enjoying Your Homegrown Water Spinach
Now that you’ve harvested your kangkong, it’s time to enjoy the fruits (or rather, vegetables!) of your labor. Kangkong is incredibly versatile and can be used in a variety of dishes. Here are a few ideas:
* **Stir-fries:** Kangkong is a popular ingredient in stir-fries. Simply stir-fry it with garlic, chili peppers, and your favorite sauce.
* **Soups:** Add kangkong to soups for a boost of flavor and nutrients.
* **Salads:** Use young, tender kangkong leaves in salads.
* **Steamed:** Steam kangkong and serve it with a dipping sauce.
Tips for Success
Here are a few extra tips to help you grow the best kangkong possible:
* **Choose the Right Variety:** There are different varieties of kangkong, so choose one that is well-suited to your climate.
* **Provide Support:** If your kangkong plants are getting tall and leggy, you can provide them with support by staking them or using a trellis.
* **Rotate Your Crops:** To prevent soilborne diseases, rotate your crops every year. Don’t plant kangkong in the same spot year after year.
* **Have Fun!** Gardening should be enjoyable, so relax and have fun with it!
Growing water spinach at home is a rewarding experience. Not only will you have access to fresh, delicious greens, but you’ll also get the satisfaction of knowing that you grew them yourself. So, what are you waiting for? Get started today and enjoy the taste of homegrown kangkong!
Conclusion
So, there you have it! This simple yet incredibly effective DIY trick to boost cucumber harvest is a game-changer for any gardener, regardless of experience level. We’ve explored how strategic pruning, specifically focusing on removing unproductive lower leaves and encouraging lateral growth, can dramatically increase your yield. It’s not just about having more cucumbers; it’s about having healthier, more robust plants that are less susceptible to disease and produce higher quality fruit.
Think about it: fewer resources wasted on foliage that isn’t contributing to fruit production, more sunlight and airflow reaching the developing cucumbers, and a plant that’s channeling its energy into what truly matters – creating a bountiful harvest for you. This isn’t some complicated, time-consuming process either. It’s a quick, easy adjustment to your regular gardening routine that yields significant results.
But don’t just take our word for it. The real magic happens when you try it yourself. Imagine walking through your garden, rows overflowing with plump, juicy cucumbers, all thanks to a simple pruning technique. The satisfaction of harvesting your own homegrown produce is unparalleled, and knowing you’ve maximized your yield makes it even sweeter.
Variations and Suggestions:
* Vertical Gardening: This trick is especially beneficial for cucumbers grown vertically on trellises or supports. Pruning helps maintain airflow and prevents overcrowding, which is crucial in vertical systems.
* Container Gardening: Even if you’re growing cucumbers in containers, this pruning method applies. It helps keep the plants manageable and encourages fruit production in a limited space.
* Different Cucumber Varieties: While this technique works well for most cucumber varieties, pay attention to the specific growth habits of your plants. Some varieties may require slightly different pruning approaches. Experiment and observe how your plants respond.
* Companion Planting: Consider companion planting with herbs like basil or marigolds to further deter pests and promote healthy growth alongside your pruned cucumbers.
* Watering and Fertilizing: Remember that pruning is just one piece of the puzzle. Consistent watering and appropriate fertilization are also essential for a successful cucumber harvest. Use a balanced fertilizer specifically formulated for vegetables.
We’re confident that this DIY trick will transform your cucumber growing experience. It’s a small change that makes a huge difference. So, grab your pruning shears, head out to your garden, and give it a try. We’re eager to hear about your results!
Don’t hesitate to share your experiences, photos, and any variations you discover in the comments below. Let’s create a community of cucumber-growing enthusiasts who are all reaping the rewards of this simple yet powerful technique. Happy gardening, and get ready for a bumper crop of delicious, homegrown cucumbers! We encourage you to share your results on social media using #BoostCucumberHarvest and tag us in your posts! We can’t wait to see your success stories.
Frequently Asked Questions (FAQ)
What exactly does “boosting cucumber harvest” mean?
Boosting cucumber harvest refers to increasing the quantity and quality of cucumbers you obtain from your plants. This DIY trick focuses on optimizing plant growth to maximize fruit production. It’s about getting the most out of your cucumber plants with minimal effort.
Why does pruning help increase cucumber yield?
Pruning, specifically the removal of unproductive lower leaves and strategic trimming of lateral vines, redirects the plant’s energy towards fruit production. By removing foliage that isn’t contributing to fruit development, the plant can focus its resources on growing larger, healthier cucumbers. It also improves airflow and sunlight penetration, reducing the risk of disease and promoting overall plant health.
When is the best time to start pruning my cucumber plants?
You can begin pruning your cucumber plants once they have established themselves and started to produce lateral vines. Typically, this is when the plants are around 1-2 feet tall. Look for the lower leaves that are starting to yellow or show signs of disease, and remove those first. Then, focus on pruning the lateral vines to encourage more fruit-bearing shoots.
How much of the cucumber plant should I prune?
Avoid over-pruning, as this can stress the plant. Focus on removing the lower leaves that are touching the ground or are yellowing. For lateral vines, you can trim them back to a few leaves beyond the last developing cucumber. The goal is to maintain a balance between foliage and fruit production.
What tools do I need for pruning cucumber plants?
You’ll need a pair of sharp, clean pruning shears or scissors. Make sure your tools are sanitized to prevent the spread of disease. A small bucket or container to collect the pruned leaves is also helpful.
Will pruning damage my cucumber plants?
When done correctly, pruning will not damage your cucumber plants. In fact, it will improve their overall health and productivity. However, it’s important to use sharp, clean tools and avoid over-pruning. Make clean cuts to minimize the risk of infection.
How often should I prune my cucumber plants?
Regular pruning is key to maintaining a healthy and productive cucumber plant. Aim to prune your plants every 1-2 weeks, depending on their growth rate. This will help keep them tidy, improve airflow, and encourage continuous fruit production.
Can I use this pruning technique for all cucumber varieties?
This pruning technique is generally effective for most cucumber varieties, including slicing cucumbers, pickling cucumbers, and bush cucumbers. However, some varieties may have slightly different growth habits, so it’s important to observe your plants and adjust your pruning accordingly.
What if I don’t have time to prune my cucumber plants regularly?
Even if you don’t have time for regular pruning, a single, well-timed pruning session can still make a significant difference in your cucumber harvest. Focus on removing the lower leaves and any overcrowded foliage to improve airflow and sunlight penetration.
What are the signs that I’m over-pruning my cucumber plants?
Signs of over-pruning include stunted growth, yellowing leaves, and a decrease in fruit production. If you notice these signs, reduce the amount of pruning you’re doing and allow the plant to recover.
What should I do with the pruned leaves and vines?
You can compost the pruned leaves and vines, as long as they are free from disease. If the leaves show signs of disease, it’s best to dispose of them in the trash to prevent the spread of infection.
Does this DIY trick work for other vine crops like squash or melons?
While the basic principles of pruning for improved airflow and fruit production apply to other vine crops, the specific pruning techniques may vary. Research the specific needs of each crop before pruning.
How does this pruning method help prevent diseases in cucumber plants?
By improving airflow and sunlight penetration, pruning helps to create an environment that is less favorable for fungal diseases. Denser foliage traps moisture and creates a breeding ground for pathogens. Pruning helps to keep the plants dry and well-ventilated, reducing the risk of disease.
What kind of fertilizer should I use for my cucumber plants after pruning?
After pruning, it’s a good idea to fertilize your cucumber plants with a balanced fertilizer that is specifically formulated for vegetables. Look for a fertilizer with a ratio of N-P-K (nitrogen, phosphorus, potassium) that is close to 10-10-10 or 14-14-14. This will provide the plants with the nutrients they need to recover from pruning and continue producing fruit.
How long will it take to see results after pruning my cucumber plants?
You should start to see results within a week or two after pruning your cucumber plants. You may notice increased fruit production, larger cucumbers, and healthier foliage. The exact timing will depend on the variety of cucumber, the growing conditions, and the overall health of the plant.


Leave a Comment