
Dust Free Furniture Tips: Are you tired of constantly battling dust bunnies and spending your weekends wiping down every surface in your home? I know I am! It feels like the moment I finish dusting, a fresh layer settles right back down. But what if I told you there are simple, DIY tricks and hacks that can dramatically reduce the amount of dust clinging to your beloved furniture?
For centuries, keeping homes clean and dust-free has been a universal concern. In ancient civilizations, meticulous cleaning was often associated with religious practices and social status. While we may not be sweeping floors with palm leaves anymore, the desire for a clean and healthy living space remains strong.
In today’s busy world, who has time to dust every single day? That’s where these dust free furniture tips come in handy. These aren’t just quick fixes; they’re practical solutions that address the root causes of dust accumulation. From choosing the right cleaning products to implementing simple preventative measures, I’m going to share my favorite DIY strategies that will help you reclaim your weekends and enjoy a cleaner, healthier, and more inviting home. Get ready to say goodbye to endless dusting and hello to more free time!
DIY Dust-Free Furniture: A Guide to Sparkling Clean Surfaces
Okay, let’s face it: dusting is a chore. But what if I told you there were ways to make your furniture stay dust-free for longer? I’ve experimented with a bunch of methods, and I’m excited to share my favorite DIY hack for keeping those pesky dust bunnies at bay. This isn’t just about wiping surfaces; it’s about creating a protective barrier that repels dust and keeps your furniture looking its best.
What You’ll Need:
Before we dive in, let’s gather our supplies. This is a simple project, so you probably have most of these items already!
* **Microfiber Cloths:** These are essential! Ditch the old rags and invest in a few good quality microfiber cloths. They trap dust instead of just pushing it around.
* **Spray Bottle:** A clean, empty spray bottle is a must.
* **White Vinegar:** This is our secret weapon! Vinegar is a natural cleaner and helps to remove any residue that might attract dust.
* **Olive Oil:** Yes, you read that right! Olive oil creates a protective layer that repels dust and adds a beautiful shine.
* **Lemon Essential Oil (Optional):** This adds a lovely scent and has some cleaning properties too.
* **Water:** Tap water is fine.
* **Furniture Polish (Optional):** If you prefer a traditional furniture polish, you can use it after our DIY treatment. Just make sure it’s compatible with your furniture’s finish.
Preparing Your Furniture: The Foundation for Success
Before we apply our dust-repelling solution, we need to make sure the furniture is clean and free of any existing dust or grime. This is crucial for the longevity of our treatment.
1. **Dust Thoroughly:** Using a dry microfiber cloth, wipe down all surfaces of your furniture. Pay attention to corners, crevices, and any decorative details. I like to use a small brush for hard-to-reach areas.
2. **Vacuum Upholstery (If Applicable):** If your furniture has upholstery, vacuum it thoroughly to remove any dust, dirt, or pet hair. Use the upholstery attachment on your vacuum cleaner.
3. **Spot Clean Stains (If Necessary):** If you notice any stains, spot clean them with a mild detergent and water. Be sure to test the solution on an inconspicuous area first to ensure it doesn’t damage the finish. Let the area dry completely before moving on.
Mixing the Magic Dust-Repelling Solution
Now for the fun part! We’re going to create our own dust-repelling solution that will keep your furniture looking clean and shiny for weeks.
1. **Combine Ingredients:** In your spray bottle, combine the following:
* 1/4 cup white vinegar
* 1/2 cup olive oil
* 1/2 cup water
* 10-15 drops of lemon essential oil (optional)
2. **Shake Well:** Secure the lid on the spray bottle and shake vigorously to combine all the ingredients. The olive oil and water will naturally separate, so you’ll need to shake the bottle before each use.
Applying the Dust-Repelling Treatment
Now that we have our solution, let’s apply it to the furniture. This is where the magic happens!
1. **Spray Lightly:** Lightly spray the solution onto a clean microfiber cloth. Avoid spraying directly onto the furniture, as this can lead to uneven application.
2. **Wipe Evenly:** Wipe the furniture surface with the damp microfiber cloth, using a circular motion. Be sure to cover all areas, including corners and edges.
3. **Buff to a Shine:** Using a clean, dry microfiber cloth, buff the furniture surface to a shine. This will remove any excess oil and leave a beautiful, protective layer.
4. **Repeat as Needed:** Repeat steps 1-3 for all of your furniture.
Dealing with Different Furniture Types
Not all furniture is created equal! Here’s how to adjust the process for different types of furniture:
* **Wood Furniture:** This method works great on most wood furniture. However, if you have antique or delicate wood furniture, test the solution on an inconspicuous area first to ensure it doesn’t damage the finish. You might also want to use a smaller amount of olive oil.
* **Leather Furniture:** This solution can also be used on leather furniture, but use it sparingly. Leather is porous, so too much oil can clog the pores. Apply a very thin layer and buff thoroughly.
* **Upholstered Furniture:** This method is not recommended for upholstered furniture. Instead, focus on vacuuming regularly and spot cleaning any stains.
* **Glass Furniture:** For glass furniture, skip the olive oil. Just use a mixture of white vinegar and water.
Maintaining Your Dust-Free Furniture
Once you’ve applied the dust-repelling treatment, you’ll notice a significant reduction in dust buildup. However, it’s still important to maintain your furniture to keep it looking its best.
* **Dust Regularly:** Even with the dust-repelling treatment, you’ll still need to dust your furniture occasionally. Use a dry microfiber cloth to remove any dust that does accumulate.
* **Vacuum Upholstery Regularly:** Vacuum upholstered furniture at least once a week to remove dust, dirt, and pet hair.
* **Reapply the Treatment:** Reapply the dust-repelling treatment every few weeks, or as needed. The frequency will depend on how much dust accumulates in your home.
Troubleshooting Tips
Sometimes, things don’t go exactly as planned. Here are a few troubleshooting tips to help you overcome any challenges:
* **Streaky Finish:** If you notice a streaky finish after applying the solution, you’re probably using too much olive oil. Use a clean, dry microfiber cloth to buff the surface until the streaks disappear.
* **Dull Finish:** If your furniture looks dull after applying the solution, you may not be buffing it enough. Use a clean, dry microfiber cloth to buff the surface until it shines.
* **Sticky Residue:** If you notice a sticky residue, you may be using too much solution. Use a damp microfiber cloth to wipe the surface and then buff it dry.
* **Allergic Reaction:** If you’re allergic to olive oil or lemon essential oil, you can substitute them with other ingredients. For example, you can use mineral oil instead of olive oil, or skip the essential oil altogether.
Why This Works: The Science Behind the Shine
You might be wondering why this DIY solution is so effective. Here’s a breakdown of the science behind it:
* **White Vinegar:** Vinegar is a natural cleaner and disinfectant. It helps to remove any residue that might attract dust. Its acidity also helps to break down grime and dirt.
* **Olive Oil:** Olive oil creates a protective layer on the furniture surface that repels dust. It also adds a beautiful shine. The oil fills in microscopic imperfections in the furniture’s finish, creating a smoother surface that dust can’t easily cling to.
* **Lemon Essential Oil:** Lemon essential oil has cleaning properties and adds a pleasant scent. It also acts as a natural disinfectant.
Alternative Solutions and Variations
While I love this particular recipe, there are other variations you can try to find what works best for you and your furniture.
* **Beeswax Polish:** For a more traditional approach, you can use beeswax polish. Beeswax creates a protective layer that repels dust and adds a beautiful shine. You can find beeswax polish at most hardware stores or online.
* **Commercial Furniture Polish:** If you prefer a commercial furniture polish, choose one that is specifically designed for your furniture’s finish. Be sure to follow the manufacturer’s instructions carefully.
* **Dusting Sprays:** There are many dusting sprays available on the market. Look for ones that are specifically designed to repel dust.
* **Just Water and Microfiber:** Sometimes, all you need is a damp microfiber cloth. For lightly soiled furniture, this can be an effective and eco-friendly way to remove dust.
Extra Tips for a Dust-Free Home
Keeping your furniture dust-free is just one piece of the puzzle. Here are some extra tips for creating a dust-free home:
* **Change Your Air Filters Regularly:** Dirty air filters can circulate dust throughout your home. Change your air filters every 1-3 months, depending on the type of filter and the air quality in your area.
* **Vacuum Regularly:** Vacuum your floors and carpets at least once a week to remove dust, dirt, and pet hair.
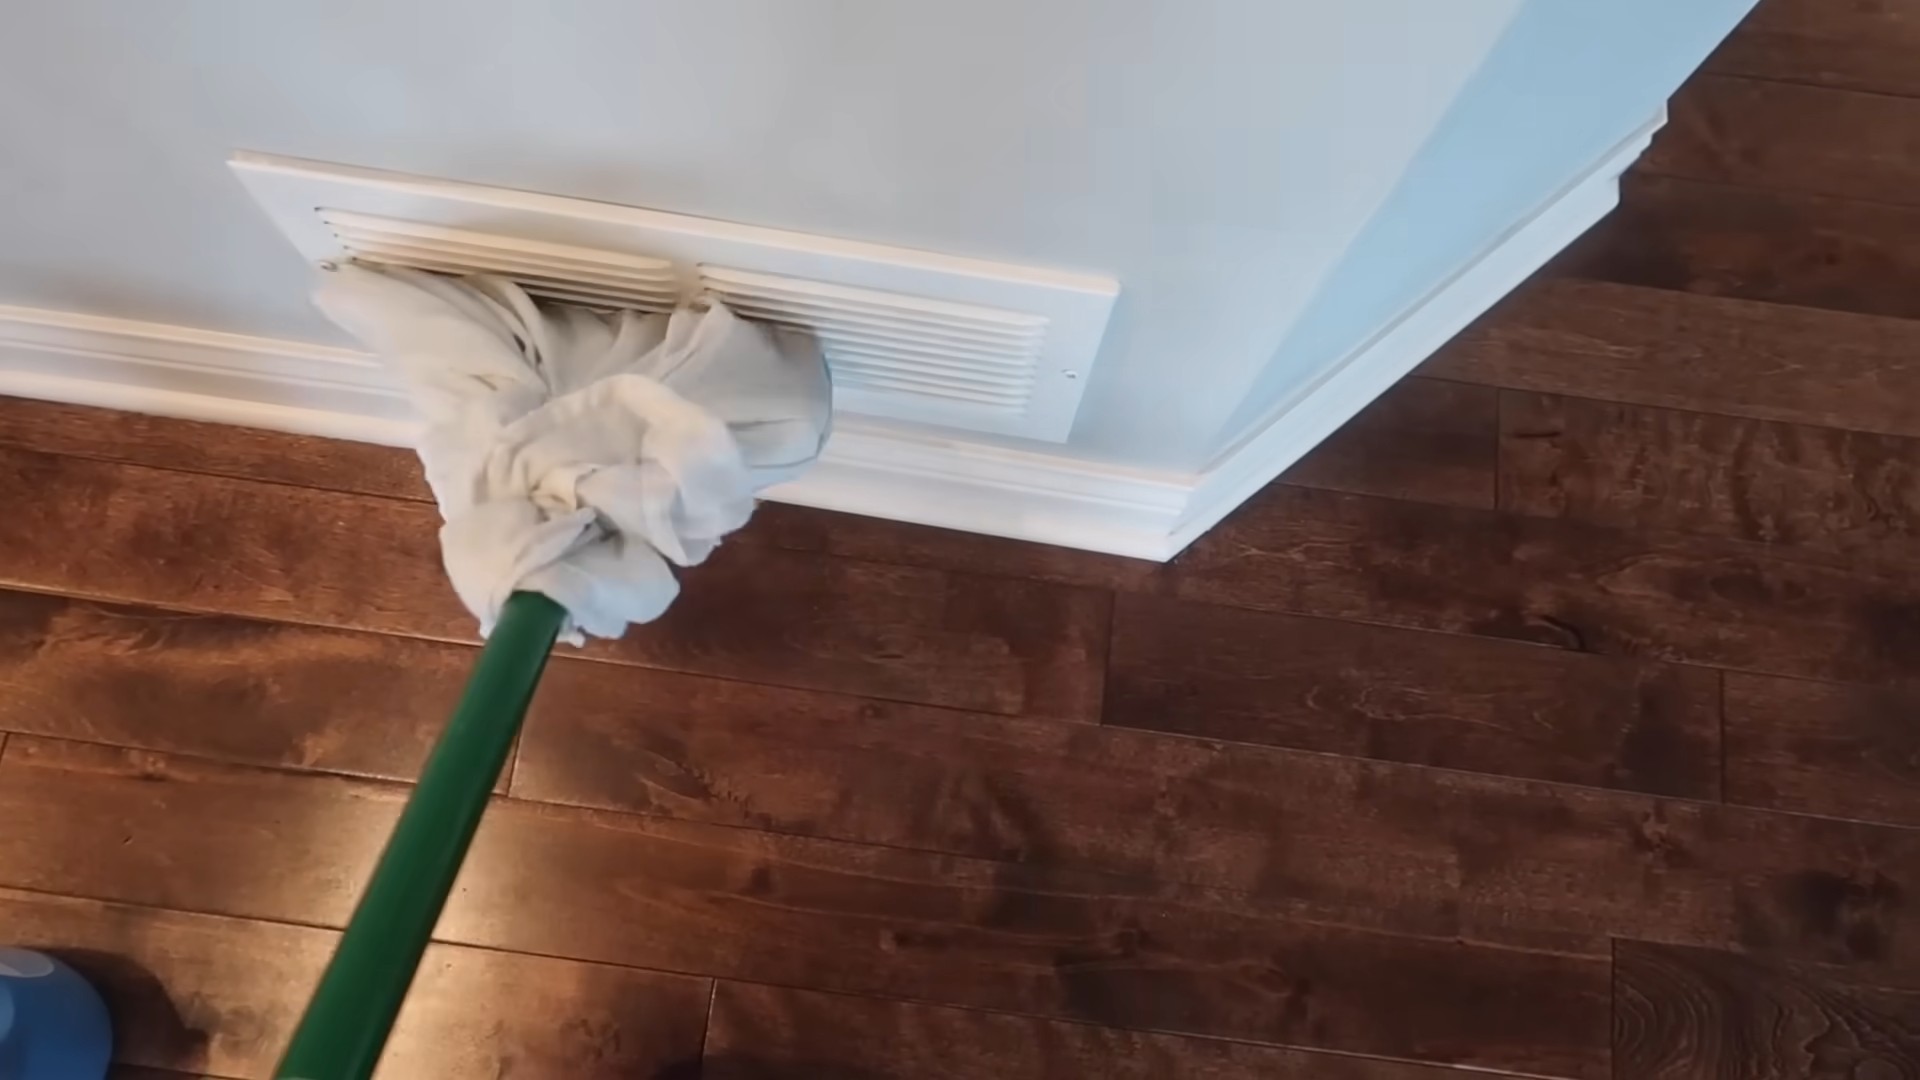
* **Dust High Surfaces:** Don’t forget to dust high surfaces, such as ceiling fans, light fixtures, and shelves.
* **Wash Bedding Regularly:** Wash your bedding at least once a week to remove dust mites and allergens.
* **Control Humidity:** High humidity can promote dust mite growth. Use a dehumidifier to control the humidity in your home.
* **Declutter:** The less stuff you have, the less dust will accumulate. Declutter your home regularly to reduce dust buildup.
Final Thoughts
I hope you found this DIY guide helpful! With a little effort and the right ingredients, you
Conclusion
So, there you have it! This simple yet incredibly effective DIY trick for keeping your furniture dust-free is a game-changer. We’ve all been there, battling the seemingly endless cycle of dusting only to find that pesky layer reappearing within days, sometimes even hours. This method, however, offers a real solution, a way to significantly reduce dust accumulation and reclaim your precious time.
Why is this a must-try? Because it’s not just about aesthetics; it’s about creating a healthier living environment. Dust carries allergens, pollutants, and other irritants that can negatively impact air quality and trigger allergies or respiratory issues. By minimizing dust, you’re actively improving the air you breathe and creating a more comfortable space for yourself and your loved ones.
Beyond the basic recipe, feel free to experiment and personalize it to suit your preferences and needs. For instance, if you prefer a stronger scent, add a few more drops of your favorite essential oil. Lavender, lemon, and eucalyptus are all excellent choices for their cleaning and aromatherapy benefits. If you’re concerned about using vinegar on certain delicate surfaces, you can substitute it with distilled water or a mild, pH-neutral cleaner. Always test a small, inconspicuous area first to ensure compatibility.
Another variation involves the type of cloth you use. Microfiber cloths are generally considered the best for trapping dust and preventing it from simply being redistributed into the air. However, you can also use soft cotton cloths or even old t-shirts. Just make sure they are clean and lint-free.
Consider adding a small amount of furniture polish to the mixture for added shine and protection. Be sure to use a polish that is compatible with your furniture’s finish.
The beauty of this DIY dust repellent is its simplicity and adaptability. It’s a cost-effective, eco-friendly alternative to commercial dusting products, and it allows you to control exactly what ingredients you’re using in your home. Plus, it’s incredibly satisfying to create something that works so well with just a few simple ingredients.
We wholeheartedly encourage you to give this dust-free furniture trick a try. You’ll be amazed at the difference it makes. Not only will your furniture look cleaner for longer, but you’ll also enjoy a fresher, healthier home environment.
But don’t just take our word for it! We want to hear about your experiences. Share your results, variations, and tips in the comments below. Let’s create a community of dust-busting experts and help each other achieve cleaner, healthier homes. What essential oils did you use? Did you find a particular cloth worked better than others? Did you adjust the ratios of the ingredients? Your insights could be invaluable to others. Let’s conquer dust together!
Frequently Asked Questions
What exactly is this DIY dust-free furniture trick, and how does it work?
This DIY trick involves creating a simple cleaning solution using common household ingredients like vinegar, olive oil, and essential oils. The vinegar helps to loosen dust and grime, while the olive oil creates a protective barrier that repels dust and prevents it from settling easily. The essential oils add a pleasant scent and can also provide additional cleaning and disinfecting properties. When applied to furniture, this solution leaves a thin, protective layer that makes it harder for dust to adhere, resulting in cleaner furniture for a longer period.
What kind of furniture can I use this DIY dust repellent on?
This DIY dust repellent is generally safe for most types of finished wood furniture, including tables, chairs, dressers, and cabinets. However, it’s always a good idea to test it on a small, inconspicuous area first, especially if you have antique or delicate furniture. Avoid using it on unfinished wood, as the solution could potentially stain or damage the surface. It’s also not recommended for use on upholstery or fabrics. For those surfaces, consider vacuuming regularly with an upholstery attachment.
Is vinegar safe to use on my furniture? Won’t it damage the finish?
When diluted properly, vinegar is generally safe to use on most finished wood furniture. The acidity of vinegar can help to break down grime and remove buildup. However, it’s crucial to dilute the vinegar with water to prevent it from damaging the finish. Always test the solution on a small, hidden area first to ensure compatibility. If you’re concerned about using vinegar, you can substitute it with distilled water or a mild, pH-neutral cleaner.
What kind of essential oils should I use?
The choice of essential oils is entirely up to you and your personal preferences. Lavender, lemon, eucalyptus, tea tree, and orange are all popular choices for their cleaning and aromatherapy benefits. Lavender is known for its calming properties, lemon and orange have a refreshing scent, eucalyptus has antibacterial properties, and tea tree is a natural disinfectant. Experiment with different combinations to find your favorite scent. Just be sure to use pure essential oils and not fragrance oils, as fragrance oils don’t offer the same benefits.
How often should I apply this DIY dust repellent?
The frequency of application will depend on how quickly your furniture accumulates dust. In general, applying the solution every one to two weeks should be sufficient to keep your furniture dust-free. However, if you live in a dusty environment or have pets, you may need to apply it more frequently. Observe your furniture and adjust the frequency accordingly.
Can I use this DIY dust repellent on leather furniture?
No, this DIY dust repellent is not recommended for use on leather furniture. The vinegar and olive oil could potentially damage or discolor the leather. For leather furniture, it’s best to use a specialized leather cleaner and conditioner.
What if I don’t have olive oil? Can I substitute it with something else?
If you don’t have olive oil, you can substitute it with another light oil, such as almond oil or jojoba oil. These oils have similar properties to olive oil and can help to create a protective barrier that repels dust. Avoid using heavy oils, such as coconut oil, as they can leave a greasy residue.
How should I store the leftover DIY dust repellent?
Store the leftover DIY dust repellent in a clean, airtight spray bottle in a cool, dark place. This will help to preserve the quality of the ingredients and prevent the essential oils from evaporating. The solution should last for several weeks.
My furniture is already very dusty. Should I clean it before applying the DIY dust repellent?
Yes, it’s essential to clean your furniture thoroughly before applying the DIY dust repellent. Use a vacuum cleaner with a soft brush attachment to remove loose dust and debris. You can also use a damp cloth to wipe down the surface. Make sure the furniture is completely dry before applying the dust repellent.
I tried the DIY dust repellent, but my furniture still seems dusty. What am I doing wrong?
There could be several reasons why your furniture is still dusty after applying the DIY dust repellent. Make sure you’re using the correct ratio of ingredients and that you’re applying the solution evenly. Also, ensure that you’re using a clean microfiber cloth to wipe down the furniture. If your furniture is heavily soiled, you may need to clean it more thoroughly before applying the dust repellent. Finally, consider the environment in your home. If you have pets or live in a dusty area, you may need to apply the solution more frequently.

Leave a Comment