
Fast Growing Plants in June: Your Guide to a Bountiful Garden!
Ever dream of a garden bursting with vibrant colors and delicious harvests, seemingly overnight? I know I have! June, with its long sunny days and warm nights, is the *perfect* time to make that dream a reality. But let’s be honest, waiting for plants to mature can feel like watching paint dry. That’s where the magic of fast growing plants comes in!
For centuries, gardeners have sought ways to accelerate growth, from ancient Egyptians using sophisticated irrigation techniques to modern-day enthusiasts experimenting with innovative methods. The desire to nurture and cultivate quickly is deeply ingrained in our connection to the earth. Think about victory gardens during wartime, a testament to the power of rapid food production and community resilience.
Why do you need these DIY tricks and hacks for fast growing plants? Because life is busy! We all crave instant gratification, and in the garden, that means enjoying the fruits (and vegetables!) of our labor sooner rather than later. Plus, a flourishing garden provides fresh, healthy food, reduces stress, and adds beauty to your surroundings. This article is packed with simple, effective DIY techniques to help you cultivate a thriving garden filled with plants that practically leap out of the ground. Get ready to roll up your sleeves and transform your garden into a green oasis in record time!
DIY Guide: Creating a Hyper-Productive Vertical Herb Garden for Fast-Growing Plants
Hey there, fellow plant enthusiasts! I’m so excited to share this DIY project with you. I’ve always dreamed of having a lush herb garden, but space is a premium in my apartment. That’s why I decided to build a vertical herb garden specifically designed to maximize growth for those speedy little plants we all love. This project is perfect for beginners, and I promise you’ll be harvesting fresh herbs in no time!
Materials You’ll Need
Before we dive in, let’s gather our supplies. This list might seem long, but trust me, it’s all pretty straightforward and readily available at your local hardware or garden store.
* **Wooden Pallet:** Look for a clean, sturdy pallet. Avoid pallets that have been chemically treated (look for an “HT” stamp, which means heat-treated, a safer option). You can often find these for free at local businesses.
* **Heavy-Duty Landscape Fabric:** This will line the pallet and create pockets for the soil.
* **Staple Gun and Staples:** Essential for securing the landscape fabric.
* **Potting Soil:** Choose a high-quality potting mix specifically formulated for herbs.
* **Fast-Growing Herb Seedlings or Seeds:** Think basil, mint, cilantro, parsley, chives, oregano, and dill.
* **Gloves:** To protect your hands.
* **Measuring Tape:** For accurate cuts.
* **Scissors or Utility Knife:** For cutting the landscape fabric.
* **Sandpaper (Optional):** To smooth out any rough edges on the pallet.
* **Wood Sealer (Optional):** To protect the pallet from the elements.
* **Drill and Screws (Optional):** If you want to reinforce the pallet.
* **Watering Can or Hose:** For watering your herbs.
* **Small Trowel or Shovel:** For planting.
* **Eye Protection:** Safety first!
Preparing the Pallet
This is a crucial step to ensure your vertical garden is safe and long-lasting.
1. **Inspect the Pallet:** Carefully examine the pallet for any loose nails, splinters, or damage. Remove any loose nails with a hammer and pliers. Sand down any rough edges with sandpaper.
2. **Clean the Pallet:** Thoroughly clean the pallet with soap and water to remove any dirt or debris. Let it dry completely.
3. **Reinforce (Optional):** If the pallet feels flimsy, you can reinforce it by adding screws to the joints. This will make it more stable and prevent it from falling apart.
4. **Seal (Optional):** Apply a wood sealer to protect the pallet from moisture and extend its lifespan. Follow the manufacturer’s instructions for application and drying time. I highly recommend this step if you plan to keep your garden outdoors.
Creating the Planting Pockets
This is where the magic happens! We’ll be using landscape fabric to create individual pockets for each herb.
1. **Measure and Cut the Landscape Fabric:** Measure the width of the pallet between the slats. Cut strips of landscape fabric that are twice the width of the pallet plus a few extra inches for overlap. The length of the strips will depend on how deep you want your planting pockets to be. I recommend making them at least 6-8 inches deep.
2. **Fold and Staple the First Pocket:** Fold the first strip of landscape fabric in half lengthwise. Position the folded edge along the bottom slat of the pallet. Staple the fabric to the slat, creating a secure pocket. Make sure the staples are close together to prevent the fabric from tearing.
3. **Create Subsequent Pockets:** Repeat the folding and stapling process for each subsequent slat, overlapping the previous pocket slightly. This will create a tiered effect and prevent soil from leaking out. Ensure each pocket is securely stapled to the pallet.
4. **Reinforce the Pockets (Important!):** Go back and add extra staples to the corners and along the edges of each pocket. This is especially important for the bottom pockets, which will bear the most weight.
5. **Test the Pockets:** Before adding soil, test the strength of the pockets by gently pressing down on them. If you notice any weak spots, add more staples.
Planting Your Herbs
Now for the fun part! Let’s get those herbs planted.
1. **Fill the Pockets with Potting Soil:** Carefully fill each pocket with potting soil, leaving about an inch of space at the top. Gently pat down the soil to remove any air pockets.
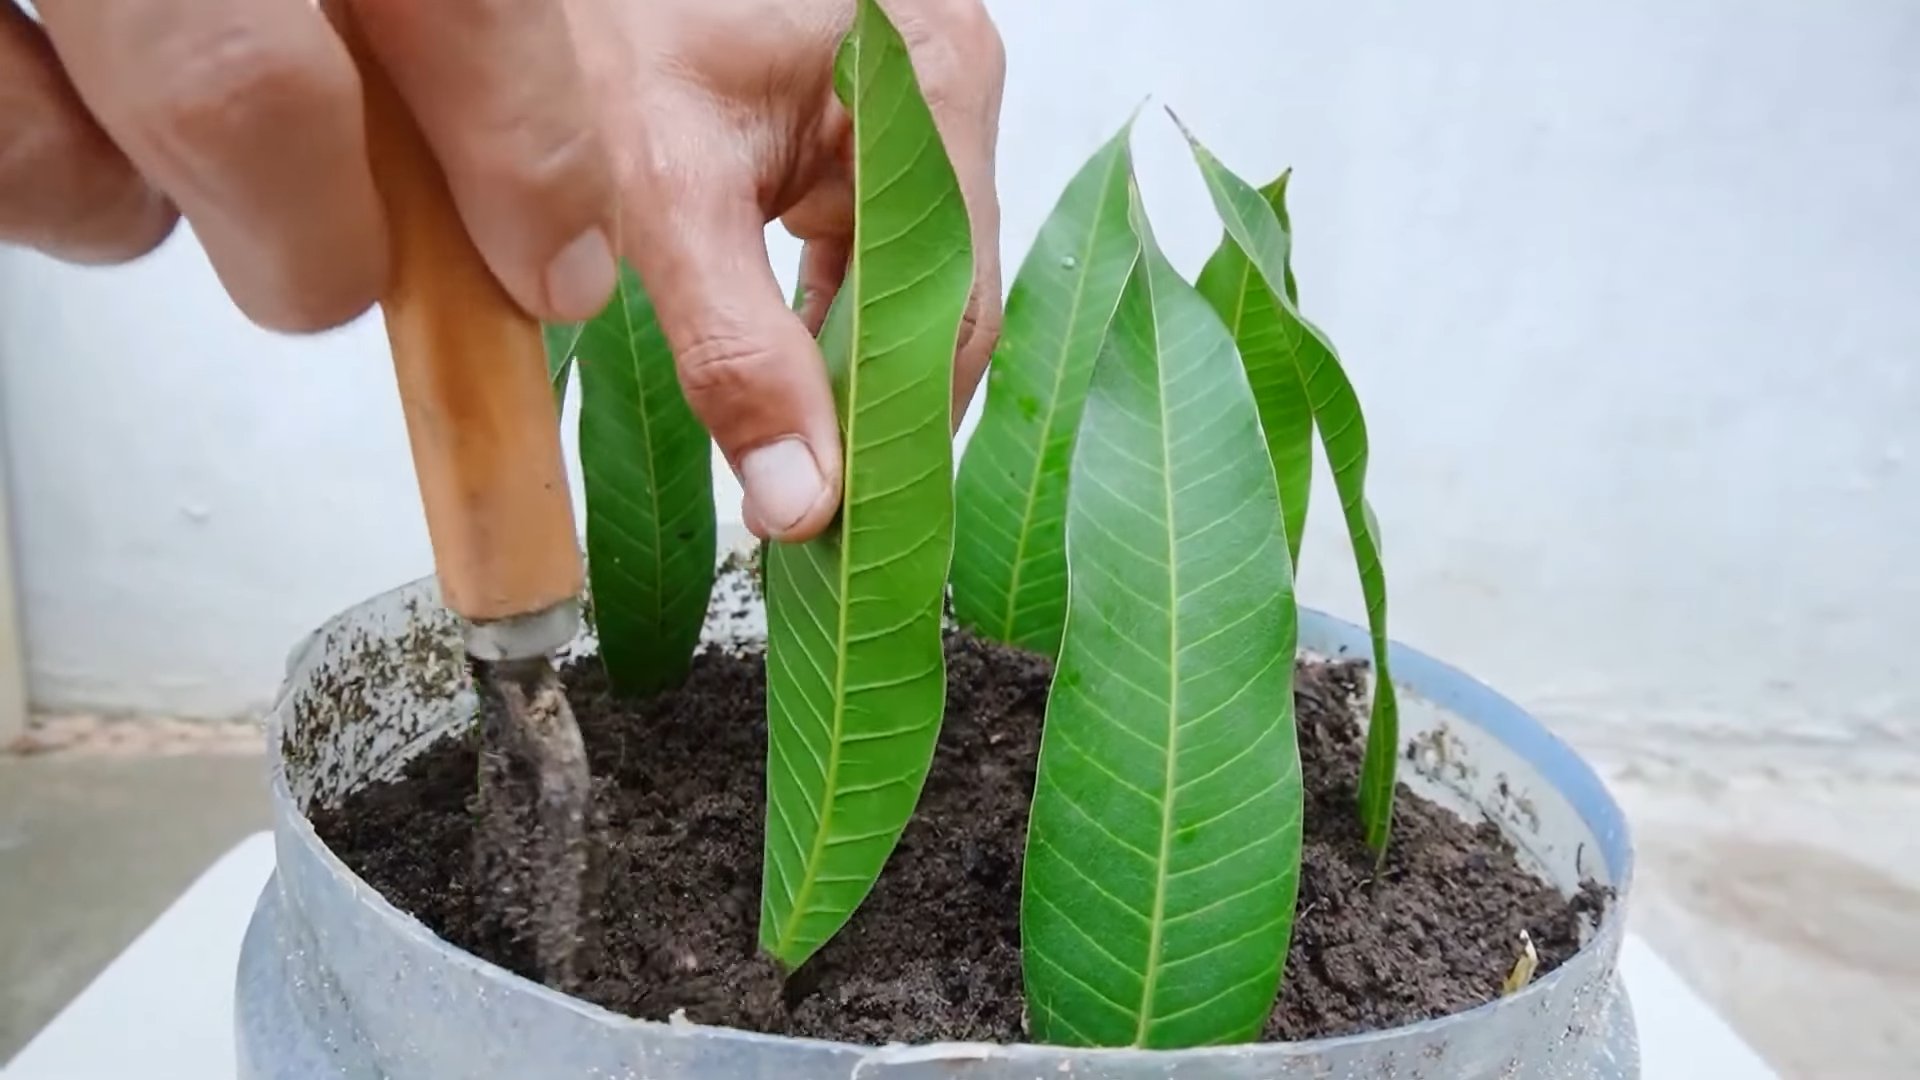
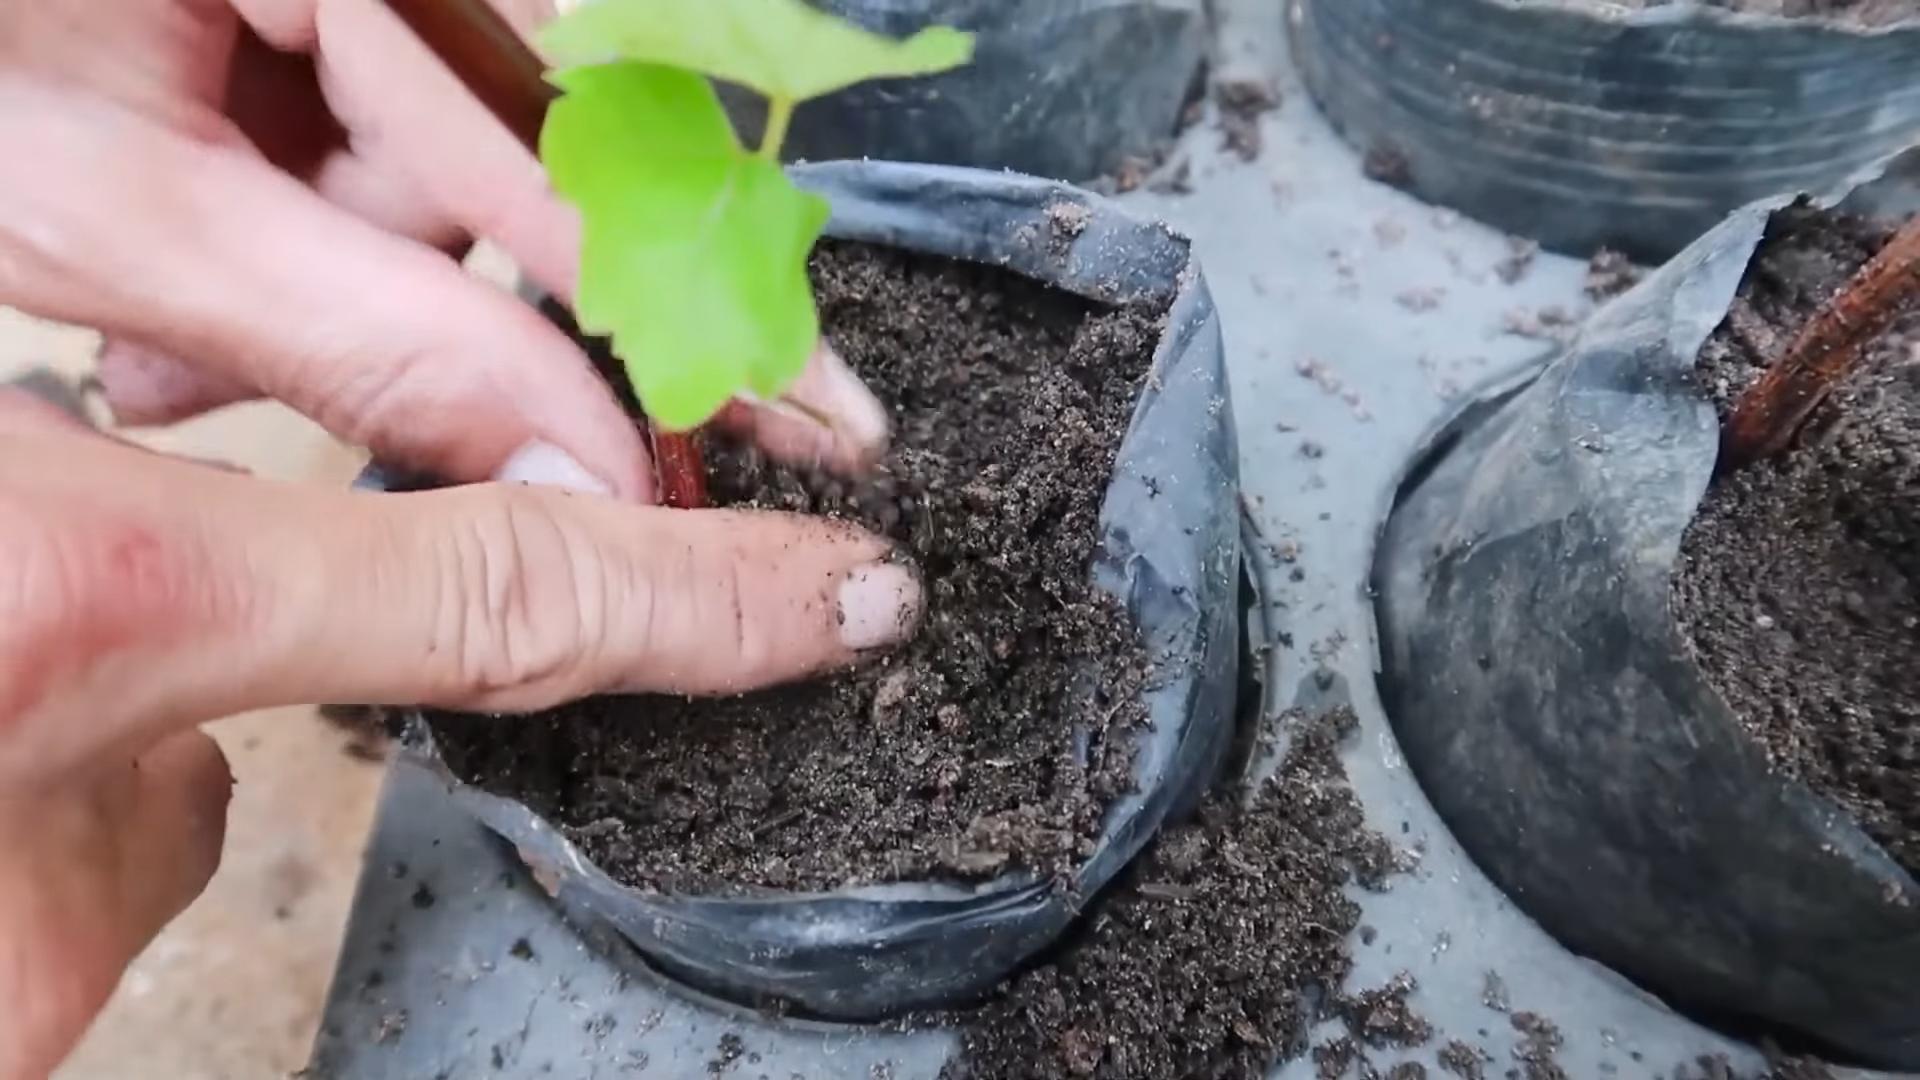
2. **Plant Your Seedlings or Seeds:** If you’re using seedlings, gently remove them from their containers and plant them in the pockets. If you’re using seeds, follow the instructions on the seed packet for planting depth and spacing. I like to start with seedlings for faster results, especially with fast-growing herbs.
3. **Water Thoroughly:** Water the herbs thoroughly after planting. Make sure the water drains freely from the bottom of the pockets.
4. **Label Your Herbs:** Use plant markers or labels to identify each herb. This will help you keep track of what you’ve planted and avoid any confusion later on.
Choosing the Right Herbs for Fast Growth
Not all herbs are created equal when it comes to speed. Here are some of my favorites for a quick harvest:
* **Basil:** This is a must-have for any herb garden. It grows quickly and easily, and it’s incredibly versatile in the kitchen.
* **Mint:** Be careful with mint! It’s a vigorous grower and can quickly take over your garden. Consider planting it in a separate container to prevent it from spreading.
* **Cilantro:** Cilantro is another fast-growing herb that’s perfect for adding a fresh, zesty flavor to your dishes.
* **Parsley:** Parsley is a staple in many cuisines and grows relatively quickly.
* **Chives:** Chives are easy to grow and add a mild onion flavor to your meals.
* **Oregano:** Oregano is a hardy herb that thrives in warm, sunny conditions.
* **Dill:** Dill is a fast-growing herb that’s perfect for flavoring pickles, salads, and fish dishes.
Caring for Your Vertical Herb Garden
Maintaining your vertical herb garden is relatively easy, but here are a few tips to keep your herbs thriving:
* **Sunlight:** Most herbs need at least 6 hours of sunlight per day. Place your vertical garden in a sunny location. If you don’t have enough natural light, you can supplement with grow lights.
* **Watering:** Water your herbs regularly, especially during hot, dry weather. Check the soil moisture by sticking your finger into the soil. If it feels dry, it’s time to water. Avoid overwatering, as this can lead to root rot.
* **Fertilizing:** Feed your herbs with a balanced liquid fertilizer every few weeks. Follow the instructions on the fertilizer label.
* **Pruning:** Regularly prune your herbs to encourage bushier growth and prevent them from becoming leggy. Pinch off the tips of the stems to promote branching.
* **Pest Control:** Keep an eye out for pests such as aphids, spider mites, and whiteflies. Treat any infestations promptly with insecticidal soap or neem oil.
* **Harvesting:** Harvest your herbs regularly to encourage continued growth. Simply snip off the leaves or stems as needed.
Troubleshooting Common Issues
Even with the best care, you might encounter a few challenges along the way. Here are some common issues and how to address them:
* **Yellowing Leaves:** This could be a sign of overwatering, underwatering, or nutrient deficiency. Adjust your watering schedule and fertilize your herbs as needed.
* **Leggy Growth:** This is usually caused by insufficient sunlight. Move your vertical garden to a sunnier location or supplement with grow lights.
* **Pests:** As mentioned earlier, keep an eye out for pests and treat any infestations promptly.
* **Slow Growth:** This could be due to poor soil, insufficient sunlight, or lack of nutrients. Amend the soil with compost, move your garden to a sunnier location, and fertilize your herbs regularly.
Tips for Maximizing Growth
Want to take your vertical herb garden to the next level? Here are a few extra tips for maximizing growth:
* **Choose the Right Location:** As mentioned earlier, sunlight is crucial for herb growth. Choose a location that receives at least 6 hours of sunlight per day.
* **Use High-Quality Potting Soil:** Don’t skimp on the potting soil! Use a high-quality mix that’s specifically formulated for herbs.
* **Water Regularly and Deeply:** Water your herbs regularly and deeply, allowing the water to penetrate the soil and reach the roots.
* **Fertilize Regularly:** Feed your herbs with a balanced liquid fertilizer every few weeks to provide them with the nutrients they need to thrive.
* **Prune Regularly:** Prune your herbs regularly to encourage bushier growth and prevent them from becoming leggy.
* **Rotate Your Crops:** If you’re growing your herbs in the same pockets
Conclusion
So, there you have it! This simple yet effective DIY trick for encouraging fast growing plants in June is a game-changer for any gardener, regardless of experience level. We’ve explored how to harness the power of June’s abundant sunlight and warmth, combined with a few readily available ingredients, to create an environment where your plants can truly thrive.
Why is this a must-try? Because it’s cost-effective, environmentally friendly, and yields visible results. Forget expensive fertilizers and complicated techniques. This method focuses on providing your plants with the essential nutrients they crave, naturally boosting their growth rate and overall health. Imagine vibrant blooms, lush foliage, and a bountiful harvest, all achieved with minimal effort and maximum impact.
But the beauty of this DIY approach lies in its adaptability. Feel free to experiment with variations to suit your specific needs and preferences. For example, if you’re growing tomatoes, consider adding a pinch of Epsom salts to the soil for an extra boost of magnesium, which is crucial for fruit production. For leafy greens, a diluted seaweed extract can provide a wealth of micronutrients that promote vigorous growth. And if you’re dealing with particularly acidic soil, a sprinkle of lime can help balance the pH and create a more favorable environment for your plants.
Don’t be afraid to get creative and tailor this DIY trick to your unique garden. The key is to observe your plants closely and adjust your approach as needed. Are they showing signs of nutrient deficiency? Are they getting enough sunlight? Are they properly watered? By paying attention to these factors and making small adjustments along the way, you can create the perfect conditions for fast growing plants in June.
We are confident that this DIY trick will transform your gardening experience. It’s a simple, sustainable, and satisfying way to nurture your plants and reap the rewards of a thriving garden.
Now, it’s your turn! We encourage you to try this DIY trick and witness the magic for yourself. Plant those seeds, prepare your soil, and watch your garden flourish. And most importantly, don’t forget to share your experience with us! We’d love to hear about your successes, your challenges, and any variations you’ve discovered along the way. Share your photos, tips, and stories in the comments below. Let’s create a community of gardeners who are passionate about nurturing fast growing plants in June and beyond!
We believe that everyone can achieve gardening success with the right knowledge and a little bit of effort. This DIY trick is just one small step towards creating a more sustainable and rewarding gardening experience. So, go ahead, give it a try, and let us know what you think! Happy gardening!
Frequently Asked Questions (FAQ)
What exactly makes this DIY trick promote fast growing plants in June specifically?
June offers a unique combination of factors that make it ideal for plant growth. The longer daylight hours provide ample sunlight for photosynthesis, the process by which plants convert light energy into chemical energy. The warmer temperatures create a favorable environment for germination and growth. This DIY trick leverages these natural advantages by providing plants with the essential nutrients they need to thrive during this peak growing season. It’s like giving your plants a supercharged boost right when they need it most.
What kind of plants will benefit most from this DIY trick?
This DIY trick is generally beneficial for a wide range of plants, including vegetables, herbs, flowers, and even some fruits. However, plants that are known for their rapid growth rate, such as tomatoes, cucumbers, zucchini, beans, and leafy greens, will likely show the most dramatic results. It’s also particularly helpful for plants that are heavy feeders, meaning they require a lot of nutrients to support their growth. Consider the specific needs of your plants and adjust the DIY trick accordingly. For example, flowering plants may benefit from a slightly higher phosphorus content, while leafy greens may prefer a higher nitrogen content.
How often should I apply this DIY trick to my plants?
The frequency of application will depend on several factors, including the type of plant, the soil conditions, and the weather. As a general guideline, you can apply this DIY trick every 2-4 weeks during the active growing season. However, it’s important to observe your plants closely and adjust the frequency as needed. If you notice signs of nutrient deficiency, such as yellowing leaves or stunted growth, you may need to apply it more frequently. Conversely, if your plants are growing too rapidly or showing signs of nutrient toxicity, you may need to reduce the frequency.
Can I use this DIY trick on indoor plants as well?
Yes, you can absolutely use this DIY trick on indoor plants. However, you’ll need to adjust the application rate to account for the smaller growing environment and the reduced sunlight exposure. Start with a diluted version of the DIY trick and apply it sparingly. Monitor your plants closely for any signs of over-fertilization, such as salt buildup on the soil surface or leaf burn. Indoor plants generally require less frequent fertilization than outdoor plants, so you may only need to apply this DIY trick every 1-2 months.
What are some common signs of nutrient deficiency in plants?
Recognizing the signs of nutrient deficiency is crucial for ensuring the health and vitality of your plants. Some common signs include:
* **Yellowing leaves (chlorosis):** This can indicate a deficiency in nitrogen, iron, or magnesium.
* **Stunted growth:** This can be a sign of a deficiency in nitrogen, phosphorus, or potassium.
* **Purple leaves:** This can indicate a deficiency in phosphorus.
* **Brown or spotted leaves:** This can be a sign of a deficiency in potassium or calcium.
* **Weak stems:** This can indicate a deficiency in calcium or boron.
If you notice any of these signs, it’s important to investigate further and determine the specific nutrient deficiency. You can then adjust your DIY trick or supplement with other fertilizers to address the issue.
Is there a risk of over-fertilizing my plants with this DIY trick?
Yes, there is always a risk of over-fertilizing your plants, even with a natural DIY trick. Over-fertilization can lead to a variety of problems, including salt buildup in the soil, leaf burn, and even root damage. To avoid over-fertilizing, it’s important to follow the recommended application rates and monitor your plants closely for any signs of nutrient toxicity. If you notice any of these signs, such as wilting leaves or a white crust on the soil surface, stop fertilizing immediately and flush the soil with plenty of water to remove excess nutrients.
Can I use this DIY trick in conjunction with other fertilizers?
While this DIY trick is designed to provide your plants with the essential nutrients they need, you can certainly use it in conjunction with other fertilizers if necessary. However, it’s important to be cautious and avoid over-fertilizing. Start by using the DIY trick as your primary source of nutrients and then supplement with other fertilizers only if your plants show signs of nutrient deficiency. Be sure to read the labels carefully and follow the recommended application rates for all fertilizers.
How do I know if my soil is acidic or alkaline?
Knowing the pH of your soil is important for ensuring that your plants can properly absorb nutrients. You can test your soil pH using a soil testing kit, which is available at most garden centers. Alternatively, you can send a soil sample to a laboratory for professional testing. Most plants prefer a slightly acidic to neutral soil pH (around 6.0 to 7.0). If your soil is too acidic, you can add lime to raise the pH. If your soil is too alkaline, you can add sulfur or organic matter to lower the pH.
What if I don’t see results immediately after using this DIY trick?
Don’t be discouraged if you don’t see results immediately. It can take time for plants to respond to changes in their environment. Be patient and continue to monitor your plants closely. Make sure they are getting enough sunlight, water, and nutrients. If you still don’t see any improvement after a few weeks, consider adjusting your DIY trick or consulting with a gardening expert. Remember, gardening is a learning process, and it takes time and experience to develop a green thumb.
Can I compost the ingredients used in this DIY trick after I’m done with them?
Absolutely! One of the great things about this DIY trick is that it’s environmentally friendly. The ingredients used are all biodegradable and can be safely composted. Composting helps to reduce waste and create nutrient-rich soil that you can use to further enrich your garden. So, after you’ve finished using the ingredients in this DIY trick, simply toss them into your compost bin and let nature do its work.


Leave a Comment