
Balcony Bell Pepper Container Garden: Imagine stepping onto your balcony and plucking a vibrant, juicy bell pepper, ready to be sliced into a salad or tossed into your favorite stir-fry. Sounds dreamy, right? Well, it doesn’t have to be just a dream! I’m here to show you how to transform your small outdoor space into a thriving balcony bell pepper container garden, even if you think you have a black thumb.
Growing bell peppers in containers isn’t a new fad. Container gardening, in general, has roots stretching back centuries, with evidence suggesting ancient civilizations like the Egyptians and Romans cultivated plants in pots. Today, it’s experiencing a massive resurgence, particularly in urban areas where space is limited. But why bell peppers specifically? Beyond their delicious flavor and nutritional benefits, bell peppers are surprisingly well-suited for container growing, offering a rewarding experience for beginner and seasoned gardeners alike.
Let’s face it, not everyone has access to a sprawling backyard. But that shouldn’t stop you from enjoying the satisfaction of growing your own food. A balcony bell pepper container garden is the perfect solution! I’ll guide you through choosing the right containers, selecting the best bell pepper varieties for small spaces, and providing essential tips for watering, fertilizing, and pest control. Get ready to harvest a bounty of colorful bell peppers right outside your door – it’s easier than you think!
Creating a Thriving Balcony Bell Pepper Container Garden
Hey there, fellow gardening enthusiasts! I’m so excited to share my experience and guide you through creating your very own balcony bell pepper container garden. Imagine fresh, crisp bell peppers just steps away from your kitchen – it’s totally achievable, even with limited space! This guide will walk you through every step, from choosing the right containers and soil to nurturing your plants for a bountiful harvest. Let’s get started!
Choosing the Right Supplies
Before we dive into the planting process, let’s gather the necessary supplies. This is crucial for setting your bell peppers up for success.
* **Containers:** Opt for containers that are at least 12 inches in diameter and 12 inches deep. Bell peppers need room for their roots to grow. I personally prefer using 5-gallon buckets or large resin pots. Make sure your containers have drainage holes!
* **Potting Mix:** Don’t use garden soil! It’s too heavy and compacts easily in containers. Instead, choose a high-quality potting mix specifically formulated for containers. I like mixes that contain peat moss, perlite, and vermiculite for good drainage and aeration.
* **Bell Pepper Seedlings or Seeds:** You can start from seeds indoors 6-8 weeks before the last expected frost, or you can purchase seedlings from a local nursery. Seedlings are a faster route to harvest, but starting from seed is more economical and offers a wider variety of pepper types.
* **Fertilizer:** Bell peppers are heavy feeders, so you’ll need a balanced fertilizer. Look for a fertilizer with an N-P-K ratio of around 5-10-5 or 10-10-10. I prefer using a slow-release granular fertilizer at planting time and supplementing with a liquid fertilizer every few weeks during the growing season.
* **Watering Can or Hose:** Essential for keeping your plants hydrated. A watering can with a gentle rose head is ideal for avoiding soil erosion.
* **Trowel or Small Shovel:** For transplanting seedlings or filling containers with potting mix.
* **Plant Markers:** To label your different pepper varieties (if you’re planting more than one).
* **Optional: Stakes or Cages:** Bell pepper plants can get quite tall and top-heavy, especially when loaded with fruit. Stakes or cages will provide support and prevent them from toppling over.
* **Optional: Mulch:** Mulch helps retain moisture in the soil, suppress weeds, and regulate soil temperature. I like using straw or shredded bark.
Planting Your Bell Peppers
Now for the fun part! Let’s get those bell peppers planted.
1. **Prepare Your Containers:** If you’re using new containers, give them a quick rinse to remove any dust or debris. Make sure the drainage holes are clear.
2. **Fill with Potting Mix:** Fill each container with potting mix, leaving about an inch or two of space at the top. Gently pat down the soil to remove any air pockets.
3. **Planting Seedlings:**
* Carefully remove the seedling from its nursery pot. Gently loosen the roots with your fingers if they are tightly bound.
* Dig a hole in the potting mix that is slightly larger than the root ball of the seedling.
* Place the seedling in the hole, ensuring that the top of the root ball is level with the surrounding soil.
* Backfill the hole with potting mix, gently firming the soil around the base of the plant.
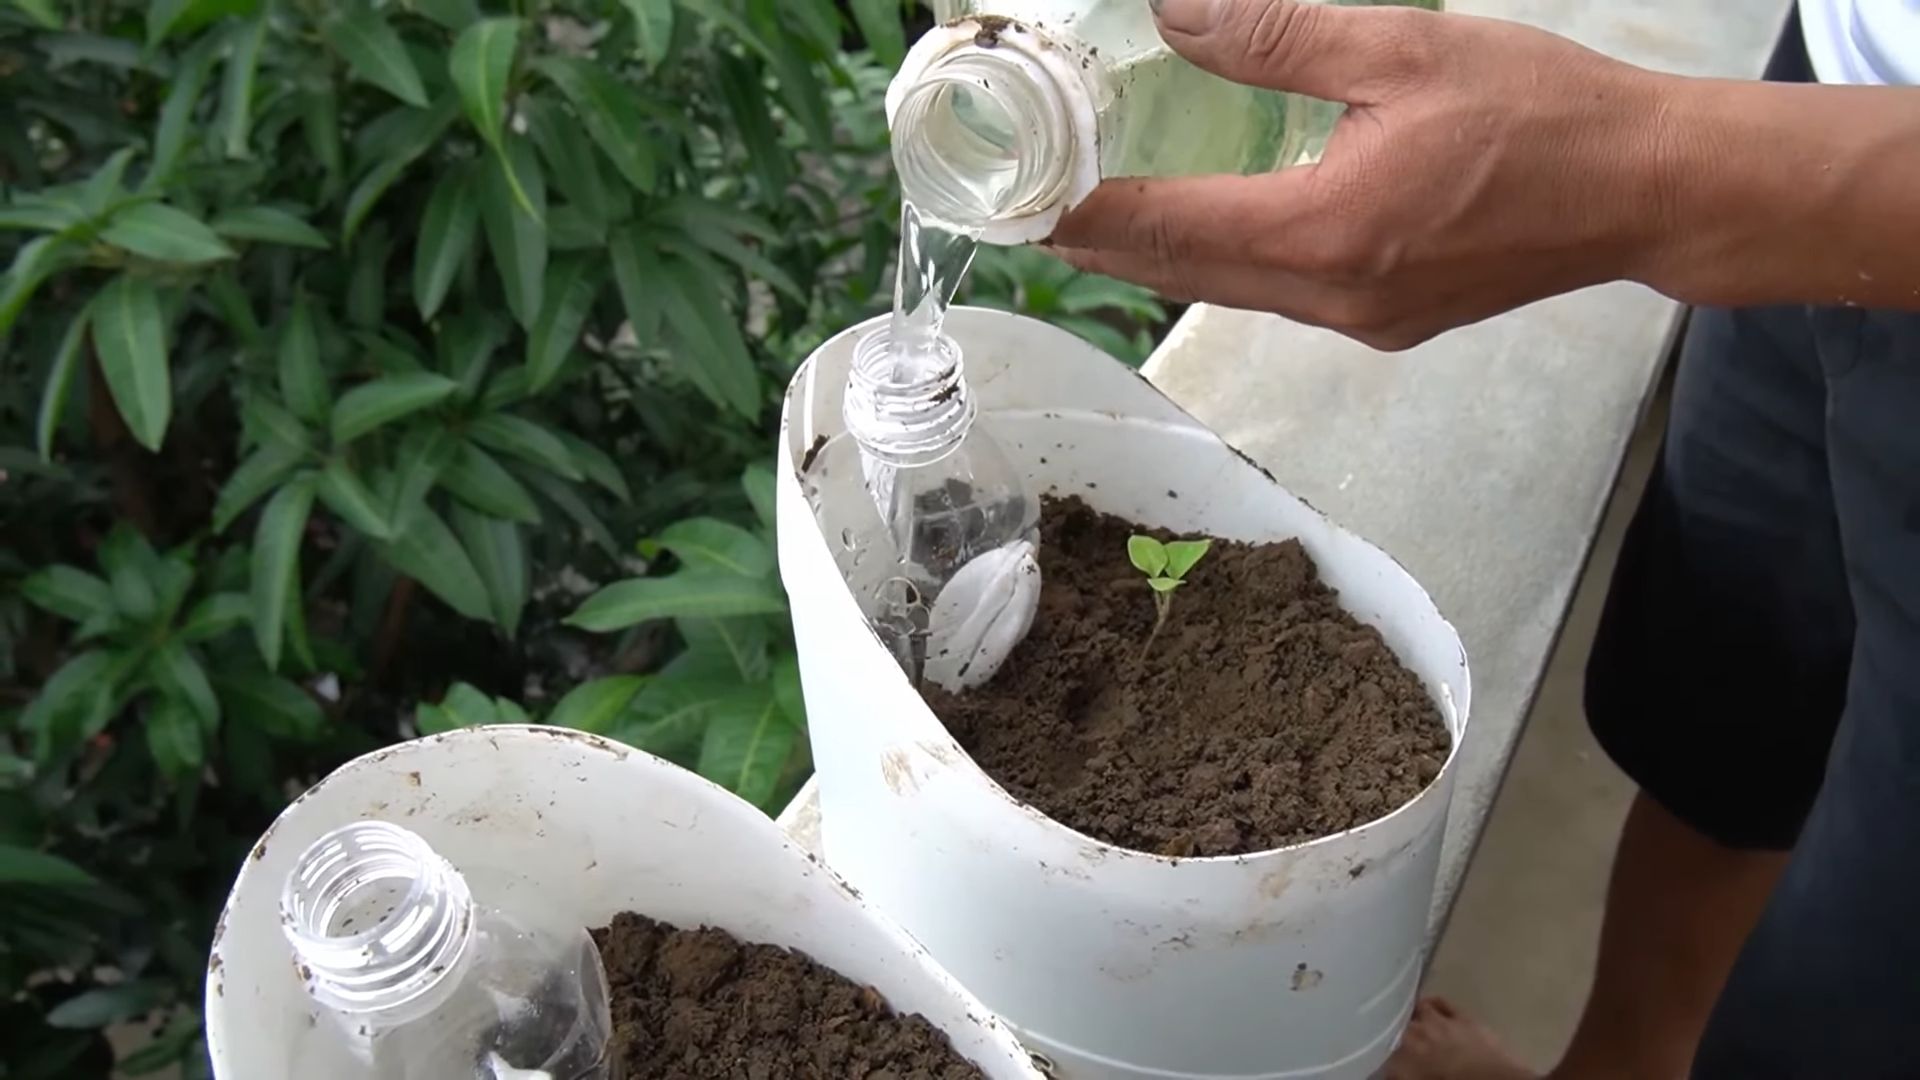
* Water thoroughly after planting.
4. **Planting Seeds (Optional):**
* Sow seeds about 1/4 inch deep in the potting mix.
* Water gently to moisten the soil.
* Keep the soil consistently moist until the seeds germinate, which usually takes 7-14 days.
* Once the seedlings have developed a few sets of true leaves, thin them out, leaving only the strongest seedling in each container.
5. **Add Fertilizer:** Sprinkle a slow-release granular fertilizer around the base of each plant, following the instructions on the fertilizer package.
6. **Mulch (Optional):** Apply a layer of mulch around the base of each plant to help retain moisture and suppress weeds.
7. **Staking or Caging (Optional):** If you’re using stakes or cages, install them now to provide support for the plants as they grow.
Caring for Your Bell Pepper Plants
Consistent care is key to a successful bell pepper harvest. Here’s what you need to do:
1. **Watering:** Bell peppers need consistent moisture, especially during hot weather. Water deeply whenever the top inch of soil feels dry to the touch. Avoid overwatering, as this can lead to root rot. I usually water every 1-2 days, depending on the weather.
2. **Fertilizing:** Supplement with a liquid fertilizer every 2-3 weeks during the growing season. Follow the instructions on the fertilizer package. I like to use a fertilizer that is high in phosphorus and potassium to promote flowering and fruit production.
3. **Sunlight:** Bell peppers need at least 6-8 hours of direct sunlight per day. Place your containers in the sunniest spot on your balcony. If your balcony doesn’t get enough sunlight, you may need to supplement with grow lights.
4. **Pruning:** Pruning isn’t strictly necessary, but it can help improve air circulation and encourage bushier growth. You can remove any suckers (small shoots that grow from the base of the plant) to direct the plant’s energy towards fruit production.
5. **Pest and Disease Control:** Keep an eye out for common pests like aphids, whiteflies, and spider mites. You can control these pests with insecticidal soap or neem oil. Bell peppers are also susceptible to diseases like blossom end rot, which is caused by a calcium deficiency. To prevent blossom end rot, make sure your soil is well-drained and that you’re providing your plants with adequate calcium. You can add calcium to the soil by mixing in bone meal or crushed eggshells.
6. **Pollination:** Bell peppers are self-pollinating, but they may need a little help, especially if you’re growing them indoors or in a sheltered location. You can hand-pollinate your plants by gently shaking the flowers or using a small paintbrush to transfer pollen from one flower to another.
Harvesting Your Bell Peppers
The moment you’ve been waiting for! Harvesting your bell peppers is the most rewarding part of the process.
1. **When to Harvest:** Bell peppers are typically ready to harvest 60-90 days after transplanting, depending on the variety. You can harvest them when they are fully colored and firm to the touch.
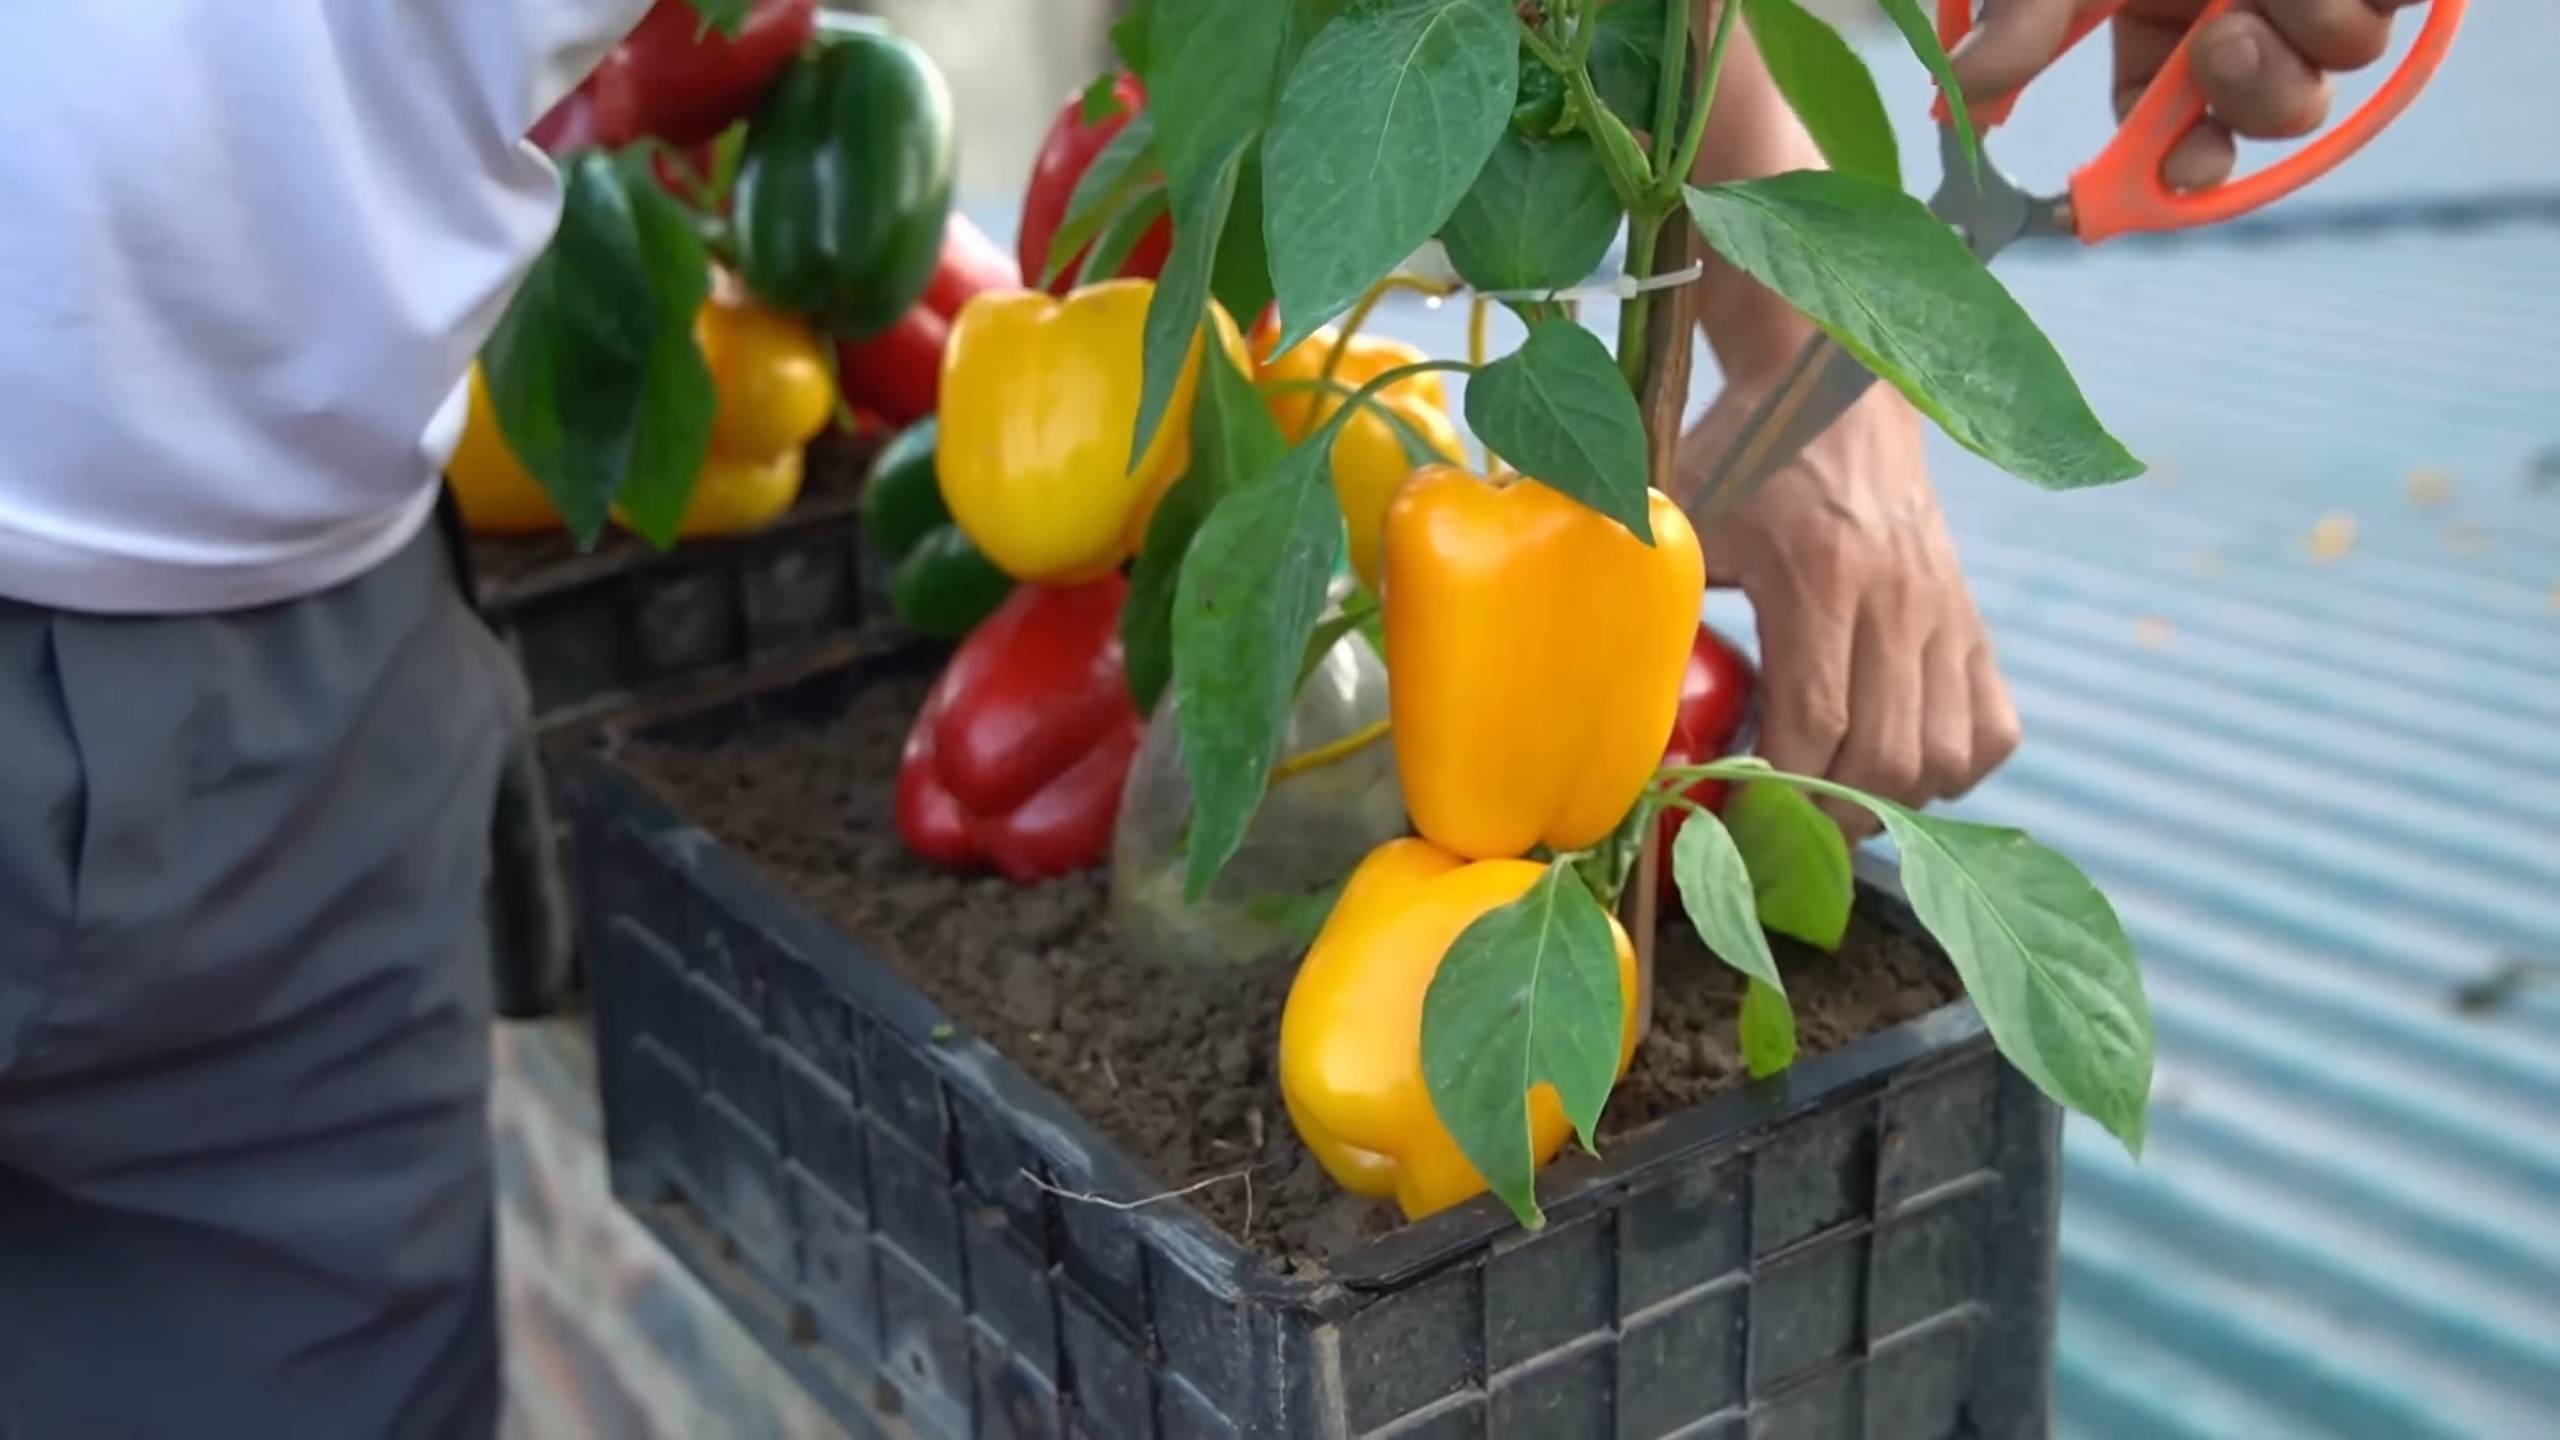
2. **How to Harvest:** Use a sharp knife or pruning shears to cut the peppers from the plant, leaving a short stem attached.
3. **Enjoy Your Harvest:** Freshly harvested bell peppers are delicious raw, cooked, or stuffed. You can also freeze or can them for later use.
Troubleshooting Common Problems
Even with the best care, you may encounter some problems along the way. Here are some common issues and how to address them:
* **Yellowing Leaves:** This can be caused by a variety of factors, including overwatering, underwatering, nutrient deficiencies, or pests. Check the soil moisture and adjust your watering accordingly. Fertilize your plants with a balanced fertilizer to address any nutrient deficiencies. Inspect your plants for pests and treat them as needed.
* **Blossom End Rot:** As mentioned earlier, this is caused by a calcium deficiency. Make sure your soil is well-drained and that you’re providing your plants with adequate calcium.
* **Lack of Fruit Production:** This can be caused by a lack of sunlight, poor pollination, or nutrient deficiencies. Make sure your plants are getting enough sunlight and that you’re hand-pollinating them if necessary. Fertilize your plants with a fertilizer that is high in phosphorus and potassium.
* **Pest Infestations:** Regularly inspect your plants for pests and treat them as needed with insecticidal soap or neem oil.
Choosing the Right Bell Pepper Variety
There are so many bell pepper varieties to choose from! Here are a few of my favorites for container gardening:
* **’Yolo Wonder’:** A classic green bell pepper that is reliable and productive.
* **’California Wonder’:** Another popular green bell pepper that is known for its large size and thick walls.
* **’Golden Bell’:** A sweet and flavorful yellow bell pepper.
* **’Purple Beauty’:** A beautiful purple bell pepper that turns green when cooked.
* **’Mini Bell’:** A compact variety that produces small, sweet bell peppers.
Extending the Growing Season
If you live in a region with a short growing season, you can extend the season by starting your seeds indoors or using row covers to protect your plants from frost. You can also bring your containers indoors during the winter months and grow your bell peppers as houseplants.
Final Thoughts
Growing bell peppers on your balcony is a rewarding and enjoyable experience. With a little bit of care and attention, you can enjoy a bountiful
Conclusion
So, there you have it! Transforming your balcony into a thriving bell pepper haven is not only achievable, but surprisingly simple and incredibly rewarding. We’ve walked you through the process, from selecting the right container and soil to nurturing your plants for a bountiful harvest. But why is this DIY balcony bell pepper container garden a must-try?
Firstly, it’s about fresh, flavorful bell peppers right at your fingertips. Imagine stepping onto your balcony and picking a sun-ripened pepper, bursting with sweetness, to add to your next meal. The taste difference between homegrown and store-bought is undeniable. Secondly, it’s a fantastic way to connect with nature, even in the heart of the city. The simple act of tending to your plants, watching them grow, and harvesting your own food can be incredibly therapeutic and grounding.
Thirdly, and perhaps most importantly, it’s about control. You know exactly what goes into your bell peppers – no harmful pesticides or chemicals. You’re providing your family with healthy, organic produce, grown with love and care. This is especially important for those concerned about food sourcing and sustainability.
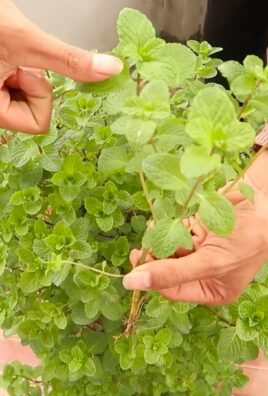
But don’t think you’re limited to just green bell peppers! This method works beautifully for a variety of colors and types. Try experimenting with red, yellow, or orange bell peppers. Consider growing smaller varieties like mini bells or even spicy peppers like jalapenos alongside your bell peppers for a diverse and vibrant balcony garden. You can also companion plant with herbs like basil or oregano, which not only enhance the flavor of your peppers but also help deter pests.
For those with limited sunlight, consider supplementing with grow lights to ensure your plants receive the necessary energy for optimal growth. If you live in a particularly windy area, provide support for your plants with stakes or cages to prevent them from toppling over. And remember to adjust your watering schedule based on the weather conditions – more frequent watering during hot, dry spells and less during cooler, rainy periods.
This DIY balcony bell pepper container garden is more than just a gardening project; it’s an investment in your health, well-being, and connection to nature. It’s a chance to learn, experiment, and enjoy the fruits (or rather, vegetables!) of your labor.
We wholeheartedly encourage you to give this a try. Don’t be intimidated if you’re a beginner – gardening is a journey of learning and discovery. Start small, be patient, and enjoy the process. And most importantly, share your experience with us! We’d love to see photos of your balcony gardens, hear about your successes and challenges, and learn from your unique experiences. Tag us on social media or leave a comment below. Let’s create a community of balcony gardeners, sharing tips, inspiration, and the joy of growing our own food. So, grab your pots, soil, and seeds, and get ready to transform your balcony into a bell pepper paradise!
Frequently Asked Questions (FAQ)
What is the best size container for growing bell peppers on a balcony?
The ideal container size for growing bell peppers on a balcony is at least 5 gallons, but 7-10 gallons is even better. This provides ample space for the roots to grow and allows the plant to access sufficient nutrients and water. Smaller containers may restrict growth and lead to smaller yields. Make sure the container has drainage holes to prevent waterlogging.
What type of soil should I use for my balcony bell pepper container garden?
Use a high-quality potting mix specifically formulated for containers. Avoid using garden soil, as it can become compacted in containers and doesn’t drain well. Look for a potting mix that contains ingredients like peat moss, perlite, and vermiculite, which provide good drainage, aeration, and water retention. You can also amend the potting mix with compost or other organic matter to improve its fertility.
How much sunlight do bell peppers need?
Bell peppers need at least 6-8 hours of direct sunlight per day to thrive. Choose a location on your balcony that receives the most sunlight. If your balcony doesn’t get enough sunlight, consider using grow lights to supplement the natural light.
How often should I water my bell pepper plants?
Water your bell pepper plants regularly, especially during hot, dry weather. The soil should be kept consistently moist, but not waterlogged. Check the soil moisture by sticking your finger about an inch into the soil. If it feels dry, it’s time to water. Water deeply, until water drains out of the drainage holes. Avoid watering the foliage, as this can promote fungal diseases.
What kind of fertilizer should I use for my bell pepper plants?
Use a balanced fertilizer specifically formulated for vegetables. Look for a fertilizer with an NPK ratio (nitrogen, phosphorus, potassium) of around 5-10-5 or 10-10-10. Fertilize your plants every 2-3 weeks during the growing season. You can also use organic fertilizers like compost tea or fish emulsion.
How do I prevent pests and diseases in my balcony bell pepper container garden?
Regularly inspect your plants for pests and diseases. Common pests that affect bell peppers include aphids, spider mites, and whiteflies. You can control these pests with insecticidal soap or neem oil. To prevent fungal diseases, avoid overwatering and ensure good air circulation around your plants. You can also use a fungicide if necessary. Companion planting with herbs like basil or marigolds can also help deter pests.
When should I harvest my bell peppers?
Bell peppers are typically ready to harvest 60-90 days after transplanting. The peppers should be firm, glossy, and fully colored. You can harvest them at any stage of ripeness, but they will be sweetest and most flavorful when fully ripe. Use a sharp knife or scissors to cut the peppers from the plant, leaving a short stem attached.
Can I grow bell peppers in containers indoors?
Yes, you can grow bell peppers in containers indoors, but you will need to provide them with adequate light. Place the plants near a sunny window that receives at least 6-8 hours of direct sunlight per day. You may also need to supplement with grow lights. Indoor bell pepper plants may also require more frequent watering and fertilization than outdoor plants.
What are some common problems when growing bell peppers in containers?
Some common problems when growing bell peppers in containers include blossom end rot, nutrient deficiencies, and pest infestations. Blossom end rot is caused by a calcium deficiency and can be prevented by adding calcium to the soil or using a calcium-rich fertilizer. Nutrient deficiencies can be identified by yellowing leaves or stunted growth. Pest infestations can be controlled with insecticidal soap or neem oil.
Can I save seeds from my bell peppers to plant next year?
Yes, you can save seeds from your bell peppers to plant next year, but keep in mind that hybrid varieties may not produce true-to-type offspring. To save seeds, allow the peppers to fully ripen on the plant. Then, cut them open and remove the seeds. Spread the seeds out on a paper towel to dry completely. Once dry, store the seeds in an airtight container in a cool, dark place.
Leave a Comment