
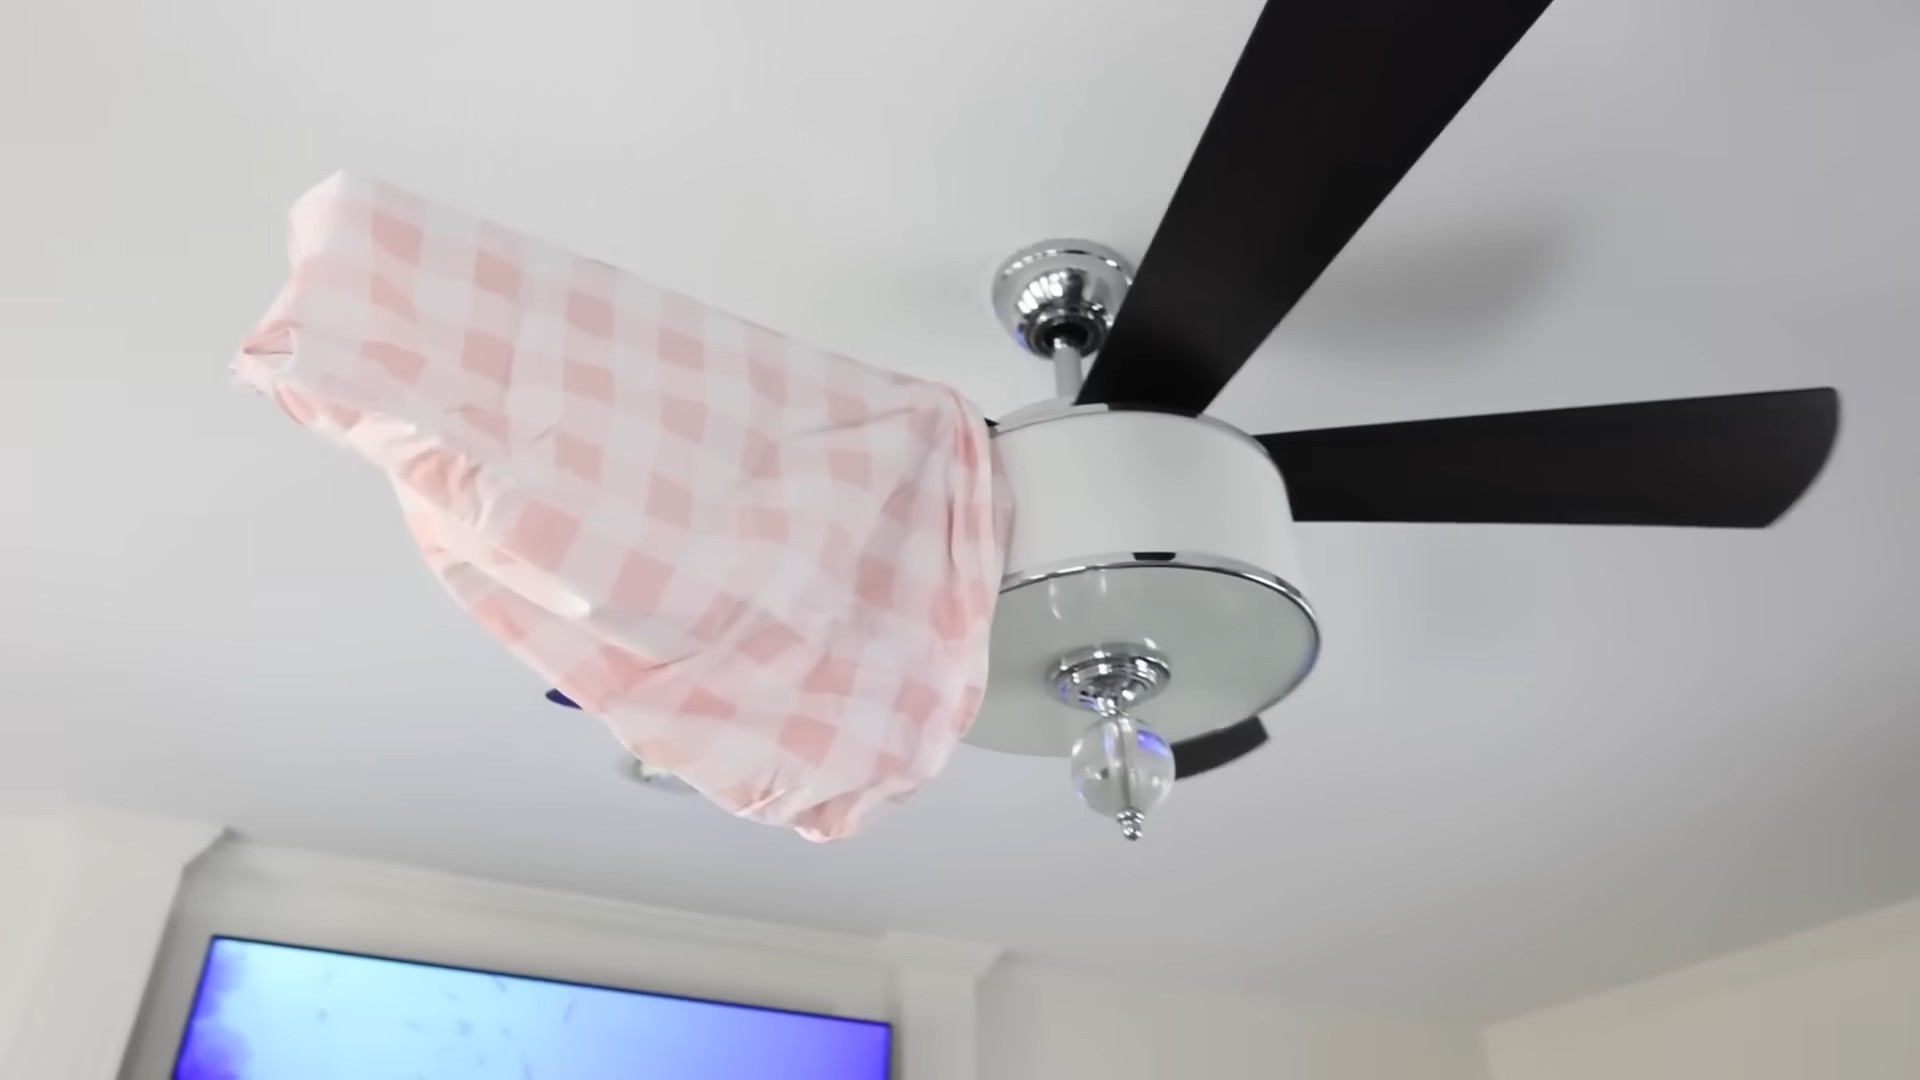
Clean Pillowcases DIY
I’ve always loved the feeling of freshly laundered bedding, but let’s be honest, dealing with pillowcases can be a bit of a chore. They’re often tucked away, forgotten, and sometimes even stained! That’s why I’m so excited to share some Clean Pillowcases DIY tricks and hacks with you today. This isn’t just about getting your pillowcases sparkling clean; it’s about reclaiming a simple pleasure and making your bedroom a haven of comfort and cleanliness.
The tradition of clean bedding, and specifically clean pillowcases, stretches back centuries. Think about it – a clean pillowcase is a symbol of hygiene and a good night’s sleep, something valued across cultures and time periods. From simple linen sheets in ancient civilizations to the luxurious cotton and silk of today, the pursuit of clean and comfortable sleep has always been a priority.
Why You Need These Clean Pillowcases DIY Hacks
We spend a third of our lives in bed, and our pillowcases bear the brunt of it all – from sweat and oils to makeup and hair products. Dirty pillowcases can contribute to breakouts, allergies, and even exacerbate existing skin conditions. These Clean Pillowcases DIY methods are not only cost-effective but also environmentally friendly, reducing your reliance on harsh chemicals and single-use products. You’ll learn how to tackle stubborn stains, refresh your pillowcases without harsh detergents, and keep them looking and feeling their best for longer. So, let’s dive in and discover the secrets to effortlessly clean and fresh pillowcases!
Building a Custom Bookshelf from Reclaimed Wood
I love the look of reclaimed wood, and I’ve always wanted a unique bookshelf. So, I decided to build my own! This project took a bit of time, but the result is a beautiful, one-of-a-kind piece of furniture that I’m incredibly proud of. Here’s how I did it:
Gathering Your Materials
- Reclaimed wood planks (I used about 10-12, varying in width and length – aim for a total length that suits your space and desired shelf height). Make sure the wood is clean and relatively dry.
- Wood glue
- Wood screws (various lengths, depending on the thickness of your planks)
- Wood filler
- Sandpaper (various grits, starting with coarser and moving to finer)
- Wood stain (your choice of color – I used a dark walnut)
- Polyurethane sealant (to protect the finish)
- Measuring tape
- Level
- Drill with drill bits (matching your screws)
- Safety glasses
- Work gloves
- Clamps (helpful for holding pieces together while the glue dries)
- Putty knife
- Paintbrushes (for stain and sealant)
- Drop cloths or newspaper to protect your work area
Preparing the Wood
1. Clean the wood: Before you start, thoroughly clean your reclaimed wood planks. I used a stiff brush and a damp cloth to remove any dirt, debris, or loose pieces of bark. Let it dry completely.
2. Assess and cut: Lay out your planks to visualize the overall design of your bookshelf. You’ll likely need to cut some planks to size to create even shelves and sides. Use a saw (circular saw or hand saw, depending on your comfort level and the wood’s thickness) to make precise cuts. Always wear safety glasses when using power tools!
3. Sanding is key: Once you have your pieces cut, sand each one thoroughly. Start with a coarser grit sandpaper (around 80-100 grit) to remove any rough spots or splinters. Then, gradually move to finer grits (120, 180, and finally 220 grit) for a smooth finish. This step is crucial for a professional-looking bookshelf. Sand in the direction of the wood grain to avoid scratches.
Assembling the Bookshelf
1. Apply glue and assemble the sides: Decide on the height of your bookshelf and the spacing between shelves. Apply wood glue to the ends of the planks you’ll be using for the sides. Carefully align them and clamp them together, ensuring they are square and level. Let the glue dry completely according to the manufacturer’s instructions (usually around 30-60 minutes).
2. Attaching the shelves: Once the sides are dry, position your shelves between the side pieces. Apply glue to the top edges of the shelves where they meet the sides. Pre-drill pilot holes (slightly smaller than your screws) to prevent the wood from splitting. Then, screw the shelves into place. Use a level to ensure your shelves are perfectly horizontal.
3. Filling gaps and imperfections: After assembling, you might notice some small gaps or imperfections. Use wood filler to fill these areas. Let it dry completely, then sand it smooth with fine-grit sandpaper.
Finishing Touches
1. Applying the stain: Once everything is smooth and even, apply your chosen wood stain. Follow the manufacturer’s instructions carefully. I applied two coats, allowing each coat to dry completely before applying the next. Work in a well-ventilated area.
2. Sealing the wood: After the stain has dried, apply a polyurethane sealant. This will protect your bookshelf from moisture and wear. Again, follow the manufacturer’s instructions for drying time. I applied three coats for extra protection.
3. Final inspection and placement: Once the sealant is completely dry, inspect your bookshelf for any final imperfections. If needed, do a light sanding and reapply sealant. Then, carefully place your beautiful, custom-built bookshelf in its desired location and start filling it with your favorite books!
Tips and Troubleshooting
Dealing with Knots:
Reclaimed wood often has knots. These can add character, but they can also be problematic. When sanding, be extra careful around knots to avoid sanding through them. If a knot does come loose, use wood glue to re-secure it.
Choosing the Right Wood:
The type of reclaimed wood you choose will affect the final look and feel of your bookshelf. Hardwoods like oak or maple are durable and will last longer, but they can be more expensive. Softer woods like pine are easier to work with but may be more prone to scratches and dents.
Adjusting Shelf Spacing:
The spacing between shelves is entirely up to you. Consider the size of the books you’ll be storing to determine the optimal spacing. You can always adjust the spacing slightly during assembly if needed.
Safety First:
Always wear safety glasses and work gloves when using power tools or working with wood. Work in a well-ventilated area when using stains and sealants.
Enjoy your new bookshelf!
Conclusion
So there you have it – a simple, effective, and surprisingly satisfying method for achieving brilliantly clean pillowcases, without resorting to harsh chemicals or expensive cleaning services. This Clean Pillowcases DIY trick isn’t just about sparkling white cotton; it’s about extending the life of your bedding, improving your sleep hygiene, and contributing to a healthier home environment. By harnessing the power of readily available household ingredients, you’ve learned how to tackle those stubborn stains and lingering odors, leaving your pillowcases feeling fresh, soft, and wonderfully clean. The results speak for themselves: brighter whites, a delightful scent, and the satisfying feeling of accomplishment that comes with tackling a household chore with a simple, effective DIY solution. This method is a game-changer for anyone looking to elevate their laundry routine and maintain a truly pristine sleep sanctuary. It’s a must-try for anyone who values both cleanliness and sustainability.
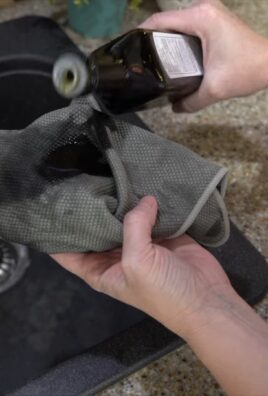
Beyond the basic method, there are countless ways to personalize your Clean Pillowcases DIY approach. Experiment with different essential oils to create your signature scent. Lavender for relaxation, chamomile for calming, or even a citrus blend for an invigorating wake-up call – the possibilities are endless! If you prefer a more natural approach, consider adding a cup of white vinegar to the rinse cycle for extra brightening and softening power. For those with particularly stubborn stains, a pre-soak in a solution of baking soda and cold water can work wonders before you begin the main cleaning process. Don’t be afraid to get creative and adapt the method to suit your preferences and the specific needs of your pillowcases.
We encourage you to try this Clean Pillowcases DIY method and share your experience with us! Let us know in the comments below how it worked for you, what variations you tried, and any tips you discovered along the way. Your feedback will help other readers and inspire further experimentation with this simple yet effective cleaning technique. Remember, a clean pillowcase is more than just a clean pillowcase; it’s an investment in your well-being and a small step towards a healthier, happier you. So, grab your supplies, get cleaning, and experience the difference a truly clean pillowcase can make!
Frequently Asked Questions
What types of pillowcases can I use this method on?
This Clean Pillowcases DIY method works best on cotton, linen, and other natural fiber pillowcases. While it can be used on some synthetic fabrics, always check the care label before proceeding. Avoid using this method on delicate fabrics or those with embellishments that might be damaged by the cleaning process. For delicate fabrics, always opt for a gentler cleaning approach.
How often should I clean my pillowcases using this method?
For optimal hygiene and to prevent the buildup of dirt, oils, and allergens, it’s recommended to clean your pillowcases at least once a week. If you tend to sweat heavily at night or have allergies, you may want to consider cleaning them even more frequently. Regular cleaning will help maintain the freshness and cleanliness of your bedding and contribute to a more restful sleep.
Can I use this method on colored pillowcases?
While this method is generally safe for colored pillowcases, it’s always advisable to test it on a small, inconspicuous area first to ensure it doesn’t cause any fading or discoloration. If you’re unsure, it’s best to err on the side of caution and use a gentler cleaning method for your colored pillowcases. Always follow the care instructions on the pillowcase label.
What if I don’t have all the ingredients listed in the recipe?
The beauty of this Clean Pillowcases DIY method lies in its flexibility. While the combination of baking soda, hydrogen peroxide, and essential oils is highly effective, you can adapt the recipe based on what you have available. For example, if you don’t have hydrogen peroxide, you can substitute with white vinegar. If you don’t have essential oils, you can skip them altogether or use a different fragrance, such as a few drops of your favorite laundry detergent. The key is to experiment and find what works best for you and your pillowcases.
What should I do if I see lingering stains after using this method?
If you still see lingering stains after using this Clean Pillowcases DIY method, don’t despair! You can try pre-treating the stains with a stain remover before washing. Alternatively, you can repeat the cleaning process, perhaps increasing the soaking time or using a slightly stronger concentration of the cleaning solution. For particularly stubborn stains, you might consider using a specialized stain remover designed for fabrics. Remember to always test any new cleaning solution on a small, inconspicuous area first.
Can I use a washing machine for this method?
Yes, absolutely! This Clean Pillowcases DIY method is designed to be compatible with a standard washing machine. Simply follow the instructions for pre-soaking and then wash your pillowcases as you normally would, using your preferred washing machine settings. Remember to check the care label on your pillowcases for specific washing instructions.
Is this method safe for the environment?
Yes, this Clean Pillowcases DIY method is a much more environmentally friendly alternative to using harsh commercial cleaning products. The ingredients used are readily available, biodegradable, and less likely to pollute waterways compared to many commercially available laundry detergents and stain removers. By choosing this method, you’re making a conscious effort to reduce your environmental impact and contribute to a more sustainable lifestyle.

Leave a Comment