
Bottle Gardening Cabbage: Ever dreamt of harvesting your own crisp, delicious cabbage right from your windowsill, even if you don’t have a sprawling garden? I know I have! The idea of fresh, homegrown veggies is incredibly appealing, but the reality of limited space can be discouraging. That’s where the magic of bottle gardening comes in, especially when it comes to cultivating vibrant cabbages.
For centuries, resourceful gardeners have sought innovative ways to maximize their yields, often turning to unconventional methods. Think back to the “victory gardens” of wartime, where every scrap of land was utilized to grow food. Bottle gardening is a modern extension of that ingenuity, allowing us to tap into our inner farmer, regardless of our living situation.
But why cabbage, and why bottles? Cabbage is a nutritional powerhouse, packed with vitamins and fiber, and it’s surprisingly adaptable to container growing. And let’s face it, plastic bottles are everywhere! Instead of contributing to landfill waste, we can transform them into mini-gardens, perfect for nurturing these leafy greens. This DIY project isn’t just about growing food; it’s about sustainability, resourcefulness, and the sheer joy of watching something grow from seed to harvest. So, if you’re ready to embark on a fun, eco-friendly adventure and learn some clever bottle gardening cabbage tricks, keep reading! I’m going to show you exactly how to turn those discarded bottles into thriving cabbage patches.
DIY Bottle Gardening: Grow Cabbage in Recycled Plastic
Hey there, fellow gardening enthusiasts! Ever thought about turning those empty plastic bottles into mini cabbage patches? It’s a fantastic way to recycle, save space, and enjoy fresh, homegrown cabbage right from your balcony or windowsill. I’m going to walk you through the whole process, step-by-step, so you can create your own bottle garden and cultivate some delicious cabbage. Let’s get started!
Materials You’ll Need
Before we dive in, let’s gather all the necessary materials. This will make the process smoother and more enjoyable.
* **Plastic Bottles:** The size depends on the type of cabbage you want to grow. Larger bottles (2-liter soda bottles or even gallon-sized water jugs) are ideal for larger cabbage varieties. Smaller bottles can work for dwarf varieties or starting seedlings.
* **Cabbage Seeds or Seedlings:** Choose your favorite cabbage variety! Consider the space you have and the climate in your area.
* **Potting Mix:** A good quality potting mix is crucial for healthy cabbage growth. It should be well-draining and rich in nutrients.
* **Scissors or Utility Knife:** For cutting the plastic bottles. Be careful!
* **Drill or Nail:** To create drainage holes.
* **Watering Can or Spray Bottle:** For watering your cabbage plants.
* **Optional: Fertilizer:** A balanced liquid fertilizer can help boost growth.
* **Optional: Gravel or Small Stones:** For drainage at the bottom of the bottle.
* **Optional: Labels:** To identify your cabbage varieties.
* **Gloves:** To keep your hands clean.
Preparing the Bottles
This is where we transform those discarded bottles into miniature gardens. It’s a simple process, but accuracy is key for proper drainage and plant support.
1. **Clean the Bottles:** Thoroughly wash the plastic bottles with soap and water to remove any residue. Rinse them well and let them dry completely. This is important to prevent any contamination that could harm your plants.
2. **Cut the Bottles:** There are a couple of ways to cut the bottles, depending on the size and shape you want for your container.
* **Option 1: Horizontal Cut:** For a wider, shallower container, cut the bottle horizontally. You can cut it in half, or even higher up, depending on the desired depth. This is good for smaller cabbage varieties or for starting seedlings.
* **Option 2: Vertical Cut (Hanging Garden):** Cut a rectangular opening on one side of the bottle, leaving the top and bottom intact. This creates a trough-like container that can be hung. This is a fun way to create a vertical cabbage garden.
* **Option 3: Top Removal:** Simply cut off the top portion of the bottle, creating a cylindrical container. This is a simple and effective method for larger cabbage varieties.
Safety First! Be extremely careful when using scissors or a utility knife. Always cut away from yourself and use a stable surface.
3. **Create Drainage Holes:** Drainage is essential to prevent waterlogging, which can lead to root rot. Use a drill or a nail to create several drainage holes in the bottom of the bottle. If you’re using a nail, heat it up slightly with a lighter or candle to make it easier to pierce the plastic.
4. **Smooth the Edges (Optional):** If the cut edges of the bottle are sharp, you can smooth them down with sandpaper or by carefully melting them with a lighter. This will prevent you from accidentally cutting yourself.
Planting Your Cabbage
Now for the exciting part – planting your cabbage! This is where your bottle garden starts to come to life.
1. **Add Drainage Layer (Optional):** If you’re concerned about drainage, you can add a layer of gravel or small stones to the bottom of the bottle before adding the potting mix. This will help prevent the roots from sitting in water.
2. **Fill with Potting Mix:** Fill the bottle with potting mix, leaving about an inch or two of space at the top. Gently pat down the soil to remove any air pockets.
3. **Plant the Seeds or Seedlings:**
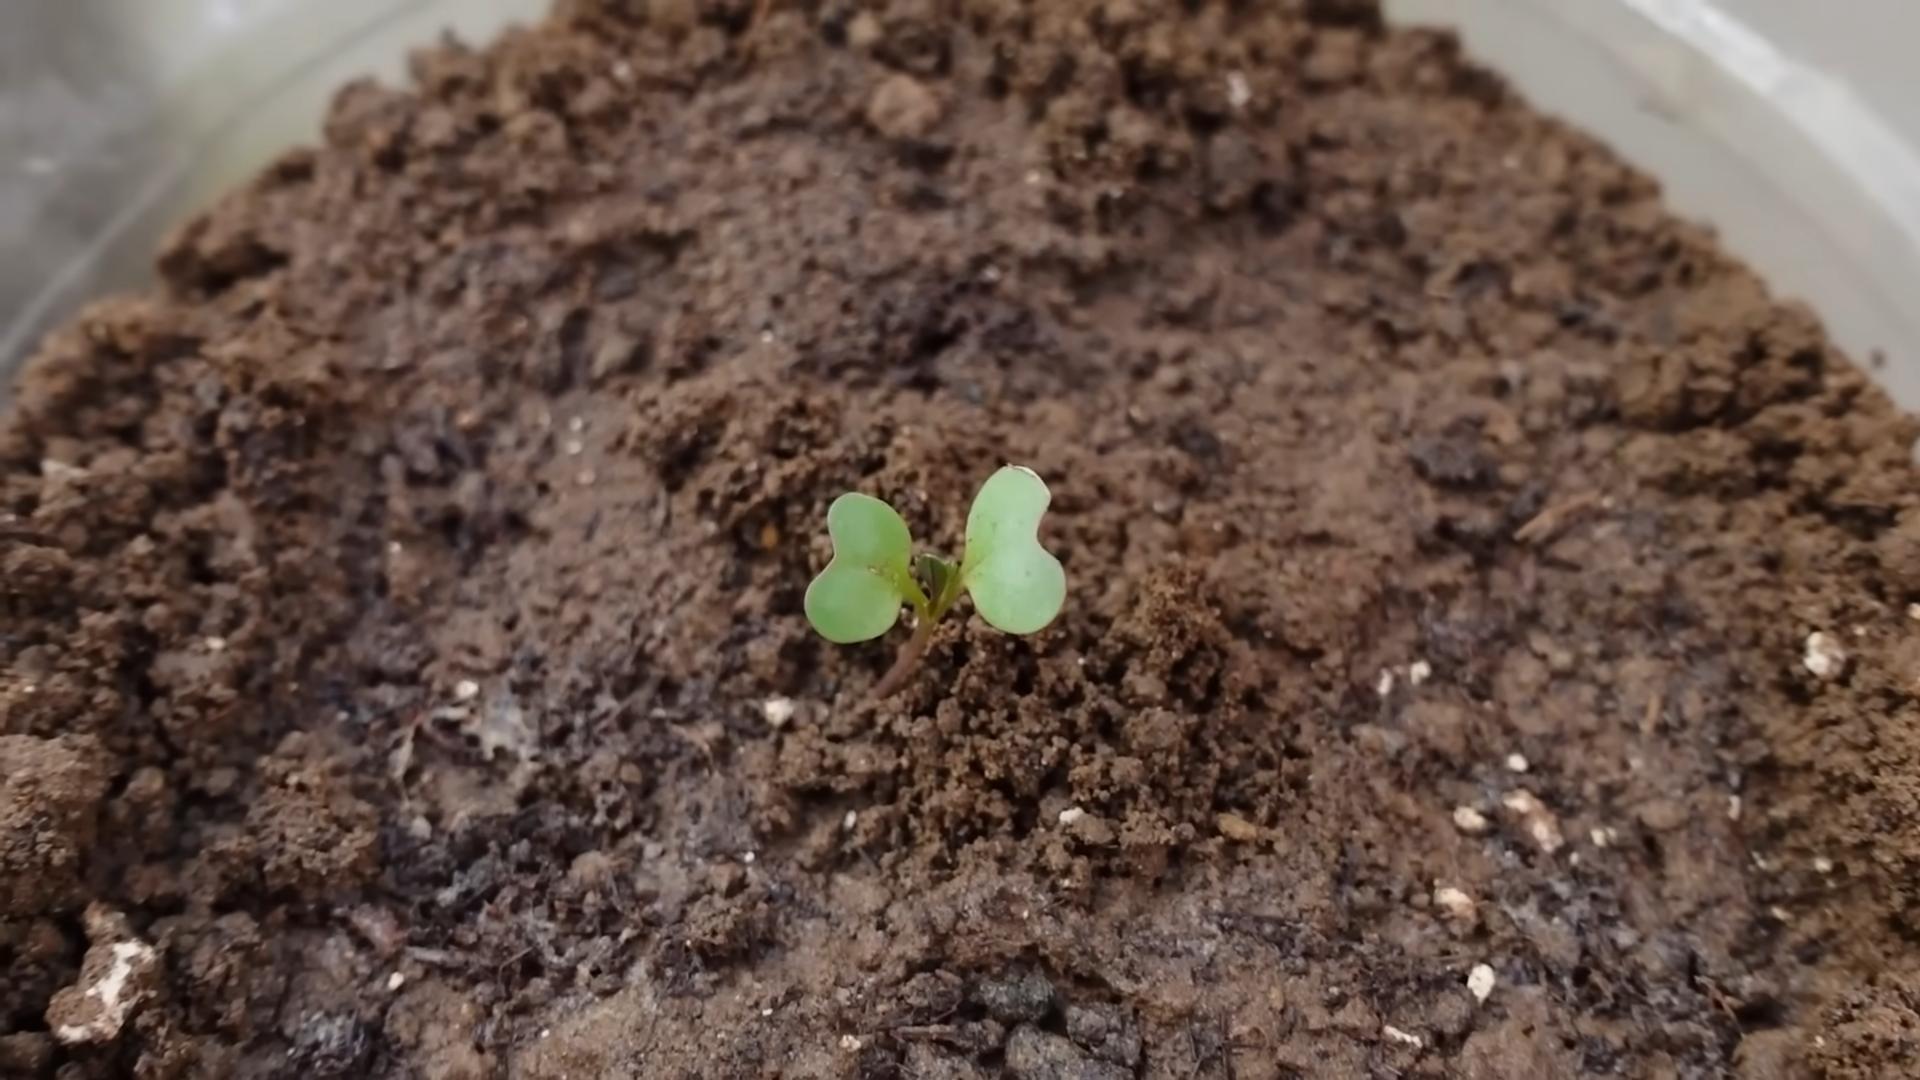
* **From Seeds:** Sow the cabbage seeds according to the instructions on the seed packet. Generally, you’ll want to plant them about ¼ inch deep. Water gently after planting.
* **From Seedlings:** Carefully remove the cabbage seedlings from their containers. Gently loosen the roots and plant them in the bottle, making sure the top of the root ball is level with the soil surface. Water thoroughly after planting.
4. **Label Your Plants:** If you’re planting multiple cabbage varieties, label each bottle so you can keep track of them. You can use waterproof markers or create small labels from plastic or paper.
Caring for Your Cabbage
Proper care is crucial for healthy cabbage growth. This includes watering, fertilizing, and providing adequate sunlight.
1. **Watering:** Water your cabbage plants regularly, keeping the soil consistently moist but not waterlogged. Check the soil moisture by sticking your finger into the soil. If the top inch feels dry, it’s time to water. Water deeply, allowing the water to drain out of the drainage holes.
2. **Sunlight:** Cabbage needs at least 6 hours of sunlight per day. Place your bottle garden in a sunny location, such as a windowsill, balcony, or patio. If you don’t have enough natural sunlight, you can supplement with grow lights.
3. **Fertilizing:** Feed your cabbage plants with a balanced liquid fertilizer every 2-3 weeks. Follow the instructions on the fertilizer label. This will provide the necessary nutrients for healthy growth.
4. **Pest Control:** Keep an eye out for pests, such as aphids, cabbage worms, and slugs. If you notice any pests, you can remove them by hand or use an organic pest control spray.
5. **Support (If Needed):** As your cabbage grows, it may need some support. You can use stakes or trellises to help support the plant and prevent it from falling over.
Harvesting Your Cabbage
The moment you’ve been waiting for – harvesting your homegrown cabbage!
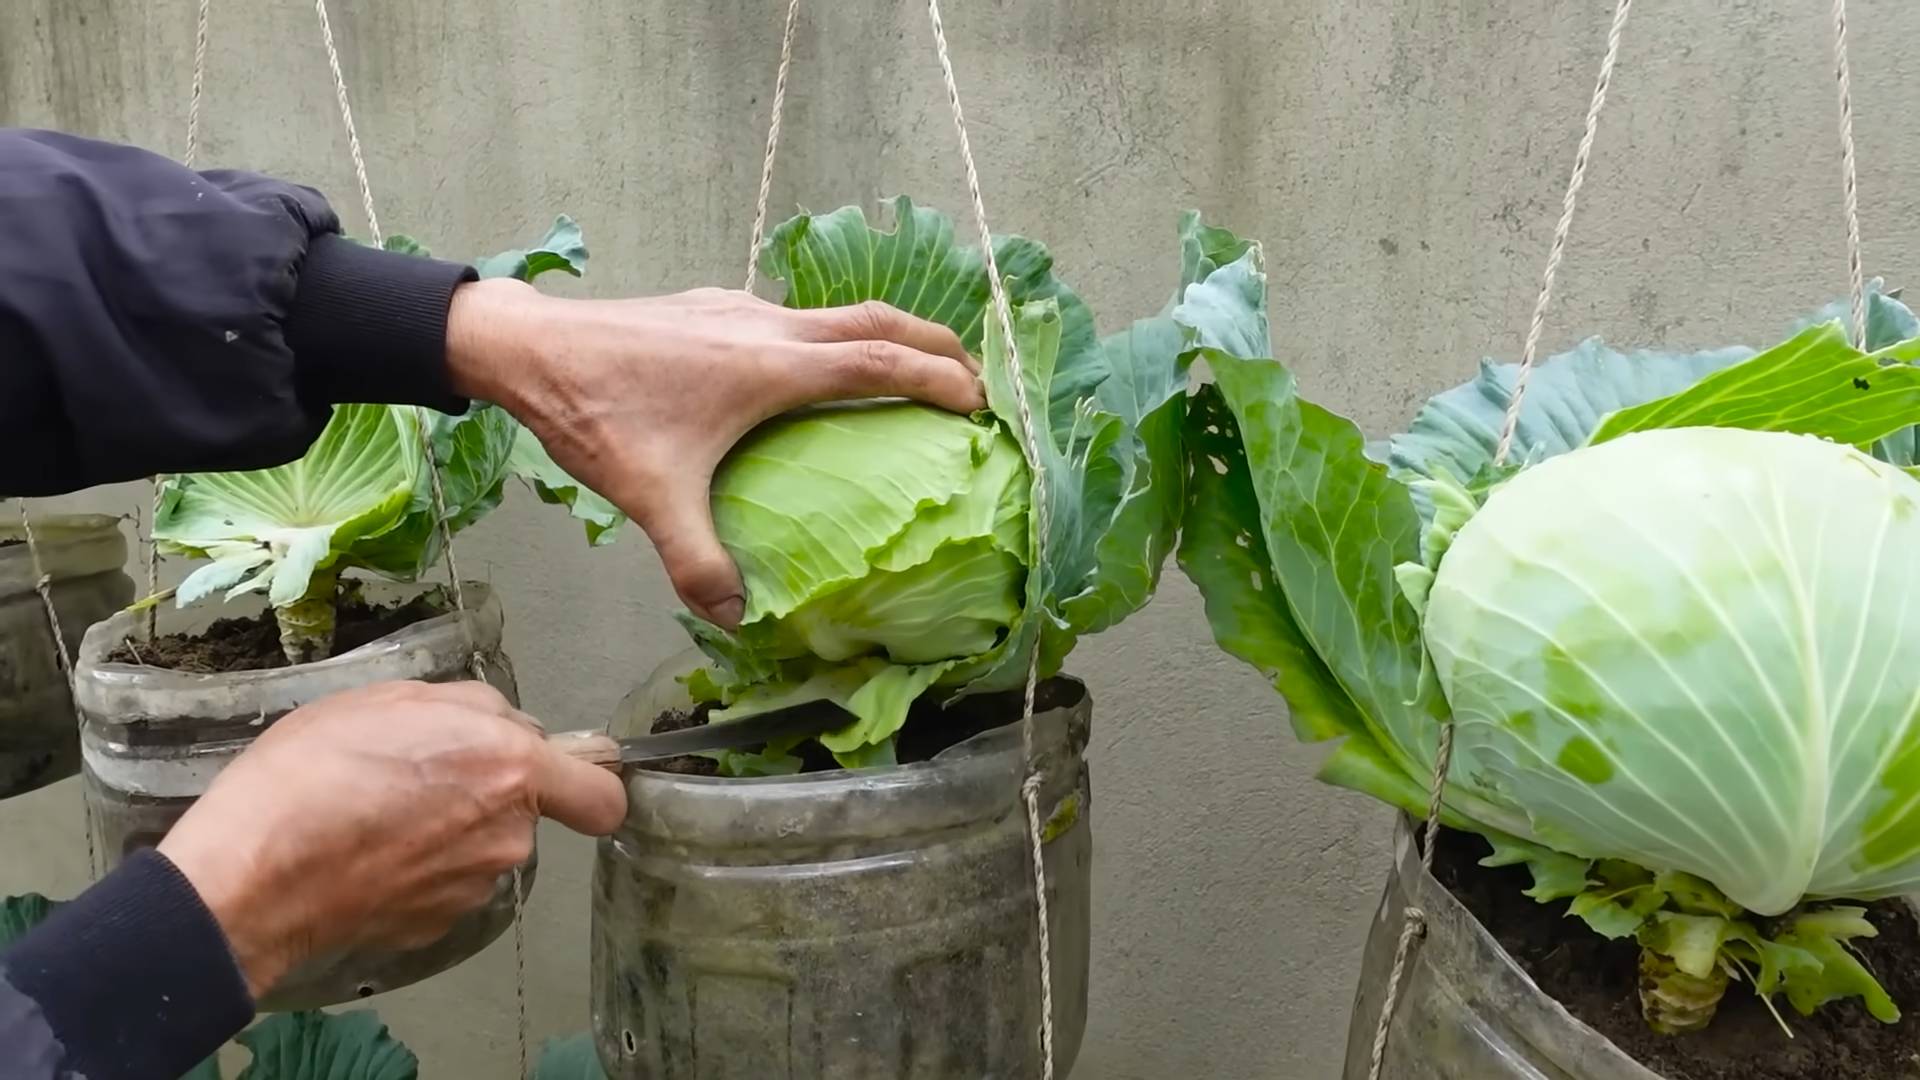
1. **Harvest Time:** Cabbage is typically ready to harvest when the head is firm and compact. The exact time will depend on the variety and growing conditions.
2. **Harvesting:** To harvest your cabbage, use a sharp knife to cut the head from the stem. Leave a few outer leaves on the stem, as these may produce smaller side heads.
3. **Enjoy!** Enjoy your fresh, homegrown cabbage in salads, soups, stir-fries, or any other dish you like.
Troubleshooting
Even with the best care, you might encounter some challenges along the way. Here are some common problems and how to address them:
* **Yellowing Leaves:** This could be a sign of overwatering, underwatering, or nutrient deficiency. Check the soil moisture and adjust your watering accordingly. Fertilize with a balanced fertilizer to provide the necessary nutrients.
* **Slow Growth:** This could be due to lack of sunlight, poor soil, or pests. Make sure your cabbage plants are getting enough sunlight and that the soil is well-draining and rich in nutrients. Check for pests and take appropriate action.
* **Root Rot:** This is caused by overwatering and poor drainage. Make sure your bottles have adequate drainage holes and avoid overwatering. If you suspect root rot, you can try transplanting the cabbage into fresh potting mix.
* **Pest Infestations:** Regularly inspect your cabbage plants for pests. Remove them by hand or use an organic pest control spray.
Tips for Success
Here are a few extra tips to help you succeed with your bottle gardening project:
* **Choose the Right Cabbage Variety:** Consider the size of your bottles and the climate in your area when choosing a cabbage variety. Dwarf varieties are ideal for smaller bottles.
* **Use High-Quality Potting Mix:** A good quality potting mix is essential for healthy cabbage growth.
* **Provide Adequate Sunlight:** Cabbage needs at least 6 hours of sunlight per day.
* **Water Regularly:** Keep the soil consistently moist but not waterlogged.
* **Fertilize Regularly:** Feed your cabbage plants with a balanced liquid fertilizer every 2-3 weeks.
* **Monitor for Pests:** Regularly inspect your cabbage plants for pests and take appropriate action.
* **Be Patient:** Cabbage takes time to grow. Don’t get discouraged if you don’t see results immediately.
I hope this guide has inspired you to try bottle gardening with cabbage. It’s a fun, rewarding, and sustainable way to grow your own food. Happy gardening!
Conclusion
So, there you have it! Transforming a simple plastic bottle into a thriving mini-garden for your cabbage is not just a fun project; it’s a sustainable, space-saving, and incredibly rewarding way to grow your own food. We’ve walked you through the steps, highlighting the ease and accessibility of this method. But why is this DIY bottle gardening trick a must-try?
Firstly, it’s incredibly eco-friendly. Reusing plastic bottles reduces waste and gives them a new lease on life, contributing to a more sustainable lifestyle. Secondly, it’s perfect for those with limited space. Whether you have a small balcony, a tiny patio, or no garden at all, bottle gardening allows you to cultivate fresh cabbage right at your fingertips. Thirdly, it’s a fantastic educational activity, especially for children, teaching them about plant growth, responsibility, and the importance of recycling.
Beyond the basic method, there’s plenty of room for experimentation and personalization. Consider using different types of plastic bottles – larger ones for bigger cabbage varieties or smaller ones for starting seedlings. You can also explore different soil mixes to optimize growth. Adding a layer of gravel at the bottom of the bottle can improve drainage, while incorporating compost into your soil mix will provide essential nutrients.
For a decorative touch, paint your bottles with vibrant colors or create unique designs. You can even hang them vertically to create a stunning living wall of cabbage! Think about grouping your bottle gardens together to create a visually appealing display.
Don’t be afraid to experiment with different cabbage varieties too. While we’ve focused on standard green cabbage, you could try growing red cabbage, Savoy cabbage, or even smaller, ornamental varieties. Each will bring its own unique flavor and texture to your table.
We are confident that you will find this DIY bottle gardening method for cabbage to be a simple, effective, and enjoyable way to grow your own food. It’s a fantastic way to connect with nature, reduce your environmental impact, and enjoy the satisfaction of harvesting your own homegrown produce.
So, what are you waiting for? Gather your empty plastic bottles, grab some soil, and get ready to embark on your bottle gardening adventure! We encourage you to try this DIY trick and share your experiences with us. Post photos of your bottle gardens on social media using #BottleCabbageGarden and let us know how your cabbage is growing. We can’t wait to see your creations! Your success stories and tips will inspire others to join the bottle gardening movement and contribute to a greener, more sustainable future. Happy gardening!
Frequently Asked Questions (FAQ)
1. What type of plastic bottle is best for bottle gardening cabbage?
Ideally, you should use food-grade plastic bottles, such as those that previously contained water, juice, or soda. Avoid bottles that held harsh chemicals, as these may leach into the soil and affect your cabbage. The size of the bottle will depend on the variety of cabbage you intend to grow. Larger bottles (2-3 liters) are suitable for full-sized cabbage heads, while smaller bottles (1-2 liters) are fine for smaller varieties or for starting seedlings. Make sure the bottle is clean and free of any residue before using it.
2. What kind of soil should I use for growing cabbage in bottles?
A well-draining potting mix is essential for successful bottle gardening. You can use a commercially available potting mix or create your own by combining equal parts of garden soil, compost, and perlite or vermiculite. The compost will provide essential nutrients for your cabbage, while the perlite or vermiculite will improve drainage and aeration. Avoid using heavy clay soil, as it can become waterlogged and suffocate the roots of your cabbage.
3. How often should I water my bottle garden cabbage?
The frequency of watering will depend on the weather conditions and the type of soil you are using. Generally, you should water your cabbage when the top inch of soil feels dry to the touch. Avoid overwatering, as this can lead to root rot. Ensure that the bottle has adequate drainage holes to prevent water from accumulating at the bottom. During hot, dry weather, you may need to water your cabbage daily, while during cooler, wetter weather, you may only need to water it every few days.
4. How much sunlight does bottle garden cabbage need?
Cabbage requires at least 6 hours of direct sunlight per day to thrive. Place your bottle garden in a sunny location, such as a south-facing balcony or patio. If you don’t have access to enough sunlight, you can supplement with artificial grow lights. Rotate the bottles regularly to ensure that all sides of the cabbage receive adequate sunlight.
5. How do I fertilize my bottle garden cabbage?
Cabbage is a heavy feeder and requires regular fertilization to produce a healthy head. You can use a balanced liquid fertilizer, such as 10-10-10, diluted to half strength. Fertilize your cabbage every 2-3 weeks during the growing season. You can also add compost tea to the soil to provide additional nutrients. Avoid over-fertilizing, as this can burn the roots of your cabbage.
6. How do I protect my bottle garden cabbage from pests and diseases?
Cabbage is susceptible to various pests and diseases, such as aphids, cabbage worms, and clubroot. To prevent these problems, inspect your plants regularly for signs of infestation or disease. Remove any affected leaves or plants immediately. You can also use organic pest control methods, such as insecticidal soap or neem oil, to control aphids and cabbage worms. To prevent clubroot, ensure that your soil is well-drained and has a pH of 6.5 to 7.0.
7. When is the best time to harvest my bottle garden cabbage?
The time to harvest your cabbage will depend on the variety you are growing. Generally, cabbage is ready to harvest when the head is firm and compact. You can check the firmness by gently squeezing the head. If it feels solid, it’s ready to harvest. To harvest, cut the head off at the base of the plant with a sharp knife. Leave the roots in the bottle, as they may produce new shoots.
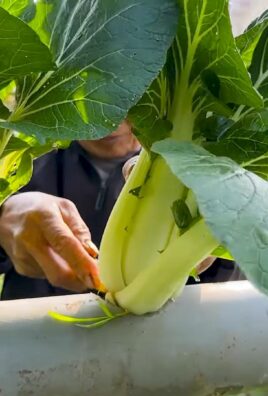
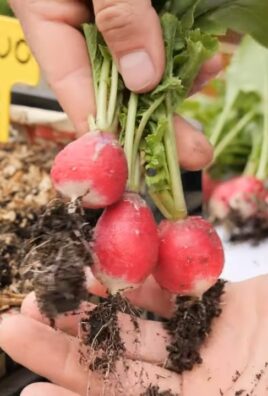
8. Can I grow other vegetables in plastic bottles besides cabbage?
Yes, absolutely! Bottle gardening is a versatile method that can be used to grow a wide variety of vegetables, herbs, and flowers. Some other vegetables that thrive in bottle gardens include lettuce, spinach, kale, tomatoes, peppers, and strawberries. The key is to choose plants that are appropriate for the size of the bottle and the amount of sunlight available.
9. How do I deal with drainage issues in my bottle garden?
Proper drainage is crucial for the health of your cabbage. If you notice that water is pooling at the bottom of the bottle, it indicates poor drainage. To improve drainage, ensure that you have adequate drainage holes in the bottom of the bottle. You can also add a layer of gravel or pebbles to the bottom of the bottle to create a drainage layer. Avoid overwatering, as this can exacerbate drainage problems.
10. What are some creative ways to display my bottle garden cabbage?
There are many creative ways to display your bottle garden cabbage. You can hang the bottles from a fence or balcony railing to create a vertical garden. You can also group the bottles together on a table or shelf to create a miniature garden display. Painting the bottles with vibrant colors or adding decorative elements can enhance the visual appeal of your bottle garden. Get creative and have fun with it!

Leave a Comment