
Clean Fridge Quickly – sounds like a dream, right? I know, I know, tackling the fridge is usually on par with cleaning the oven on the list of least favorite chores. But what if I told you that you could banish those lingering odors and sticky spills in a fraction of the time you thought possible?
For generations, a clean and well-stocked fridge has been a symbol of a thriving home. Think about it – from the iceboxes of the past to the high-tech refrigerators of today, keeping food fresh and organized has always been a priority. But let’s be honest, life gets busy, and sometimes our fridges become a chaotic landscape of forgotten leftovers and mystery sauces.
That’s where these DIY fridge cleaning tricks come in! We all need a little help streamlining our cleaning routines, and a sparkling clean fridge isn’t just about aesthetics. It’s about food safety, preventing cross-contamination, and ultimately, saving money by reducing food waste. Plus, who doesn’t feel a little more zen when they open a fridge that’s organized and smells fresh? So, ditch the dread and get ready to clean fridge quickly with these simple, effective, and totally doable hacks. I promise, you’ll thank me later!
Growing Watermelons: A Beginner’s Guide to Sweet Success!
Okay, so you want to grow watermelons? Awesome! It might seem intimidating, but trust me, with a little planning and effort, you can be enjoying your own homegrown, juicy watermelons before you know it. I’m going to walk you through everything you need to know, from choosing the right variety to harvesting your prize-winning fruit. Let’s get started!
Choosing the Right Watermelon Variety
First things first, you need to pick the right watermelon variety for your climate and space. Not all watermelons are created equal! Some are better suited for shorter growing seasons, while others need a ton of room to sprawl.
* Consider your climate: If you live in a region with a short growing season, opt for faster-maturing varieties like ‘Sugar Baby’ (around 75 days) or ‘Bush Sugar Baby’ (perfect for containers!). For warmer climates with longer summers, you have more options, such as ‘Charleston Gray’ (80-90 days) or ‘Crimson Sweet’ (85 days).
* Think about space: Watermelons are vines, and they can get BIG. If you have a small garden or are planning to grow in containers, look for bush or dwarf varieties. These are bred to be more compact.
* Flavor preferences: Do you prefer a super sweet, red-fleshed watermelon? Or maybe you’re curious about yellow or orange varieties? Read descriptions carefully to find a watermelon that suits your taste. Some popular choices include:
* ‘Sugar Baby’: A classic, small, and sweet watermelon.
* ‘Crimson Sweet’: A larger, very popular variety with excellent flavor.
* ‘Charleston Gray’: An oblong watermelon with a mild, sweet taste.
* ‘Yellow Doll’: A yellow-fleshed watermelon that’s incredibly sweet.
* ‘Blacktail Mountain’: A cold-hardy variety, great for cooler climates.
Preparing the Soil and Planting
Watermelons are heavy feeders, meaning they need nutrient-rich soil to thrive. Proper soil preparation is key to a successful harvest.
* Sunlight is crucial: Watermelons need at least 6-8 hours of direct sunlight per day. Choose a location in your garden that gets plenty of sun.
* Soil testing (optional but recommended): A soil test can tell you the pH level and nutrient content of your soil. Watermelons prefer a slightly acidic soil pH of 6.0 to 6.8. You can buy a soil testing kit at most garden centers or send a sample to your local agricultural extension office.
* Amend the soil: Whether you test your soil or not, it’s a good idea to amend it with plenty of organic matter. This will improve drainage, aeration, and nutrient content.
* Compost: Add a generous layer of compost to your planting area. Work it into the top 6-8 inches of soil.
* Well-rotted manure: Manure is another excellent soil amendment. Make sure it’s well-rotted to avoid burning the plants.
* Other organic matter: You can also use things like leaf mold, shredded bark, or peat moss to improve your soil.
* Creating mounds or rows: Watermelons grow best in slightly raised mounds or rows. This helps with drainage and warms the soil faster in the spring.
* Mounds: Create mounds that are about 1-2 feet wide and 6-12 inches high. Space the mounds about 3-4 feet apart.
* Rows: Create rows that are about 3-4 feet apart.
* Planting seeds or transplants: You can either direct sow watermelon seeds in the garden or start them indoors and transplant them later.
* Direct sowing: Wait until the soil has warmed to at least 70°F (21°C) before direct sowing. Plant seeds about 1 inch deep and 2-3 feet apart.
* Starting indoors: Start seeds indoors about 3-4 weeks before the last expected frost. Use peat pots or biodegradable pots to avoid disturbing the roots when transplanting. Plant seeds about 1 inch deep. Keep the soil moist and warm.
* Transplanting seedlings: Harden off seedlings before transplanting them into the garden. This means gradually exposing them to outdoor conditions over a period of about a week. Transplant seedlings after the last expected frost, spacing them 2-3 feet apart.
Watering and Fertilizing
Watermelons need consistent watering, especially during hot, dry weather. They also benefit from regular fertilization.
* Watering deeply and regularly: Water deeply and regularly, especially when the fruits are developing. Aim for about 1-2 inches of water per week. Water at the base of the plant to avoid wetting the foliage, which can lead to fungal diseases.
* Mulching to retain moisture: Apply a layer of mulch around the plants to help retain moisture, suppress weeds, and regulate soil temperature. Straw, wood chips, or black plastic mulch are all good options.
* Fertilizing for optimal growth: Watermelons are heavy feeders, so they need regular fertilization.
* Initial fertilization: When transplanting seedlings or when seedlings emerge from direct sowing, fertilize with a balanced fertilizer (e.g., 10-10-10).
* Side-dressing: Side-dress the plants with a nitrogen-rich fertilizer when the vines start to run.
* Fruiting stage: Switch to a fertilizer that’s higher in phosphorus and potassium when the fruits start to develop. This will help promote fruit development and sweetness.
* Organic options: If you prefer organic fertilizers, you can use things like compost tea, fish emulsion, or bone meal.
Pollination and Fruit Development
Watermelons need to be pollinated in order to produce fruit. Bees are the primary pollinators, so it’s important to attract them to your garden.
* Attracting pollinators: Plant flowers that attract bees and other pollinators near your watermelon patch. Some good choices include sunflowers, zinnias, and lavender.
* Hand-pollinating (if necessary): If you’re not seeing a lot of bee activity, you may need to hand-pollinate the flowers.
* Identifying male and female flowers: Watermelons have separate male and female flowers. Male flowers have a long, thin stem, while female flowers have a small, immature watermelon at the base.
* Pollinating: Use a small paintbrush to collect pollen from the male flower and transfer it to the stigma of the female flower. Do this in the morning, when the pollen is fresh.
* Thinning fruits (optional): If you have a lot of watermelons developing on a single vine, you may want to thin them out to allow the remaining fruits to grow larger and sweeter. Remove any misshapen or damaged fruits.
Pest and Disease Control
Watermelons can be susceptible to a variety of pests and diseases. It’s important to monitor your plants regularly and take action if you see any problems.
* Common pests:
* Aphids: These small, sap-sucking insects can weaken plants and transmit diseases. Control them with insecticidal soap or neem oil.
* Cucumber beetles: These beetles can damage leaves and flowers and transmit bacterial wilt. Control them with row covers or insecticides.
* Squash bugs: These bugs can suck the sap from leaves and stems, causing plants to wilt and die. Control them by hand-picking them off the plants or using insecticides.
* Common diseases:
* Powdery mildew: This fungal disease causes a white, powdery coating on the leaves. Control it with fungicides or by improving air circulation.
* Fusarium wilt: This fungal disease causes plants to wilt and die. There is no cure for Fusarium wilt, so it’s important to plant resistant varieties.
* Anthracnose: This fungal disease causes dark, sunken lesions on the leaves and fruits. Control it with fungicides.
* Preventative measures:
* Crop rotation: Rotate your crops each year to prevent the buildup of pests and diseases in the soil.
* Good sanitation: Remove any diseased or dead plant material from the garden to prevent the spread of diseases.
* Watering practices: Water at the base of the plants to avoid wetting the foliage, which can lead to fungal diseases.
* Resistant varieties: Plant disease-resistant varieties whenever possible.
Harvesting Your Watermelons
Knowing when to harvest your watermelons is crucial for getting that perfect, sweet flavor. It’s not always easy to tell, but here are a few things to look for:
* Days to maturity: Check the seed packet or plant tag for the number of days
Conclusion
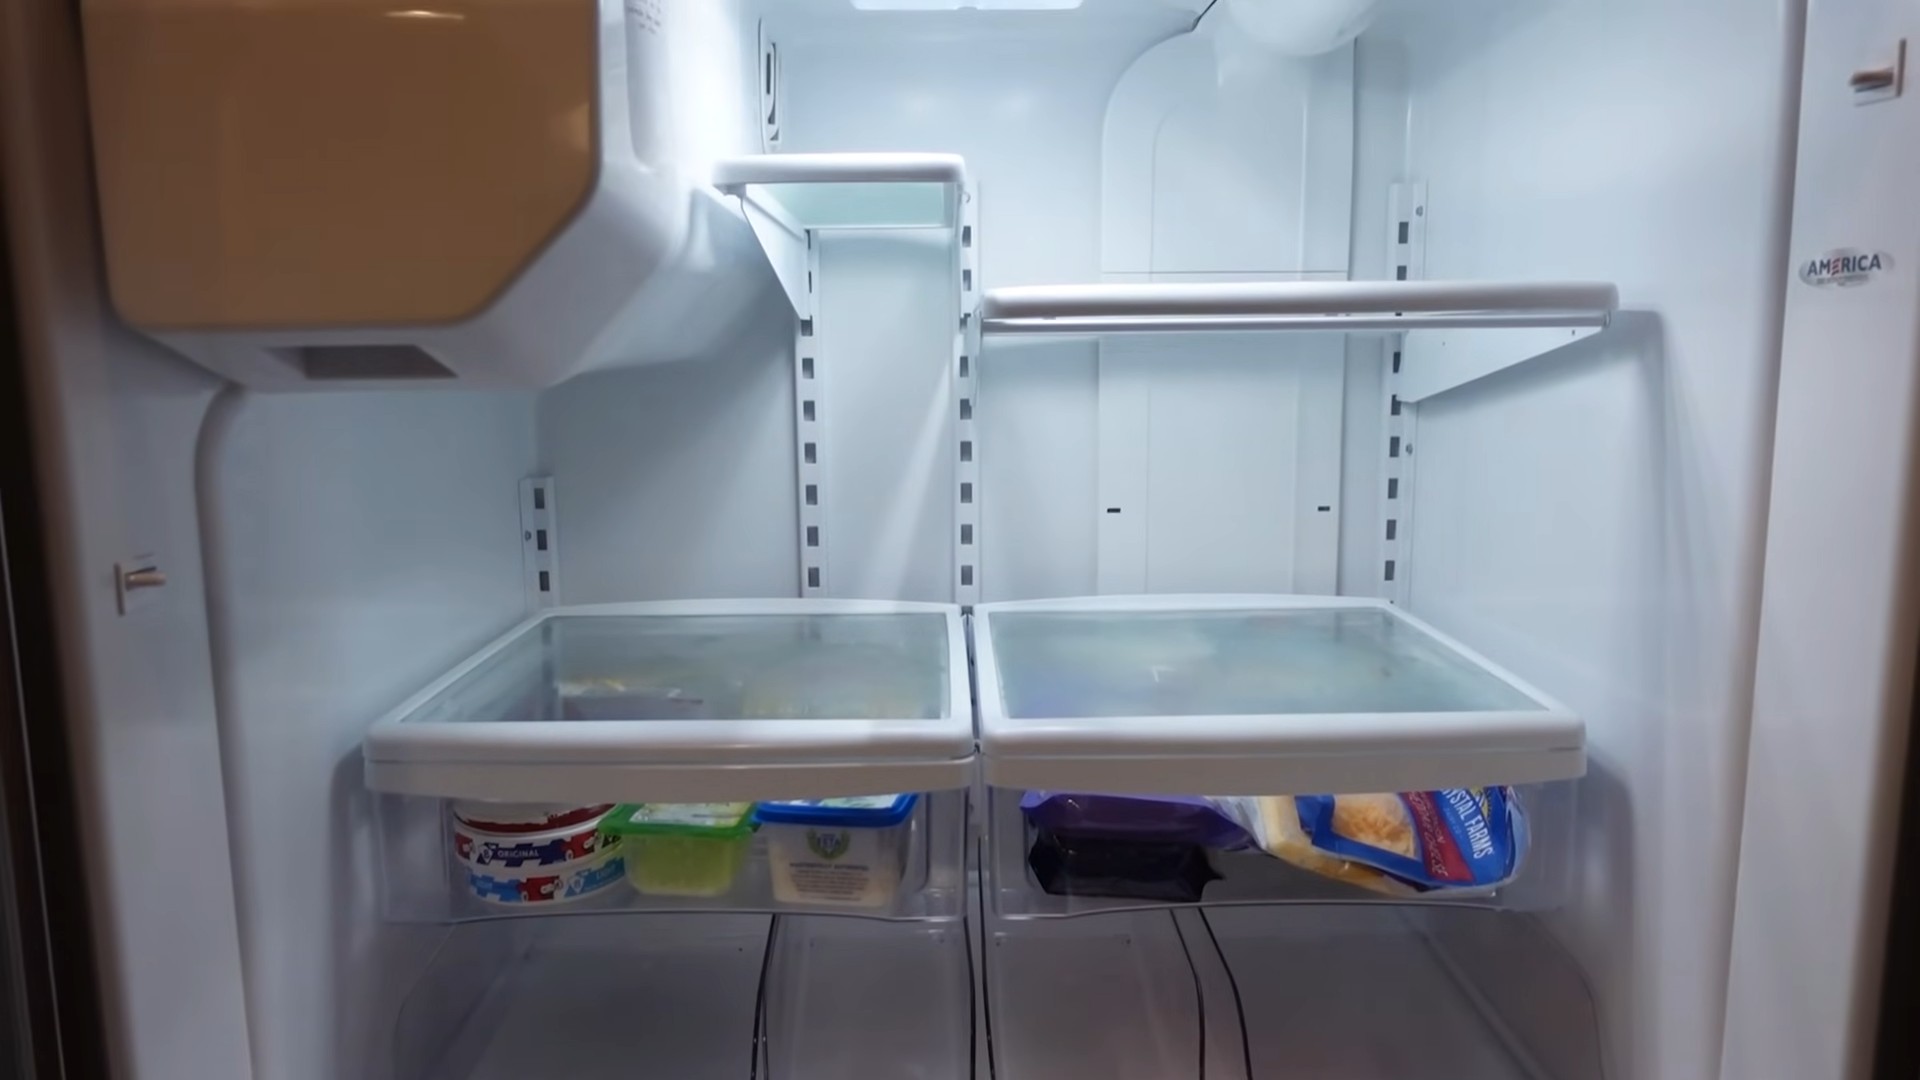
So, there you have it! This simple, yet incredibly effective, DIY trick for a sparkling clean fridge is more than just a cleaning hack; it’s a game-changer for your kitchen hygiene and food preservation. We’ve all been there, staring into the abyss of a cluttered, smelly refrigerator, dreading the task ahead. But with this method, you can transform that daunting chore into a quick, satisfying accomplishment.
Why is this a must-try? Because it’s fast, it’s cheap, and it utilizes ingredients you likely already have in your pantry. No more harsh chemicals or expensive cleaning solutions! This method is gentle on your fridge, tough on grime, and safe for your food. Plus, a clean fridge isn’t just about aesthetics; it’s about preventing the spread of bacteria, extending the shelf life of your groceries, and ultimately, protecting your health.
Imagine opening your fridge to a fresh, organized space, free from unpleasant odors and sticky spills. This DIY solution makes that a reality.
But don’t just take our word for it! We encourage you to give this clean fridge quickly method a try. And feel free to experiment!
Here are a few suggestions and variations to personalize the process:
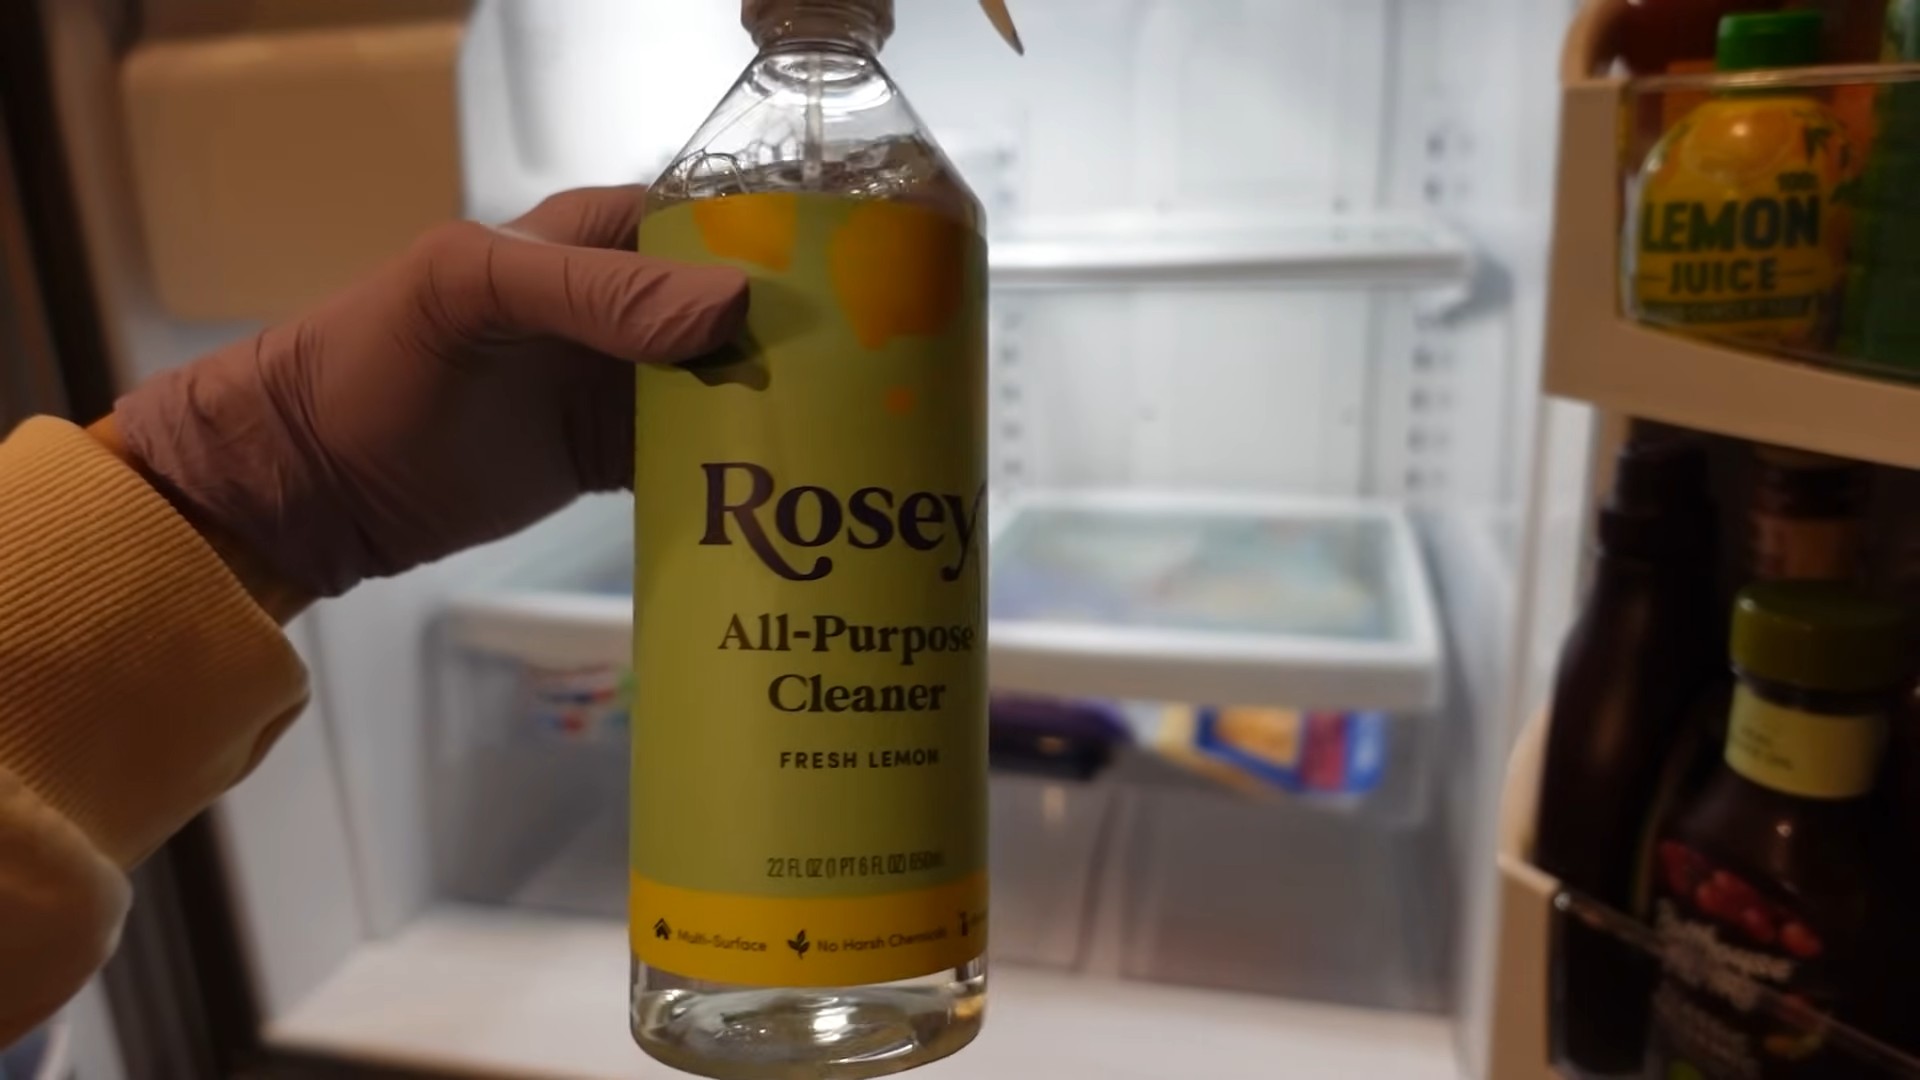
* Essential Oil Boost: Add a few drops of your favorite essential oil (lemon, tea tree, or lavender are great choices) to the cleaning solution for an extra burst of freshness and antibacterial power.
* Vinegar Power: For stubborn stains or lingering odors, increase the ratio of vinegar in your cleaning solution. A 50/50 mix of vinegar and water can work wonders.
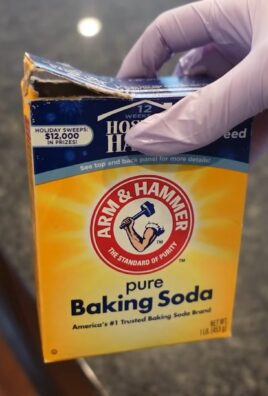
* Baking Soda Scrub: Create a paste of baking soda and water to tackle particularly tough, dried-on messes. Apply the paste, let it sit for a few minutes, and then scrub gently.
* Shelf Liner Savior: Consider using removable shelf liners to catch spills and crumbs, making future cleanups even easier.
* Preventative Measures: Place an open box of baking soda in your fridge to absorb odors between cleanings. You can also use activated charcoal for the same purpose.
* Citrus Freshness: After cleaning, place a halved lemon or orange in your fridge to naturally deodorize and freshen the air.
We are confident that this DIY trick will revolutionize your fridge cleaning routine. It’s a small change that can make a big difference in your kitchen and your overall well-being.
Now, it’s your turn! Try this method, adapt it to your needs, and let us know how it goes. Share your experiences, tips, and variations in the comments below. We’re eager to hear your success stories and learn from your insights. Together, let’s create a community of sparkling clean fridges! Don’t forget to share this article with your friends and family so they can benefit from this amazing cleaning hack too. A clean fridge is a happy fridge, and a happy fridge leads to a happy home!
Frequently Asked Questions (FAQ)
Q: How often should I clean my fridge using this DIY method?
A: The frequency of cleaning depends on your usage and how prone your fridge is to spills and messes. However, a good rule of thumb is to give your fridge a thorough cleaning at least once a month. For high-traffic fridges or those with frequent spills, consider cleaning every two weeks. Spot cleaning spills as they happen will also help maintain a clean fridge and prevent buildup.
Q: Is vinegar safe to use on all fridge surfaces?
A: Generally, vinegar is safe for most fridge surfaces, including plastic, glass, and stainless steel. However, it’s always a good idea to test a small, inconspicuous area first, especially if you have an older fridge with potentially delicate surfaces. Avoid using vinegar on porous materials like unsealed stone, as it can potentially stain or damage them. If you’re unsure, consult your fridge’s manufacturer’s instructions.
Q: What if I don’t have vinegar? Can I use something else?
A: While vinegar is a key ingredient in this DIY cleaning solution due to its acidity and antibacterial properties, you can substitute it with lemon juice. Lemon juice offers similar cleaning and deodorizing benefits. Use the same ratio of lemon juice to water as you would with vinegar. In a pinch, a mild dish soap solution can also be used, but be sure to rinse thoroughly to remove any soap residue.
Q: My fridge has a really strong odor. Will this DIY method be enough to eliminate it?
A: This DIY method is effective at removing most fridge odors. However, for particularly stubborn or strong odors, you may need to take additional steps. After cleaning, place an open box of baking soda or a bowl of activated charcoal in your fridge to absorb lingering odors. You can also try placing a halved lemon or orange in the fridge. For extremely persistent odors, consider cleaning the fridge again with a stronger vinegar solution or using a commercial fridge deodorizer. Also, check for any spoiled food that may be contributing to the odor.
Q: How do I clean the ice dispenser and water filter in my fridge?
A: Cleaning the ice dispenser and water filter is crucial for maintaining a clean and healthy fridge. For the ice dispenser, remove any ice buildup and wipe down the dispenser chute with a damp cloth. You can also use a cotton swab to clean hard-to-reach areas. For the water filter, follow the manufacturer’s instructions for replacement. Most water filters should be replaced every six months to ensure optimal water quality.
Q: What’s the best way to organize my fridge after cleaning it?
A: Organizing your fridge after cleaning is essential for maintaining its cleanliness and preventing future messes. Start by grouping similar items together, such as dairy products, fruits, vegetables, and condiments. Use clear storage containers to keep items organized and prevent spills. Place frequently used items at eye level for easy access. Store meat and poultry on the bottom shelf to prevent cross-contamination. Label containers with expiration dates to avoid food waste.
Q: Can I use this DIY cleaning solution on other appliances besides my fridge?
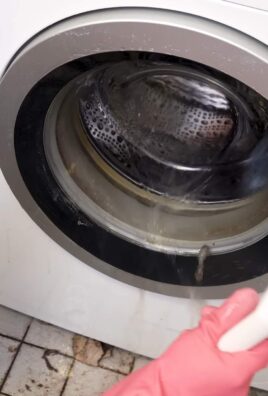
A: While this DIY cleaning solution is primarily designed for cleaning fridges, it can also be used on other appliances with similar surfaces, such as microwaves and dishwashers. However, always test a small, inconspicuous area first to ensure that the solution doesn’t damage the surface. Avoid using the solution on appliances with sensitive electronic components or surfaces that are not compatible with vinegar or lemon juice.
Q: How can I prevent my fridge from getting dirty in the first place?
A: Preventing your fridge from getting dirty is easier than constantly cleaning it. Here are a few tips:
* Wipe up spills immediately.
* Store food in airtight containers to prevent leaks.
* Use shelf liners to catch crumbs and spills.
* Regularly check expiration dates and discard expired food.
* Don’t overfill your fridge, as this can make it difficult to clean and organize.
* Designate specific areas for different types of food.
By following these preventative measures, you can keep your fridge clean and organized for longer periods of time.

Leave a Comment