
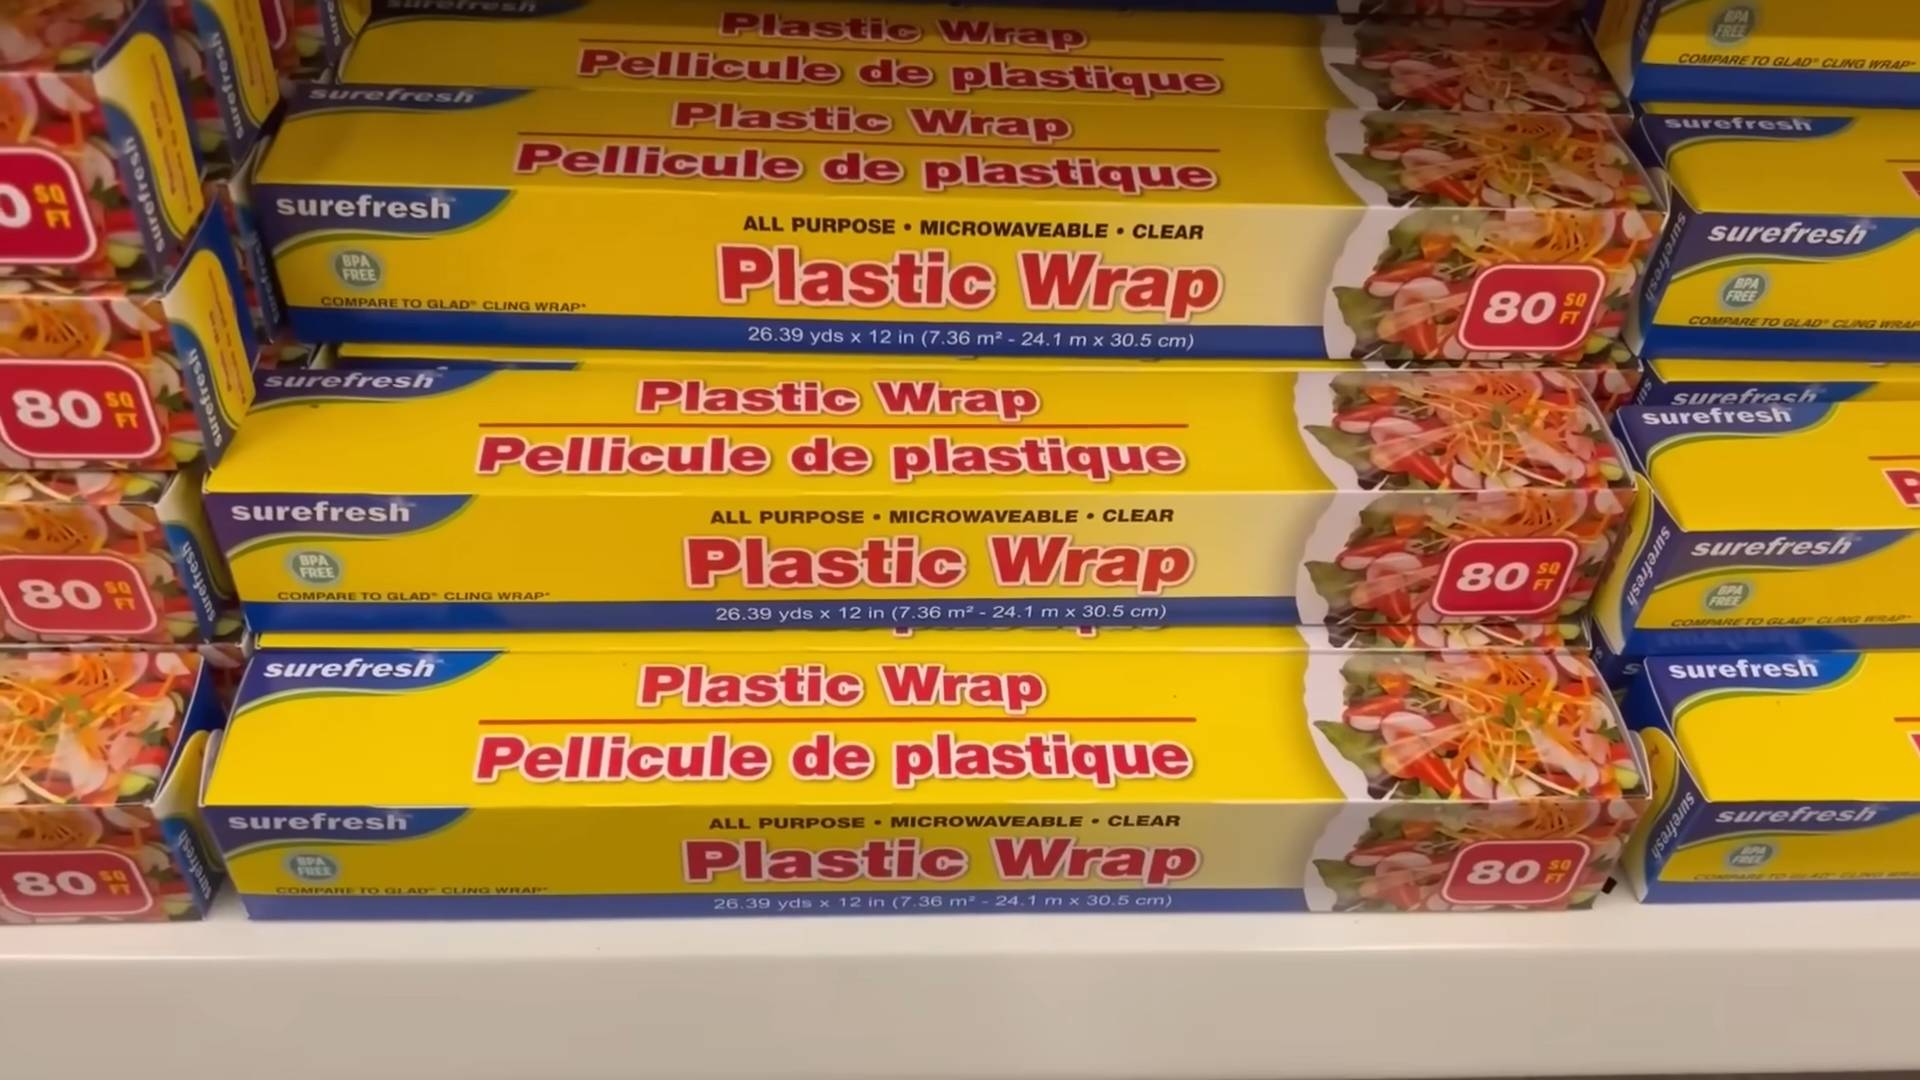
Plastic Wrap Hacks for the Home Gardener
I’ve always loved the feeling of getting my hands dirty in the garden, but let’s be honest, gardening can be messy! That’s why I’m so excited to share some amazing Plastic Wrap Hacks I’ve discovered to make your gardening experience easier and more efficient. From protecting your precious seedlings to keeping your fruits and vegetables fresher for longer, these clever tricks will revolutionize your approach to home gardening.
Believe it or not, the humble plastic wrap, often relegated to the kitchen, has a surprising number of applications in the garden. While the widespread use of plastic is a concern for environmental reasons, repurposing what we already have is a great way to reduce waste. And these Plastic Wrap Hacks are a perfect example of that! Historically, gardeners have always been resourceful, using whatever materials were at hand to improve their crops. Think about the old-fashioned methods of using burlap sacks or even newspaper to protect plants – these Plastic Wrap Hacks are a modern twist on that same resourceful spirit.
Why do you need these DIY tricks? Because they save you time, money, and frustration! Imagine effortlessly protecting your delicate seedlings from harsh weather, preventing precious fruits and vegetables from spoiling prematurely, or even creating a mini-greenhouse for faster growth. These Plastic Wrap Hacks are not just clever; they’re practical solutions to common gardening challenges. So, let’s dive in and discover how to transform this everyday household item into a powerful tool for your green thumb!
Building a Custom Bookshelf from Reclaimed Wood
I love the look of reclaimed wood, and I’ve always wanted a unique bookshelf. So, I decided to build my own! This project took a bit of time, but the result is a beautiful, one-of-a-kind piece I’m incredibly proud of. Here’s how I did it:
Gathering Your Materials
- Reclaimed wood planks (I used about 10-12, varying lengths and widths, but aim for a consistent thickness). Make sure the wood is clean and dry.
- Wood glue
- Wood screws (various lengths, depending on plank thickness)
- Wood filler
- Sandpaper (various grits, starting with coarser and moving to finer)
- Wood stain (your choice of color)
- Polyurethane sealant (clear or satin)
- Drill with various drill bits
- Level
- Measuring tape
- Safety glasses
- Work gloves
- Clamps (lots of them!)
- Putty knife
- Paintbrushes
- Rags or cloths
Preparing the Wood
1. Clean the wood: Before you start, thoroughly clean your reclaimed wood planks. I used a stiff brush and soapy water to remove any dirt, grime, or loose debris. Let them dry completely. This step is crucial for a good finish.
2. Inspect for damage: Carefully examine each plank for cracks, splits, or significant damage. Small imperfections add character, but large cracks might need to be addressed with wood filler.
3. Cut to size (if necessary): I needed to cut some of my planks to achieve the desired shelf lengths. Use a saw (circular saw or hand saw, depending on your comfort level and the wood’s thickness) to make precise cuts. Remember to measure twice, cut once!
4. Sand the planks: Sand each plank thoroughly, starting with a coarser grit sandpaper (around 80-100 grit) to remove any rough spots or splinters. Gradually move to finer grits (120-220 grit) for a smoother finish. Sanding is key to a professional-looking final product. Wear a dust mask during this step!
Assembling the Bookshelf
1. Plan your design: Before you start gluing and screwing, sketch out your bookshelf design. Consider the height, width, and number of shelves. I opted for a staggered, asymmetrical design, but you can create a more traditional look if you prefer.
2. Apply wood glue: Liberally apply wood glue to the ends of the planks where they will meet to form the vertical supports. Don’t skimp on the glue; it’s the primary bond for your structure.
3. Clamp the pieces together: Use clamps to hold the pieces firmly in place while the glue dries. Make sure the pieces are aligned and level. I used a level constantly to ensure my bookshelf wouldn’t lean. You’ll need a lot of clamps for this step – the more, the better!
4. Pre-drill pilot holes: Before screwing the planks together, pre-drill pilot holes to prevent the wood from splitting. Use a drill bit slightly smaller than the diameter of your screws. This is a crucial step to avoid ruining your hard work.
5. Screw the pieces together: Once the pilot holes are drilled, carefully screw the planks together. Don’t overtighten the screws, as this could also cause the wood to split.
6. Fill any gaps: After assembling the bookshelf, you might notice some small gaps between the planks. Use wood filler to fill these gaps, ensuring a smooth, seamless look. Let the filler dry completely before sanding.
7. Sand the assembled bookshelf: Once the wood filler is dry, sand the entire bookshelf again, paying close attention to the areas where you applied the filler. This will ensure a smooth, even surface for staining.
Finishing Touches
1. Apply wood stain: Apply your chosen wood stain according to the manufacturer’s instructions. I used a rag to apply the stain evenly, working with the grain of the wood. Let the stain dry completely. Consider applying multiple coats for deeper color saturation.
2. Apply polyurethane sealant: Once the stain is dry, apply several coats of polyurethane sealant. This will protect your bookshelf from moisture and wear, extending its lifespan. Let each coat dry completely before applying the next. I used a satin finish for a subtle sheen.
3. Clean up: After the sealant is dry, clean up any excess drips or smudges with a clean rag. Your beautiful, custom-built bookshelf is now ready to display your favorite books!
Tips for Success:
- Take your time. This is not a rush job. Careful attention to detail will result in a much better final product.
- Use quality materials. Investing in good wood, glue, and sealant will make a difference in the durability and appearance of your bookshelf.
- Don’t be afraid to experiment. This is your chance to create a unique piece that reflects your personal style.
- Have fun! Building something with your own hands is a rewarding experience.
Troubleshooting:
- Uneven shelves: If your shelves are uneven, check your measurements and ensure the supports are properly aligned before gluing and screwing.
- Cracks in the wood: Use wood filler to repair any cracks before sanding and staining.
- Stain inconsistencies: Apply multiple thin coats of stain for even coverage. Sand lightly between coats if necessary.
Conclusion
So there you have it! Our comprehensive guide to incredible plastic wrap hacks. We’ve explored a range of uses, from preserving food freshness to tackling unexpected household messes, proving that this humble kitchen staple is far more versatile than you might think. This DIY approach to problem-solving not only saves you money but also reduces waste, making it a truly sustainable choice. Mastering these plastic wrap hacks empowers you to tackle everyday challenges with creativity and efficiency. It’s a testament to the power of resourcefulness and the surprising potential hidden within everyday items.
Beyond the specific hacks we’ve detailed, the possibilities are truly endless. Experiment with different types of plastic wrap – some are better suited for certain tasks than others. For instance, thicker, clingier wraps are ideal for sealing leftovers, while thinner varieties might be better for delicate items or wrapping oddly shaped objects. Consider using these techniques in conjunction with other storage methods, such as reusable containers or freezer bags, to create a comprehensive food preservation system. Don’t be afraid to get creative! Perhaps you can adapt these techniques to organize your craft supplies, protect delicate furniture during a move, or even create makeshift waterproof coverings for outdoor projects. The applications are limited only by your imagination.
We strongly encourage you to try out these plastic wrap hacks and discover the many ways they can simplify your life. Share your experiences and innovative uses with us! We’d love to hear about your successes, your modifications, and any new hacks you develop. Join the conversation online and let’s build a community of resourceful individuals who are making the most of everyday materials. Your feedback and creativity will inspire others and help us continue to expand this collection of practical and effective solutions. Let’s embrace the power of ingenuity and show the world that even the simplest items can be used in extraordinary ways.
Remember, these plastic wrap hacks are not just about convenience; they are about embracing a more sustainable and resourceful lifestyle. By repurposing and maximizing the use of materials we already have, we contribute to a smaller environmental footprint. So, grab your roll of plastic wrap, and let’s get creative!
Frequently Asked Questions
What types of plastic wrap are best for these hacks?
The best type of plastic wrap for these hacks depends on the specific application. For sealing food, a thicker, clingier wrap is generally preferred to ensure a tight seal and prevent air from entering. Thinner wraps might be better suited for more delicate items or for applications where a less rigid wrap is needed. Experiment with different types to find what works best for you. Always check the packaging for any specific instructions or warnings.
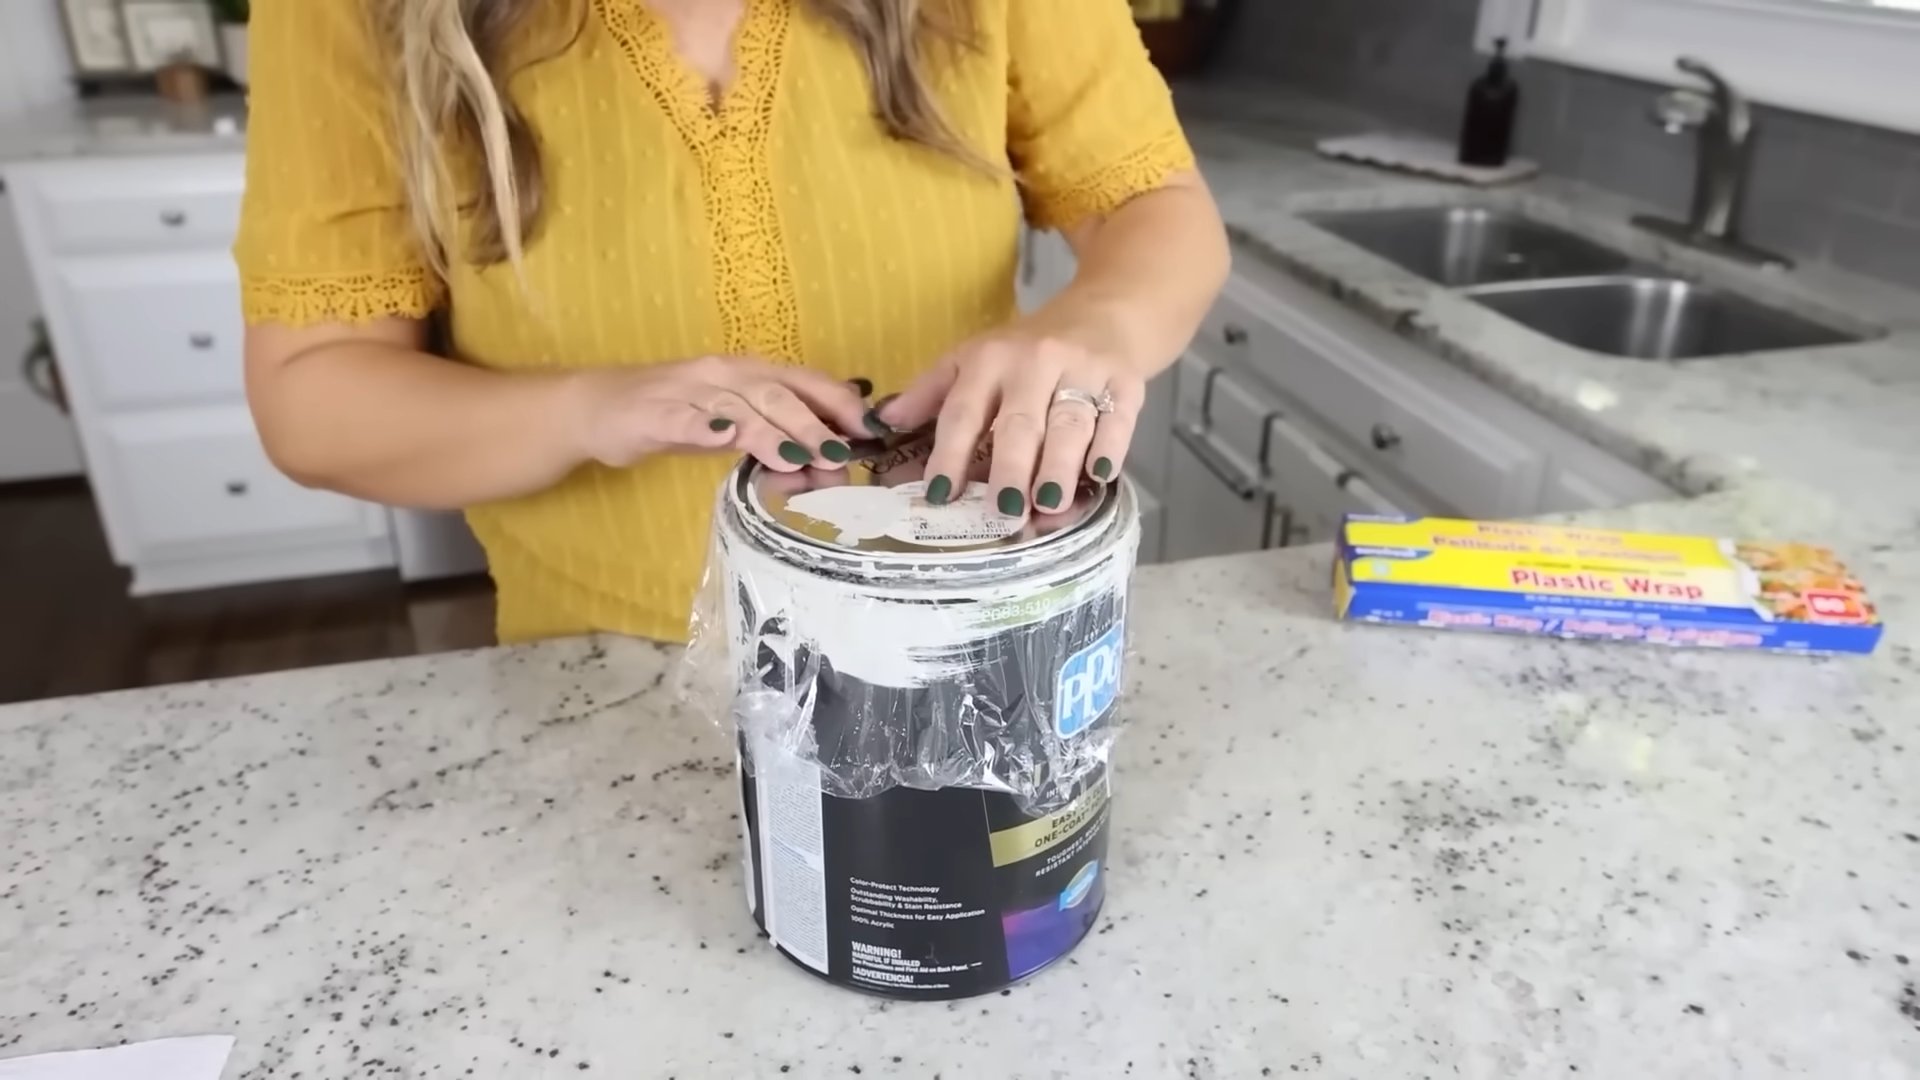
Can I use plastic wrap for anything other than food storage?
Absolutely! As demonstrated in the article, plastic wrap has a surprising number of non-food related uses. You can use it to protect surfaces during painting or crafting, create makeshift waterproof coverings for small items, or even organize your drawers and closets. The key is to use your creativity and adapt the techniques to your specific needs.
Is plastic wrap a sustainable choice?
While plastic wrap itself is not inherently sustainable due to its reliance on petroleum-based materials, using it efficiently and creatively, as these hacks suggest, can help reduce waste. By extending the lifespan of the wrap and finding multiple uses for it, you minimize the need to purchase new rolls as frequently. Consider exploring more sustainable alternatives like beeswax wraps or reusable silicone food covers for long-term solutions.
Are there any safety precautions I should take when using plastic wrap?
Always ensure the plastic wrap is properly ventilated when used for food storage, especially when covering hot foods. Avoid using plastic wrap near open flames or high heat sources. Never use plastic wrap that is torn or damaged, as this could compromise its effectiveness and potentially lead to contamination. Always follow the manufacturer’s instructions on the packaging.
What if my plastic wrap tears easily?
If your plastic wrap tears easily, it might be old or of poor quality. Try a different brand or type of plastic wrap. Also, ensure you are handling it gently to avoid unnecessary tearing. Using a sharp knife or scissors to cut the wrap can also help prevent tearing.
Can I reuse plastic wrap?
While some people reuse plastic wrap, it’s generally not recommended for food safety reasons. Once plastic wrap has been used to cover food, it can harbor bacteria and other contaminants. For hygiene and safety, it’s best to use fresh plastic wrap for each application. However, you can certainly reuse it for non-food related purposes, as described in several of the hacks.
Where can I find more information on plastic wrap and its uses?
You can find more information on plastic wrap and its uses by searching online for “plastic wrap hacks” or “creative uses for plastic wrap”. You can also consult the manufacturer’s website for specific information on the type of plastic wrap you are using. Remember to always prioritize safety and hygiene when using plastic wrap.
Leave a Comment