
Cleaning time savers, ah, the holy grail of modern living! Let’s be honest, who actually *enjoys* spending hours scrubbing and tidying? I know I’d rather be curled up with a good book or exploring a new hiking trail. But a clean home is a happy home, right? So, how do we reconcile our desire for sparkling surfaces with our limited free time?
Throughout history, people have sought ways to streamline household chores. From ancient Roman bathhouses with their intricate cleaning systems to the Victorian era’s obsession with labor-saving devices, the quest for efficiency is nothing new. But in today’s fast-paced world, where time is our most precious commodity, finding effective cleaning time savers is more crucial than ever.
That’s why I’m so excited to share these amazing DIY cleaning hacks with you! This isn’t just about making your house look good; it’s about reclaiming your weekends, reducing stress, and creating a more enjoyable living space. Imagine spending less time on chores and more time doing the things you love. Sounds good, doesn’t it? These simple, yet effective, tricks will revolutionize your cleaning routine and give you back the gift of time. Get ready to say goodbye to endless scrubbing and hello to a sparkling home, effortlessly!
DIY Cleaning Time Savers: Hacks to Reclaim Your Weekend!
Okay, let’s be honest, nobody *loves* cleaning. But what if I told you there are some super simple DIY hacks that can seriously cut down on your cleaning time? I’ve been experimenting with these for ages, and trust me, they’re game-changers. Get ready to reclaim your weekends!
Cleaning Your Microwave Like a Pro (in Minutes!)
This is one of my absolute favorite time-savers. No more scrubbing baked-on food!
What You’ll Need:
* 1 cup water
* 1/4 cup white vinegar (or lemon juice)
* Microwave-safe bowl
* Clean sponge or cloth
Step-by-Step Instructions:
1. Mix the Solution: In your microwave-safe bowl, combine the water and vinegar (or lemon juice). I prefer vinegar because it’s a powerhouse cleaner, but lemon juice smells amazing!
2. Microwave Magic: Place the bowl in the microwave and heat on high for 5-7 minutes. You want the solution to boil and create steam.
3. Let it Sit: Don’t open the microwave immediately! Let the steam work its magic for another 2-3 minutes. This loosens all the grime.
4. Wipe Away: Carefully remove the bowl (it will be hot!). Use your sponge or cloth to easily wipe away the loosened food particles. You’ll be amazed at how easily everything comes off.
5. Final Touches: For any stubborn spots, you can dip your sponge in the remaining solution and give them a little extra attention.
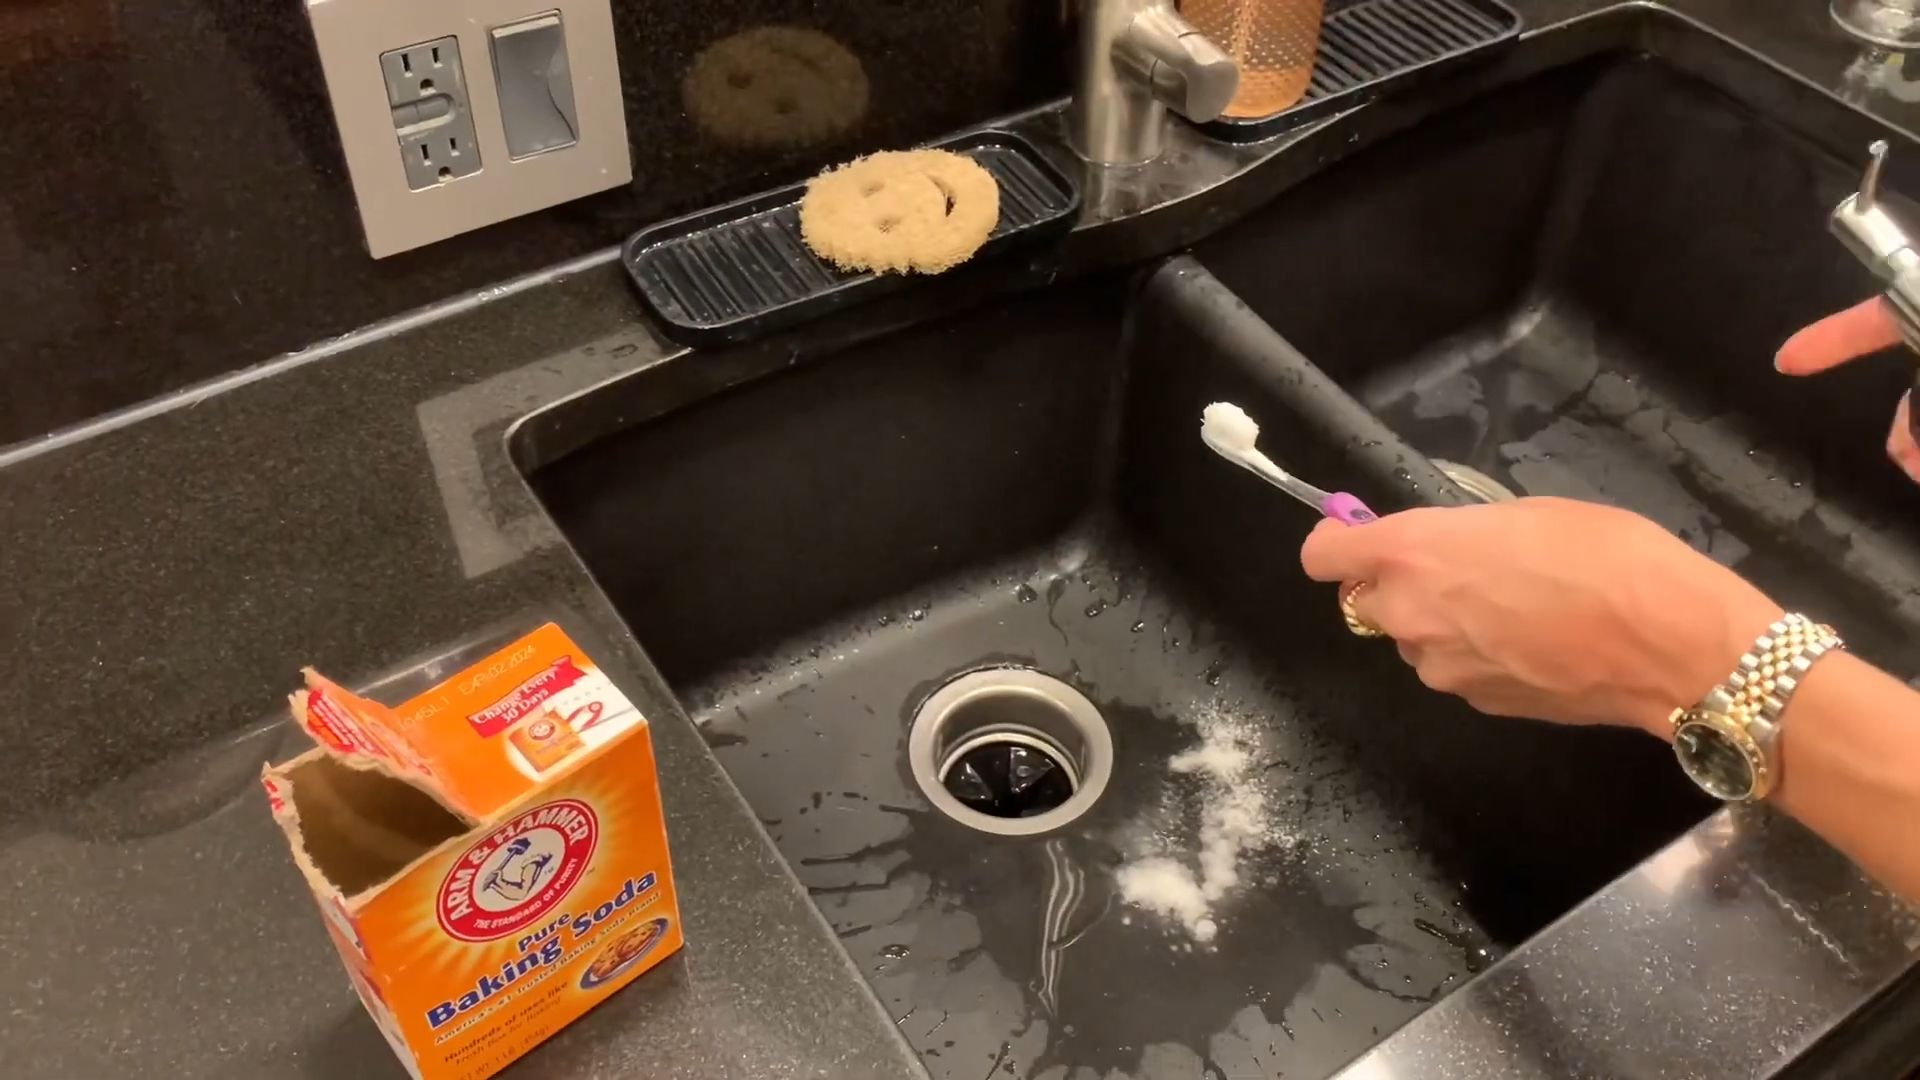
Unclogging Drains the Natural Way
Forget harsh chemicals! This method is eco-friendly and works wonders.
What You’ll Need:
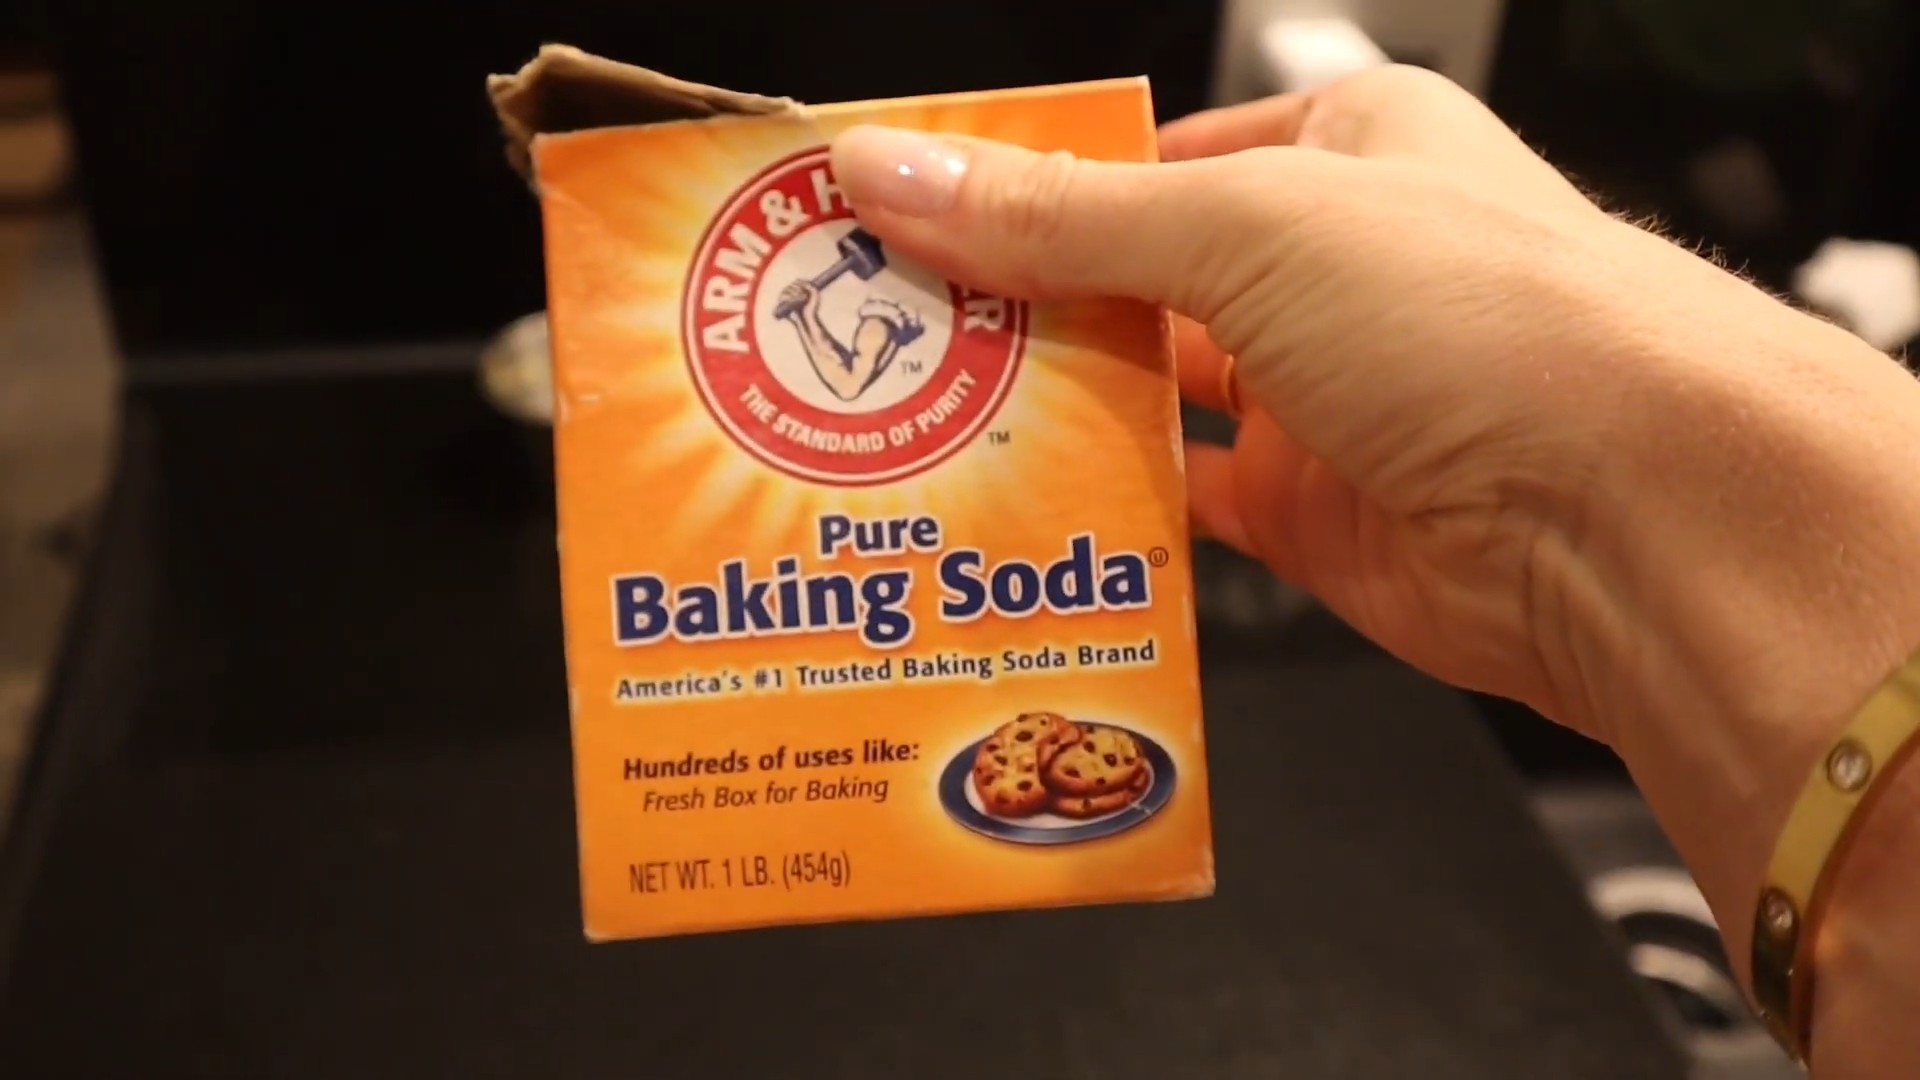
* 1 cup baking soda
* 2 cups boiling water
* 1 cup white vinegar
Step-by-Step Instructions:
1. Baking Soda First: Pour the baking soda down the drain. Try to get as much as possible into the drain opening.
2. Vinegar Power: Follow the baking soda with the vinegar. You’ll hear a fizzing sound – that’s the chemical reaction working to break down the clog.
3. Let it Bubble: Let the mixture sit for at least 30 minutes, or even better, overnight. This gives it plenty of time to dissolve the gunk.
4. Boiling Water Flush: Carefully pour the boiling water down the drain. This will flush away the dissolved clog.
5. Repeat if Necessary: If the drain is still slow, repeat the process. For really stubborn clogs, you might need to do it a couple of times.
Streak-Free Window Cleaning: My Secret Weapon
Say goodbye to streaks and hello to sparkling windows!
What You’ll Need:
* Spray bottle
* 1 part white vinegar
* 1 part water
* Microfiber cloths (crucial!)
Step-by-Step Instructions:
1. Mix the Solution: In your spray bottle, combine the vinegar and water. That’s it! Simple, right?
2. Spray Sparingly: Lightly spray the window with the solution. Don’t over-saturate it.
3. Wipe Down: Use a clean microfiber cloth to wipe the window in overlapping strokes.
4. Buff to Shine: Use a second, dry microfiber cloth to buff the window to a streak-free shine. This is the key to getting that professional-looking finish.
5. Clean the Cloths: Make sure to wash your microfiber cloths regularly to keep them clean and effective.
Cleaning Your Shower Head for Better Water Pressure
Hard water can wreak havoc on your shower head, leading to reduced water pressure. This simple trick will fix it!
What You’ll Need:
* Plastic bag (gallon-sized works well)
* White vinegar
* Rubber band or twist tie
Step-by-Step Instructions:
1. Fill the Bag: Fill the plastic bag with enough white vinegar to completely submerge the shower head.
2. Secure the Bag: Carefully attach the bag to the shower head, making sure the shower head is fully immersed in the vinegar. Use a rubber band or twist tie to secure the bag tightly.
3. Soak Overnight: Let the shower head soak in the vinegar overnight. This will dissolve the mineral deposits that are clogging the nozzles.
4. Remove and Rinse: Remove the bag and discard the vinegar. Rinse the shower head thoroughly with water.
5. Wipe Clean: Use a clean cloth to wipe away any remaining residue.
6. Run the Shower: Run the shower for a few minutes to flush out any remaining vinegar and debris. You should notice a significant improvement in water pressure!
Freshening Up Your Garbage Disposal
A stinky garbage disposal is no fun. Here’s how to get rid of the odor naturally.
What You’ll Need:
* Ice cubes
* Lemon or lime wedges
* Salt
Step-by-Step Instructions:
1. Ice Cube Power: Fill the garbage disposal with ice cubes.
2. Add Salt: Sprinkle a generous amount of salt over the ice cubes. The salt helps to scrub the disposal blades.
3. Grind Away: Turn on the cold water and run the garbage disposal until all the ice is gone.
4. Citrus Refresh: Toss in a few lemon or lime wedges and run the disposal again. The citrus will help to freshen the disposal and leave a pleasant scent.
5. Repeat Regularly: I like to do this about once a week to keep my garbage disposal smelling fresh.
Speed Cleaning Your Blender
Cleaning a blender can be a pain, but this hack makes it super easy.
What You’ll Need:
* Water
* Dish soap
Step-by-Step Instructions:
1. Fill with Water: Fill the blender about halfway with warm water.
2. Add Soap: Add a squirt of dish soap.
3. Blend Away: Secure the lid and blend on high speed for about 30-60 seconds.
4. Rinse Thoroughly: Pour out the soapy water and rinse the blender thoroughly with clean water.
5. Air Dry: Let the blender air dry completely before storing it.
Cleaning Burnt Food from Pots and Pans
Don’t throw away that burnt pot! This trick can save it.
What You’ll Need:
* Water
* Baking soda
* Dish soap
* Scrubbing sponge
Step-by-Step Instructions:
1. Fill with Water: Fill the burnt pot or pan with enough water to cover the burnt food.
2. Add Baking Soda: Add a generous amount of baking soda (about 2-3 tablespoons) to the water.
3. Boil the Solution: Bring the water to a boil and let it simmer for about 10-15 minutes.
4. Let it Cool: Remove the pot from the heat and let it cool slightly.
5. Scrub Away: Use a scrubbing sponge to gently scrub away the loosened burnt food. You may need to use a little elbow grease, but the baking soda should have loosened most of it.
6. Wash as Usual: Wash the pot or pan with dish soap and water as usual.
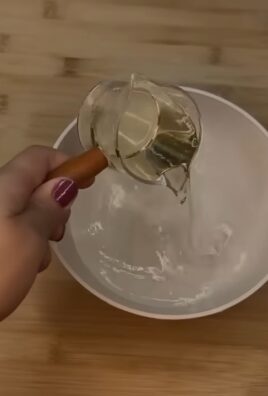
Making Your Own All-Purpose Cleaner
Why buy expensive cleaners when you can make your own for pennies?
What You’ll Need:
* Spray bottle
* 1/4 cup white vinegar
* 2 cups water
* 10-15 drops essential oil (optional, for scent)
Step-by-Step Instructions:
1. Combine Ingredients: In your spray bottle, combine the vinegar, water, and essential oil (if using).
2. Shake Well: Shake the bottle well to mix the ingredients.
3. Spray and Wipe: Spray the cleaner onto surfaces and wipe clean with a cloth.
4. Test First: Always test the cleaner on a small, inconspicuous area first to make sure it doesn’t damage the surface.
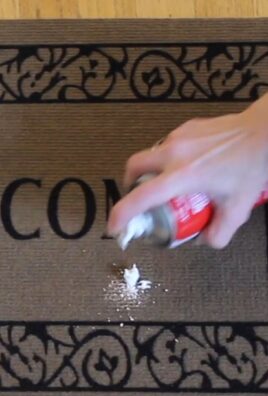
Cleaning Grout with Baking Soda Paste
Dirty grout can make your whole bathroom look dingy. This paste will brighten it up!
What You’ll Need:
* Baking soda
* Water
* Old toothbrush
Step-by-Step Instructions:
1. Make a Paste: Mix baking soda and water to form a thick paste.
2. Apply to Grout: Apply the paste to the grout lines.
3. Scrub Away: Use an old toothbrush to scrub the grout lines
Conclusion
So, there you have it! This simple yet incredibly effective DIY cleaning trick is more than just a time-saver; it’s a game-changer for anyone looking to streamline their cleaning routine and reclaim precious hours. We’ve all been there, staring down a mountain of chores, feeling overwhelmed and unmotivated. But with this method, you can tackle those tasks with renewed energy and efficiency.
Why is this DIY cleaning trick a must-try? Because it’s economical, environmentally friendly, and, most importantly, it works! You’re likely already have most, if not all, of the ingredients in your pantry or cleaning cabinet. No need to spend a fortune on expensive, store-bought cleaners filled with harsh chemicals. This method is gentle on your surfaces, tough on grime, and easy on your wallet.
Beyond the basic recipe, there’s plenty of room for customization. For a refreshing citrus scent, add a few drops of lemon, orange, or grapefruit essential oil. If you’re dealing with particularly stubborn stains, consider adding a tablespoon of borax to the mixture. For a more powerful disinfectant, a splash of white vinegar can work wonders. Experiment with different combinations to find what works best for your specific needs and preferences. Remember to always test any new cleaning solution on an inconspicuous area first to ensure it doesn’t damage the surface.
This DIY cleaning trick isn’t just about saving time; it’s about creating a cleaner, healthier home environment for you and your family. By using natural ingredients, you’re reducing your exposure to harmful chemicals and contributing to a more sustainable lifestyle. It’s a win-win situation!
We’re confident that once you try this DIY cleaning trick, you’ll wonder how you ever lived without it. It’s a simple, effective, and affordable way to keep your home sparkling clean without spending hours scrubbing and scrubbing.
Now, it’s your turn! We encourage you to give this DIY cleaning trick a try and see the amazing results for yourself. Don’t be afraid to experiment with different variations and find what works best for you. And most importantly, we want to hear about your experience! Share your tips, tricks, and success stories in the comments below. Let’s build a community of cleaning enthusiasts who are passionate about saving time and creating a cleaner, healthier world.
What are you waiting for? Grab your supplies and get ready to experience the magic of this DIY cleaning trick. You’ll be amazed at how much time and energy you save, and you’ll love the feeling of accomplishment that comes with a sparkling clean home. Happy cleaning!
Frequently Asked Questions (FAQ)
What exactly is the “DIY cleaning trick” this article refers to?
This article focuses on a general concept of creating your own cleaning solutions using common household ingredients. While a specific recipe isn’t detailed in the conclusion, the emphasis is on using readily available items like vinegar, baking soda, essential oils, and borax to create effective and eco-friendly cleaners. The core idea is to move away from expensive, chemical-laden commercial products and embrace a more natural and cost-effective approach to cleaning.
What surfaces can I use this DIY cleaning trick on?
The beauty of DIY cleaning is its adaptability, but caution is key. Generally, solutions made with vinegar and baking soda are safe for most non-porous surfaces like countertops (excluding natural stone like marble and granite), sinks, tiles, and appliances. However, always test a small, inconspicuous area first. Avoid using vinegar-based cleaners on natural stone, waxed wood, or aluminum, as it can cause damage. Baking soda can be mildly abrasive, so use it gently on delicate surfaces. For wood floors, a diluted solution of water and a mild soap like castile soap is often a better choice. Always research the specific material you’re cleaning before applying any DIY solution.
Can I use essential oils other than lemon, orange, or grapefruit?
Absolutely! The choice of essential oils is largely based on personal preference and the desired scent. Lavender, tea tree, eucalyptus, and peppermint are all popular choices for their antibacterial and antifungal properties, as well as their pleasant aromas. Tea tree oil, in particular, is known for its disinfecting qualities. Just be sure to use pure essential oils and add them sparingly, typically a few drops per batch of cleaning solution. Also, be mindful of pets and children, as some essential oils can be harmful if ingested or come into direct contact with skin. Always research the safety of an essential oil before using it around your family and pets.
How long will a homemade cleaning solution last?
The shelf life of a homemade cleaning solution depends on the ingredients used. Solutions containing water are prone to bacterial growth, so it’s best to make them in small batches and use them within a week or two. Solutions made with vinegar or alcohol as the base tend to last longer, up to a month or two, due to their preservative properties. Store your DIY cleaning solutions in airtight containers in a cool, dark place to prolong their shelf life. Always label your containers clearly with the ingredients and the date they were made. If the solution changes color, develops an odor, or shows signs of mold growth, discard it immediately.
Is it safe to mix different cleaning ingredients together?
This is a crucial question! Mixing certain cleaning ingredients can create dangerous and even deadly fumes. Never mix bleach with ammonia, vinegar, rubbing alcohol, or any other cleaner. This can produce toxic gases that can cause respiratory problems, burns, and even death. Similarly, avoid mixing vinegar and hydrogen peroxide, as this can create peracetic acid, which is also harmful. When in doubt, err on the side of caution and avoid mixing any cleaning ingredients unless you are absolutely certain that it is safe to do so. Always research the potential reactions before combining any chemicals.
What if I have allergies or sensitivities to certain ingredients?
If you have allergies or sensitivities, it’s essential to be extra cautious when making and using DIY cleaning solutions. Read the labels of all ingredients carefully and avoid using anything that you know you are allergic to. Consider wearing gloves and a mask when handling cleaning solutions to protect your skin and respiratory system. If you experience any adverse reactions, such as skin irritation, breathing difficulties, or headaches, discontinue use immediately and consult a doctor. You can also explore alternative DIY cleaning recipes that use different ingredients that are less likely to trigger your allergies or sensitivities.
Can I use this DIY cleaning trick to clean my oven?
Yes, a baking soda paste is a fantastic natural oven cleaner. Mix baking soda with water to form a thick paste and spread it all over the inside of your oven, avoiding the heating elements. Let it sit overnight, then scrub away the grime with a sponge or cloth. For stubborn stains, you can add a little vinegar to the baking soda paste. This will create a fizzing action that helps to loosen the dirt and grease. Be sure to rinse the oven thoroughly with water after cleaning to remove any residue.
How can I make my DIY cleaning solutions smell better?
Besides essential oils, you can infuse your cleaning solutions with herbs or citrus peels. For example, you can add lemon or orange peels to a jar of vinegar and let it steep for a few weeks to create a citrus-infused vinegar cleaner. You can also add sprigs of rosemary, lavender, or thyme to your cleaning solutions for a more herbal scent. Just be sure to strain out the herbs or citrus peels before using the solution.
What’s the best way to store my DIY cleaning solutions?
Store your DIY cleaning solutions in clean, airtight containers. Glass spray bottles are a great option for spray cleaners, while plastic bottles with secure lids are suitable for other types of solutions. Label each container clearly with the ingredients and the date it was made. Store your cleaning solutions in a cool, dark place away from direct sunlight and heat. Keep them out of reach of children and pets.
Where can I find more information about safe DIY cleaning practices?
There are many resources available online and in libraries that provide information about safe DIY cleaning practices. Look for reputable websites and books that offer detailed instructions and safety guidelines. Be sure to read reviews and testimonials from other users to get a better understanding of the effectiveness and safety of different DIY cleaning methods. Always prioritize safety and use common sense when making and using DIY cleaning solutions.
Leave a Comment