
Clorox cleaning hacks are about to revolutionize your cleaning routine! Are you tired of spending hours scrubbing, only to be left with lingering grime and stubborn stains? I know I was! For generations, Clorox bleach has been a staple in households, prized for its powerful disinfecting properties. But did you know its uses extend far beyond just laundry and bathroom cleaning?
From tackling tough kitchen messes to revitalizing outdoor spaces, Clorox offers a surprisingly versatile arsenal of cleaning solutions. In a world where time is precious and cleanliness is paramount, mastering these simple yet effective Clorox cleaning hacks can save you both effort and money.
This article is your ultimate guide to unlocking the full potential of this everyday product. I’ll share my favorite DIY tricks and tips that will transform the way you clean, leaving your home sparkling and germ-free with minimal fuss. Get ready to discover the secrets to a cleaner, healthier, and happier home!
DIY Cleaning Powerhouse: Unleashing the Magic of Clorox Beyond the Bottle
Okay, friends, let’s talk cleaning! We all want a sparkling home, but sometimes those store-bought cleaners just don’t cut it, or they cost a small fortune. That’s where Clorox comes in. Now, I know what you’re thinking: “Clorox is just for laundry!” But trust me, this stuff is a cleaning superhero in disguise. I’m going to share some of my favorite DIY Clorox cleaning hacks that will leave your house fresh, sanitized, and looking its best. Remember to always test in an inconspicuous area first and wear gloves! Safety first, always!
Understanding Clorox: A Quick Refresher
Before we dive into the hacks, let’s quickly review what makes Clorox so effective. The active ingredient, sodium hypochlorite, is a powerful disinfectant that kills bacteria, viruses, and fungi. This makes it perfect for sanitizing surfaces and tackling tough stains. However, it’s crucial to use it properly and dilute it correctly to avoid damage and ensure safety. Always read the product label for specific instructions and warnings.
Hack 1: The Ultimate Bathroom Cleaner
Bathrooms can be breeding grounds for germs and grime. This Clorox-based cleaner will tackle everything from soap scum to mildew.
What you’ll need:
* Spray bottle
* 1 cup water
* 1/4 cup Clorox bleach
* 1 teaspoon dish soap (optional, for extra cleaning power)
* Gloves
* Eye protection
Step-by-step instructions:
1. Gear Up: Put on your gloves and eye protection. Bleach can irritate your skin and eyes, so it’s important to protect yourself.
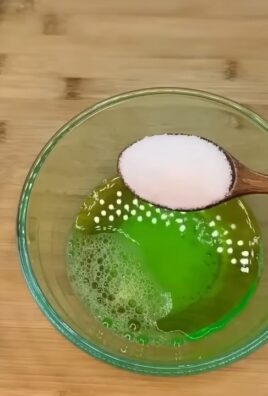
2. Mix the Solution: In the spray bottle, combine the water, Clorox bleach, and dish soap (if using). Gently swirl to mix. Avoid shaking vigorously, as this can create excessive foam.
3. Spray and Wait: Spray the solution onto the surfaces you want to clean, such as the shower, tub, toilet, and sink. Let it sit for about 5-10 minutes to allow the bleach to disinfect and loosen grime.
4. Scrub and Rinse: Use a scrub brush or sponge to scrub the surfaces thoroughly. Pay extra attention to areas with soap scum or mildew.
5. Rinse Well: Rinse all surfaces thoroughly with clean water. Make sure to remove all traces of the bleach solution.
6. Ventilate: Open a window or turn on the bathroom fan to ventilate the area and allow it to dry completely.
Important Note: Never mix bleach with ammonia or other cleaning products, as this can create dangerous fumes.
Hack 2: Reviving Dingy White Laundry
White clothes can quickly lose their brightness and become dingy. Clorox can help restore their original brilliance.
What you’ll need:
* Clorox bleach
* Laundry detergent
* Washing machine
Step-by-step instructions:
1. Sort Your Laundry: Separate your white clothes from colored items to prevent color bleeding.
2. Load the Washing Machine: Load your white clothes into the washing machine.
3. Add Detergent: Add your regular laundry detergent to the dispenser.
4. Add Clorox Bleach: Follow the instructions on the Clorox bottle for the correct amount of bleach to use based on the size of your load and the severity of the stains. Typically, you’ll add the bleach to the bleach dispenser.
5. Run the Wash Cycle: Start the washing machine on a normal cycle with hot water. Hot water helps to activate the bleach and remove stains more effectively.
6. Check and Repeat (If Necessary): After the wash cycle is complete, check your clothes to see if the stains are gone and the whites are brighter. If necessary, repeat the process.
7. Dry as Usual: Dry your clothes as usual, either in the dryer or by hanging them to dry.
Pro Tip: For heavily stained items, you can pre-soak them in a solution of water and Clorox bleach for 30 minutes before washing.
Hack 3: De-Gunking Your Kitchen Sink
Kitchen sinks can get pretty gross, with food particles and grease building up over time. This Clorox hack will leave your sink clean and fresh.
What you’ll need:
* Clorox bleach
* Water
* Sink stopper
* Gloves
Step-by-step instructions:
1. Protect Yourself: Put on your gloves to protect your hands from the bleach.
2. Plug the Sink: Place the sink stopper in the drain to prevent the solution from draining out.
3. Fill the Sink: Fill the sink with warm water.
4. Add Clorox Bleach: Add 1/2 cup of Clorox bleach to the water.
5. Let it Soak: Let the solution sit in the sink for about 10-15 minutes to disinfect and loosen grime.
6. Drain and Rinse: Remove the sink stopper and let the solution drain out. Rinse the sink thoroughly with clean water.
7. Scrub (If Necessary): If there are any stubborn stains or grime, use a scrub brush or sponge to scrub the sink before rinsing again.
Bonus Tip: Pour a small amount of Clorox bleach down the drain periodically to help prevent clogs and eliminate odors.
Hack 4: Mold and Mildew Removal from Outdoor Furniture
Outdoor furniture can be a magnet for mold and mildew, especially in humid climates. This Clorox solution will help you get your furniture looking like new again.
What you’ll need:
* Clorox bleach
* Water
* Spray bottle or bucket
* Scrub brush
* Gloves
* Eye protection
Step-by-step instructions:
1. Prepare the Solution: In a spray bottle or bucket, mix 1 part Clorox bleach with 10 parts water.
2. Test in a Hidden Area: Before applying the solution to the entire piece of furniture, test it in a small, inconspicuous area to make sure it doesn’t damage the material.
3. Apply the Solution: Spray or apply the solution to the affected areas of the furniture.
4. Let it Sit: Let the solution sit for about 10-15 minutes to allow the bleach to kill the mold and mildew.
5. Scrub: Use a scrub brush to scrub the affected areas thoroughly.
6. Rinse: Rinse the furniture thoroughly with clean water.
7. Dry: Allow the furniture to dry completely in the sun.
Important Note: This method is best for plastic, resin, or metal furniture. Use caution when applying bleach to fabrics, as it can cause discoloration.
Hack 5: Sanitizing Cutting Boards
Cutting boards can harbor bacteria, especially after cutting raw meat or poultry. Clorox can help sanitize them effectively.
What you’ll need:
* Clorox bleach
* Water
* Clean cloth or sponge
Step-by-step instructions:
1. Wash the Cutting Board: Wash the cutting board thoroughly with soap and water to remove any food particles.
2. Prepare the Solution: Mix 1 tablespoon of Clorox bleach with 1 gallon of water.
3. Apply the Solution: Apply the solution to the cutting board using a clean cloth or sponge.
4. Let it Sit: Let the solution sit on the cutting board for about 2 minutes to disinfect it.
5. Rinse: Rinse the cutting board thoroughly with clean water.
6. Dry: Allow the cutting board to air dry completely.
Safety First: Always use a diluted bleach solution and rinse thoroughly to prevent any bleach residue from coming into contact with food.
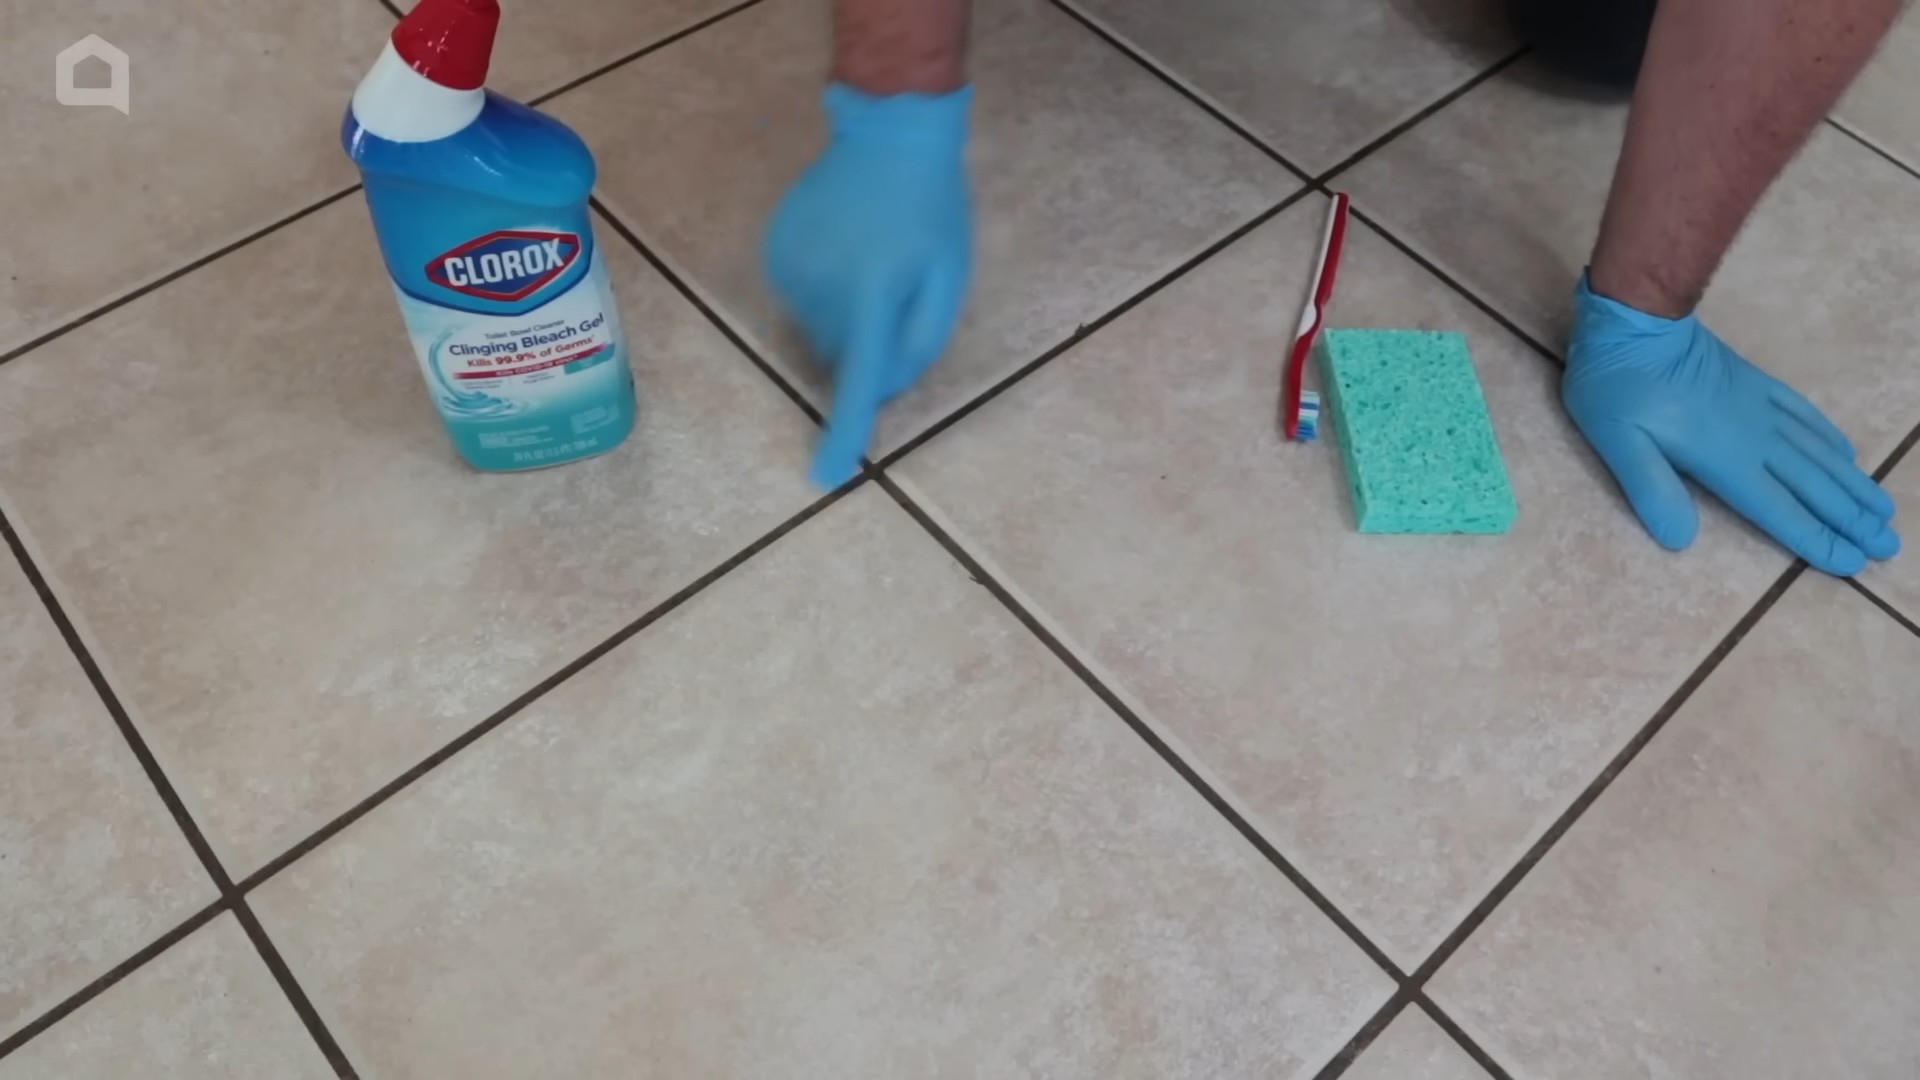
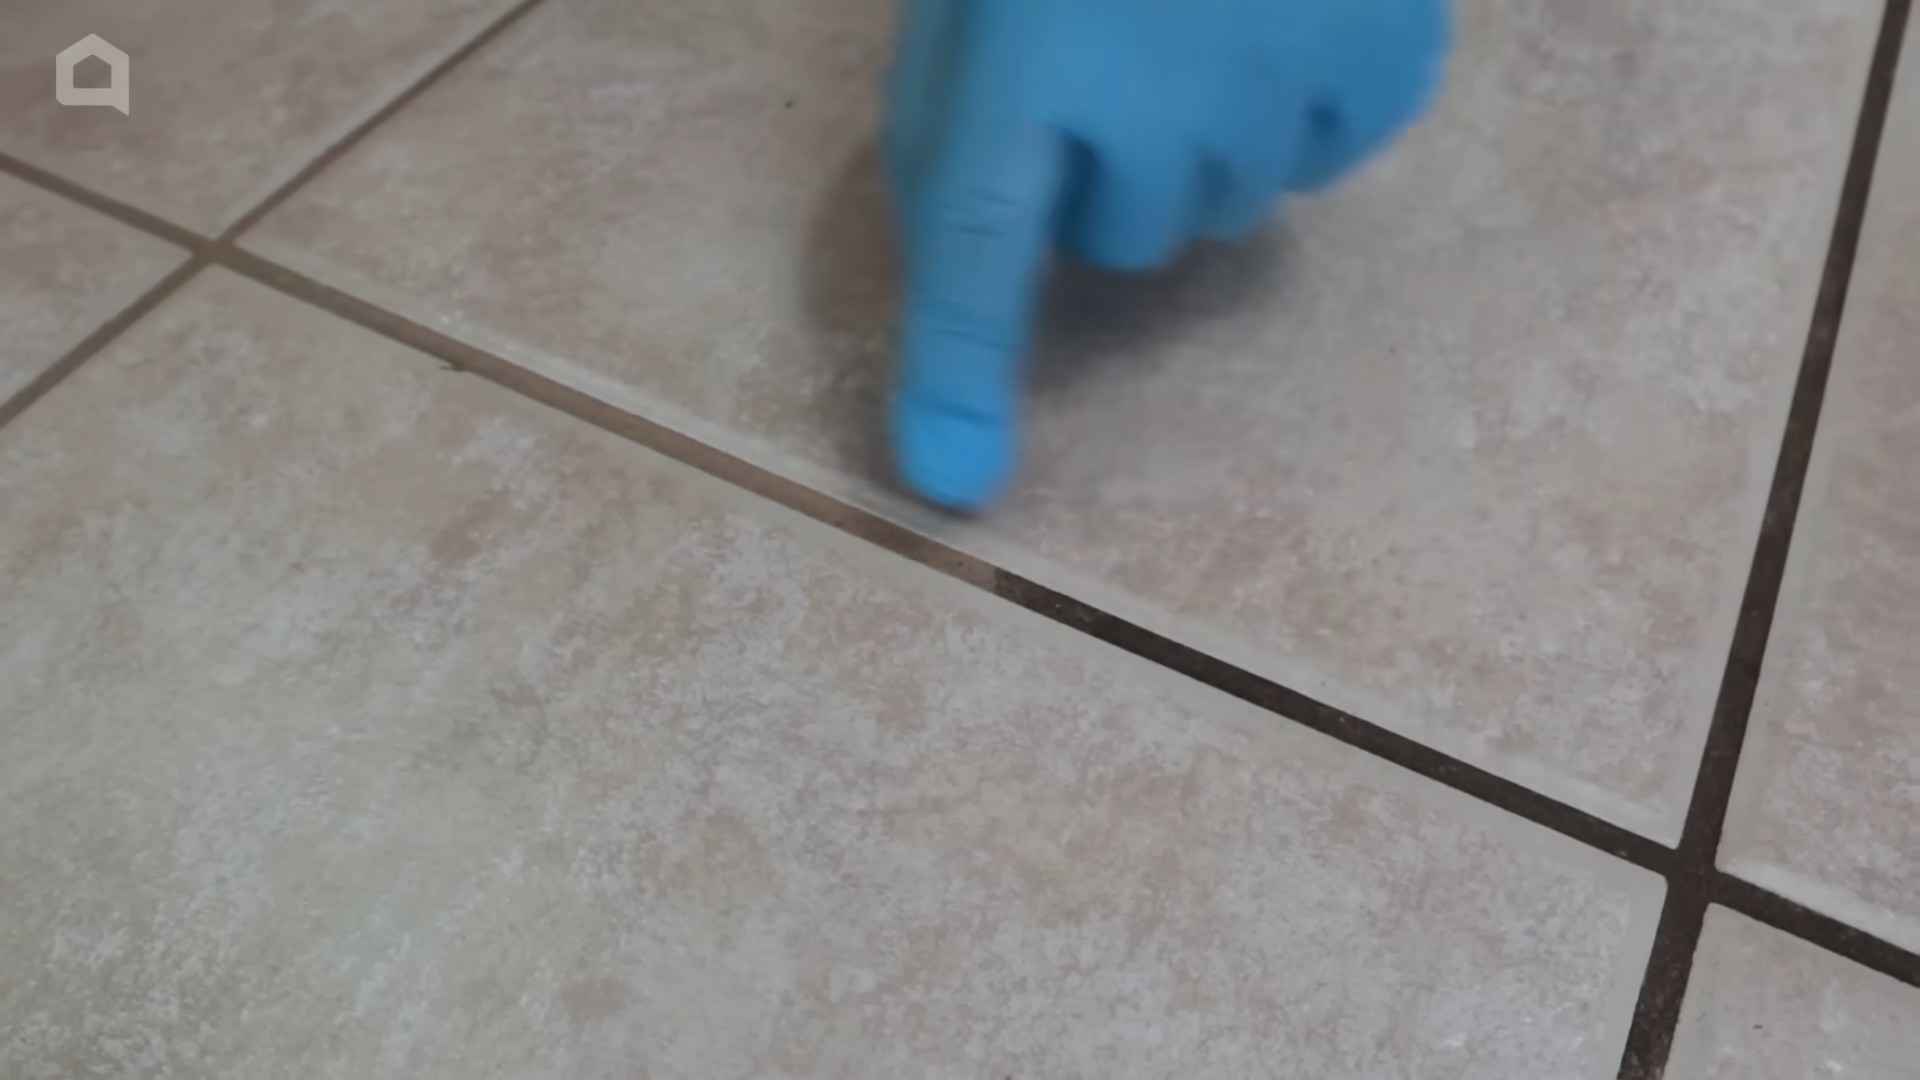
Hack 6: Cleaning Grout Like a Pro
Grout can be a real pain to clean, but Clorox can make the job much easier.
What you’ll need:
* Clorox bleach
* Water
* Spray bottle
* Old toothbrush or grout brush
* Gloves
* Eye protection
Step-by-step instructions:
1. Protect Yourself: Put on your gloves and eye protection.
2. Prepare the Solution: Mix equal parts Clorox bleach and water in a spray bottle.
3. Spray the Grout: Spray the solution onto the grout lines.
4. Let it Sit: Let the solution sit for about 5-10 minutes to allow the bleach to loosen the dirt and grime.
5. Scrub: Use an old toothbrush or grout brush to scrub the grout lines thoroughly.
Conclusion
So, there you have it! We’ve explored some incredibly effective and surprisingly simple ways to leverage the power of Clorox beyond its traditional uses. From banishing stubborn stains to revitalizing tired surfaces, these DIY tricks offer a cost-effective and efficient alternative to expensive, specialized cleaning products. The beauty of these methods lies not only in their effectiveness but also in their accessibility. You likely already have Clorox in your cleaning arsenal, making these hacks readily available whenever a cleaning crisis strikes.
Why is this a must-try? Because it simplifies your cleaning routine, saves you money, and delivers remarkable results. Forget spending hours scrubbing or resorting to harsh chemicals that can damage your belongings. These Clorox cleaning hacks are gentle yet powerful, offering a practical solution for a wide range of household cleaning challenges.
But don’t stop there! Feel free to experiment and adapt these techniques to suit your specific needs. For instance, if you’re dealing with particularly stubborn mildew in your bathroom, consider increasing the concentration of Clorox in your solution. Or, if you’re sensitive to the scent of Clorox, add a few drops of your favorite essential oil to the mixture for a more pleasant aroma. Remember to always test any new cleaning solution in an inconspicuous area first to ensure it doesn’t damage the surface.
Consider these variations:
* **Scent Boost:** Add a few drops of lemon, lavender, or eucalyptus essential oil to your Clorox solution for a refreshing and aromatic cleaning experience.
* **Targeted Stain Removal:** For localized stains on clothing, create a paste of Clorox and baking soda. Apply the paste directly to the stain, let it sit for a few minutes, and then rinse thoroughly.
* **Gentle Cleaning:** For delicate surfaces, dilute the Clorox solution even further to minimize the risk of damage.
We are confident that these Clorox cleaning hacks will revolutionize your cleaning routine. They are easy to implement, incredibly effective, and offer a sustainable way to keep your home sparkling clean.
Now, it’s your turn! We encourage you to try these DIY tricks and discover the magic of Clorox for yourself. Don’t be afraid to get creative and experiment with different variations to find what works best for you. And most importantly, we want to hear about your experiences! Share your before-and-after photos, your favorite hacks, and any tips or tricks you’ve discovered along the way in the comments section below. Let’s build a community of Clorox cleaning enthusiasts and help each other conquer even the toughest cleaning challenges. Your insights could be invaluable to other readers, and together, we can unlock the full potential of this versatile cleaning product. So, go ahead, give these hacks a try, and let us know what you think! We can’t wait to hear your success stories!
Frequently Asked Questions (FAQ)
Is it safe to mix Clorox with other cleaning products?
No, it is generally not safe to mix Clorox with other cleaning products, especially ammonia or acids. Mixing Clorox with ammonia can create toxic chloramine gas, which can cause respiratory problems, eye irritation, and even death. Mixing Clorox with acids, such as vinegar or toilet bowl cleaner, can create chlorine gas, which is also highly toxic and dangerous. Always use Clorox by itself, following the instructions on the label, and never mix it with other cleaning agents. If you are unsure about the compatibility of Clorox with another product, it is always best to err on the side of caution and avoid mixing them.
Can I use Clorox on all surfaces?
No, Clorox is not suitable for all surfaces. It can damage or discolor certain materials, such as wood, painted surfaces, aluminum, and some fabrics. Always test Clorox in an inconspicuous area before applying it to a larger surface to ensure it doesn’t cause any damage. For delicate surfaces, consider diluting the Clorox solution further or using a gentler cleaning alternative. Refer to the Clorox label for specific instructions and warnings regarding surface compatibility.
How do I properly dilute Clorox for cleaning?
The proper dilution ratio for Clorox depends on the specific cleaning task. For general cleaning and disinfecting, a common recommendation is to mix 1/2 cup of Clorox bleach with 1 gallon of water. For more concentrated cleaning, such as removing mildew or mold, you may need to use a stronger solution. Always refer to the Clorox label for specific dilution instructions for the task at hand. It is important to use the correct dilution ratio to ensure the effectiveness of the Clorox solution and to prevent damage to surfaces.
What safety precautions should I take when using Clorox?
When using Clorox, it is important to take certain safety precautions to protect yourself and others. Always wear gloves to prevent skin irritation. Work in a well-ventilated area to avoid inhaling fumes. Avoid contact with eyes and skin. If Clorox comes into contact with your eyes, rinse immediately with plenty of water and seek medical attention. Keep Clorox out of reach of children and pets. Store Clorox in a cool, dry place away from direct sunlight. Never mix Clorox with other cleaning products.
How can I minimize the strong odor of Clorox?
The strong odor of Clorox can be unpleasant for some people. To minimize the odor, ensure that you are working in a well-ventilated area. Open windows and doors to allow fresh air to circulate. You can also add a few drops of essential oil, such as lemon or lavender, to your Clorox solution to help mask the odor. However, be sure to test the solution in an inconspicuous area first to ensure that the essential oil doesn’t damage the surface. After cleaning with Clorox, rinse the area thoroughly with water to remove any residual Clorox and its odor.
How long does Clorox take to disinfect a surface?
The amount of time Clorox needs to disinfect a surface depends on the concentration of the solution and the type of germs present. Generally, allowing the Clorox solution to remain on the surface for at least 10 minutes is recommended for effective disinfection. This dwell time allows the Clorox to kill bacteria, viruses, and fungi. After the dwell time, rinse the surface thoroughly with water. Always refer to the Clorox label for specific disinfection instructions and dwell times.
Can I use Clorox to clean my washing machine?
Yes, you can use Clorox to clean your washing machine and remove buildup, odors, and mildew. To clean your washing machine with Clorox, add 1/2 cup of Clorox bleach to the bleach dispenser. Run a normal wash cycle with hot water and an empty drum. This will help to sanitize the washing machine and remove any lingering odors. You can repeat this process every few months to keep your washing machine clean and fresh. Always refer to your washing machine’s manual for specific instructions on cleaning and maintenance.
What are some eco-friendly alternatives to Clorox?
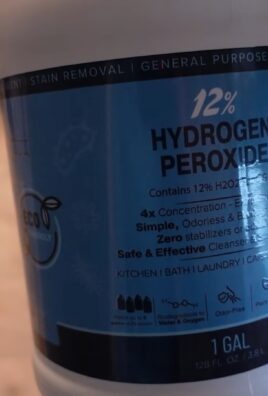
While Clorox is an effective cleaning agent, it is not the most eco-friendly option. If you are looking for more sustainable cleaning alternatives, consider using vinegar, baking soda, lemon juice, or hydrogen peroxide. These natural cleaning agents are biodegradable and less harmful to the environment. You can also find a variety of eco-friendly cleaning products at your local grocery store or online. When choosing cleaning products, look for those that are plant-based, biodegradable, and free of harsh chemicals.
Leave a Comment