
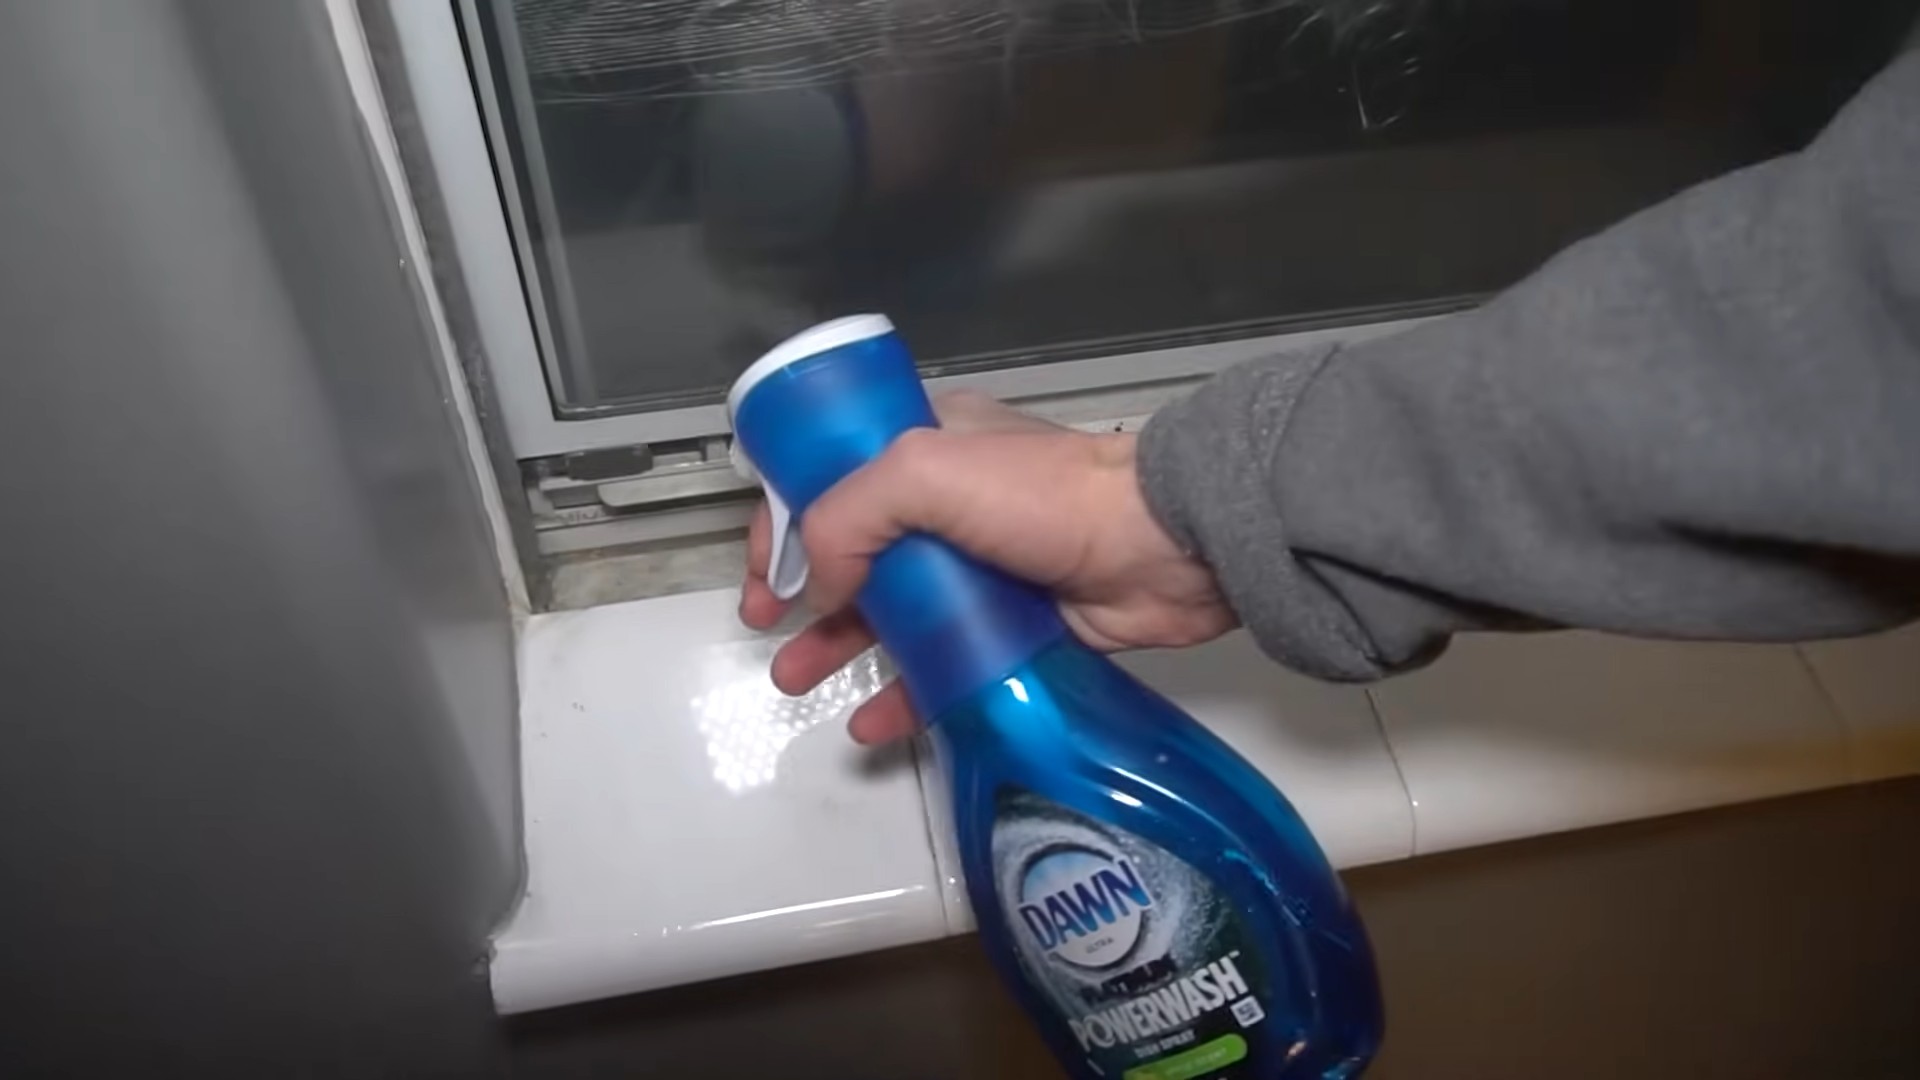
Dawn dish soap uses extend far beyond just cleaning your dishes! Have you ever stopped to think about the incredible versatility hidden within that humble bottle sitting by your sink? For generations, resourceful homeowners have discovered clever and unexpected ways to harness the power of Dawn, and I’m excited to share some of those secrets with you.
From tackling stubborn stains to keeping your garden thriving, Dawn dish soap is a true multi-tasker. In fact, its gentle yet effective formula has even been used in wildlife rescue efforts to clean animals affected by oil spills – a testament to its unique properties. But what about using it around your home and garden?
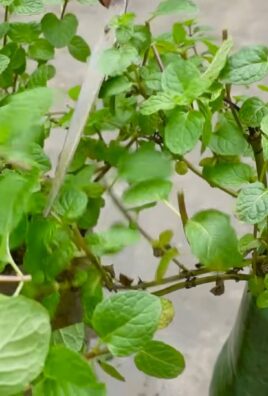
Let’s face it, maintaining a beautiful and healthy garden can sometimes feel like a constant battle against pests, weeds, and other challenges. But what if I told you that a simple solution was already within your reach? This article will unlock a treasure trove of DIY tricks and hacks using Dawn dish soap uses that will not only save you money but also help you create a flourishing outdoor oasis. Forget harsh chemicals and expensive store-bought solutions – let’s explore the natural and effective power of Dawn!

Growing Sweet Potatoes: A Beginner’s Guide to a Bountiful Harvest
Hey there, fellow gardening enthusiasts! I’m so excited to share my experience with growing sweet potatoes. They’re not only delicious and nutritious, but also surprisingly easy to cultivate once you get the hang of it. This guide will walk you through every step, from sprouting slips to harvesting your own sweet potato bounty. Let’s get started!
What You’ll Need
Before we dive in, let’s gather all the necessary supplies. Having everything on hand will make the process much smoother.
* **Sweet Potatoes:** Choose organic sweet potatoes from the grocery store or a local farmer’s market. Avoid those that have been treated to prevent sprouting.
* **Containers:** You’ll need containers for sprouting the slips. Glass jars, plastic tubs, or even repurposed containers work great.
* **Water:** Clean, fresh water is essential for sprouting and watering.
* **Toothpicks:** These will help suspend the sweet potato in water.
* **Potting Mix:** A well-draining potting mix is crucial for planting the slips.
* **Garden Soil:** Amend your garden soil with compost or other organic matter to improve drainage and fertility.
* **Gardening Tools:** You’ll need a trowel, shovel, and gardening gloves.
* **Fertilizer (Optional):** A balanced fertilizer can help boost growth.
* **Mulch (Optional):** Mulch helps retain moisture and suppress weeds.
Sprouting Sweet Potato Slips
This is the first and arguably most important step. Sweet potato slips are the sprouts that grow from the sweet potato itself, and these are what you’ll plant in your garden.
1. **Prepare the Sweet Potatoes:** Wash the sweet potatoes thoroughly to remove any dirt or debris.
2. **Insert Toothpicks:** Insert toothpicks around the middle of the sweet potato, spacing them evenly. These toothpicks will act as supports to suspend the sweet potato in water.
3. **Suspend in Water:** Fill your container with water, leaving about an inch of space at the top. Carefully place the sweet potato in the container, resting it on the toothpicks so that the bottom half is submerged in water.
4. **Choose a Location:** Place the container in a warm, sunny location. A windowsill or a spot near a grow light works well.
5. **Maintain Water Level:** Check the water level regularly and add more water as needed to keep the bottom half of the sweet potato submerged.
6. **Wait for Sprouts:** Be patient! It can take several weeks for sprouts to appear. You should start seeing small roots emerging from the bottom and green shoots (slips) growing from the top.
7. **Encourage Slip Growth:** Once the slips are a few inches long, you can gently twist them off the sweet potato. Place the slips in a glass of water to encourage root development. This usually takes about a week. Change the water every couple of days.
8. Troubleshooting: If your sweet potato starts to rot, don’t panic! Simply remove the rotten parts and replace the water. Sometimes, it just happens.
Preparing the Garden Bed
While your slips are developing roots, it’s time to prepare your garden bed. Sweet potatoes need plenty of space and well-drained soil.
1. **Choose a Sunny Location:** Sweet potatoes need at least 6-8 hours of sunlight per day. Select a location in your garden that receives plenty of sunshine.
2. **Prepare the Soil:** Sweet potatoes prefer loose, well-drained soil. Amend your soil with compost or other organic matter to improve drainage and fertility. I usually add a generous amount of composted manure.
3. **Create Mounds or Ridges:** Sweet potatoes grow best in mounds or ridges. This helps with drainage and allows the tubers to develop easily. Create mounds that are about 12 inches high and 12 inches wide, spacing them about 3 feet apart.
4. **Consider Soil pH:** Sweet potatoes prefer a slightly acidic soil pH of around 6.0 to 6.5. You can test your soil pH with a soil testing kit and amend it accordingly.
5. Weed Control:** Remove any weeds from the planting area. Weeds can compete with sweet potatoes for nutrients and water.
6. Water the Soil:** Water the soil thoroughly before planting. This will help the slips establish themselves quickly.
Planting the Sweet Potato Slips
Now for the fun part – planting your sweet potato slips!
1. **Check the Roots:** Make sure the slips have developed a good root system before planting. The roots should be at least an inch or two long.
2. **Dig Holes:** Dig small holes in the mounds or ridges, spacing them about 12 inches apart.
3. **Plant the Slips:** Carefully remove the slips from the water and plant them in the holes, burying the roots and the bottom part of the stem. Leave the top leaves exposed.
4. **Water Thoroughly:** Water the newly planted slips thoroughly. This will help them settle into the soil.
5. **Protect from Frost:** Sweet potatoes are sensitive to frost. If there is a risk of frost, cover the slips with a frost blanket or other protective covering.
6. Successive Planting:** Consider planting slips in stages, a week or two apart. This will stagger your harvest and give you a longer period of fresh sweet potatoes.
Caring for Your Sweet Potato Plants
Once your sweet potato plants are in the ground, they’ll need regular care to thrive.
1. **Watering:** Water your sweet potato plants regularly, especially during dry periods. Aim to keep the soil consistently moist, but not waterlogged.
2. **Weeding:** Keep the planting area free of weeds. Weeds can compete with sweet potatoes for nutrients and water.
3. **Fertilizing (Optional):** If your soil is poor, you can fertilize your sweet potato plants with a balanced fertilizer. Follow the instructions on the fertilizer package. I prefer to use a slow-release organic fertilizer.
4. **Vine Management:** Sweet potato vines can spread quite a bit. You can prune the vines to keep them under control. This can also encourage tuber development.
5. **Pest Control:** Sweet potatoes are relatively pest-resistant, but they can be susceptible to certain pests, such as sweet potato weevils. Inspect your plants regularly for pests and take appropriate action if necessary. I’ve found that neem oil is effective for controlling many common garden pests.
6. Disease Prevention:** Sweet potatoes can also be susceptible to certain diseases, such as fungal diseases. Ensure good air circulation around the plants and avoid overwatering to prevent disease.
Harvesting Your Sweet Potatoes
The moment you’ve been waiting for! Harvesting sweet potatoes is a rewarding experience.
1. **Timing:** Sweet potatoes are typically ready to harvest about 90-120 days after planting. The leaves will start to turn yellow and the vines will begin to die back.
2. **Choose a Dry Day:** Harvest your sweet potatoes on a dry day. This will help prevent rot.
3. **Dig Carefully:** Use a garden fork or shovel to carefully dig around the plants, being careful not to damage the tubers.
4. **Lift the Tubers:** Gently lift the tubers from the soil.
5. **Curing:** Curing sweet potatoes is essential for improving their flavor and storage life. Place the harvested sweet potatoes in a warm, humid place (around 85-90°F and 80-90% humidity) for about a week. This allows the skins to harden and any minor cuts or bruises to heal. I use a spare bathroom with a humidifier.
6. **Storage:** After curing, store your sweet potatoes in a cool, dry, and dark place. They should last for several months. Avoid storing them in the refrigerator, as this can cause them to develop a hard core.
7. Enjoy! Now you can enjoy the fruits (or rather, vegetables) of your labor! Sweet potatoes are delicious roasted, baked, mashed, or used in pies and other desserts.
Troubleshooting Common Problems
Even with the best care, you might encounter some challenges along the way. Here are a few common problems and how to address them:
* **Slips Not Sprouting:** If your sweet potatoes aren’t sprouting, make sure they are in a warm, sunny location and that the water level is maintained. Sometimes, it just takes longer for some varieties to sprout.
* **Yellowing Leaves:** Yellowing leaves can be a sign of nutrient deficiency or overwatering. Check the soil moisture and consider fertilizing with a balanced fertilizer.
* **Pest Infestation:** If you notice pests on your sweet potato plants, take action immediately. Use insecticidal soap, neem oil, or other appropriate pest control methods.
* **Rotting Tubers:** Rotting tubers can be caused by excessive moisture or damage during harvesting. Handle the tubers carefully and ensure good drainage in your garden bed.
* Small Tubers:** Small tubers can be a sign of poor soil fertility or insufficient sunlight. Amend your soil with compost and ensure that your plants are getting at
Conclusion
So, there you have it! This simple yet incredibly effective DIY trick using Dawn dish soap is a game-changer for anyone looking to tackle stubborn grease, grime, and stains around the house. We’ve explored how Dawn’s powerful degreasing agents can be harnessed beyond just washing dishes, offering a cost-effective and readily available solution for a multitude of cleaning challenges.
Why is this a must-try? Because it’s simple, safe, and remarkably effective. You’re likely already using Dawn in your kitchen, so you have everything you need to get started right now. No need to purchase expensive, specialized cleaners filled with harsh chemicals. This DIY approach is gentler on your surfaces, your wallet, and the environment.
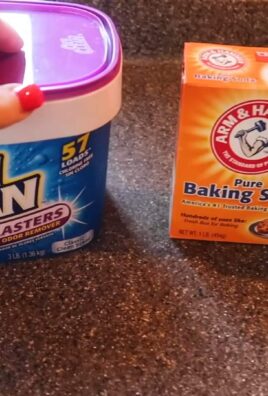
But the beauty of this trick lies in its versatility. Feel free to experiment with variations to suit your specific needs. For instance, if you’re dealing with particularly stubborn stains on clothing, try pre-treating the area with a concentrated Dawn solution and letting it sit for a few hours before washing. For cleaning bathroom tiles, consider adding a splash of white vinegar to your Dawn mixture for extra disinfecting power. And if you’re looking for a pleasant scent, a few drops of your favorite essential oil can be added to the solution without compromising its cleaning effectiveness. Remember to always test any cleaning solution on an inconspicuous area first to ensure it doesn’t damage the surface.
We’ve covered everything from removing grease stains from clothing to cleaning your oven and even tackling pesky fruit flies. The possibilities are truly endless! This DIY Dawn dish soap cleaning solution is a powerhouse, ready to tackle almost any cleaning challenge you throw its way.
We are confident that once you try this DIY trick, you’ll be amazed by the results. It’s a simple, effective, and affordable way to keep your home sparkling clean. Don’t just take our word for it, though. We encourage you to give it a try and see for yourself the incredible cleaning power of Dawn dish soap.
And most importantly, we want to hear about your experiences! Share your before-and-after photos, your favorite uses for this DIY cleaning solution, and any variations you’ve discovered in the comments below. Let’s build a community of clean-home enthusiasts and learn from each other’s successes. Your tips and tricks could help someone else discover the magic of Dawn dish soap and transform their cleaning routine. So, go ahead, give it a try, and let us know what you think! We can’t wait to hear from you.
Frequently Asked Questions (FAQs)
Is Dawn dish soap safe to use on all surfaces?
While Dawn dish soap is generally considered safe for most surfaces, it’s always best to test it in an inconspicuous area first, especially on delicate or sensitive materials. This is particularly important for painted surfaces, fabrics, and certain types of flooring. A small, hidden test spot will allow you to observe any potential adverse reactions, such as discoloration or damage, before applying the solution to a larger area. For example, while Dawn is great for cleaning grease off of stovetops, you might want to dilute it more heavily when cleaning delicate wood furniture.
Can I use any type of Dawn dish soap for these DIY cleaning tricks?
Yes, generally speaking, you can use any type of Dawn dish soap for these DIY cleaning tricks. However, the original blue Dawn is often recommended due to its tried-and-true formula and reputation for effective grease-cutting power. While other varieties, such as those with added moisturizers or scents, may also work, the original blue Dawn is a reliable and consistent choice. If you are using a different variety, be sure to check the label for any specific warnings or instructions that may affect its suitability for certain cleaning tasks.
How much Dawn dish soap should I use in my DIY cleaning solutions?
The amount of Dawn dish soap you use will depend on the specific cleaning task and the severity of the grime or stain. As a general guideline, start with a small amount – a teaspoon or two – per cup of water. You can always add more if needed, but it’s best to err on the side of caution to avoid leaving behind a soapy residue. For particularly stubborn stains or greasy messes, you may need to use a more concentrated solution. Remember to rinse thoroughly after cleaning to remove any remaining soap.
Will Dawn dish soap damage my clothes?
Dawn dish soap is generally safe for use on most fabrics, but it’s always a good idea to test it on an inconspicuous area first, especially on delicate or brightly colored garments. Apply a small amount of Dawn to a hidden seam or hem and let it sit for a few minutes before rinsing. If there’s no discoloration or damage, you can proceed with using it to treat the stain. For best results, dilute the Dawn with water and gently blot the stain rather than rubbing it vigorously. After treating the stain, wash the garment as usual.
Can I use Dawn dish soap to clean my car?
While Dawn dish soap can be used to wash your car, it’s not the ideal choice. Dawn is designed to cut through grease and oil, which can strip away the wax and protective coatings on your car’s paint. This can leave your car vulnerable to scratches, oxidation, and other damage. If you do choose to use Dawn to wash your car, be sure to dilute it heavily with water and rinse thoroughly. It’s also recommended to re-wax your car after washing it with Dawn to restore the protective layer. For optimal car cleaning, consider using a car-specific wash that is formulated to be gentle on your car’s paint.
Is Dawn dish soap safe for pets?
Dawn dish soap is often used by veterinarians and animal shelters to bathe animals, particularly those affected by oil spills or other contaminants. However, it’s important to use it sparingly and rinse thoroughly to avoid irritating their skin. Avoid getting soap in their eyes, ears, or mouth. If your pet has sensitive skin or a pre-existing skin condition, consult with your veterinarian before using Dawn dish soap. There are also pet-specific shampoos available that are formulated to be gentle and safe for your furry friends.
How can I prevent streaks when cleaning with Dawn dish soap?
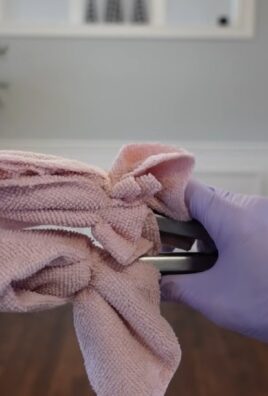
Streaks can occur when cleaning with Dawn dish soap if the solution is too concentrated or if the surface is not rinsed thoroughly. To prevent streaks, use a diluted solution of Dawn and water, and rinse the surface thoroughly with clean water. You can also use a microfiber cloth to dry the surface, as these cloths are excellent at absorbing water and leaving a streak-free finish. For glass and mirrors, consider using a squeegee to remove excess water and prevent streaks.
Can I mix Dawn dish soap with other cleaning products?
It’s generally not recommended to mix Dawn dish soap with other cleaning products, especially those containing bleach or ammonia. Mixing these chemicals can create harmful fumes that can be dangerous to your health. It’s always best to use cleaning products separately and follow the manufacturer’s instructions carefully. If you’re unsure about the compatibility of two cleaning products, it’s best to err on the side of caution and avoid mixing them.
How do I get rid of the soapy smell after cleaning with Dawn dish soap?
The soapy smell after cleaning with Dawn dish soap should dissipate on its own after a while. However, if you find the smell lingering, you can try rinsing the surface again with clean water or wiping it down with a damp cloth. You can also open windows or use a fan to ventilate the area and help the smell dissipate more quickly. Adding a few drops of essential oil to your cleaning solution can also help to mask the soapy smell and leave behind a pleasant fragrance.
Leave a Comment