
DIY Grout Cleaning Solutions: Are you tired of staring at dingy, discolored grout lines that make your otherwise sparkling tiles look… well, less than sparkling? I know I am! It’s amazing how quickly grout can go from pristine white (or whatever color you chose!) to a breeding ground for dirt, mildew, and general yuckiness. But before you reach for those harsh, chemical-laden cleaners, let’s explore some effective and surprisingly simple DIY grout cleaning solutions that you can whip up with ingredients you probably already have in your pantry.
Grout, that humble filler between our tiles, has been around for centuries. Ancient Romans used a form of grout in their elaborate mosaics, showcasing its enduring practicality. While their formulas were likely a bit different than what we use today, the purpose remains the same: to create a stable, water-resistant, and aesthetically pleasing surface. However, unlike those ancient mosaics often maintained by legions of servants, we’re usually on our own when it comes to keeping our grout clean!
Let’s face it, nobody enjoys scrubbing grout. It’s tedious, time-consuming, and often feels like a losing battle. But with the right DIY grout cleaning solutions, you can reclaim your grout’s original glory without breaking the bank or exposing yourself to harsh chemicals. I’m going to share some of my favorite, tried-and-true methods that are not only effective but also gentle on your tiles and the environment. So, grab your gloves, gather your supplies, and let’s get ready to transform those grimy grout lines into a source of pride!

DIY Grout Cleaning Solutions: Sparkling Grout Without Breaking the Bank
Okay, let’s face it: grout. It’s the bane of every homeowner’s existence. It starts out so pristine and white (or whatever color you chose!), but before you know it, it’s a breeding ground for grime, mildew, and just general yuckiness. Store-bought grout cleaners can be harsh, expensive, and sometimes not even that effective. That’s why I’m here to share my favorite DIY grout cleaning solutions that are not only budget-friendly but also surprisingly powerful. Get ready to say goodbye to dingy grout and hello to sparkling clean surfaces!
Understanding Grout and Why It Gets Dirty
Before we dive into the cleaning recipes, let’s quickly understand what we’re dealing with. Grout is porous, meaning it has tiny little holes that can trap dirt, spills, and moisture. This makes it a perfect environment for mold and mildew to thrive, especially in damp areas like bathrooms and kitchens. Regular cleaning is key to preventing buildup and keeping your grout looking its best.
Choosing the Right DIY Grout Cleaner for Your Needs
Not all grout is created equal, and neither are all stains. Some stains are light and surface-level, while others are deeply embedded. Here’s a breakdown of my go-to DIY grout cleaning solutions, along with when to use them:
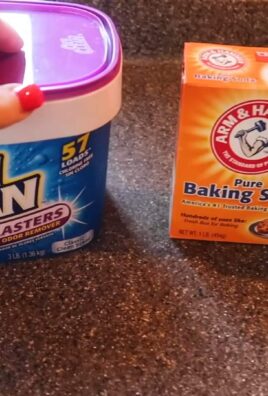
* Baking Soda Paste: This is my everyday cleaner. It’s gentle, abrasive enough to scrub away light stains, and safe for most types of grout.
* Vinegar and Baking Soda: This dynamic duo creates a fizzing action that helps loosen stubborn dirt and grime. Use with caution on colored grout, as vinegar can sometimes cause fading.
* Hydrogen Peroxide: A natural bleaching agent, hydrogen peroxide is great for tackling mold and mildew stains.
* Bleach Solution: Reserved for the toughest stains and mold infestations. Always use bleach with caution and proper ventilation.
* Dish Soap and Warm Water: A simple solution for light cleaning and maintenance.
DIY Grout Cleaning Recipes and Instructions
Alright, let’s get down to the nitty-gritty! Here are the recipes and step-by-step instructions for each of my favorite DIY grout cleaning solutions:
1. Baking Soda Paste
This is my go-to for general cleaning and maintenance. It’s gentle yet effective, and you probably already have the ingredients in your pantry.
Ingredients:
* 1/2 cup baking soda
* Water
Instructions:
1. Mix the Paste: In a small bowl, gradually add water to the baking soda until you form a thick paste. The consistency should be similar to toothpaste.
2. Apply to Grout: Using an old toothbrush or grout brush, apply the baking soda paste liberally to the grout lines. Make sure to cover the entire area you want to clean.
3. Let it Sit: Allow the paste to sit on the grout for at least 10-15 minutes. For tougher stains, you can let it sit for up to 30 minutes.
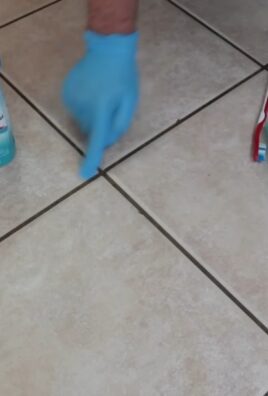
4. Scrub: Using the toothbrush or grout brush, scrub the grout lines vigorously. Apply firm pressure and work in small sections. You’ll start to see the dirt and grime lifting away.
5. Rinse: Rinse the area thoroughly with clean water. You can use a sponge or cloth to wipe away any remaining baking soda residue.
6. Dry: Dry the area with a clean towel. Admire your sparkling clean grout!
2. Vinegar and Baking Soda
This is where the magic happens! The fizzing action of vinegar and baking soda is great for loosening stubborn dirt and grime.
Ingredients:
* 1/2 cup baking soda
* White vinegar
Instructions:
1. Sprinkle Baking Soda: Sprinkle a generous amount of baking soda directly onto the grout lines.
2. Spray with Vinegar: Pour or spray white vinegar onto the baking soda. You’ll immediately see it start to fizz.
3. Let it Fizz: Allow the mixture to fizz for 5-10 minutes. This gives the vinegar time to break down the dirt and grime.
4. Scrub: Using a toothbrush or grout brush, scrub the grout lines vigorously. The fizzing action will help loosen the dirt, making it easier to scrub away.
5. Rinse: Rinse the area thoroughly with clean water.
6. Dry: Dry the area with a clean towel.
Important Note: As I mentioned earlier, vinegar can sometimes cause fading on colored grout. It’s always a good idea to test this solution in an inconspicuous area first to make sure it doesn’t damage your grout.
3. Hydrogen Peroxide
Hydrogen peroxide is a fantastic natural bleaching agent that’s perfect for tackling mold and mildew stains.
Ingredients:
* 3% hydrogen peroxide (the kind you find at the drugstore)
Instructions:
1. Apply Hydrogen Peroxide: Pour or spray hydrogen peroxide directly onto the grout lines.
2. Let it Sit: Allow the hydrogen peroxide to sit on the grout for at least 10-15 minutes. For tougher stains, you can let it sit for up to an hour.
3. Scrub: Using a toothbrush or grout brush, scrub the grout lines.
4. Rinse: Rinse the area thoroughly with clean water.
5. Dry: Dry the area with a clean towel.
Pro Tip: For extra stubborn mold and mildew stains, you can create a paste by mixing hydrogen peroxide with baking soda. Apply the paste to the grout, let it sit for a few hours, and then scrub and rinse.
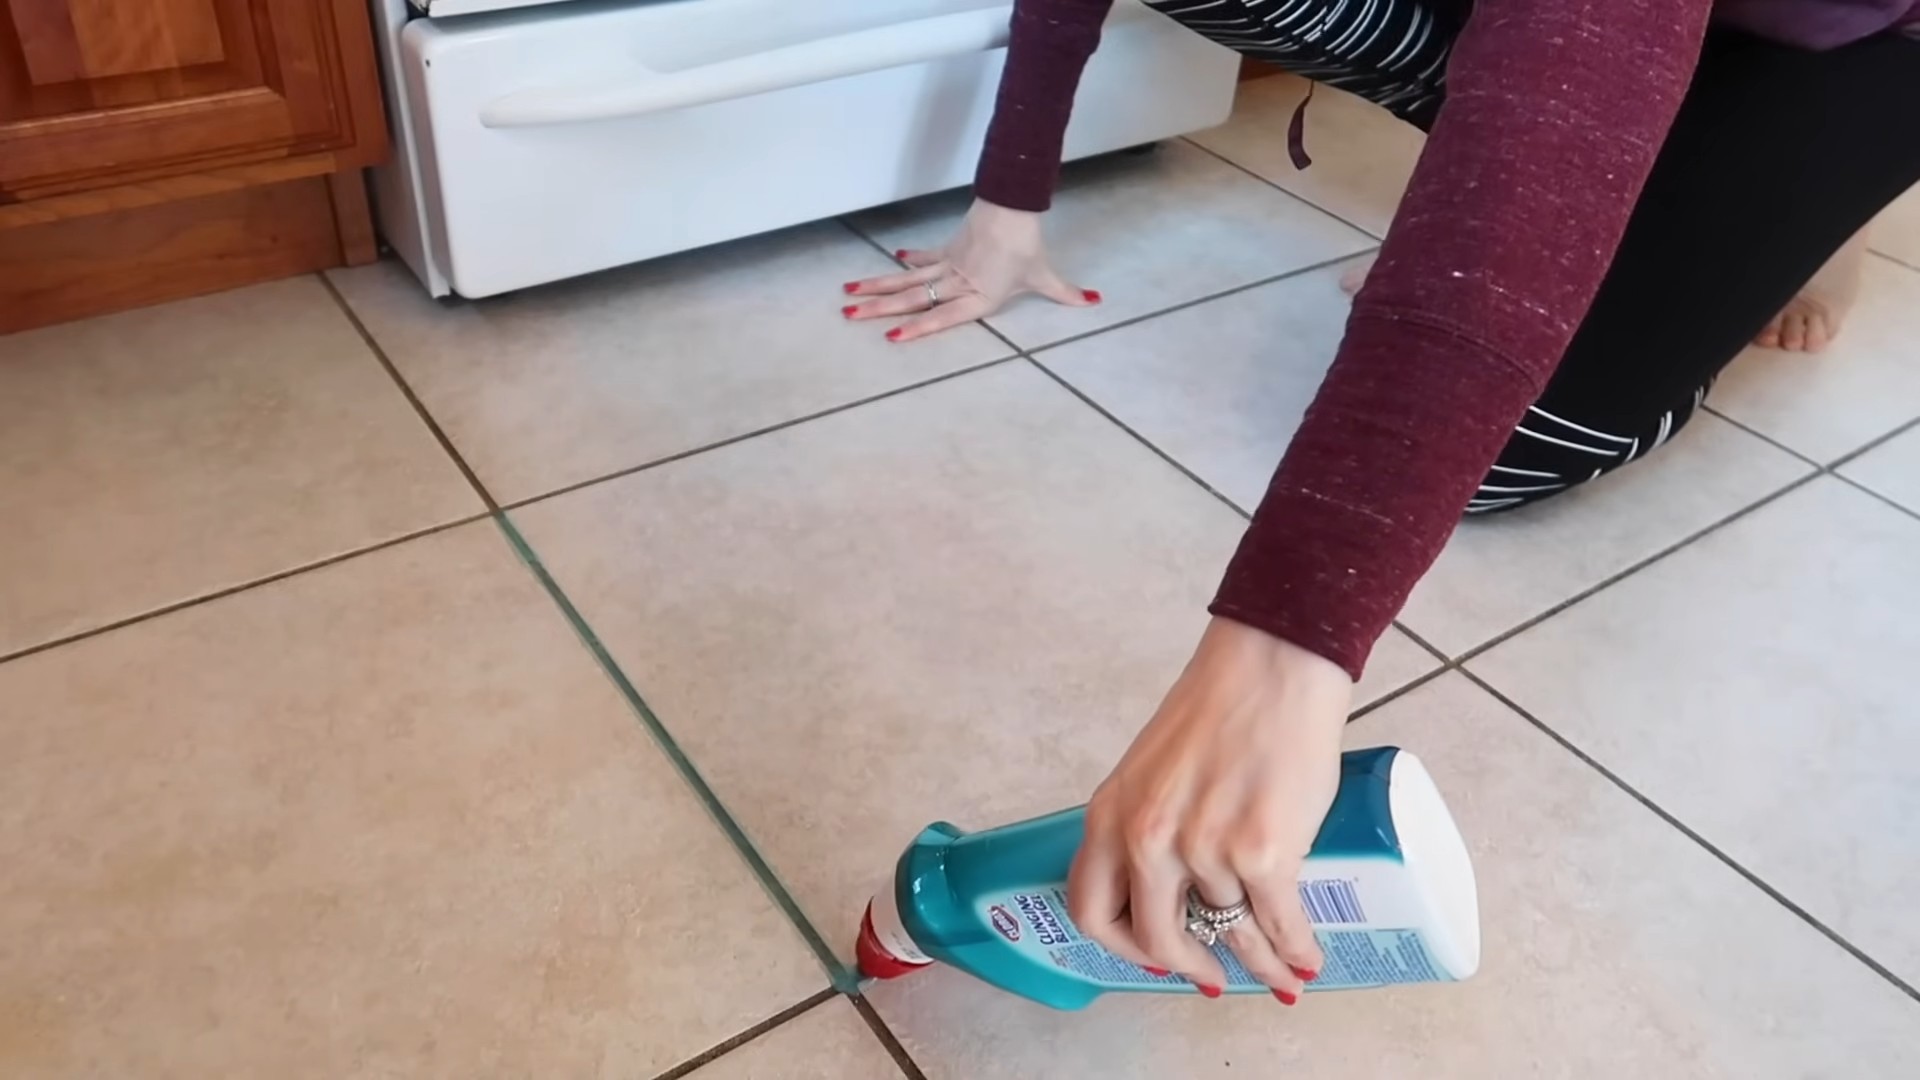
4. Bleach Solution
This is my last resort for the most stubborn stains and mold infestations. Bleach is a powerful cleaner, but it should be used with caution.
Ingredients:
* 1 part bleach
* 10 parts water
Instructions:
1. Prepare the Solution: In a well-ventilated area, mix the bleach and water in a bucket or spray bottle.
2. Apply to Grout: Carefully apply the bleach solution to the grout lines. Avoid getting it on surrounding surfaces, as it can cause discoloration.
3. Let it Sit: Allow the bleach solution to sit on the grout for 5-10 minutes.
4. Scrub: Using a toothbrush or grout brush, scrub the grout lines.
5. Rinse: Rinse the area *very* thoroughly with clean water. Make sure to remove all traces of bleach.
6. Dry: Dry the area with a clean towel.
Important Safety Precautions:
* Always wear gloves and eye protection when working with bleach.
* Work in a well-ventilated area to avoid inhaling fumes.
* Never mix bleach with ammonia, as this can create toxic fumes.
* Keep bleach out of reach of children and pets.
5. Dish Soap and Warm Water
This is a simple and gentle solution that’s perfect for light cleaning and maintenance.
Ingredients:
* A few drops of dish soap
* Warm water
Instructions:
1. Mix the Solution: In a bowl or bucket, mix a few drops of dish soap with warm water.
2. Apply to Grout: Dip a sponge or cloth into the soapy water and wipe down the grout lines.
3. Scrub: If necessary, use a toothbrush or grout brush to scrub any stubborn areas.
4. Rinse: Rinse the area with clean water.
5. Dry: Dry the area with a clean towel.
Tips for Preventing Grout Stains
Prevention is always better than cure! Here are a few tips to help you keep your grout looking its best:
* Wipe up spills immediately: The longer spills sit on grout, the more likely they are to stain.
* Ventilate your bathroom: Run the exhaust fan during and after showers to reduce moisture buildup.
* Seal your grout: Applying a grout sealer can help protect it from stains and moisture. Reapply sealer every 1-2 years, or as needed.
* Regular cleaning: Make it a habit to clean your grout regularly, even if it doesn’t look dirty. A quick wipe-down with dish soap and water can go a long way.
Tools You’ll Need
Having the right tools on hand will make the grout cleaning process much easier and more efficient. Here’s a list of my essential grout cleaning tools:
* Old toothbrush or grout brush: For scrubbing grout lines.
* Spray bottle: For applying cleaning solutions.
* Small bowl or bucket: For mixing cleaning solutions.
* Sponge or cloth: For wiping and rinsing.
* Gloves: To protect your hands.
* Eye protection: To protect your eyes,
Conclusion
So, there you have it! Ditching those harsh chemicals and embracing the power of DIY grout cleaning solutions is not just a trend; it’s a game-changer for your home and your well-being. We’ve explored several effective and affordable methods, each leveraging readily available ingredients to tackle even the most stubborn grout stains. From the fizzing action of baking soda and vinegar to the grime-fighting prowess of hydrogen peroxide, these solutions offer a safer, more sustainable, and often more effective alternative to commercial cleaners.
Why is this a must-try? Because it empowers you to take control of your cleaning routine, knowing exactly what’s going into your home and onto your surfaces. You’re reducing your exposure to potentially harmful chemicals, saving money, and contributing to a healthier environment – all while achieving sparkling clean grout. It’s a win-win-win!
But the beauty of DIY lies in its adaptability. Feel free to experiment with variations to find what works best for your specific grout and the type of stains you’re dealing with. For instance, if you’re battling particularly tough mildew, consider adding a few drops of tea tree oil to your chosen solution for its natural antifungal properties. Or, if you prefer a more abrasive scrub, mix in a small amount of fine pumice powder to your baking soda paste. Remember to always test any new solution in an inconspicuous area first to ensure it doesn’t damage your grout or tiles.
Another variation to consider is the application method. While a toothbrush is excellent for detailed work and tight corners, a grout brush with stiffer bristles can be more efficient for larger areas. You can also use an old electric toothbrush with a specialized grout cleaning head for a powered cleaning experience.
Don’t be afraid to get creative and tailor these DIY grout cleaning solutions to your specific needs. The key is to be patient, persistent, and to enjoy the satisfaction of seeing your grout transform from dingy to dazzling.
We’re confident that you’ll be amazed by the results you can achieve with these simple yet powerful DIY methods. So, ditch the expensive, chemical-laden cleaners and give these solutions a try. Your grout (and your wallet) will thank you!
We encourage you to embark on this DIY grout cleaning adventure and discover the joy of a sparkling clean home, achieved with natural and affordable ingredients. And most importantly, we want to hear about your experiences! Share your before-and-after photos, your favorite DIY grout cleaning solution, and any tips or tricks you’ve discovered along the way in the comments below. Let’s build a community of DIY cleaning enthusiasts and inspire each other to create healthier, happier homes. Your insights could be invaluable to others who are just starting their DIY cleaning journey. Let us know what worked for you, what didn’t, and any modifications you made to the recipes. Together, we can unlock the secrets to perfectly clean grout, the natural way.
Frequently Asked Questions (FAQ)
1. What are the benefits of using DIY grout cleaning solutions compared to commercial cleaners?
DIY grout cleaning solutions offer a multitude of benefits. Firstly, they are significantly more cost-effective than commercial cleaners. The ingredients used, such as baking soda, vinegar, and hydrogen peroxide, are typically inexpensive and readily available in most households. Secondly, DIY solutions are much safer for your health and the environment. Commercial cleaners often contain harsh chemicals that can irritate your skin, eyes, and respiratory system. They can also release volatile organic compounds (VOCs) into the air, contributing to indoor air pollution. DIY solutions, on the other hand, are made with natural ingredients that are less likely to cause adverse reactions. Finally, DIY solutions are often just as effective, if not more so, than commercial cleaners, especially when dealing with common grout stains like mildew and grime.
2. Are DIY grout cleaning solutions safe for all types of grout and tile?
While DIY grout cleaning solutions are generally safe, it’s always a good idea to test them in an inconspicuous area first, especially if you have colored grout or delicate tiles like marble or natural stone. Acidic solutions like vinegar can potentially etch or discolor certain types of stone. For colored grout, prolonged exposure to strong solutions could potentially cause fading. Always start with a diluted solution and gradually increase the concentration as needed. If you’re unsure about the compatibility of a particular solution with your grout or tile, consult with a professional tile cleaner or refer to the manufacturer’s recommendations.
3. How often should I clean my grout?
The frequency of grout cleaning depends on several factors, including the location of the grout, the amount of foot traffic, and the level of humidity. Grout in high-traffic areas like kitchens and bathrooms may need to be cleaned more frequently than grout in less-used areas. As a general guideline, aim to clean your grout at least once a month to prevent the buildup of dirt, grime, and mildew. However, if you notice stains or discoloration appearing sooner, don’t hesitate to clean it more often. Regular cleaning will not only keep your grout looking its best but also prevent the growth of mold and bacteria, contributing to a healthier home environment.
4. What is the best way to prevent grout from getting dirty in the first place?
Prevention is always better than cure! There are several steps you can take to minimize grout staining and keep it looking cleaner for longer. Sealing your grout is crucial, as it creates a protective barrier that prevents dirt and liquids from penetrating the porous surface. Reapply grout sealant every 6-12 months, or as recommended by the manufacturer. Wipe up spills immediately to prevent them from soaking into the grout. Use doormats and rugs in high-traffic areas to trap dirt and debris before they reach your tiled surfaces. Ensure proper ventilation in bathrooms and kitchens to minimize moisture buildup, which can promote mold and mildew growth. Consider using a squeegee after showering to remove excess water from the tiles and grout.
5. What if my grout is severely stained and DIY solutions don’t seem to be working?
If you’ve tried various DIY grout cleaning solutions and your grout is still stubbornly stained, it may be time to consider more aggressive methods or professional help. For heavily stained grout, you can try using a stronger solution of hydrogen peroxide or a commercial grout cleaner specifically designed for tough stains. Always follow the manufacturer’s instructions carefully and wear appropriate protective gear, such as gloves and eye protection. If you’re still unable to achieve the desired results, it may be best to consult with a professional tile and grout cleaning service. They have specialized equipment and cleaning agents that can effectively remove even the most stubborn stains without damaging your grout or tiles. In extreme cases, regrouting may be necessary to restore your tiled surfaces to their original condition.
6. Can I use baking soda and vinegar on colored grout?
While baking soda is generally safe for colored grout, vinegar, being acidic, can potentially cause fading or discoloration if used undiluted or left on for extended periods. It’s always best to test a small, inconspicuous area first to see how the grout reacts. If you notice any color change, dilute the vinegar with water or opt for a different DIY grout cleaning solution, such as a paste made from baking soda and water or a solution of hydrogen peroxide. Remember to rinse thoroughly after cleaning to remove any residue.
7. What type of brush is best for cleaning grout?
The best type of brush for cleaning grout depends on the size of the area and the severity of the staining. For small areas and tight corners, a toothbrush is an excellent choice. Its small size and angled bristles allow you to reach into narrow spaces and scrub away dirt and grime. For larger areas, a grout brush with stiff nylon bristles is more efficient. Look for a brush with an ergonomic handle for comfortable grip and maneuverability. You can also find specialized grout cleaning brushes with angled heads that make it easier to clean along grout lines. An old electric toothbrush with a specialized grout cleaning head can also be used for a powered cleaning experience.
8. How long should I leave the DIY grout cleaning solution on the grout before scrubbing?
The amount of time you should leave the DIY grout cleaning solution on the grout before scrubbing depends on the severity of the staining and the type of solution you’re using. As a general guideline, allow the solution to sit on the grout for at least 5-10 minutes to allow it to penetrate and loosen the dirt and grime. For heavily stained grout, you may need to leave the solution on for longer, up to 30 minutes. However, avoid leaving acidic solutions like vinegar on for extended periods, as they can potentially damage the grout or tile. Always follow the specific instructions for the DIY grout cleaning solution you’re using.
9. Is it necessary to seal grout after cleaning?
Yes, sealing grout after cleaning is highly recommended. Grout is porous, meaning it has tiny holes that allow liquids and dirt to penetrate. Sealing the grout creates a protective barrier that prevents stains, mold, and mildew from forming. It also makes the grout easier to clean in the future. Choose a high-quality grout sealant that is specifically designed for your type of grout. Apply the sealant according to the manufacturer’s instructions, typically using a small brush or applicator. Allow the sealant to dry completely before exposing the grout to water or other liquids. Reapply grout sealant every 6-12 months, or as recommended by the manufacturer, to maintain its protective properties.
10. Can I use bleach to clean grout?
While bleach can be effective at killing mold and mildew, it’s

Leave a Comment