
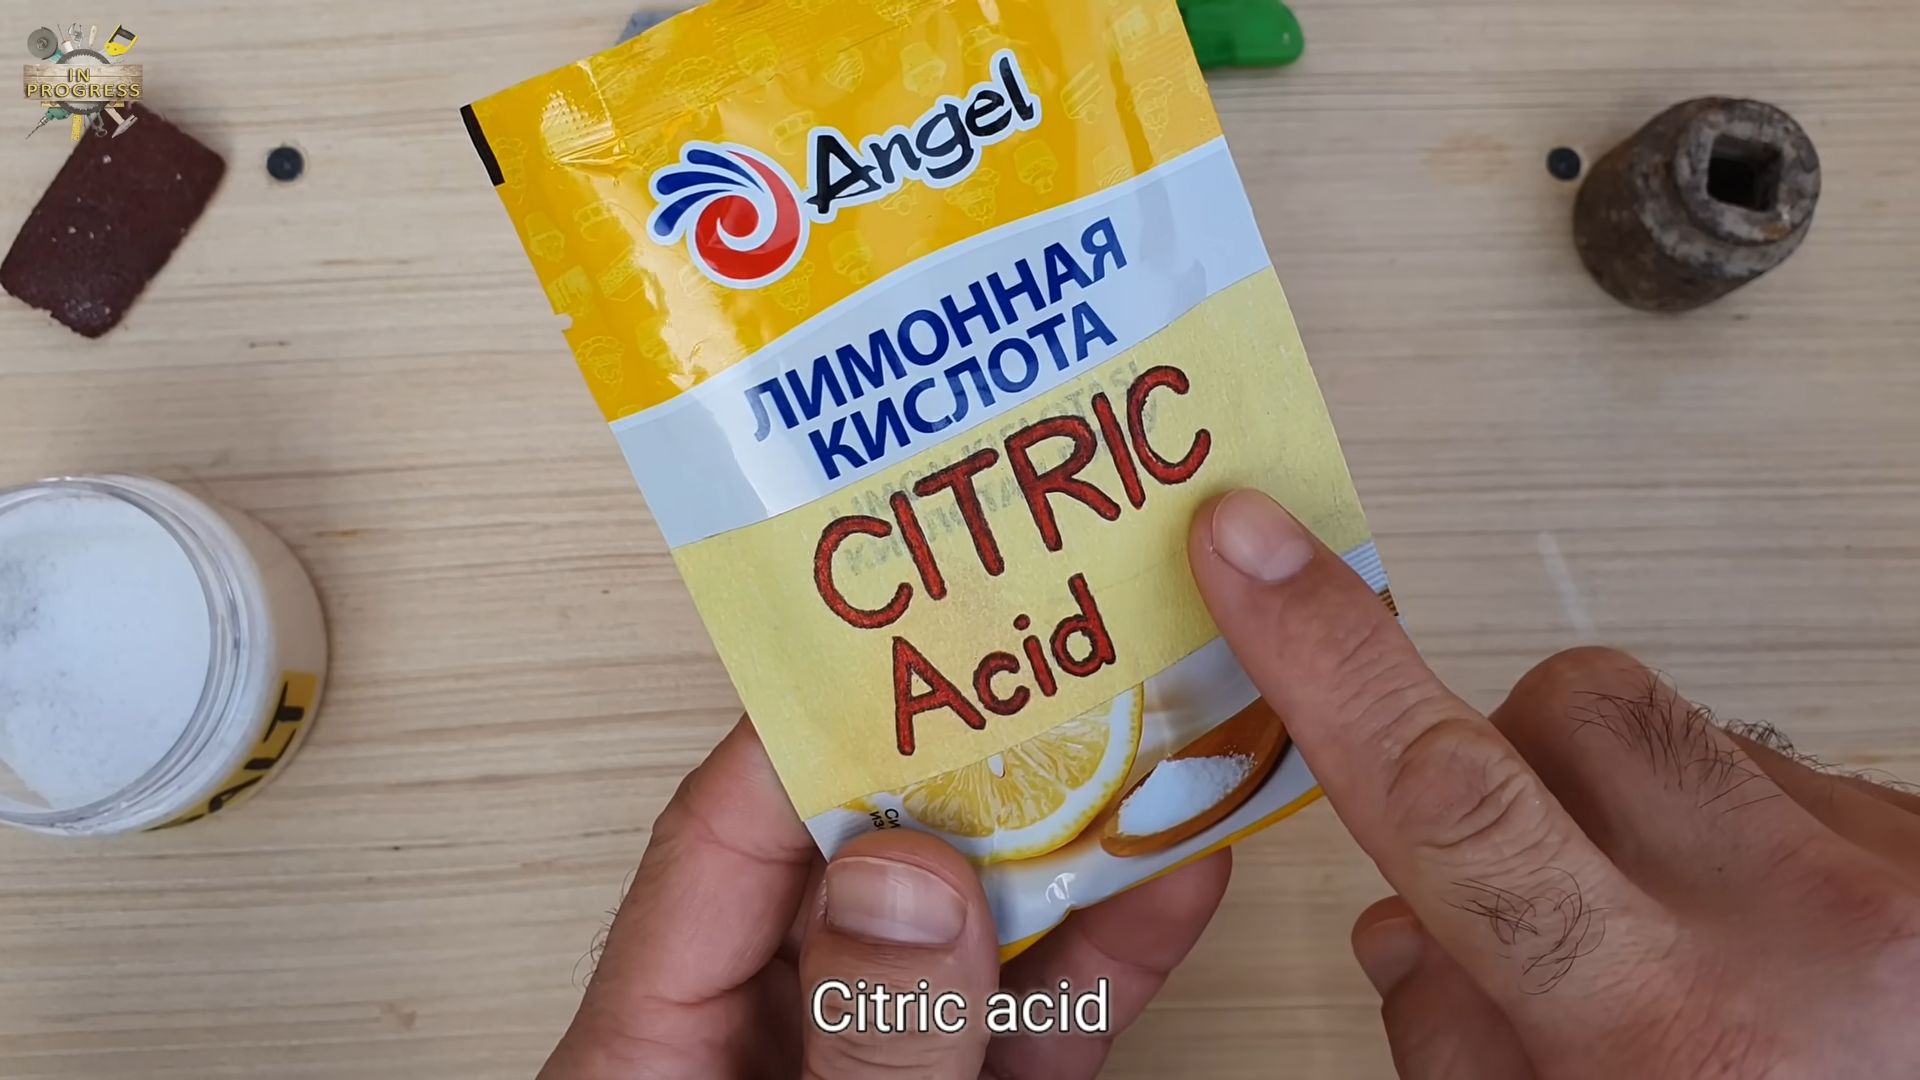
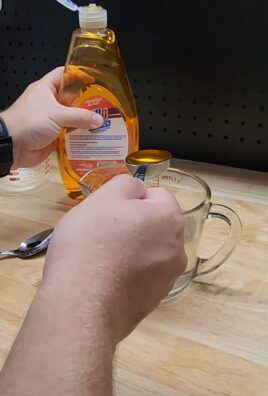
Hydrogen Peroxide and Salt Mix: Your Secret Weapon for a Thriving Garden! Ever feel like your garden is a constant battle against weeds, pests, and diseases? I know I have! It can be incredibly frustrating to pour your heart and soul into your plants, only to see them struggling. But what if I told you there’s a simple, inexpensive solution hiding in your pantry?
For generations, gardeners have sought natural remedies to nurture their plants. While the exact origins of using hydrogen peroxide and salt in the garden are a bit murky, the individual components have a rich history. Hydrogen peroxide, discovered in the early 19th century, has long been recognized for its disinfectant properties. Salt, of course, has been used for centuries in various agricultural practices, though its application requires careful consideration.
This DIY hydrogen peroxide and salt mix is a game-changer because it offers a multi-pronged approach to common gardening problems. It can act as a mild disinfectant, helping to combat fungal infections and bacterial issues. Plus, it can be used as a weed killer and even to improve seed germination! In this article, I’m going to share my favorite tips and tricks for using this powerful combination to create a healthier, more vibrant garden. Get ready to unlock the potential of your green space with this easy-to-make, all-natural solution!
Growing Carrots from Seed: A Complete DIY Guide
Hey there, fellow gardening enthusiasts! I’m so excited to share my tried-and-true method for growing delicious, vibrant carrots from seed. Forget those bland, store-bought carrots – nothing beats the taste of homegrown! This guide will walk you through every step, from preparing your soil to harvesting your crunchy rewards. Let’s get digging!
Choosing the Right Carrot Variety
Before we even think about planting, let’s talk carrots! There are so many varieties to choose from, and the best one for you will depend on your soil type, climate, and personal preference. Here’s a quick rundown:
* Nantes: These are classic, cylindrical carrots with a sweet flavor and smooth skin. They’re relatively short (around 6-7 inches) and do well in a variety of soils. I personally love Nantes for their consistent shape and reliable growth.
* Danvers: These are longer, tapered carrots, known for their robust flavor and good storage capabilities. They’re a great choice if you have heavier soil, as their shape allows them to push through more easily.
* Chantenay: These are short, thick, and conical carrots, perfect for shallow or rocky soils. They’re also very sweet and have a good tolerance for cold weather.
* Imperator: These are the long, slender carrots you often see in supermarkets. They require loose, sandy soil to grow properly, so they’re not ideal for everyone.
* Novelty Carrots: Don’t forget about the fun varieties! You can find carrots in shades of purple, yellow, white, and even red. These add a splash of color to your garden and your plate.
Consider your soil type and growing season when making your choice. I usually opt for Nantes or Danvers, as they perform well in my garden.
Preparing the Soil: The Key to Carrot Success
Carrots need loose, well-drained soil to thrive. Rocky or compacted soil will result in stunted, forked, or misshapen carrots. Trust me, I’ve learned this the hard way! Here’s how I prepare my carrot beds:
* Timing is Everything: Start preparing your soil a few weeks before you plan to sow your seeds. This gives the soil time to settle and allows any amendments to break down.
* Clear the Area: Remove any rocks, weeds, roots, or other debris from the planting area. Carrots need a clear path to grow straight down.
* Loosen the Soil: Use a garden fork or tiller to loosen the soil to a depth of at least 12 inches. This is crucial for long, straight carrots.
* Amend the Soil: Carrots prefer slightly acidic soil with a pH between 6.0 and 6.8. Amend the soil with compost, well-rotted manure, or other organic matter to improve drainage and fertility. Avoid using fresh manure, as it can cause forking.
* Sand it Down: If your soil is heavy clay, consider adding sand to improve drainage. This will help prevent the carrots from rotting.
* Rake it Smooth: Once you’ve amended the soil, rake it smooth to create a level planting surface. This will make it easier to sow the seeds evenly.
* Avoid Nitrogen-Rich Fertilizers: Too much nitrogen can lead to excessive foliage growth at the expense of root development. Opt for a fertilizer that is lower in nitrogen and higher in phosphorus and potassium. Bone meal is a great option.
Sowing the Seeds: Patience is a Virtue
Carrot seeds are tiny, which can make them a bit challenging to sow evenly. But don’t worry, I’ve got some tips to help you out!
1. Choose the Right Time: Carrots are a cool-season crop, so the best time to sow them is in early spring or late summer. Check your local frost dates to determine the optimal planting time for your area. I usually aim to plant my first crop about 2-3 weeks before the last expected frost.
2. Create Shallow Furrows: Use a hoe or your finger to create shallow furrows in the prepared soil. The furrows should be about 1/4 to 1/2 inch deep and spaced about 2-3 inches apart.
3. Sow the Seeds Sparsely: This is the trickiest part! Carrot seeds are tiny, so it’s easy to sow them too thickly. Try to space the seeds about 1/2 inch apart in the furrows. I find it helpful to mix the seeds with sand or coffee grounds to make them easier to see and handle.
4. Cover the Seeds Lightly: Gently cover the seeds with a thin layer of soil or compost.
5. Water Gently: Use a watering can or a gentle spray nozzle to water the seeds thoroughly. Be careful not to wash the seeds away.
6. Keep the Soil Moist: Carrot seeds need consistent moisture to germinate. Keep the soil moist but not soggy until the seedlings emerge. I often cover the planting area with burlap or shade cloth to help retain moisture.
7. Mark the Rows: Label your rows with the carrot variety and planting date. This will help you keep track of your progress.
Thinning the Seedlings: A Necessary Evil
Thinning is essential for giving your carrots enough space to grow. If you don’t thin them, they’ll be crowded and stunted. It’s a tough job, but someone’s gotta do it!
1. Wait Until the Seedlings Emerge: Thin the seedlings when they are about 2-3 inches tall and have developed their first true leaves.
2. Thin to 1-2 Inches Apart: Carefully pull out the weaker seedlings, leaving the strongest ones spaced about 1-2 inches apart. I know it feels wasteful, but it’s necessary for the health of your crop.
3. Water After Thinning: Water the remaining seedlings gently after thinning to help them recover.
4. Second Thinning (Optional): When the carrots are about 4-5 inches tall, you can thin them again to 3-4 inches apart. This will give them even more room to grow.
Caring for Your Carrots: Watering, Weeding, and Pest Control
Once your carrots are established, it’s important to provide them with proper care to ensure a bountiful harvest.
* Watering: Carrots need consistent moisture, especially during dry spells. Water deeply and regularly, aiming for about 1 inch of water per week. Avoid overhead watering, as this can promote fungal diseases.
* Weeding: Keep the carrot bed free of weeds, as they can compete with the carrots for nutrients and water. Hand-pull weeds carefully to avoid disturbing the carrot roots. Mulching can also help suppress weed growth.
* Pest Control: Carrots are susceptible to a few pests, including carrot rust flies, aphids, and nematodes.
* Carrot Rust Flies: These pests lay their eggs near the base of the carrot plants, and the larvae burrow into the roots, causing damage. Cover your carrot bed with row covers to prevent the flies from laying their eggs. You can also use sticky traps to catch adult flies.
* Aphids: These tiny insects suck the sap from the carrot leaves, weakening the plants. Spray the plants with a strong stream of water or use insecticidal soap to control aphids.
* Nematodes: These microscopic worms live in the soil and can damage the carrot roots. Rotate your crops regularly and amend the soil with organic matter to help control nematodes.
* Fertilizing: Carrots are not heavy feeders, but they will benefit from a side dressing of fertilizer about halfway through the growing season. Use a fertilizer that is low in nitrogen and high in phosphorus and potassium. Bone meal or wood ash are good options.
Harvesting Your Carrots: The Sweet Reward
The moment you’ve been waiting for! Harvesting your homegrown carrots is incredibly satisfying.
1. Check the Size: Carrots are typically ready to harvest when they reach the size specified for their variety. Check the seed packet for information on mature size.
2. Loosen the Soil: Before pulling the carrots, loosen the soil around them with a garden fork or trowel. This will make it easier to pull them out without breaking them.
3. Grasp the Tops: Grasp the carrot tops firmly near the base and gently pull the carrots straight up. If the carrots are difficult to pull, loosen the soil further.
4. Wash and Store: Wash the carrots thoroughly to remove any dirt. Trim the tops, leaving about 1/2 inch of stem. Store the carrots in the refrigerator in a plastic bag or container. They should keep for several weeks.
5. Enjoy! Now it’s time to savor the fruits (or rather, vegetables) of your labor! Enjoy your homegrown carrots raw, roasted, steamed, or in your favorite recipes.
Troubleshooting Common Carrot Problems
Even with the best care, you may encounter some
Conclusion
So, there you have it! This simple yet incredibly effective Hydrogen Peroxide and Salt Mix is a game-changer for anyone looking for a natural, affordable, and powerful cleaning and whitening solution. Forget harsh chemicals and expensive store-bought products. This DIY trick harnesses the power of two readily available ingredients to tackle a multitude of household challenges, from brightening dingy laundry to scrubbing stubborn stains and even promoting oral hygiene.
Why is this a must-try? Because it’s not just about saving money; it’s about embracing a more sustainable and healthier lifestyle. You’re reducing your exposure to potentially harmful chemicals while achieving remarkable results. The versatility of this mix is truly impressive. Imagine effortlessly removing coffee stains from your favorite mug, restoring the sparkle to your bathroom tiles, or even giving your teeth a natural whitening boost. The possibilities are endless!
But don’t just take our word for it. We encourage you to experiment and discover the many ways this Hydrogen Peroxide and Salt Mix can simplify your cleaning routine and enhance your well-being.
Looking for variations? Consider adding a few drops of your favorite essential oil, like lemon or tea tree, for an extra boost of freshness and antibacterial power. For tougher stains, create a paste with a higher concentration of salt. And for delicate surfaces, always test the mixture in an inconspicuous area first. Remember, safety is paramount. Always wear gloves when handling hydrogen peroxide, and avoid contact with your eyes.
We’re confident that once you try this DIY trick, you’ll be amazed by its effectiveness and simplicity. It’s a true testament to the power of natural ingredients and a smart way to reduce your reliance on commercial cleaning products.
Now, it’s your turn! We’re eager to hear about your experiences with this Hydrogen Peroxide and Salt Mix. Share your tips, tricks, and success stories in the comments below. Let’s build a community of DIY enthusiasts who are passionate about natural cleaning and a healthier home. What stains did you conquer? What surfaces did you revitalize? We can’t wait to learn from you!
Frequently Asked Questions (FAQ)
What exactly is the ratio of hydrogen peroxide to salt for the mix?
The ideal ratio depends on the intended use. For general cleaning and whitening, a good starting point is a 1:1 ratio. For example, you could mix 1/2 cup of 3% hydrogen peroxide with 1/2 cup of salt. For tougher stains or more abrasive cleaning, you can increase the amount of salt to create a thicker paste. Remember to always test the mixture on a small, inconspicuous area first, especially when dealing with delicate surfaces. For oral hygiene, use a much weaker solution (see below).
Is it safe to use this mix for teeth whitening?
Yes, but with extreme caution and moderation. It is crucial to use a very diluted solution and to consult with your dentist before using hydrogen peroxide for teeth whitening. A safe starting point is to mix 1 part 3% hydrogen peroxide with 2 parts water and a pinch of salt. Swish the solution in your mouth for no more than 30 seconds, then rinse thoroughly with water. Do not swallow the solution. Overuse of hydrogen peroxide can damage tooth enamel and irritate gums. Limit use to once or twice a week, if at all, and discontinue use if you experience any sensitivity or discomfort. Your dentist can provide personalized recommendations for safe and effective teeth whitening options.
What kind of salt should I use?
For most cleaning purposes, regular table salt or sea salt will work just fine. For more abrasive cleaning, you can use coarser salts like kosher salt or Epsom salt. Epsom salt also has added benefits due to its magnesium content, which can be helpful for certain cleaning applications. However, for oral hygiene, it’s best to use fine table salt to minimize abrasion on your teeth.
Can I use this mix on all surfaces?
No, it’s essential to test the mixture on an inconspicuous area before applying it to the entire surface. Avoid using it on delicate surfaces like polished wood, marble, or granite, as it may cause damage or discoloration. It’s generally safe to use on ceramic tiles, porcelain, stainless steel, and plastic, but always test first.
How long does the mixture last?
The Hydrogen Peroxide and Salt Mix is best used immediately after preparation. Hydrogen peroxide can degrade over time, especially when exposed to light and air. Therefore, it’s recommended to make a fresh batch each time you need it. If you must store it, keep it in a dark, airtight container in a cool, dry place for no more than a few days.
Can I use this mix to clean my laundry?
Yes, the Hydrogen Peroxide and Salt Mix can be a great laundry booster and stain remover. Add 1/2 cup of the mixture to your washing machine along with your regular detergent. For stubborn stains, pre-soak the garment in a solution of hydrogen peroxide and salt before washing. However, always test the mixture on a hidden area of the fabric first to ensure it doesn’t cause discoloration. Avoid using it on delicate fabrics like silk or wool.
Is this mix safe for my pets and children?
While hydrogen peroxide and salt are generally considered safe when used properly, it’s crucial to keep the mixture out of reach of children and pets. Hydrogen peroxide can be harmful if ingested, and salt can be irritating to the skin and eyes. Always store the mixture in a secure location and supervise children when using it. If your pet or child accidentally ingests the mixture, contact a medical professional or veterinarian immediately.
Can I use a higher concentration of hydrogen peroxide?
While higher concentrations of hydrogen peroxide (e.g., 6% or 10%) are available, they are generally not recommended for household cleaning or oral hygiene due to their increased risk of irritation and damage. 3% hydrogen peroxide is the most commonly available and safest option for most applications. If you choose to use a higher concentration, dilute it appropriately and exercise extreme caution.
What are some other uses for this mix?
Besides cleaning and whitening, the Hydrogen Peroxide and Salt Mix can also be used for:
* Cleaning grout: Apply the paste to the grout lines, let it sit for a few minutes, then scrub with a brush.
* Removing mildew: Spray the mixture on mildewed surfaces, let it sit for a few minutes, then wipe clean.
* Cleaning cutting boards: Sanitize your cutting boards by wiping them down with the mixture.
* Cleaning toilets: Pour the mixture into the toilet bowl, let it sit for a few minutes, then scrub and flush.
* Cleaning dishwashers: Add the mixture to the detergent dispenser and run an empty cycle.
What if I experience irritation or an allergic reaction?
If you experience any irritation, redness, swelling, or other signs of an allergic reaction after using the Hydrogen Peroxide and Salt Mix, discontinue use immediately and rinse the affected area thoroughly with water. If the symptoms persist or worsen, seek medical attention. It’s always a good idea to perform a patch test on a small area of skin before using the mixture extensively.
Leave a Comment