
DIY Laundry Soap and Vinegar: Are you tired of spending a fortune on laundry detergents filled with harsh chemicals? I know I was! Imagine a world where your clothes are sparkling clean, fresh-smelling, and your wallet is significantly heavier. Sounds good, right? Well, you’re in the right place!
The concept of homemade laundry solutions isn’t new. In fact, before the advent of mass-produced detergents, our grandmothers and great-grandmothers relied on simple, natural ingredients to keep their families’ clothes clean. They understood the power of basic chemistry and readily available resources. Think about it – they were the original eco-warriors and budget-conscious homemakers!
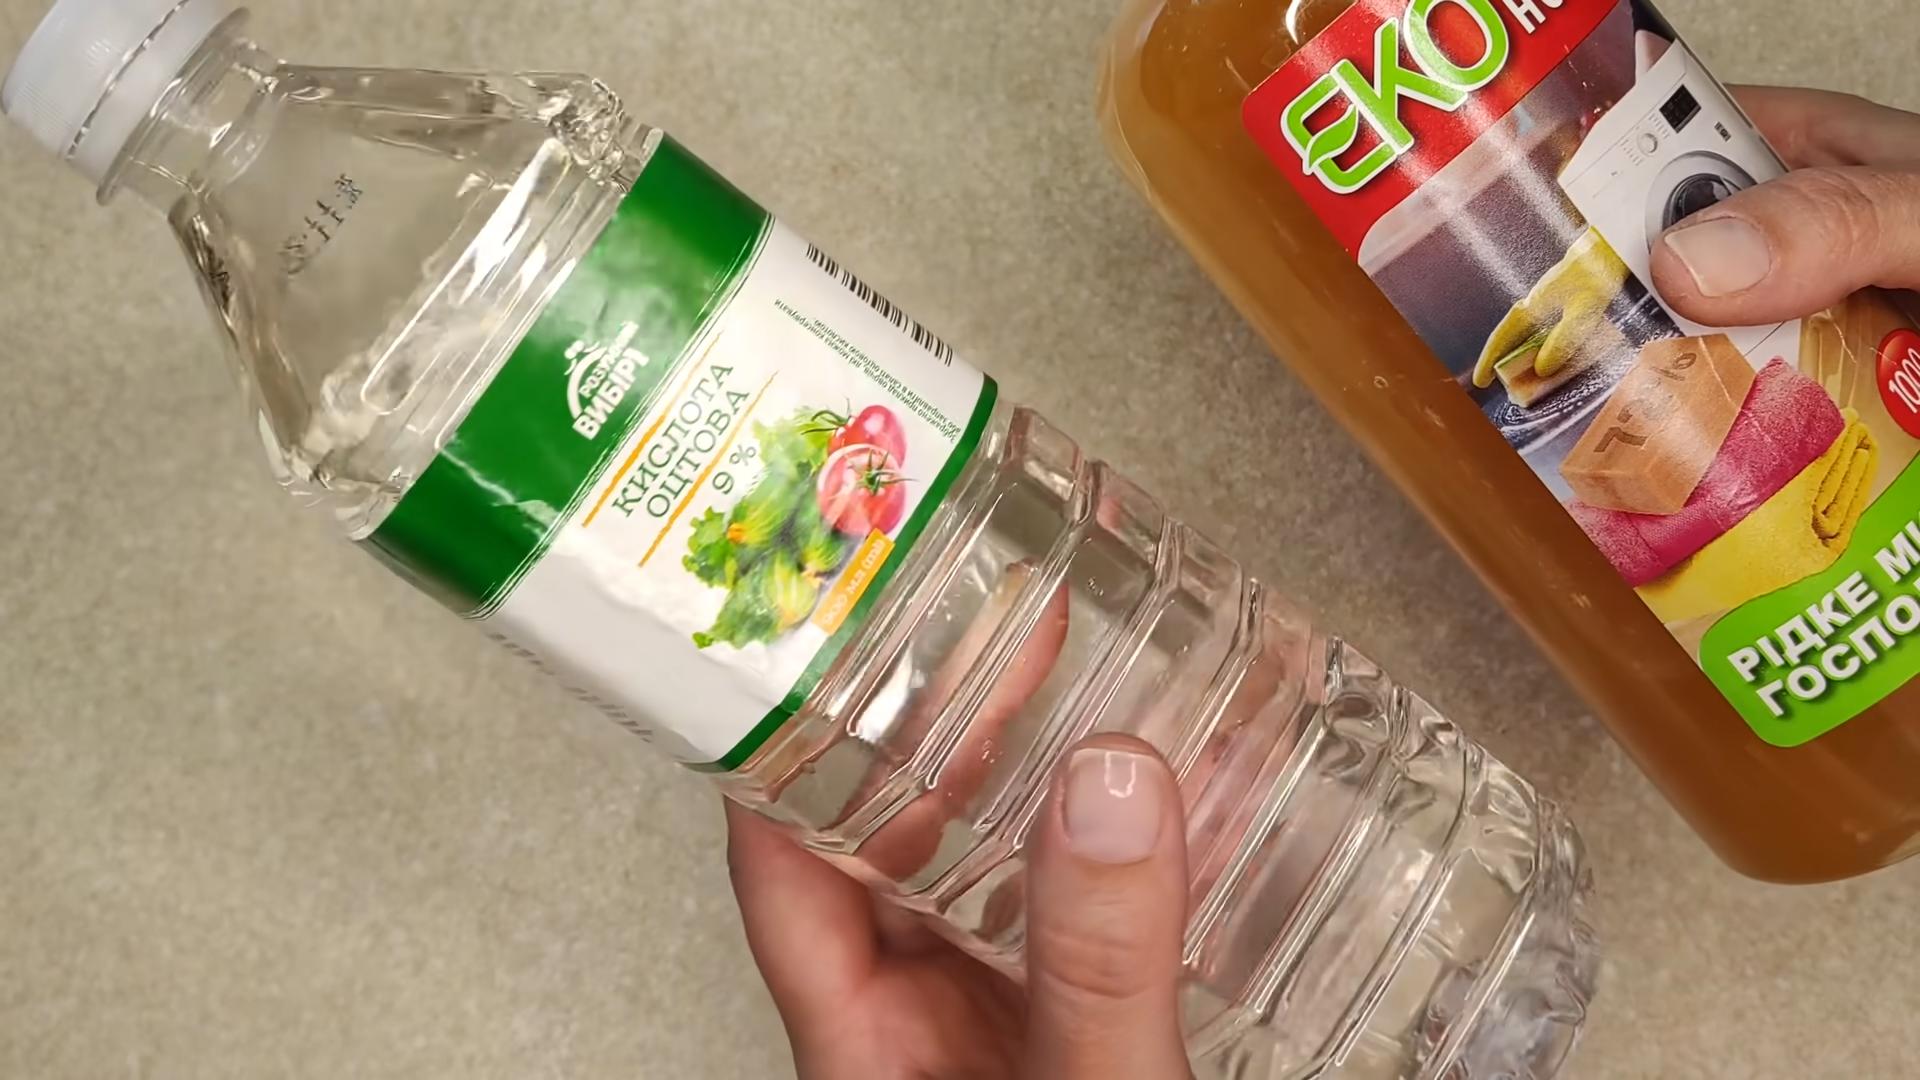
Today, we’re rediscovering the wisdom of those generations. With growing concerns about environmental impact and the rising cost of living, more and more people are turning to DIY laundry soap and vinegar as a sustainable and affordable alternative. But why vinegar, you might ask? Vinegar acts as a natural fabric softener and brightener, helping to remove odors and leave your clothes feeling soft and fresh. It’s a powerhouse ingredient that complements the cleaning power of homemade soap.
This article will guide you through a simple, step-by-step process to create your own effective and eco-friendly laundry solution. Not only will you save money, but you’ll also have complete control over the ingredients, ensuring a gentle and safe clean for your clothes and your family. So, let’s ditch the chemicals and embrace the simplicity of DIY laundry soap and vinegar! Get ready to transform your laundry routine and experience the joy of clean, fresh clothes without breaking the bank.
Grow Radishes in Containers: A Beginner’s Guide
Hey there, fellow gardening enthusiasts! Ever thought about growing your own radishes? They’re super easy, incredibly fast-growing, and add a peppery zing to salads and snacks. Plus, you don’t need a huge garden to enjoy them – containers work perfectly! I’m going to walk you through everything you need to know to successfully grow radishes in containers, from choosing the right pot to harvesting your crunchy crop. Let’s get started!
Choosing the Right Container and Soil
First things first, let’s talk about the essentials: the container and the soil. These are crucial for happy, healthy radishes.
* Container Size: Radishes don’t need a ton of space, but they do need some depth. I recommend a container that’s at least 6 inches deep. A wider container is better than a narrow one, as it allows you to plant more radishes. A container that’s 12 inches in diameter is a good starting point. You can use plastic pots, terracotta pots, or even repurposed containers like old buckets (just make sure they’re clean and have drainage holes!).
* Drainage: This is non-negotiable! Radishes hate soggy soil. Make sure your container has plenty of drainage holes at the bottom. If you’re using a container without drainage, you’ll need to drill some.
* Soil: Radishes thrive in loose, well-draining soil that’s rich in organic matter. I like to use a mix of potting soil, compost, and perlite or vermiculite. The potting soil provides nutrients, the compost adds organic matter and improves drainage, and the perlite or vermiculite helps to aerate the soil. Avoid using garden soil, as it can be too heavy and compact for container gardening.
Planting Your Radish Seeds
Now for the fun part: planting the seeds! This is where the magic begins.
1. Prepare the Soil: Fill your container with your chosen soil mix, leaving about an inch of space at the top. Gently pat down the soil to remove any air pockets.
2. Sow the Seeds: Radish seeds are small, so you don’t need to plant them too deep. I usually sow them about ½ inch deep and about an inch apart. You can use your finger to make small indentations in the soil, drop in the seeds, and then gently cover them with soil.
3. Water Gently: After planting, water the soil gently to avoid disturbing the seeds. I like to use a watering can with a rose head to provide a gentle shower.
4. Label Your Container: It’s always a good idea to label your container with the type of radish you’re growing and the date you planted them. This will help you keep track of your progress.
Caring for Your Radishes
Radishes are relatively low-maintenance, but they do need a little TLC to thrive.
* Sunlight: Radishes need at least 6 hours of sunlight per day. Place your container in a sunny spot, such as a balcony, patio, or windowsill. If you don’t have enough sunlight, you can supplement with grow lights.
* Watering: Keep the soil consistently moist, but not soggy. Water when the top inch of soil feels dry to the touch. Avoid overwatering, as this can lead to root rot.
* Thinning: Once your radish seedlings emerge, you’ll need to thin them out. This means removing some of the seedlings to give the remaining ones enough space to grow. Thin the seedlings to about 2 inches apart. You can use small scissors to snip off the unwanted seedlings at the soil line.
* Fertilizing: Radishes don’t need a lot of fertilizer, but a light feeding can help them grow. I like to use a balanced liquid fertilizer diluted to half strength. Fertilize every two weeks or so.
* Weed Control: Keep an eye out for weeds and remove them promptly. Weeds can compete with your radishes for nutrients and water.
Dealing with Pests and Diseases
Radishes are generally pest-resistant, but they can sometimes be affected by certain pests and diseases.
* Flea Beetles: These tiny beetles can chew small holes in the leaves of your radishes. To control flea beetles, you can cover your plants with row covers or spray them with insecticidal soap.
* Root Maggots: These are small, white larvae that feed on the roots of radishes. To prevent root maggots, you can cover your plants with row covers or use a soil drench containing beneficial nematodes.
* Downy Mildew: This fungal disease can cause yellow spots on the leaves of your radishes. To prevent downy mildew, make sure your plants have good air circulation and avoid overwatering. If you see signs of downy mildew, remove the affected leaves and spray your plants with a fungicide.
Harvesting Your Radishes
The best part of growing radishes is, of course, harvesting them! Radishes are incredibly fast-growing, and you can usually harvest them within 3-4 weeks of planting.
1. Check for Size: Radishes are ready to harvest when they reach about 1 inch in diameter. You can gently brush away some of the soil around the base of the plant to check the size of the radish.
2. Pull Them Up: To harvest your radishes, simply grasp the leaves near the base of the plant and gently pull them up. If the soil is dry, you may need to water it first to make it easier to pull the radishes.
3. Wash and Enjoy: After harvesting, wash your radishes thoroughly to remove any dirt. You can eat them raw in salads, slice them and add them to sandwiches, or roast them for a sweeter flavor.
Choosing Radish Varieties
There are many different varieties of radishes to choose from, each with its own unique flavor and appearance. Here are a few of my favorites:
* Cherry Belle: This is a classic red radish with a mild, slightly sweet flavor. It’s a great choice for beginners.
* French Breakfast: This radish has an elongated shape and a mild, peppery flavor. It’s often eaten with butter and salt.
* Easter Egg: This radish mix includes radishes in a variety of colors, including red, pink, purple, and white. It’s a fun and colorful addition to any garden.
* Black Spanish: This radish has a black skin and a pungent, spicy flavor. It’s a good choice for those who like a little heat.
* Watermelon Radish: This radish has a green skin and a bright pink interior. It has a mild, slightly sweet flavor.
Succession Planting for Continuous Harvest
To enjoy a continuous harvest of radishes, you can practice succession planting. This means planting a new batch of seeds every 2-3 weeks. This will ensure that you always have radishes ready to harvest.
1. Plan Your Planting Schedule: Determine how often you want to harvest radishes and plan your planting schedule accordingly.
2. Prepare New Containers: Prepare new containers with fresh soil mix for each batch of seeds.
3. Sow Seeds Regularly: Sow seeds every 2-3 weeks, following the planting instructions above.
4. Enjoy Fresh Radishes: As one batch of radishes is ready to harvest, another batch will be coming along.
Troubleshooting Common Problems
Even with the best care, you may encounter some problems when growing radishes. Here are a few common issues and how to address them:
* Radishes are too small: This can be caused by overcrowding, lack of sunlight, or poor soil. Make sure you thin your seedlings properly, provide adequate sunlight, and use a good quality soil mix.
* Radishes are cracked: This can be caused by inconsistent watering. Make sure you water your radishes regularly and avoid letting the soil dry out completely.
* Radishes are too spicy: This can be caused by hot weather or stress. Try to provide some shade during the hottest part of the day and water your radishes regularly.
* Radishes are bolting (going to seed): This can be caused by hot weather or stress. Try to plant your radishes in early spring or late summer to avoid the hottest temperatures.
Tips for Growing the Best Radishes
Here are a few extra tips to help you grow the best radishes possible:
* Choose the right variety for your climate: Some radish varieties are better suited to certain climates than others. Do some research to find varieties that will thrive in your area.
* Amend your soil with compost: Compost is a great way to improve the drainage and fertility of your soil.
* Water deeply and regularly: Radishes need consistent moisture to grow properly.
* Protect your plants from pests and diseases: Take steps to prevent pests and diseases from attacking your radishes.
* Harvest your radishes at the right time:
Conclusion
So, there you have it! Ditching the store-bought detergents and embracing this DIY laundry soap and vinegar combination is more than just a trend; it’s a game-changer for your laundry routine, your wallet, and the environment. We’ve explored how simple it is to create a powerful cleaning duo using readily available ingredients, bypassing the harsh chemicals and unnecessary additives found in commercial products.
But why is this DIY approach a must-try? First and foremost, it’s incredibly effective. The combination of washing soda, borax, and a gentle soap base creates a potent cleaning action that lifts dirt and grime, leaving your clothes fresh and clean. The addition of vinegar in the rinse cycle acts as a natural fabric softener, neutralizes odors, and helps to remove any lingering soap residue, resulting in softer, brighter, and fresher-smelling laundry.
Beyond its cleaning power, this DIY method is remarkably cost-effective. You’ll be amazed at how much money you can save by making your own laundry soap and using vinegar instead of expensive fabric softeners. The ingredients are inexpensive and readily available, and a little goes a long way.
And let’s not forget the environmental benefits. By reducing your reliance on commercially produced detergents, you’re minimizing your exposure to harmful chemicals and reducing plastic waste. This is a small change that can make a big difference in protecting our planet.
Looking to personalize your DIY laundry experience? Consider these variations:
* Scent Boost: Add a few drops of your favorite essential oils to your laundry soap for a natural fragrance boost. Lavender, lemon, and tea tree oil are popular choices. Be sure to use essential oils that are safe for fabrics and avoid using too much, as some oils can stain.
* Sensitive Skin Formula: If you have sensitive skin, opt for a fragrance-free soap base and consider omitting borax, as some individuals may find it irritating. You can also add a tablespoon of glycerin to the soap mixture for extra moisturizing properties.
* Stain Remover Power-Up: For heavily soiled items, pre-treat stains with a paste made from baking soda and water before washing. You can also add a cup of oxygen bleach to the wash cycle for extra stain-fighting power.
* Vinegar Infusion: Infuse your vinegar with citrus peels or herbs for a subtle, natural fragrance. Simply add the peels or herbs to a jar of vinegar and let it steep for a few weeks before straining and using.
We are confident that once you try this DIY laundry soap and vinegar method, you’ll be hooked. It’s simple, effective, affordable, and environmentally friendly. So, ditch the store-bought detergents and embrace the power of DIY!
We encourage you to give this recipe a try and share your experience with us. Let us know what variations you’ve tried, what scents you’ve added, and how it’s worked for your laundry needs. Your feedback is invaluable and helps us to improve and refine our recipes. Share your thoughts in the comments below! We can’t wait to hear from you.
Frequently Asked Questions (FAQ)
Is DIY laundry soap as effective as store-bought detergents?
Yes, when formulated correctly, DIY laundry soap can be just as effective, if not more so, than many store-bought detergents. The combination of washing soda, borax, and a soap base provides a powerful cleaning action that lifts dirt and grime. The addition of vinegar in the rinse cycle helps to remove soap residue, soften fabrics, and neutralize odors. However, the effectiveness can depend on the specific recipe and the type of washing machine you have. Always test a small batch first to ensure it works well for your needs.
Will vinegar damage my washing machine or clothes?
No, vinegar is safe to use in both standard and high-efficiency (HE) washing machines. It’s a natural acid that helps to break down mineral deposits and soap residue, keeping your machine clean and functioning properly. In fact, many people use vinegar as a natural washing machine cleaner. As for your clothes, vinegar is gentle enough to use on most fabrics and won’t cause fading or damage. However, it’s always a good idea to test it on a small, inconspicuous area first, especially with delicate fabrics. Never use vinegar with bleach, as this can create harmful fumes.
How much DIY laundry soap and vinegar should I use per load?
The amount of DIY laundry soap you use will depend on the size of your load and the level of soil. As a general guideline, start with 1-2 tablespoons of DIY laundry soap for a regular load. For heavily soiled items, you may need to use a bit more. For vinegar, use about 1/2 cup in the fabric softener dispenser. You can adjust the amount based on your preferences and the results you achieve.
Can I use any type of soap for DIY laundry soap?
While you can use various types of soap, it’s best to opt for a gentle, fragrance-free soap base. Castile soap, grated bar soap (such as Fels-Naptha or Zote), or liquid dish soap (ensure it’s phosphate-free) are all good options. Avoid using soaps that contain harsh chemicals or additives, as these can irritate the skin or damage fabrics.
What is washing soda and borax, and where can I find them?
Washing soda (sodium carbonate) is a natural cleaner and water softener that helps to boost the cleaning power of your laundry soap. Borax (sodium borate) is another natural mineral that helps to remove stains and deodorize laundry. Both washing soda and borax can be found in the laundry aisle of most grocery stores or online retailers.
Is DIY laundry soap safe for HE washing machines?
Yes, DIY laundry soap can be safe for HE washing machines, but it’s important to use the correct amount and ensure that the soap is fully dissolved before adding it to the machine. HE machines use less water than standard machines, so using too much soap can lead to buildup and residue. It’s also important to use a low-sudsing soap base to prevent excessive sudsing, which can damage HE machines.
Can I use essential oils in my DIY laundry soap?
Yes, you can add essential oils to your DIY laundry soap for a natural fragrance boost. Lavender, lemon, tea tree oil, and eucalyptus are popular choices. Add a few drops of your favorite essential oil to the soap mixture or directly to the washing machine drum. Be sure to use essential oils that are safe for fabrics and avoid using too much, as some oils can stain.
How long does DIY laundry soap last?
DIY laundry soap can last for several months if stored properly in an airtight container. Keep it in a cool, dry place away from direct sunlight. If you notice any changes in color, texture, or odor, it’s best to discard the soap and make a fresh batch.
What if my DIY laundry soap clumps up?
Clumping can occur if the ingredients are not properly mixed or if the soap is exposed to moisture. To prevent clumping, make sure to mix the ingredients thoroughly and store the soap in an airtight container. If your soap does clump up, you can break it up by using a fork or spoon. You can also add a small amount of water to the soap and mix it until it forms a smooth paste.
Can I use this DIY laundry soap for all types of fabrics?
While DIY laundry soap is generally safe for most fabrics, it’s always a good idea to test it on a small, inconspicuous area first, especially with delicate fabrics like silk or wool. Avoid using DIY laundry soap on fabrics that require special care, such as dry-clean-only items.


Leave a Comment