
Grow Strawberries at Home: Your Guide to a Sweet Harvest
Growing strawberries at home might seem daunting, but I’m here to tell you it’s easier than you think! This article is your passport to a delicious and rewarding experience, packed with simple DIY tricks and hacks that will transform your backyard or even a sunny balcony into a strawberry paradise. Forget expensive supermarket berries – imagine biting into a sun-ripened, homegrown strawberry, bursting with flavor. That’s the magic we’re unlocking today.
The history of strawberry cultivation is surprisingly rich, dating back centuries. From humble beginnings as wild berries, careful selection and breeding have given us the juicy, sweet varieties we enjoy today. But the joy of growing strawberries at home goes beyond just the taste; it’s about connecting with nature, understanding the life cycle of a plant, and experiencing the satisfaction of nurturing something from seed to succulent fruit.
Why Grow Your Own?
In a world of mass-produced food, there’s something incredibly special about knowing exactly where your food comes from. Growing your own strawberries ensures you’re getting the freshest, tastiest berries possible, free from pesticides and preservatives. Plus, it’s a fantastic way to teach children about gardening and the importance of healthy eating. This guide is filled with practical grow strawberries at home tips, from choosing the right variety to dealing with common pests, ensuring you have a bountiful harvest.
So, whether you have a sprawling garden or just a small balcony, get ready to embark on this sweet adventure with me. Let’s learn how to grow strawberries at home and enjoy the fruits (literally!) of our labor!
DIY: The Fastest Bag Closure Ever!
Tired of struggling with twist ties, complicated clips, or messy knots? I was too! That’s why I developed this super-fast and easy bag closure hack. It’s perfect for snacks, pet food, craft supplies – anything you need to seal quickly and securely.
Gathering Your Supplies
- Strong, flexible cord (I prefer waxed cotton cord, but paracord or even sturdy yarn will work). Aim for a cord that’s about 1/8 inch thick. You’ll need approximately 18-24 inches, depending on the size of your bag.
- A large-eyed needle (for easier threading of the cord).
- Scissors.
- A lighter (for sealing the cord ends – optional, but recommended for a neater finish).
- Bags you want to modify! This works best on bags with a top edge that’s relatively straight and not too thick.
Preparing the Cord
- Cut a length of cord. Start with about 24 inches. You can always trim it later if it’s too long.
- Thread the needle with the cord. Make sure you have a good length of cord on both sides of the needle.
- Using the lighter (carefully!), lightly melt and seal the very tips of both ends of the cord. This prevents fraying and makes the cord more durable. Be cautious when using a lighter – always have a fire-safe surface nearby and keep a watchful eye.
Attaching the Closure to the Bag
- Choose a bag you want to modify. Lay it flat.
- Decide where you want your closure to be located. For most bags, the center works best. Mark this point with a pin or pen (if necessary).
- Insert the needle from the inside of the bag, at your marked point, pushing it through the top edge of the bag. Pull the cord through until you have an equal length on both sides of the bag.
- Now, we’re going to create a simple running stitch along the top edge of the bag. Insert the needle from the outside of the bag, about ½ inch to the left of your initial stitch. Pull the cord through. This creates your first stitch.
- Continue this running stitch along the top edge of the bag, moving to the right. Keep your stitches evenly spaced – about ½ inch apart is a good guideline. Aim for about 4-6 stitches, depending on the width of your bag’s opening.
- Once you’ve reached the end of your desired stitching area, insert the needle from the outside of the bag, back to the inside. Pull the cord through, leaving about 2 inches of cord on the inside of the bag.
- Now, we’ll create the closure mechanism. On the outside of the bag, take the two ends of the cord and tie a simple overhand knot. Pull it tight. This knot will act as your closure.
- To make the knot even more secure, tie a second overhand knot directly above the first. Trim any excess cord, leaving about ½ inch beyond the second knot. Use the lighter to gently melt and seal the cut ends to prevent fraying.
Testing and Refinements
- Fill your bag with something to test the closure. Make sure the knot holds securely and the bag closes easily.
- If the closure feels too loose or too tight, you can adjust the spacing of your stitches. Closer stitches will create a tighter closure, while wider stitches will create a looser one.
- If you find the cord is too short or too long, you can always redo the process with a different length of cord.
Tips for Success
Choosing the Right Cord:
The type of cord you use significantly impacts the durability and look of your closure. Waxed cotton cord is my personal favorite because it’s strong, holds its shape well, and is easy to work with. However, paracord or even sturdy yarn can work in a pinch. Just make sure it’s strong enough to withstand repeated use.
Stitch Consistency:
Maintaining consistent stitch spacing is key to a neat and effective closure. Use a ruler or measuring tape to ensure your stitches are evenly spaced. This will also help to distribute the tension evenly across the bag’s top edge.
Knot Security:
Double-knotting the closure is crucial for preventing accidental opening. A single knot might be sufficient for lighter bags, but for heavier items, a double knot provides significantly more security. Consider using a stronger knot type, like a square knot, for extra strength.
Cord Length Considerations:
The ideal cord length depends on the size of your bag and your desired closure tightness. Start with a longer piece and trim it down as needed. It’s always easier to trim excess cord than to add more.
Material Compatibility:
This method works best on bags made from relatively thin, flexible materials. Very thick or stiff materials might be difficult to stitch through. Test on a small, inconspicuous area of the bag before committing to the entire closure.
Beyond Basic Bags:
While this method is perfect for standard bags, you can adapt it to other containers with a similar top edge. Think about using it on small pouches, fabric bins, or even some types of gift bags. Get creative and experiment!
Troubleshooting
If your stitches are coming undone, try using a stronger cord or a different knotting technique. If the closure is too loose, try adding more stitches or using a thicker cord. If the closure is too tight, try using a thinner cord or spacing your stitches further apart.
Conclusion
So there you have it – a comprehensive guide to growing your own luscious, homegrown strawberries! This DIY approach to strawberry cultivation offers a rewarding experience that goes far beyond simply enjoying the fruits of your labor (literally!). Growing strawberries at home allows you to control the quality of your berries, ensuring they’re pesticide-free and bursting with flavor. You’ll also find immense satisfaction in nurturing these plants from tiny seedlings to bountiful harvests, a connection to nature that’s increasingly rare in our modern lives. The initial investment is minimal, and the potential rewards – juicy, sun-ripened strawberries picked straight from your garden – are immeasurable. This method is perfect for beginners and experienced gardeners alike, offering a flexible and adaptable system that can be tailored to your specific space and resources. Whether you have a sprawling backyard or a small balcony, you can successfully cultivate your own strawberry patch.
Beyond the basic method outlined, there are countless ways to personalize your strawberry growing experience. Experiment with different strawberry varieties – some are better suited to hanging baskets, while others thrive in raised beds. Consider companion planting, incorporating herbs like basil or thyme to deter pests and enhance the flavor of your berries. If you’re short on space, explore vertical gardening techniques, using trellises or hanging planters to maximize your yield. For those with limited sunlight, consider supplementing with grow lights, ensuring your plants receive the necessary light for optimal growth. Don’t be afraid to get creative and adapt the techniques to your unique environment and preferences. The beauty of this DIY project lies in its adaptability and the opportunity for personal expression.
Ultimately, the journey of growing your own strawberries is as rewarding as the delicious results. It’s a chance to connect with nature, learn about plant care, and enjoy the freshest, most flavorful strawberries you’ve ever tasted. We strongly encourage you to embark on this fulfilling adventure. Try this simple yet effective method, and witness the magic of watching your tiny seedlings transform into vibrant, fruit-bearing plants. Share your experiences with us – we’d love to hear about your successes, challenges, and the delicious recipes you create with your homegrown strawberries! Post your photos and stories on social media using #GrowStrawberriesAtHome and inspire others to embark on their own strawberry growing journey. Let’s cultivate a community of home gardeners, sharing tips, tricks, and the joy of harvesting nature’s sweet bounty.
Frequently Asked Questions
What type of soil is best for growing strawberries?
Strawberries thrive in well-drained, slightly acidic soil with a pH level between 6.0 and 6.5. Amend heavy clay soils with organic matter like compost to improve drainage. Sandy soils may benefit from the addition of peat moss to retain moisture. Regular soil testing can help you maintain the optimal pH level for your strawberry plants. A soil test kit can be easily purchased online or at most garden centers.
How much sunlight do strawberries need?
Strawberries require at least 6-8 hours of direct sunlight per day to produce a bountiful harvest. Choose a location in your garden that receives ample sunlight, ideally facing south or west. If you have limited sunlight, consider supplementing with grow lights, especially during the early stages of growth or in shaded areas.
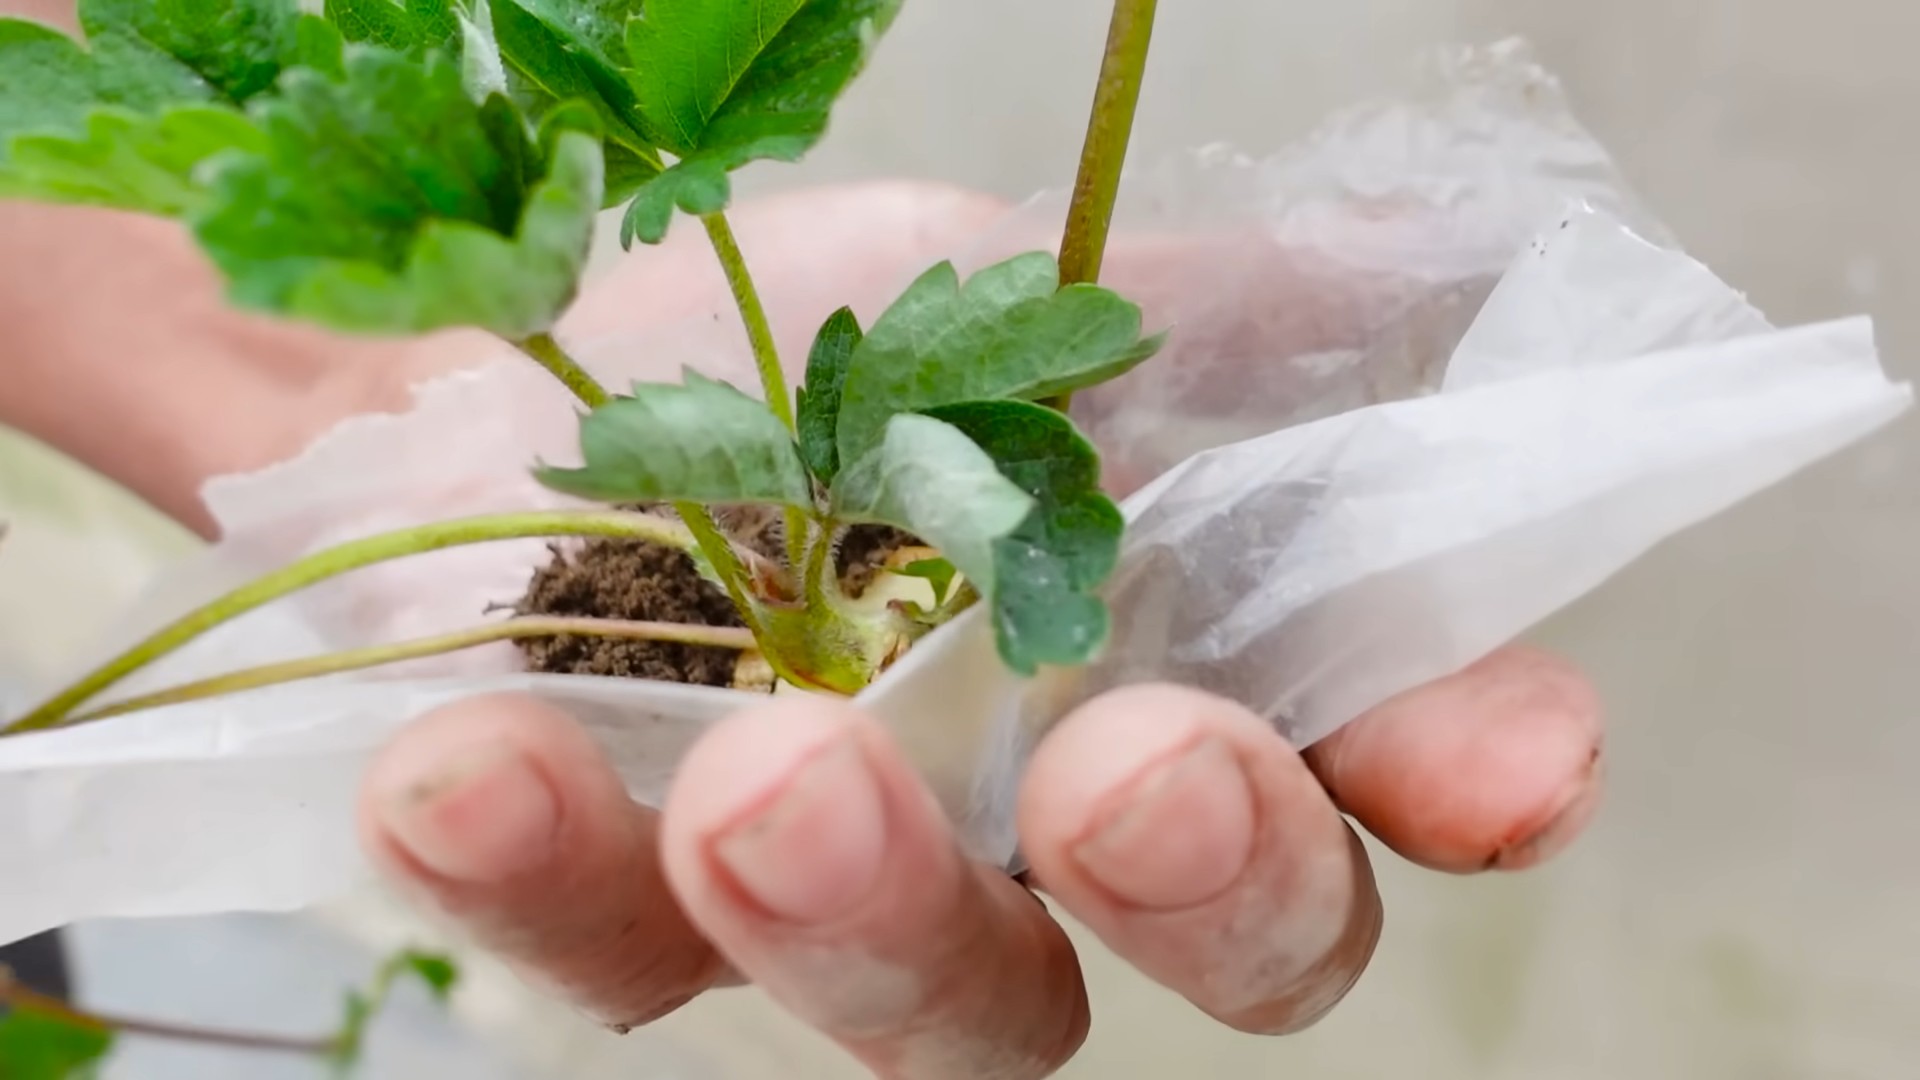
When is the best time to plant strawberries?
The best time to plant strawberries depends on your climate. In most regions, spring (after the last frost) and fall are ideal planting times. Spring planting allows the plants to establish themselves before the summer heat, while fall planting gives them time to root before winter. Check your local climate zone for specific planting recommendations.
How often should I water my strawberries?
Consistent watering is crucial for healthy strawberry plants. Water deeply and regularly, especially during dry periods. Aim to keep the soil consistently moist but not waterlogged. Mulching around the plants can help retain moisture and suppress weeds. Overwatering can lead to root rot, so ensure your soil has good drainage.
What are some common pests and diseases that affect strawberries?
Strawberries can be susceptible to various pests and diseases, including aphids, spider mites, slugs, and fungal diseases like gray mold. Regularly inspect your plants for signs of infestation or disease. Implementing preventative measures, such as companion planting and proper sanitation, can help minimize pest and disease problems. Organic pest control methods are often effective and safer for your plants and the environment.
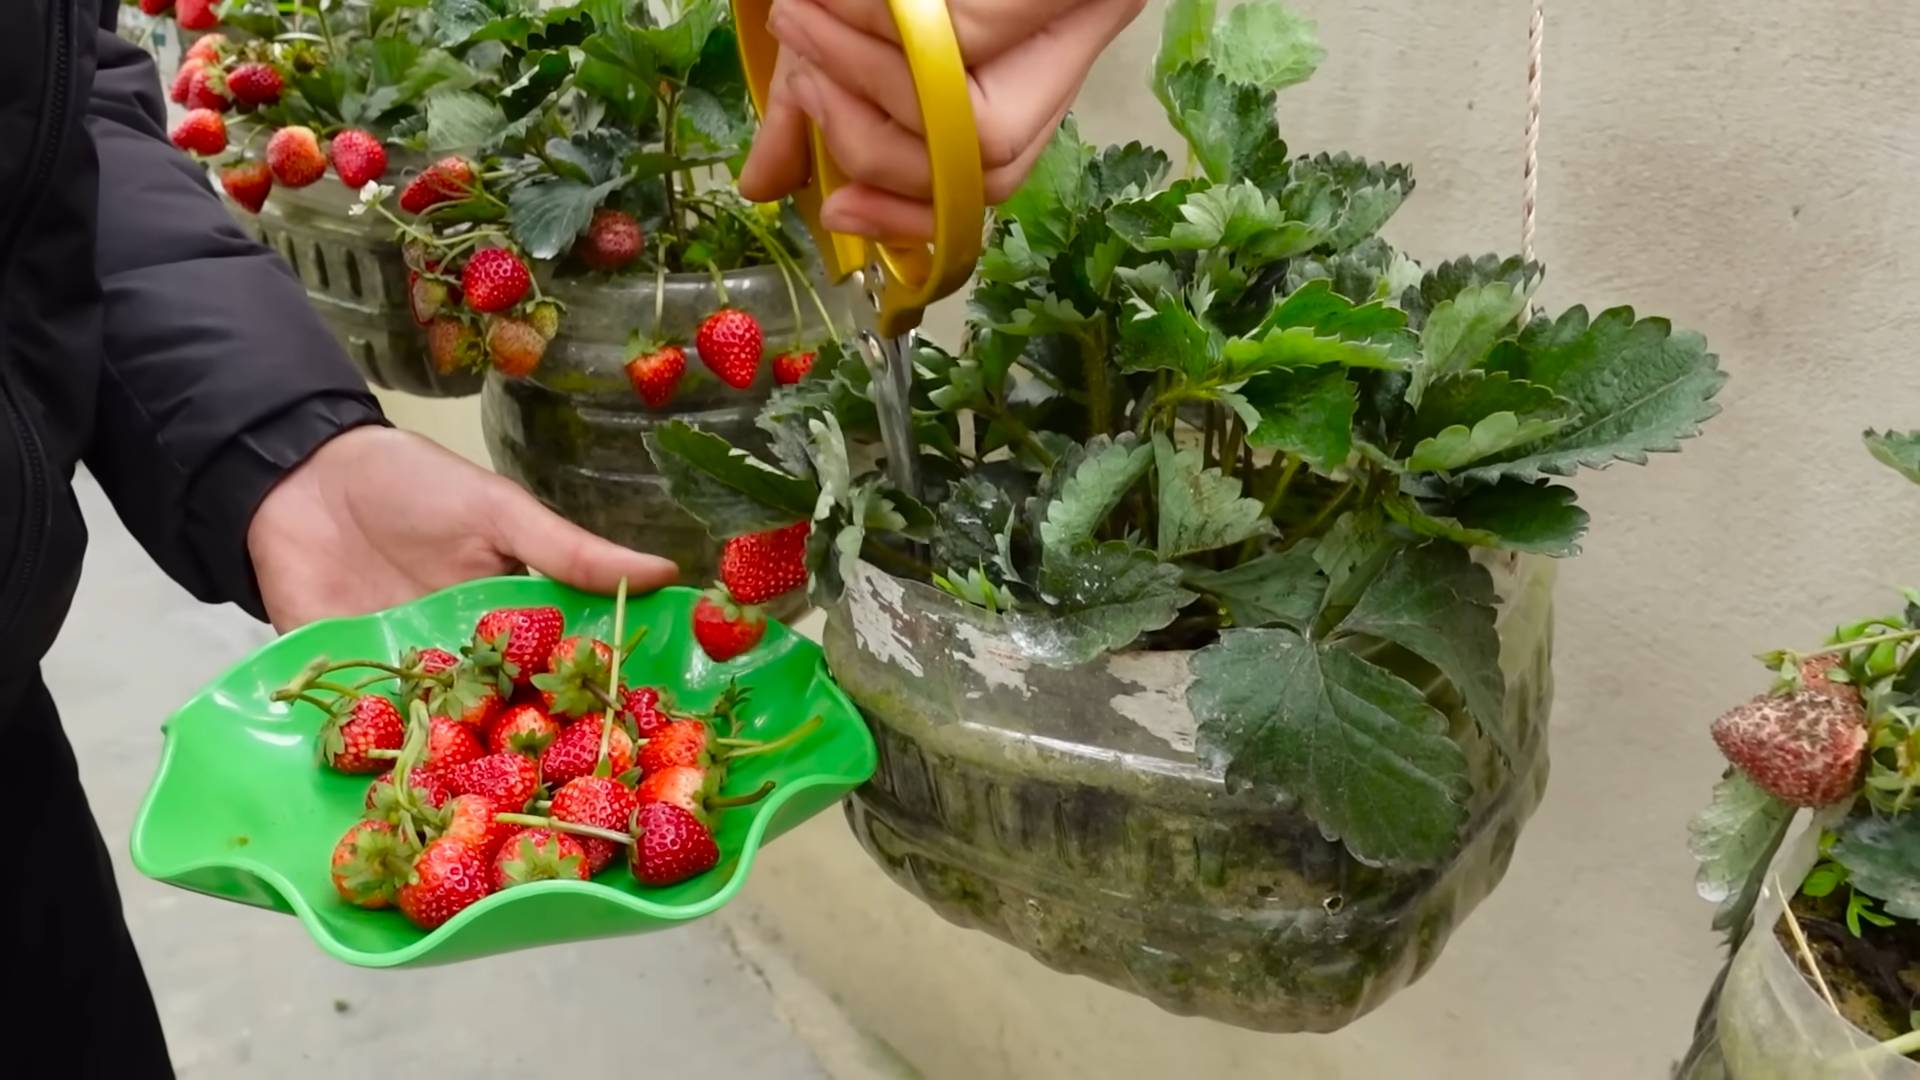
How do I harvest my strawberries?
Strawberries are typically ready for harvest when they are fully colored and slightly soft to the touch. Gently pull the berries from the plant, leaving the green cap attached. Harvest regularly to encourage continued production. Avoid harvesting strawberries when they are wet, as this can increase the risk of rot.
Can I grow strawberries in containers?
Yes, absolutely! Growing strawberries in containers is a great option for those with limited space or those who want to easily move their plants to different locations. Choose containers that are at least 12 inches deep and have drainage holes. Use a well-draining potting mix and ensure the containers receive adequate sunlight.
What should I do with my strawberry harvest?
The possibilities are endless! Enjoy your fresh strawberries right away, use them in jams, jellies, pies, smoothies, or simply add them to your favorite desserts. Freezing your strawberries is a great way to preserve them for later use. Consider dehydrating them for a healthy snack. The versatility of homegrown strawberries makes them a delightful addition to any meal or treat.


Leave a Comment