
Easy to Grow Cooking Vegetables – that’s what we all crave, right? Imagine stepping into your backyard and plucking fresh, flavorful ingredients for tonight’s dinner. No more last-minute grocery store runs or settling for wilted produce! I’m here to tell you that creating your own edible oasis is easier than you think, even if you’re a complete beginner.
For centuries, cultivating our own food has been a cornerstone of human civilization. From ancient Roman kitchen gardens to the vibrant community gardens of today, growing your own vegetables connects us to a rich history of self-sufficiency and sustainable living. It’s a tradition worth reviving, and I’m excited to guide you through the process.
In today’s fast-paced world, knowing how to grow your own food is more important than ever. Not only does it provide access to healthier, pesticide-free produce, but it also offers a therapeutic escape from the stresses of daily life. Plus, let’s be honest, there’s nothing quite like the satisfaction of nurturing a tiny seed into a bountiful harvest. This DIY guide is packed with simple tricks and hacks to help you successfully grow easy to grow cooking vegetables, regardless of your space or experience. So, grab your gardening gloves, and let’s get started!
DIY Guide: Creating a Hyper-Productive Vertical Herb Garden for Fast-Growing Plants
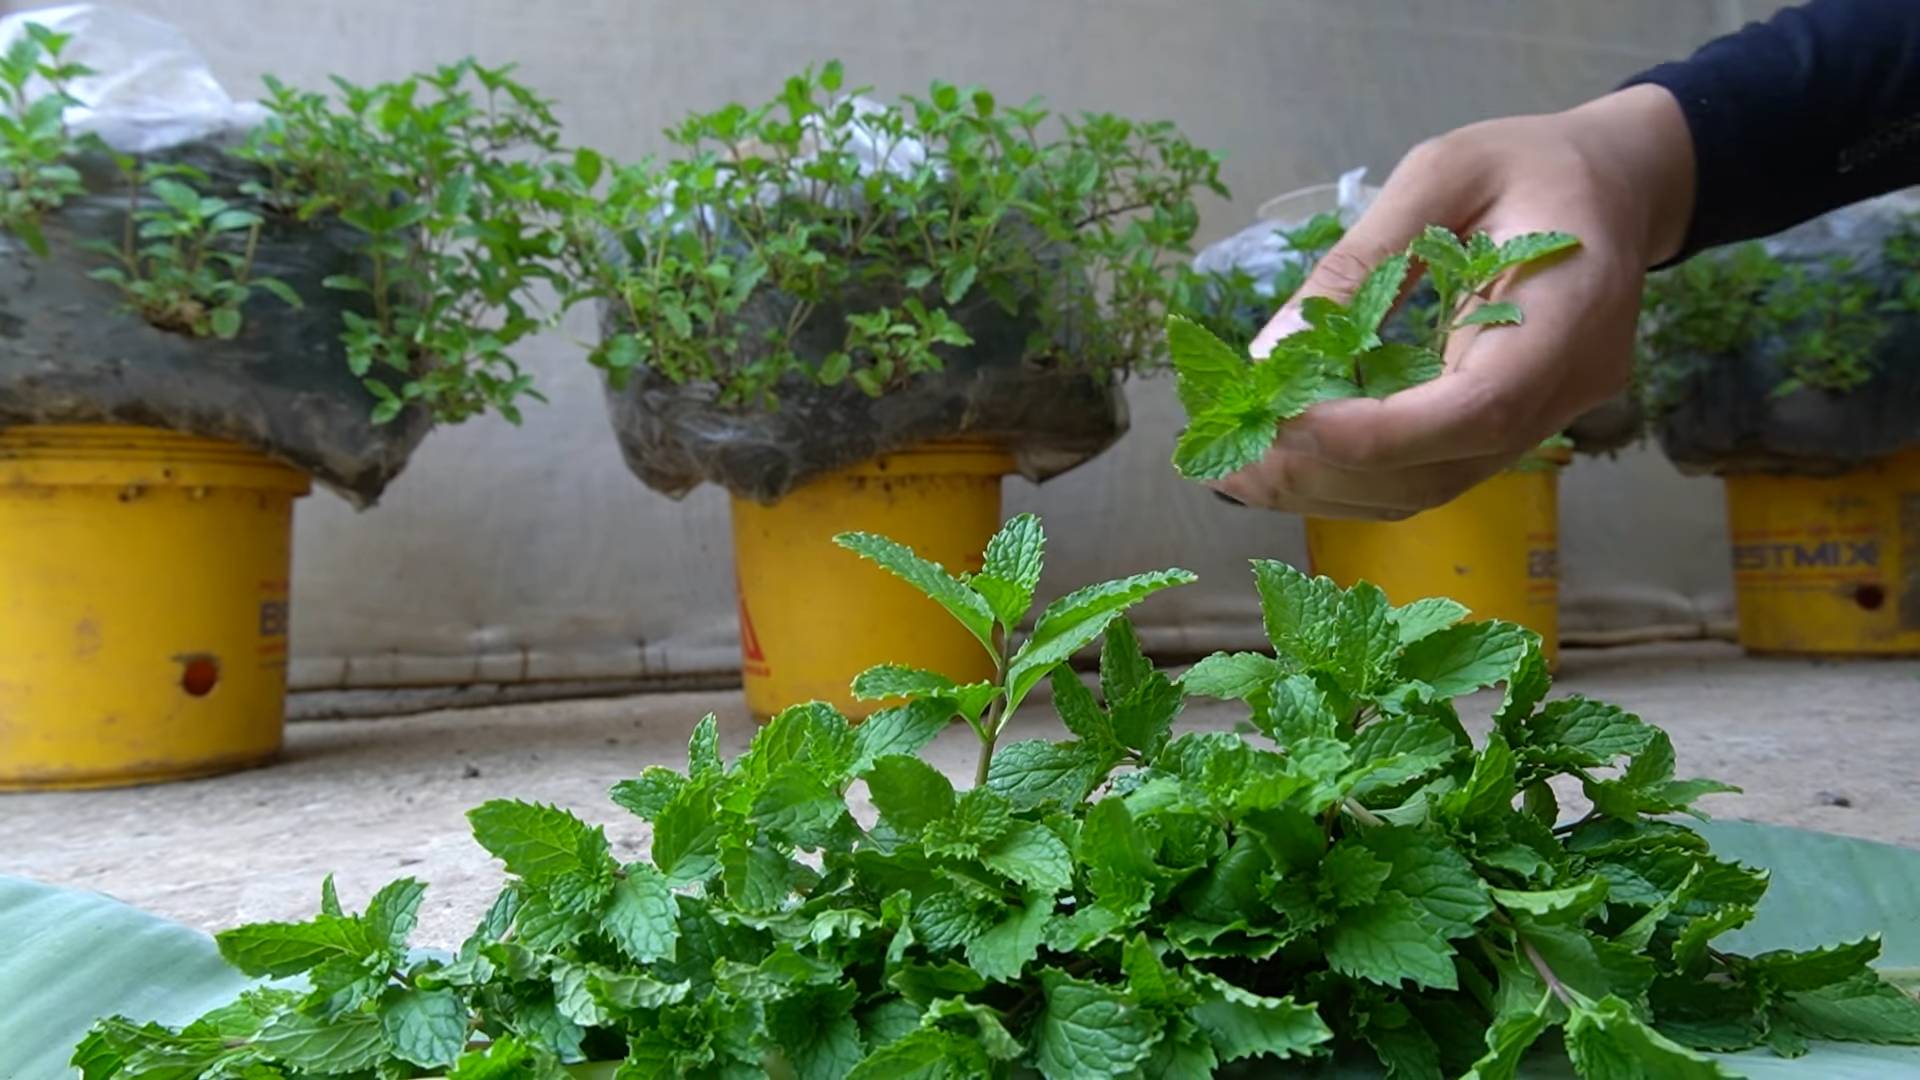
Hey there, fellow plant enthusiasts! I’m super excited to share a project that’s been a game-changer for my small garden: a vertical herb garden designed specifically for fast-growing plants. If you’re like me and love fresh herbs but don’t have a ton of space, this is the perfect solution. Plus, it’s a fun and rewarding DIY project! This guide focuses on creating a system that encourages rapid growth, maximizing your harvest.
Materials You’ll Need
Before we dive in, let’s gather our supplies. I’ve tried to keep this list budget-friendly, but feel free to customize it to your liking!
* **Wooden Pallet:** Look for a clean, sturdy pallet. Avoid pallets marked with “MB” (methyl bromide), as this is a harmful fumigant. You can often find these for free at local businesses.
* **Heavy-Duty Landscape Fabric:** This will line the pallet and create pockets for the soil.
* **Staple Gun and Staples:** Essential for securing the landscape fabric.
* **Potting Soil:** Choose a high-quality potting mix specifically formulated for herbs. I like to add some compost for extra nutrients.
* **Fast-Growing Herb Seedlings or Seeds:** Think basil, mint, cilantro, parsley, oregano, and chives.
* **Gloves:** Protect your hands from splinters and soil.
* **Measuring Tape:** For accurate fabric cuts.
* **Scissors or Utility Knife:** For cutting the landscape fabric.
* **Sandpaper (Optional):** To smooth out any rough edges on the pallet.
* **Wood Stain or Paint (Optional):** To give your pallet garden a personalized look.
* **Drill and Screws (Optional):** If you want to reinforce the pallet or add extra support.
* **Watering Can or Hose:** For watering your herbs.
* **Gardening Trowel:** For planting your seedlings.
Preparing the Pallet
This is a crucial step to ensure your vertical garden is safe and long-lasting.
1. **Inspection:** Carefully inspect the pallet for any loose nails, splinters, or damage. Remove any loose nails and sand down any rough edges with sandpaper. This will prevent injuries and make the pallet more aesthetically pleasing.
2. **Cleaning:** Thoroughly clean the pallet with soap and water. You can use a scrub brush to remove any dirt or debris. Let it dry completely before proceeding.
3. **Reinforcement (Optional):** If the pallet feels flimsy, you can reinforce it by adding extra screws to the joints. This will make it more stable and prevent it from collapsing under the weight of the soil and plants.
4. **Staining or Painting (Optional):** If you want to customize the look of your pallet garden, now is the time to stain or paint it. Choose a weather-resistant stain or paint that is suitable for outdoor use. Let it dry completely before moving on to the next step. I personally love a natural wood stain to let the pallet’s character shine through.
Creating the Planting Pockets
This is where the magic happens! We’ll be using landscape fabric to create pockets that will hold the soil and herbs.
1. **Measuring and Cutting the Fabric:** Measure the width and depth of each section of the pallet where you want to create a planting pocket. Add a few extra inches to each measurement to allow for overlap and secure stapling. Cut the landscape fabric into rectangles based on these measurements. I usually cut several pieces at once to save time.
2. **Creating the First Pocket:** Start at the bottom of the pallet. Fold the landscape fabric over the bottom slat and staple it securely to the back of the pallet. Make sure the fabric is taut but not too tight.
3. **Forming the Pocket:** Fold the fabric up to create a pocket. The height of the pocket will depend on the size of the herbs you plan to plant. Staple the sides of the fabric to the pallet, creating a sealed pocket. I like to double-staple for extra security.
4. **Repeating the Process:** Repeat steps 2 and 3 for each section of the pallet, working your way up. Make sure to overlap the fabric slightly between each pocket to prevent soil from leaking out.
5. **Reinforcing the Bottom (Important!):** The bottom pocket will bear the most weight, so it’s crucial to reinforce it. You can do this by adding an extra layer of landscape fabric or by using a thicker piece of fabric for the bottom pocket. I also like to add a few extra staples to the bottom of the pocket.
Planting Your Herbs
Now for the fun part! Let’s get those herbs planted.
1. **Filling the Pockets with Soil:** Carefully fill each pocket with potting soil. Use a gardening trowel to help you distribute the soil evenly. Don’t overfill the pockets, as the soil will settle over time. Leave about an inch of space at the top of each pocket.
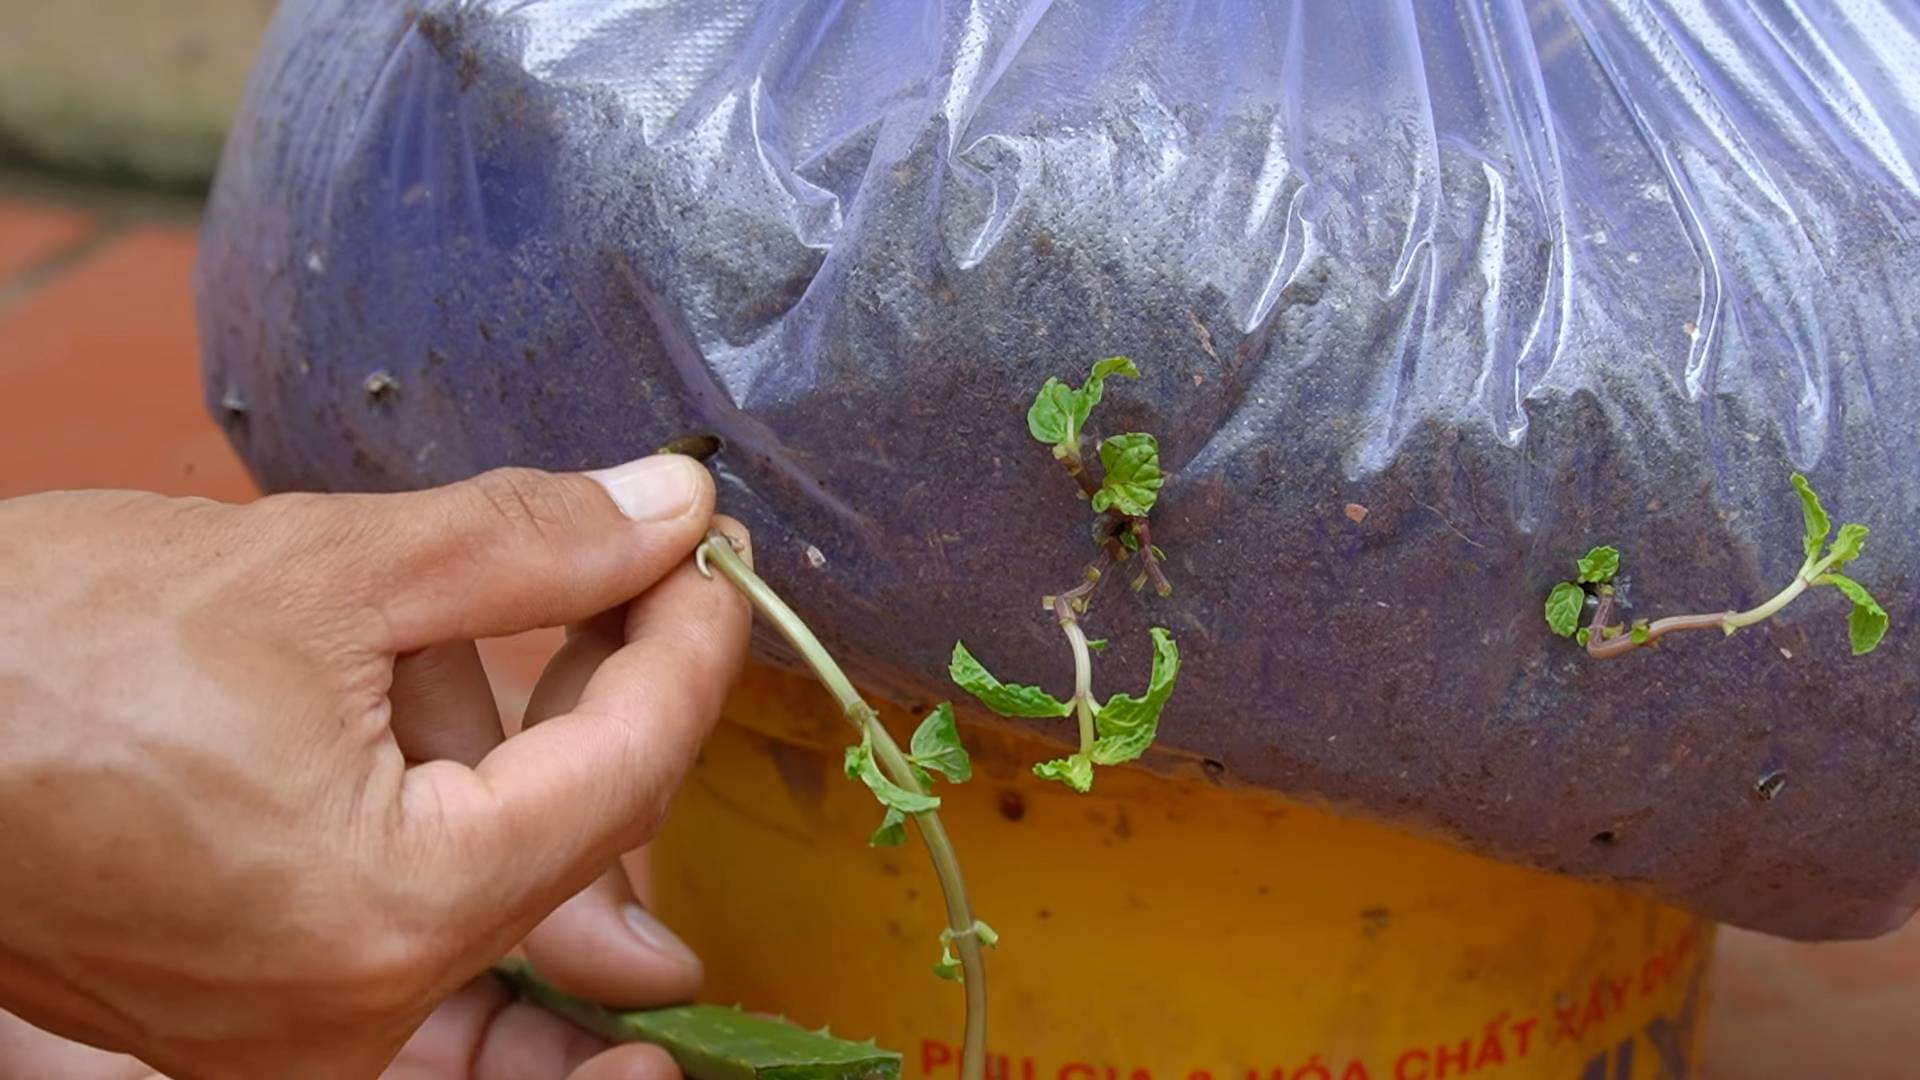
2. **Planting Seedlings:** Gently remove the herb seedlings from their containers. Loosen the roots slightly before planting. Dig a small hole in the soil in each pocket and place the seedling in the hole. Cover the roots with soil and gently pat it down.
3. **Planting Seeds (Alternative):** If you’re using seeds, follow the instructions on the seed packet for planting depth and spacing. Sprinkle the seeds evenly over the soil in each pocket and cover them with a thin layer of soil.
4. **Watering:** Water the herbs thoroughly after planting. Use a watering can or hose with a gentle spray nozzle to avoid disturbing the soil. Make sure the water drains freely from the bottom of the pockets.
5. **Choosing the Right Herbs for Fast Growth:**
* **Basil:** This is a must-have! Pinch off the flower buds to encourage leaf growth.
* **Mint:** Be careful, mint spreads quickly! Consider planting it in its own separate pocket to prevent it from taking over.
* **Cilantro:** Cilantro tends to bolt (go to seed) in hot weather. Plant it in a partially shaded area or succession plant it every few weeks.
* **Parsley:** Parsley is a biennial, meaning it will grow for two years. Harvest the outer leaves to encourage new growth.
* **Oregano:** Oregano is a hardy perennial that thrives in full sun.
* **Chives:** Chives are easy to grow and add a mild onion flavor to dishes.
6. **Sunlight and Location:** Place your vertical herb garden in a location that receives at least 6 hours of sunlight per day. Most herbs thrive in full sun. If you live in a hot climate, consider providing some afternoon shade to prevent the herbs from drying out.
Maintaining Your Vertical Herb Garden
Regular maintenance is key to keeping your herb garden thriving.
1. **Watering:** Water your herbs regularly, especially during hot, dry weather. Check the soil moisture by sticking your finger into the soil. If the soil feels dry to the touch, it’s time to water. Avoid overwatering, as this can lead to root rot.
2. **Fertilizing:** Fertilize your herbs every few weeks with a balanced liquid fertilizer. Follow the instructions on the fertilizer label. You can also add compost to the soil to provide extra nutrients.
3. **Pruning:** Prune your herbs regularly to encourage bushier growth. Pinch off the tips of the stems to promote branching. Remove any dead or yellowing leaves.
4. **Pest Control:** Keep an eye out for pests, such as aphids, spider mites, and whiteflies. If you notice any pests, treat them with an organic insecticide, such as neem oil or insecticidal soap.
5. **Harvesting:** Harvest your herbs regularly to encourage new growth. Cut the stems just above a leaf node. The more you harvest, the more the herbs will grow!
6. **Addressing Common Issues:**
* **Yellowing Leaves:** This could be a sign of overwatering, underwatering, or nutrient deficiency. Adjust your watering schedule and fertilize your herbs if necessary.
* **Leggy Growth:** This is often caused by insufficient sunlight. Move your herb garden to a sunnier location.
* **Bolting (Going to Seed):** This can happen in hot weather. Pinch off the flower buds to prolong the harvest.
7. **Winterizing (If Applicable):** If you live in a cold climate, you may need to protect your herbs from frost. You can move the pallet garden indoors or cover it with a frost blanket. Some herbs, such as parsley and chives, are cold-hardy and can survive the winter outdoors.
Tips for Maximizing Growth
Here are a few extra tips to help your herbs grow like crazy!
* **Choose the Right Potting Mix:** Use a high-quality potting mix that is specifically formulated for herbs. This will provide the necessary nutrients and drainage.
* **Add Compost:** Compost is a great way to add organic matter and nutrients to the soil. Mix compost into the potting mix before planting.
* **Water Deeply:**
Conclusion
So, there you have it! Cultivating your own patch of easy-to-grow cooking vegetables is not only achievable, even for the most novice gardener, but it’s also incredibly rewarding. Imagine stepping outside your door and harvesting fresh, flavorful ingredients for your next meal. No more last-minute trips to the grocery store for that one forgotten herb or vegetable. No more wondering about the origins of your produce. Just pure, unadulterated goodness grown with your own two hands.
This isn’t just about saving money (although that’s certainly a perk!). It’s about connecting with nature, understanding where your food comes from, and enjoying the unparalleled taste of homegrown vegetables. The satisfaction of nurturing a tiny seed into a bountiful plant is something truly special. And the best part? You don’t need acres of land or years of experience to get started.
We’ve focused on some of the easiest and most prolific vegetables to grow, but don’t let that limit your imagination! Feel free to experiment with different varieties within these categories. For example, try growing different types of lettuce – romaine, butterhead, or even a spicy mesclun mix. Explore heirloom tomato varieties for unique flavors and colors. Consider adding companion plants like marigolds or basil to deter pests and enhance the growth of your vegetables. You can even try growing your vegetables in containers if you have limited space. A sunny balcony or patio can become a thriving mini-garden with the right setup.
The possibilities are endless!
We encourage you to take the plunge and start your own vegetable garden today. Even a small container garden can make a big difference in your meals and your overall well-being. And remember, gardening is a learning process. Don’t be discouraged if you encounter challenges along the way. Every mistake is an opportunity to learn and grow (pun intended!).
Once you’ve harvested your first crop of delicious, easy-to-grow cooking vegetables, we’d love to hear about your experience! Share your photos, tips, and recipes in the comments below. Let’s create a community of passionate home gardeners who are dedicated to growing their own food and enjoying the fruits (and vegetables!) of their labor. What are you waiting for? Get your hands dirty and start growing!
Frequently Asked Questions (FAQ)
What are the absolute easiest vegetables to start with for a complete beginner?
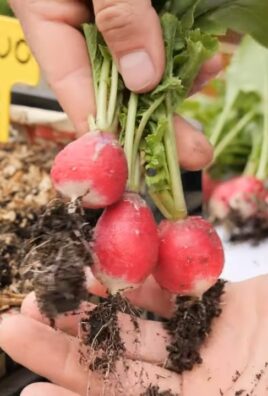
If you’re brand new to gardening, I highly recommend starting with leafy greens like lettuce and spinach. They germinate quickly, grow relatively fast, and are quite forgiving. Radishes are another excellent choice, as they mature in just a few weeks. Herbs like basil and mint are also easy to grow and can be started from seeds or cuttings. These options offer quick wins and build confidence for tackling more challenging vegetables later on.
How much sunlight do these easy-to-grow cooking vegetables need?
Most vegetables need at least 6-8 hours of direct sunlight per day to thrive. However, some leafy greens like lettuce and spinach can tolerate partial shade, especially in hotter climates. Observe your garden throughout the day to determine how much sunlight it receives. If you’re growing in containers, you can easily move them to follow the sun. If you don’t have enough natural sunlight, consider using grow lights to supplement.
What kind of soil is best for growing vegetables?
Well-draining soil that is rich in organic matter is ideal for growing vegetables. You can improve your soil by adding compost, aged manure, or other organic amendments. A soil test can help you determine the pH level and nutrient content of your soil. Most vegetables prefer a slightly acidic soil pH of around 6.0 to 7.0. You can purchase soil testing kits at most garden centers.
How often should I water my vegetable garden?
The frequency of watering depends on several factors, including the type of vegetable, the weather, and the soil type. Generally, you should water deeply and less frequently, rather than shallowly and often. Water when the top inch of soil feels dry to the touch. Avoid overwatering, as this can lead to root rot. Using a soaker hose or drip irrigation can help deliver water directly to the roots of your plants.
What are some common pests and diseases that affect vegetable gardens, and how can I prevent them?
Common pests include aphids, slugs, snails, and caterpillars. Common diseases include powdery mildew, blight, and root rot. To prevent pests and diseases, practice good garden hygiene, such as removing dead leaves and weeds. Use organic pest control methods, such as insecticidal soap or neem oil. Ensure good air circulation to prevent fungal diseases. Companion planting can also help deter pests. For example, planting marigolds near tomatoes can help repel nematodes.
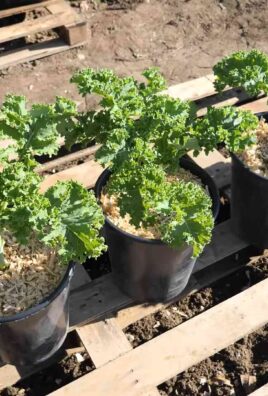
Can I grow these vegetables in containers?
Absolutely! Many vegetables, especially leafy greens, herbs, and smaller varieties of tomatoes and peppers, thrive in containers. Choose containers that are large enough to accommodate the mature size of the plant. Ensure that the containers have drainage holes to prevent waterlogging. Use a high-quality potting mix specifically designed for containers.
How do I know when my vegetables are ready to harvest?
The timing of harvest depends on the specific vegetable. Generally, you should harvest leafy greens when the leaves are young and tender. Harvest tomatoes when they are fully colored and slightly soft to the touch. Harvest peppers when they are firm and have reached their mature color. Harvest radishes when they are about an inch in diameter. Refer to specific growing guides for each vegetable for more detailed information.
What are some good companion plants for these vegetables?
Companion planting involves growing different plants together to benefit each other. For example, basil is a great companion plant for tomatoes, as it repels pests and improves the flavor of the tomatoes. Marigolds are also good companions for tomatoes, as they repel nematodes. Carrots and onions are good companions, as they deter each other’s pests.
How can I extend the growing season for my vegetables?
You can extend the growing season by starting seeds indoors, using cold frames or row covers, and choosing varieties that are resistant to cold weather. You can also use succession planting, which involves planting new crops every few weeks to ensure a continuous harvest.
Is it really worth the effort to grow my own vegetables?
Absolutely! Growing your own easy-to-grow cooking vegetables is a rewarding experience that offers numerous benefits. You’ll have access to fresh, flavorful, and healthy produce. You’ll save money on groceries. You’ll connect with nature and learn about the food you eat. And you’ll enjoy the satisfaction of nurturing a plant from seed to harvest. Give it a try – you might be surprised at how much you enjoy it!

Leave a Comment