
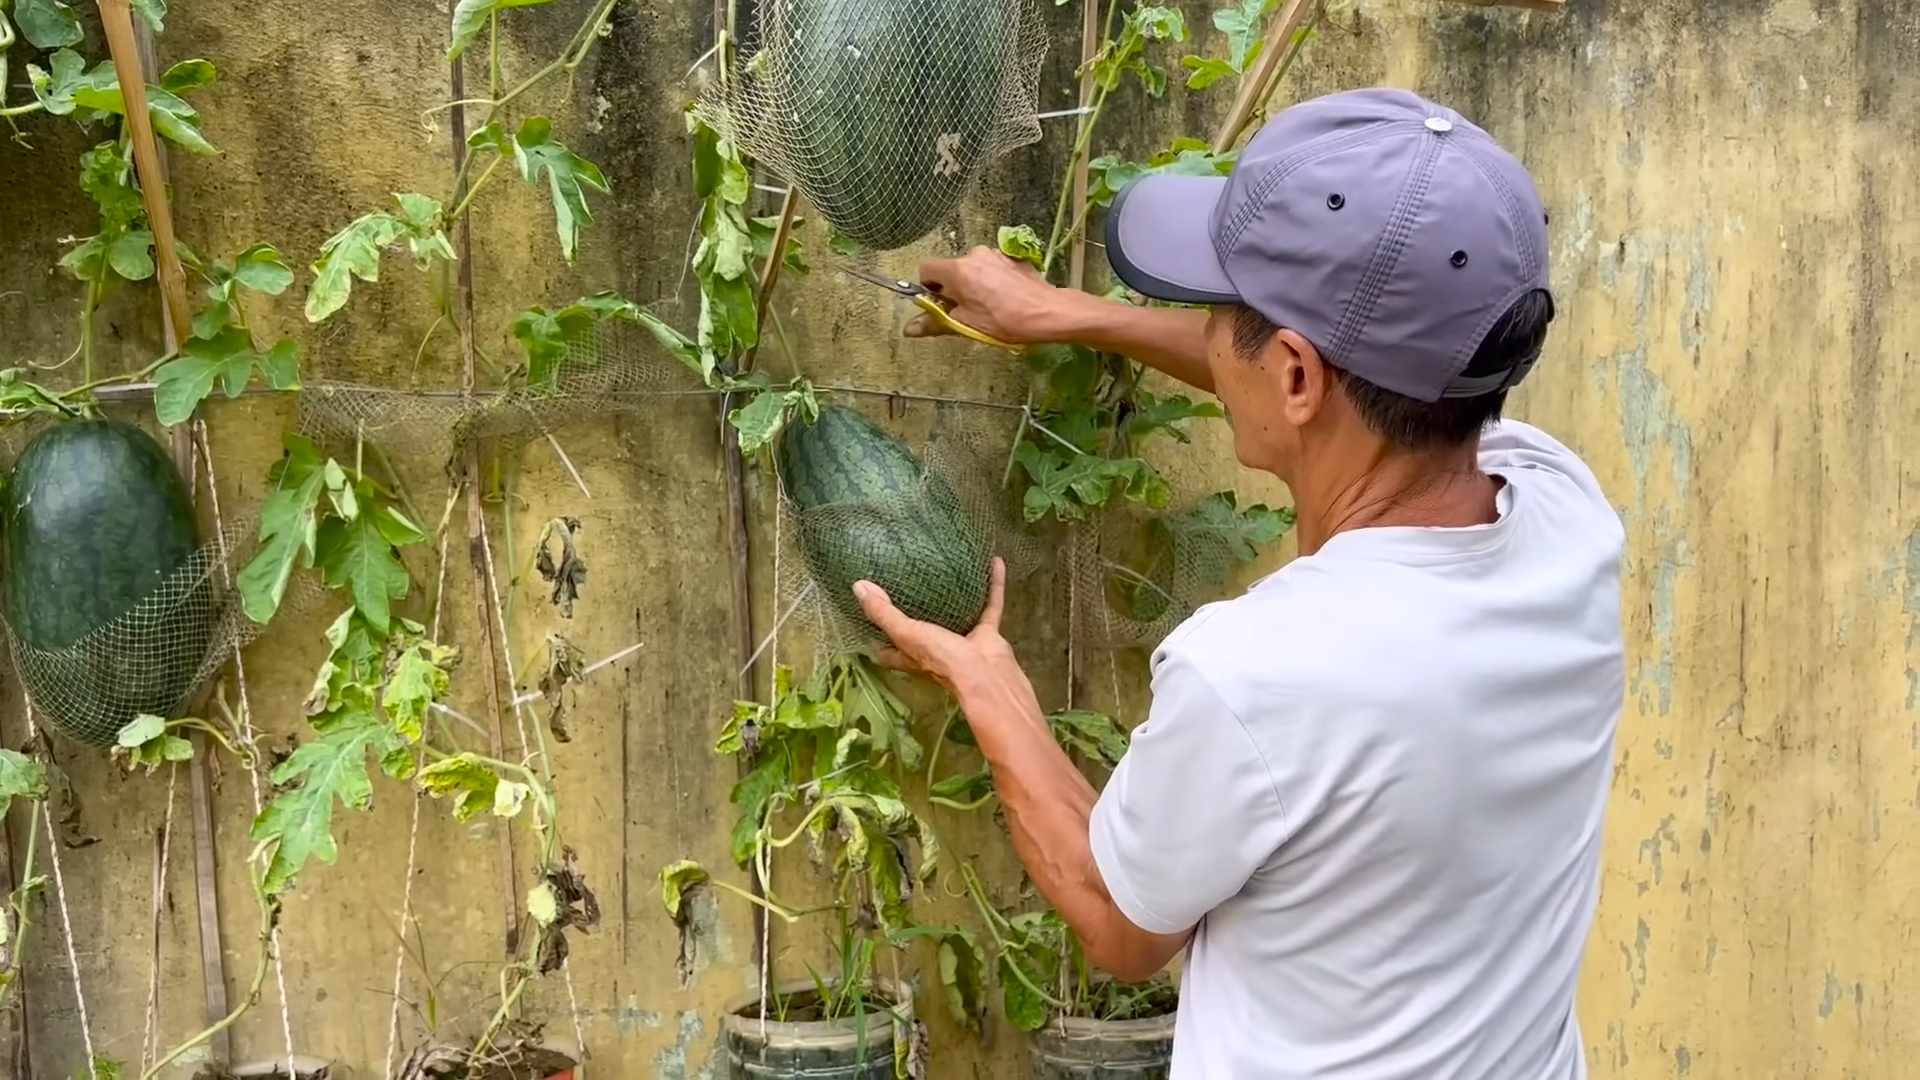
Faster Watermelon Growth Tips are what every home gardener dreams about, right? Imagine sinking your teeth into a juicy, homegrown watermelon bursting with flavor, knowing you nurtured it from a tiny seed to a summer sensation. But let’s be honest, waiting for watermelons to mature can feel like an eternity!
Watermelons have a rich history, dating back thousands of years to Africa, where they were prized for their water content in arid climates. Over time, different varieties were cultivated, and the sweet, refreshing fruit we know and love today made its way across the globe. But even with centuries of cultivation, the challenge of achieving faster watermelon growth tips remains a common concern for gardeners.
That’s where this DIY guide comes in! I’m going to share some simple yet effective tricks and hacks that can significantly speed up the watermelon growing process. Whether you’re a seasoned gardener or just starting out, these tips will help you maximize your yield and enjoy those delicious watermelons sooner than you thought possible. No more impatiently waiting – let’s get those watermelons growing!
Extending Your Pumpkin Harvest: A DIY Guide to Longer-Lasting Pumpkins
Okay, pumpkin lovers! Let’s face it, the fleeting joy of a perfectly carved or decorated pumpkin is always tinged with the sadness of its inevitable demise. But fear not! I’m here to share some tried-and-true DIY methods to help your pumpkins last longer, keeping your autumn spirit alive and well. We’ll cover everything from pre-carving preservation to post-carving care, ensuring your gourds stay gorgeous for weeks, maybe even months!
Pre-Carving Preservation: Setting the Stage for Success
Before you even think about wielding a knife, there are crucial steps you can take to maximize your pumpkin’s lifespan. Think of this as preventative medicine for your pumpkin!
* Choosing the Right Pumpkin: Selection is key! Look for pumpkins that are:
* Firm and Heavy: A heavy pumpkin indicates a higher moisture content, which is good! Avoid pumpkins that feel light for their size.
* Free of Blemishes: Inspect the pumpkin carefully for soft spots, bruises, cuts, or punctures. These are entry points for bacteria and mold.
* With a Strong Stem: A healthy, intact stem is vital. Avoid pumpkins with missing or damaged stems, as this can lead to rot. The stem should be at least 2 inches long.
* Properly Cured: If you’re buying from a farm or market, ask if the pumpkins have been cured. Curing involves drying the pumpkin’s skin, making it tougher and more resistant to decay.
* Cleaning Your Pumpkin: A clean pumpkin is a happy pumpkin!
* Wash with Soap and Water: Gently wash the entire pumpkin with a mild dish soap and water solution. This removes dirt, debris, and potential contaminants.
* Disinfect with Bleach (Optional): For extra protection, you can add a tablespoon of bleach per gallon of water. This will kill any surface bacteria or mold spores. Be sure to rinse thoroughly!
* Dry Completely: This is super important! Use a clean towel to dry the pumpkin thoroughly. Moisture is the enemy!
* Proper Storage: Where you store your pumpkin before carving matters!
* Cool, Dry Place: Store your pumpkin in a cool, dry, and well-ventilated area. A basement, garage, or covered porch is ideal.
* Avoid Direct Sunlight: Direct sunlight can cause the pumpkin to overheat and rot faster.
* Elevate the Pumpkin: Place the pumpkin on a piece of cardboard or wood to prevent it from sitting directly on the ground, which can trap moisture.
Post-Carving Care: Keeping Your Masterpiece Alive
Alright, you’ve carved your pumpkin into a spooky or silly masterpiece! Now, let’s keep it looking its best for as long as possible. This is where the real magic happens!
Dehydration Prevention: Hydration is Key (Even for Pumpkins!)
Carving exposes the pumpkin’s flesh to the air, leading to dehydration and shriveling. We need to combat this!
1. Petroleum Jelly Barrier: This is my go-to method! After carving, thoroughly dry the inside and outside of your pumpkin. Then, apply a thin layer of petroleum jelly (like Vaseline) to all cut surfaces. This creates a barrier that helps to lock in moisture and prevent dehydration. Reapply every few days.
2. Vegetable Oil Spray: Another option is to spray the inside and outside of your carved pumpkin with vegetable oil. This also helps to create a moisture barrier. Be careful not to overdo it, as too much oil can attract dirt.
3. Pumpkin Hydration Bath: For a more intensive hydration treatment, you can soak your carved pumpkin in a large tub of cold water for a few hours every day or two. This will help to rehydrate the pumpkin’s flesh and prevent it from shriveling. Add a tablespoon of bleach per gallon of water to prevent bacterial growth.
Mold and Bacteria Control: Fighting the Fungal Foes
Mold and bacteria are the biggest threats to a carved pumpkin. Here’s how to keep them at bay:
1. Bleach Solution Sprays: Regularly spray the inside and outside of your carved pumpkin with a diluted bleach solution (1 tablespoon of bleach per gallon of water). This will kill any mold or bacteria that may be growing. Be sure to wear gloves and eye protection when working with bleach.
2. Vinegar Solution Sprays: If you’re concerned about using bleach, you can use a vinegar solution instead. Vinegar is a natural disinfectant that can help to kill mold and bacteria. Mix equal parts vinegar and water and spray the pumpkin regularly.
3. Commercial Pumpkin Preservatives: There are also commercial pumpkin preservatives available at most craft stores or online. These products typically contain fungicides and bactericides that help to prevent decay. Follow the instructions on the product label carefully.
4. Good Ventilation: Make sure your carved pumpkin has good ventilation. This will help to prevent moisture from building up inside, which can promote mold growth. Place your pumpkin in a well-ventilated area or use a small fan to circulate air around it.
Lighting Considerations: Choosing the Right Glow
The type of light you use inside your pumpkin can also affect its lifespan.
1. LED Lights: LED lights are the best option for lighting carved pumpkins. They produce very little heat, which can help to prevent the pumpkin from drying out and rotting.
2. Battery-Operated Candles: Battery-operated candles are another good option. They are safer than traditional candles and produce less heat.
3. Avoid Traditional Candles: Traditional candles produce a lot of heat, which can quickly dry out and rot your pumpkin. If you must use a traditional candle, be sure to place it in a glass jar or container to protect the pumpkin from the heat.
Dealing with Pests: Keeping Critters Away
Sometimes, unwanted guests can shorten your pumpkin’s lifespan.
1. Petroleum Jelly Barrier (Again!): Applying petroleum jelly around the carved edges can also deter pests like squirrels and insects. They don’t like the taste or texture!
2. Cayenne Pepper: Sprinkle a small amount of cayenne pepper around the base of your pumpkin. This will deter squirrels and other rodents.
3. Diatomaceous Earth: Sprinkle diatomaceous earth around the base of your pumpkin to kill insects. Diatomaceous earth is a natural powder made from fossilized algae. It is safe for humans and pets, but it is deadly to insects.
Reviving a Wilting Pumpkin: A Last-Ditch Effort
Even with the best care, your pumpkin may start to wilt after a while. But don’t give up hope! You can try to revive it with a little TLC.
1. The Ice Bath: Fill a large tub or container with cold water and ice. Submerge your wilting pumpkin in the ice bath for several hours. This will help to rehydrate the pumpkin’s flesh and firm it up.
2. The Refrigerator Trick: If your pumpkin is small enough, you can try storing it in the refrigerator for a few days. The cold temperature will help to slow down the decay process. Wrap the pumpkin in plastic wrap to prevent it from drying out.
3. The Humidifier Boost: Place your pumpkin near a humidifier to increase the humidity in the air. This will help to prevent the pumpkin from drying out.
Important Considerations:
* Safety First: Always use caution when carving pumpkins. Use sharp knives and tools carefully, and supervise children closely.
* Weather Conditions: The lifespan of your carved pumpkin will depend on the weather conditions. Hot, humid weather will accelerate the decay process.
* Realistic Expectations: Even with the best care, your carved pumpkin will eventually start to rot. Don’t be discouraged if it doesn’t last forever. Enjoy it while it lasts!
* Document Your Progress: Take pictures of your pumpkin throughout its lifespan. This will help you to track its progress and identify any problems early on.
By following these tips, you can significantly extend the lifespan of your pumpkins and enjoy their beauty for weeks to come. Happy pumpkin-ing!
Conclusion
So, there you have it! This simple yet effective DIY trick for faster watermelon growth is a game-changer for any gardener, whether you’re a seasoned pro or just starting out. We’ve walked you through the steps, explained the science behind why it works, and hopefully, inspired you to give it a try.
Why is this a must-try? Because who doesn’t want to enjoy the sweet, juicy taste of homegrown watermelon sooner rather than later? This method not only accelerates the growth process, allowing you to harvest your watermelons weeks earlier than usual, but it also often results in larger, healthier fruits. Imagine biting into a perfectly ripe, incredibly sweet watermelon that you nurtured from seed to table in record time! The satisfaction is unparalleled.
But the benefits extend beyond just speed. By providing your watermelon plants with a boost of readily available nutrients and creating a more favorable microclimate, you’re also strengthening their overall resilience. This means they’ll be better equipped to withstand common pests and diseases, leading to a more successful and bountiful harvest.
Don’t be afraid to experiment with variations! While we’ve outlined a specific method, feel free to adapt it to your own garden and resources. For example, if you don’t have access to the exact type of fertilizer we recommended, research alternative options that are rich in nitrogen, phosphorus, and potassium. You could also try using different types of organic matter, such as compost tea or worm castings, to enrich the soil. Remember to always monitor your plants closely and adjust your approach as needed.
Consider using row covers early in the season to further protect your young watermelon plants from frost and pests. This can give them an even greater head start and contribute to even faster growth. Another variation is to try different pruning techniques to encourage the plant to focus its energy on developing fewer, but larger, watermelons.
Ultimately, the key to success with this DIY trick is consistency and observation. Regularly check your plants for signs of stress or nutrient deficiencies, and adjust your watering and feeding schedule accordingly. With a little bit of care and attention, you’ll be amazed at how quickly your watermelons will grow.
We are confident that this method will significantly improve your watermelon growing experience. We encourage you to try this **faster watermelon growth** technique and see the results for yourself. And most importantly, we want to hear about your experience! Share your photos, tips, and success stories in the comments below. Let’s build a community of watermelon enthusiasts and learn from each other. Happy gardening!
Frequently Asked Questions (FAQ)
Q: What kind of fertilizer should I use for this DIY trick?
A: We recommend using a balanced fertilizer that is specifically formulated for fruits and vegetables. Look for a fertilizer with an NPK ratio (nitrogen, phosphorus, potassium) that is relatively even, such as 10-10-10 or 14-14-14. Nitrogen promotes leafy growth, phosphorus supports root development, and potassium is essential for fruit production. You can also use organic fertilizers like compost tea, bone meal, or fish emulsion. Just be sure to follow the instructions on the fertilizer packaging and avoid over-fertilizing, as this can damage your plants.
Q: How often should I water my watermelon plants?
A: Watermelon plants need consistent moisture, especially during hot weather. Water deeply and regularly, aiming to keep the soil consistently moist but not waterlogged. A good rule of thumb is to water when the top inch of soil feels dry to the touch. The frequency of watering will depend on factors such as the weather, soil type, and size of your plants. During periods of drought or extreme heat, you may need to water daily. Consider using a soaker hose or drip irrigation system to deliver water directly to the roots of your plants, minimizing water loss through evaporation.
Q: How much sunlight do watermelon plants need?
A: Watermelons are sun-loving plants and need at least 6-8 hours of direct sunlight per day to thrive. Choose a planting location that receives full sun throughout the day. If you live in a particularly hot climate, you may want to provide some afternoon shade to prevent the plants from overheating. Insufficient sunlight can lead to stunted growth, poor fruit production, and increased susceptibility to diseases.
Q: When is the best time to plant watermelon seeds or seedlings?
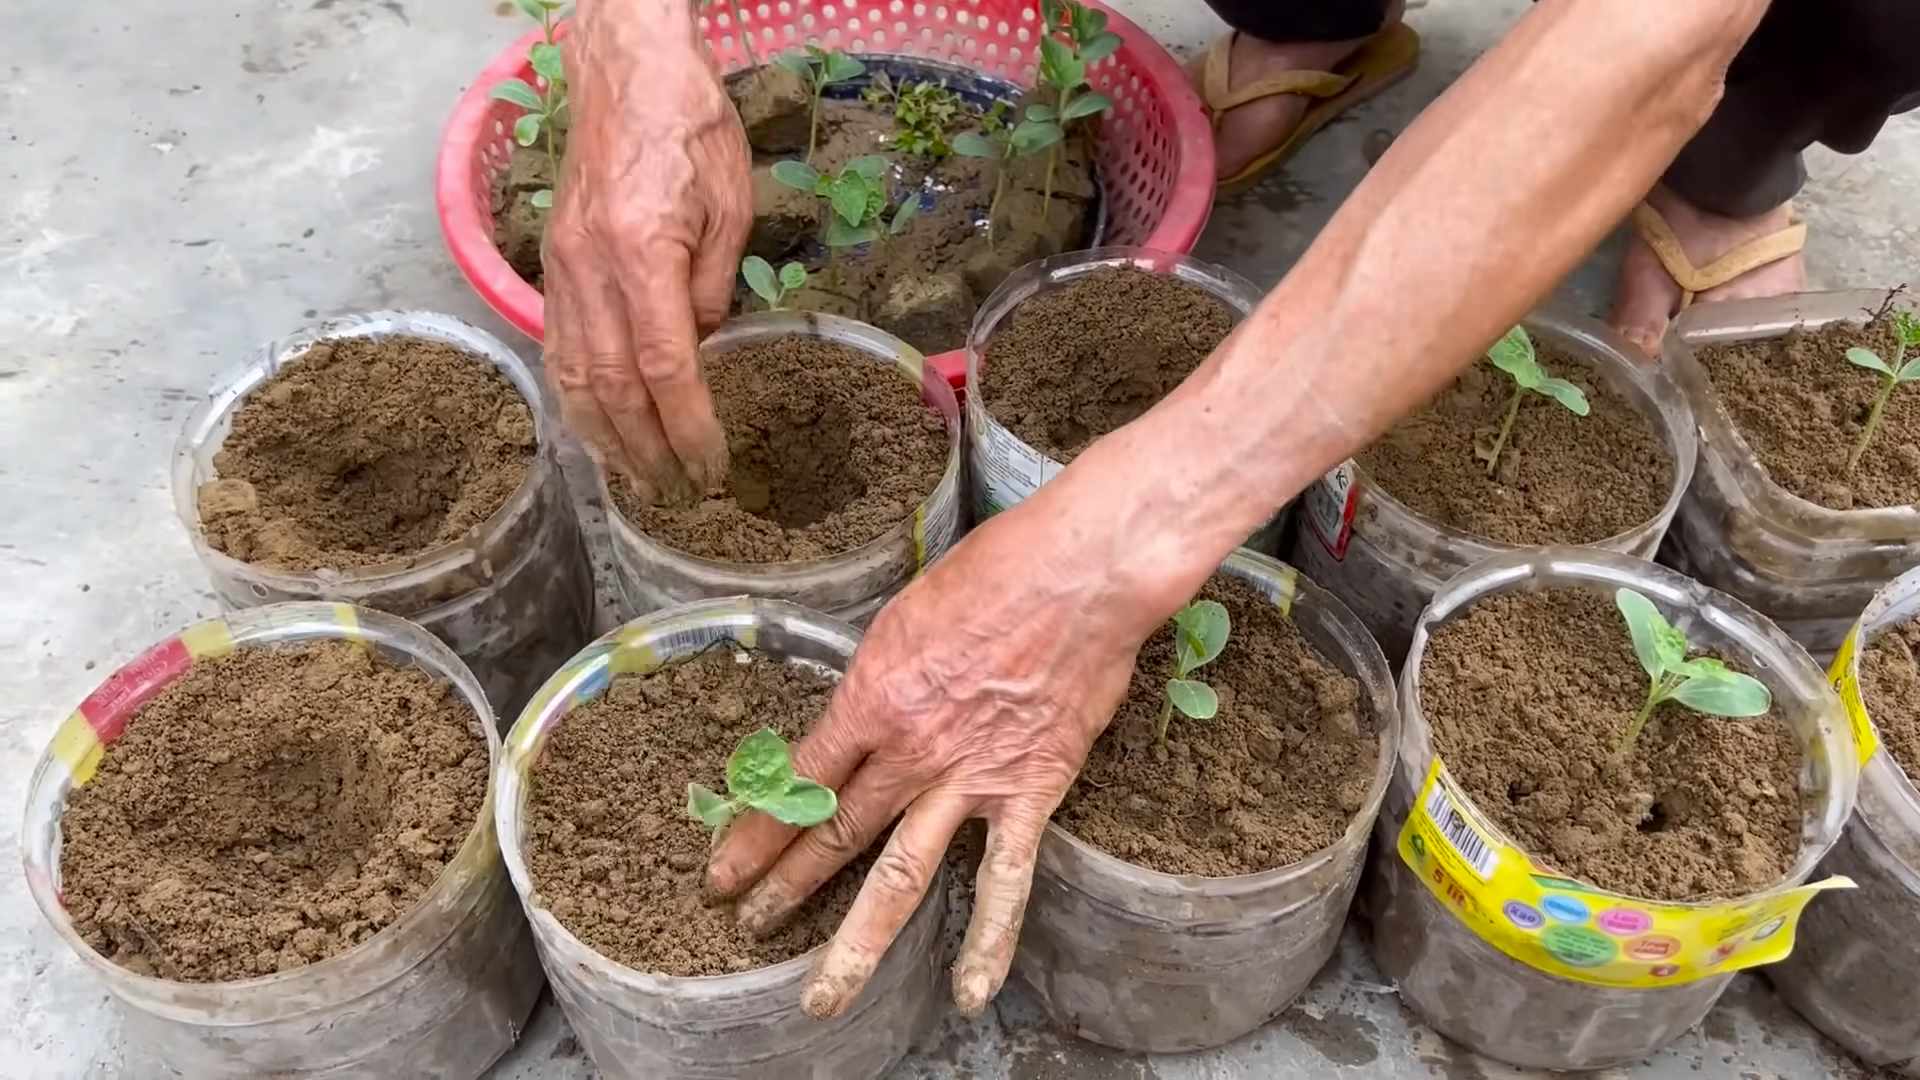
A: The best time to plant watermelon seeds or seedlings is after the last frost, when the soil has warmed up to at least 70 degrees Fahrenheit. Watermelons are very sensitive to cold temperatures, so it’s important to wait until the weather is consistently warm before planting. You can start seeds indoors 4-6 weeks before the last frost to get a head start on the growing season. When transplanting seedlings outdoors, be sure to harden them off gradually by exposing them to increasing amounts of sunlight and outdoor conditions over a period of several days.
Q: How do I know when my watermelon is ripe?
A: There are several ways to tell when a watermelon is ripe. One common method is to check the tendril closest to the fruit stem. When this tendril turns brown and dries out, it’s a good indication that the watermelon is ripe. Another method is to thump the watermelon. A ripe watermelon will sound hollow and deep when thumped. You can also check the underside of the watermelon, where it rests on the ground. This spot, known as the ground spot, should be yellow or creamy in color when the watermelon is ripe. Finally, you can look for a dull, waxy appearance on the watermelon’s skin.
Q: Can I use this DIY trick for other types of melons?
A: Yes, this DIY trick can be adapted for other types of melons, such as cantaloupe and honeydew. The basic principles of providing adequate nutrients, water, and sunlight apply to all types of melons. However, you may need to adjust the specific fertilizer and watering schedule based on the specific needs of each type of melon. Research the specific requirements of the melon you are growing and adjust your approach accordingly.
Q: What are some common pests and diseases that affect watermelon plants?
A: Watermelon plants can be susceptible to a variety of pests and diseases, including aphids, squash bugs, cucumber beetles, powdery mildew, and fusarium wilt. Regularly inspect your plants for signs of pests or diseases and take action promptly to prevent them from spreading. You can use organic pest control methods, such as insecticidal soap or neem oil, to control pests. To prevent diseases, ensure good air circulation around your plants, avoid overwatering, and practice crop rotation.
Q: How can I improve pollination of my watermelon plants?
A: Watermelons require pollination to produce fruit. If you are not seeing many bees or other pollinators in your garden, you may need to hand-pollinate your watermelon flowers. To hand-pollinate, use a small paintbrush to transfer pollen from the male flowers to the female flowers. Male flowers have a thin stem, while female flowers have a small, immature watermelon at the base. Pollinate the flowers in the morning, when the pollen is most viable. You can also attract more pollinators to your garden by planting flowers that are rich in nectar and pollen.
Q: What if my watermelon plants are not producing fruit?
A: There are several reasons why your watermelon plants may not be producing fruit. One common reason is poor pollination. Make sure your plants are receiving adequate sunlight and water, and that there are plenty of pollinators in your garden. Another reason could be nutrient deficiencies. Make sure you are fertilizing your plants regularly with a balanced fertilizer. Finally, it’s possible that your plants are not mature enough to produce fruit. Watermelons typically take 70-90 days to mature, so be patient and give them time.

Leave a Comment