
Easy Eggplant Planting: Your Guide to a Bountiful Harvest
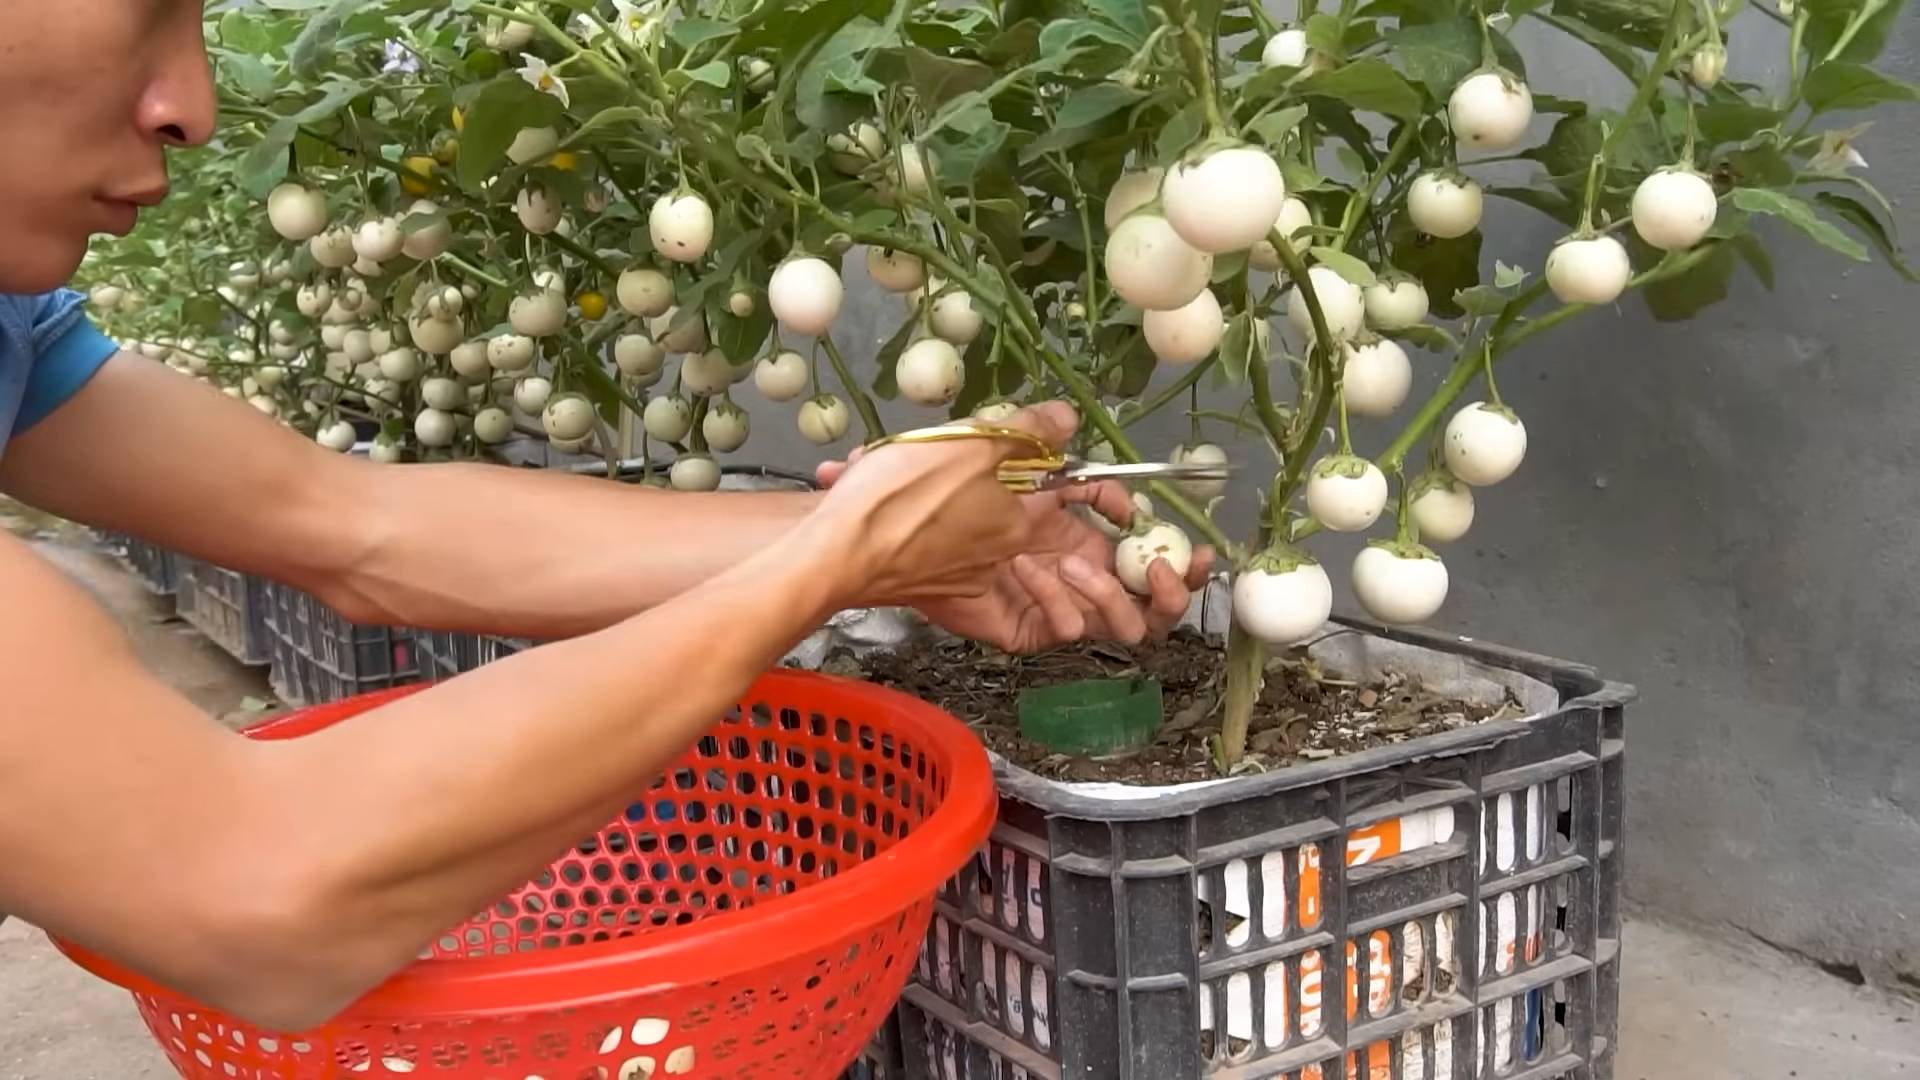
Easy eggplant planting might sound like a contradiction in terms – eggplants have a reputation for being finicky! But I’m here to tell you that growing your own delicious eggplants can be surprisingly simple and rewarding. This isn’t just about throwing some seeds in the ground and hoping for the best; it’s about unlocking the secrets to a truly bountiful harvest right in your own backyard. Forget expensive grocery store prices and enjoy the unparalleled flavor of homegrown eggplants.
For centuries, eggplants have held a significant place in various cuisines around the world. From the rich stews of the Mediterranean to the vibrant curries of Asia, this versatile vegetable has captivated palates and inspired culinary creativity. But accessing fresh, high-quality eggplants can be challenging, especially if you live outside of peak growing seasons or in areas with limited access to farmers’ markets. That’s where easy eggplant planting comes in.
Why Grow Your Own?
Growing your own eggplants offers a unique connection to your food. You control the quality, ensuring pesticide-free, flavorful fruits. Plus, there’s an undeniable satisfaction in nurturing a plant from seed to harvest. This guide will walk you through easy eggplant planting techniques, from seed starting to harvesting, providing simple, effective methods that even beginner gardeners can master. You’ll learn about soil preparation, optimal planting times, pest control, and harvesting tips, all designed to make your eggplant-growing journey a success. Get ready to experience the joy of homegrown goodness!
Growing Your Own Purple Cabbage: A Complete Guide
Growing your own purple cabbage is incredibly rewarding! It’s a beautiful plant, and the vibrant color adds a stunning pop to your garden and your meals. This guide will walk you through the entire process, from seed to harvest.
Phase 1: Planning and Preparation
- Choose the right time: Purple cabbage is a cool-season crop, thriving in temperatures between 60-75°F (15-24°C). Start seeds indoors 6-8 weeks before the last expected frost in your area, or sow directly outdoors after the danger of frost has passed. I usually aim for a spring planting and sometimes a fall planting for a late harvest.
- Select a sunny spot: Purple cabbage needs at least 6-8 hours of direct sunlight per day. Find a location in your garden that receives ample sunshine.
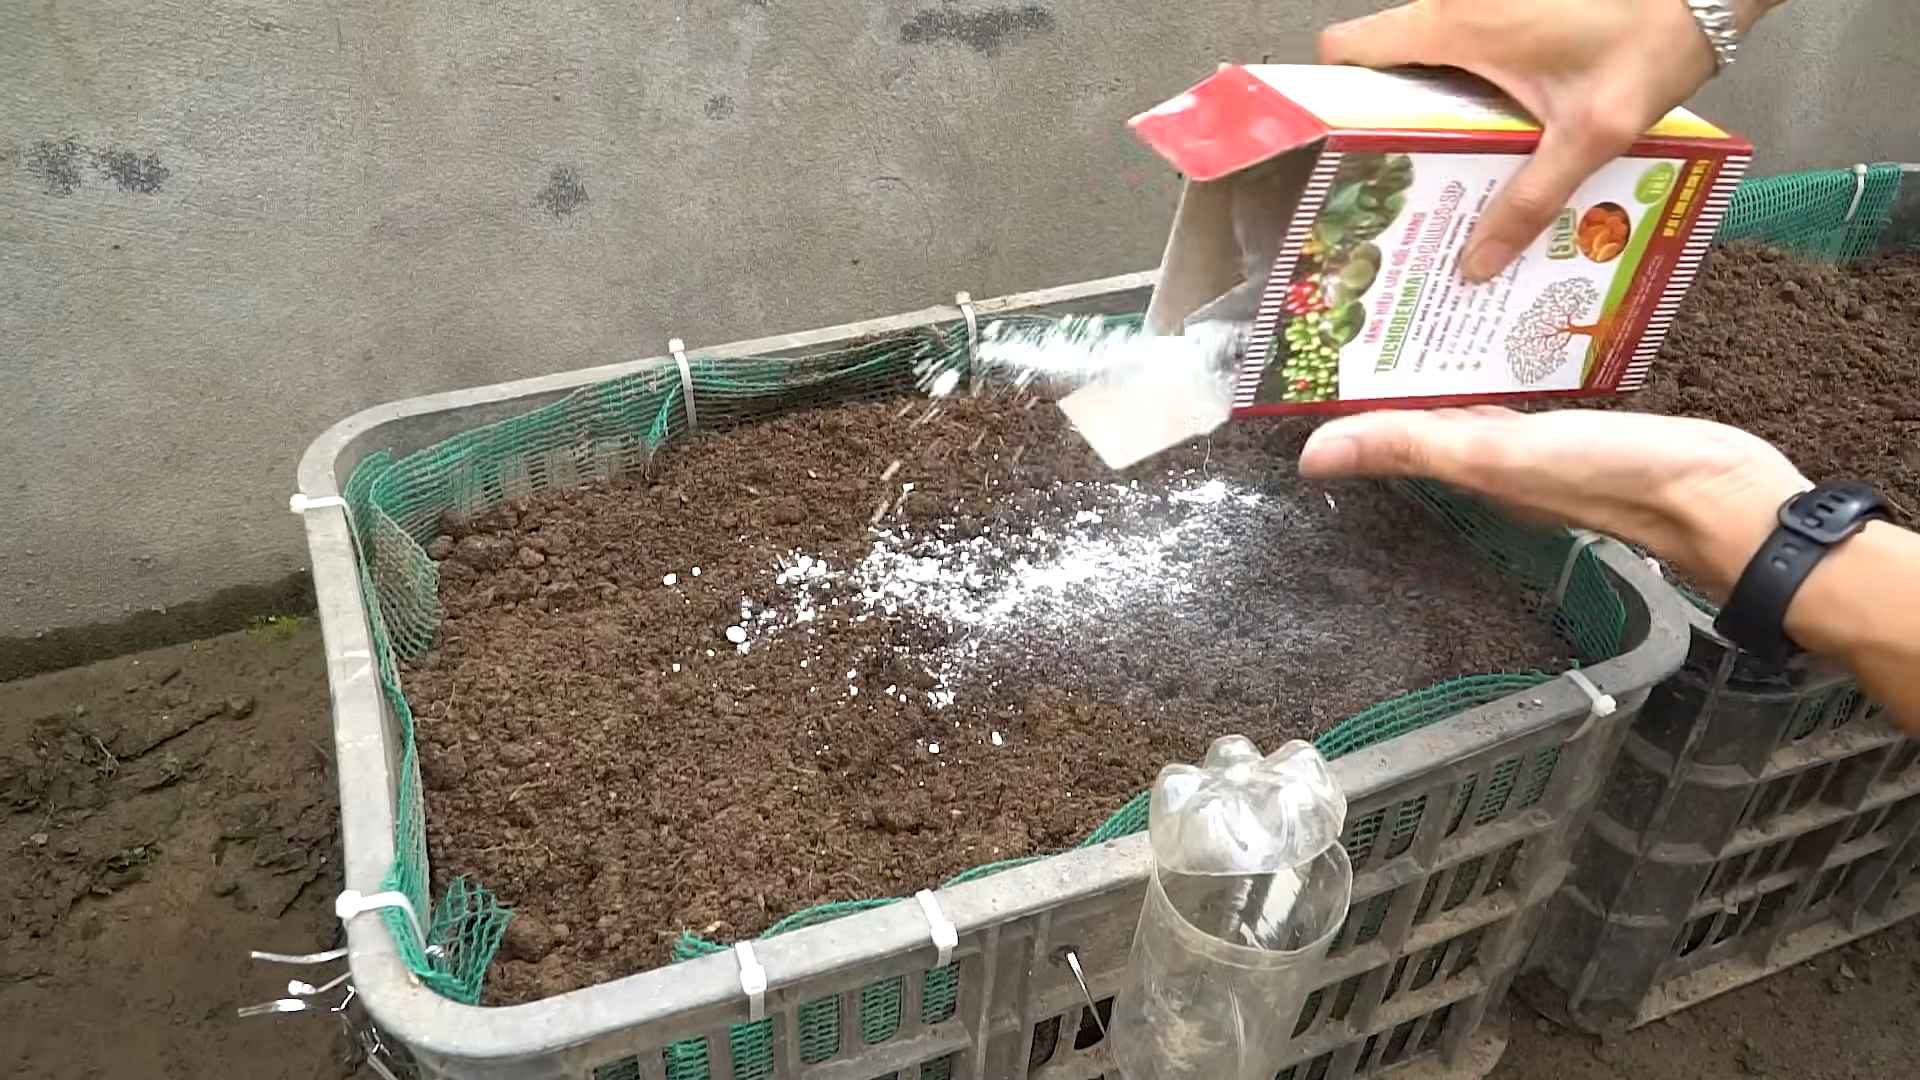
- Prepare the soil: Purple cabbage prefers well-drained, fertile soil with a slightly acidic pH (6.0-6.8). Amend heavy clay soil with compost or other organic matter to improve drainage and aeration. I like to add a generous amount of aged manure to my soil a few weeks before planting.
- Gather your supplies: You’ll need seeds (or seedlings), seed starting mix (if starting indoors), gardening gloves, a trowel or hand cultivator, a watering can, and possibly some row covers for protection against pests and extreme weather.
Phase 2: Starting Seeds (Indoor Method)
- Fill seed starting trays: Fill your seed starting trays or individual pots with a high-quality seed starting mix. Don’t pack it down too tightly; you want it to be loose and airy.
- Sow the seeds: Sow the seeds about ¼ inch deep and 1-2 inches apart. Gently cover with soil and water thoroughly but gently, avoiding washing away the seeds. I usually use a spray bottle for this.
- Provide warmth and light: Place the trays in a warm location (around 70°F or 21°C) with plenty of indirect sunlight. You may need to supplement with grow lights, especially during shorter winter days. I use a grow light for at least 12 hours a day.
- Keep the soil moist: Keep the soil consistently moist but not soggy. Allow the top inch of soil to dry slightly between waterings. Overwatering can lead to damping off, a fungal disease that can kill seedlings.
- Thin seedlings: Once the seedlings have developed their first true leaves (the leaves that appear after the cotyledons), thin them out to give each plant enough space to grow. I usually leave about 2 inches between seedlings.
- Harden off seedlings: Before transplanting outdoors, gradually acclimate the seedlings to outdoor conditions. This process, called hardening off, helps them adjust to the changes in temperature, sunlight, and wind. Start by placing them outdoors for a few hours each day, gradually increasing the time over a week or two.
Phase 3: Transplanting and Growing
- Prepare the garden bed: Once the danger of frost has passed, prepare your garden bed by loosening the soil and removing any weeds. I like to add a layer of mulch around the plants to help retain moisture and suppress weeds.
- Transplant seedlings: Dig holes slightly larger than the root balls of your seedlings. Gently remove the seedlings from their containers, being careful not to damage the roots. Plant them at the same depth they were growing in their containers. Space them 18-24 inches apart to allow for adequate growth.
- Water deeply: Water deeply after transplanting to help the seedlings settle in. Continue to water regularly, especially during dry periods. Aim for consistent moisture, but avoid overwatering.
- Fertilize (optional): You can fertilize your purple cabbage plants with a balanced fertilizer a few weeks after transplanting. Follow the instructions on the fertilizer package carefully. I usually use a slow-release fertilizer to avoid burning the plants.
- Pest and disease control: Monitor your plants regularly for pests and diseases. Common pests include aphids, cabbage worms, and slugs. Use appropriate pest control methods, such as handpicking pests, using insecticidal soap, or introducing beneficial insects. I often use companion planting to deter pests.
- Weed regularly: Keep the area around your plants free of weeds to prevent competition for nutrients and water. Regular weeding also helps to improve air circulation, reducing the risk of fungal diseases.
Phase 4: Harvesting
- Harvest at maturity: Purple cabbage is typically ready for harvest 70-80 days after transplanting. The heads should be firm and dense. I usually check the size and firmness of the heads regularly.
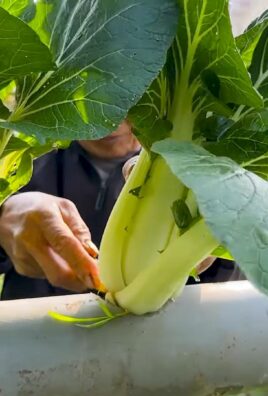
- Harvesting technique: Use a sharp knife to cut the cabbage head from the plant, leaving about an inch of stem attached. Handle the cabbage carefully to avoid bruising.
- Storage: Store harvested cabbage in a cool, dark, and well-ventilated place. It can be stored in the refrigerator for several weeks. I often store mine in the crisper drawer.
Phase 5: Troubleshooting
- Yellowing leaves: Yellowing leaves can indicate nutrient deficiencies, overwatering, or pest infestations. Check your soil for nutrient levels and adjust your watering schedule accordingly. Inspect the plants for pests and treat them as needed.
- Splitting heads: Splitting heads can occur due to inconsistent watering or rapid growth spurts. Try to maintain consistent soil moisture and avoid over-fertilizing.
- Pest infestations: Monitor your plants regularly for pests and take action promptly to prevent significant damage. Use appropriate pest control methods, such as handpicking, insecticidal soap, or introducing beneficial insects.
Remember, patience and observation are key to successfully growing purple cabbage. Enjoy the process and the delicious harvest!
Conclusion
So there you have it – a foolproof guide to achieving bountiful eggplant harvests with our easy eggplant planting method! This DIY approach isn’t just about saving money; it’s about connecting with the growing process, understanding your plants’ needs, and ultimately, enjoying the freshest, most flavorful eggplants you’ve ever tasted. From seed to plate, this method empowers you to take control of your garden and reap the rewards of your labor. This easy eggplant planting technique is a must-try for both seasoned gardeners and enthusiastic beginners alike. It simplifies the often-daunting task of eggplant cultivation, making it accessible and enjoyable for everyone.
The satisfaction of nurturing a tiny seed into a thriving eggplant plant, laden with plump, juicy fruits, is unparalleled. And the taste? Well, that speaks for itself. Homegrown eggplants possess a depth of flavor and freshness that simply can’t be matched by store-bought varieties. Beyond the deliciousness, you’ll also find immense satisfaction in knowing exactly where your food comes from and how it was grown, free from harmful pesticides and chemicals.
We encourage you to experiment with different eggplant varieties. Try growing both long and round eggplants, exploring the diverse range of colors and flavors available. Consider companion planting – incorporating herbs like basil or marigolds near your eggplant plants can help deter pests and improve overall plant health. You can also adjust the planting density based on your space and the specific variety you’re growing. Remember to always monitor your plants for signs of disease or pests and take appropriate action if necessary. Proper watering and fertilization are also crucial for optimal growth and yield.
Don’t be afraid to get your hands dirty and embrace the learning process. Gardening is a journey, not a destination, and each season brings new opportunities for growth and discovery. Share your experience with us! We’d love to hear about your successes, challenges, and the delicious recipes you create with your homegrown eggplants. Post pictures of your thriving eggplant plants on social media using #EasyEggplantPlanting and tag us – we can’t wait to see your bountiful harvests!
Ultimately, this easy eggplant planting method is about more than just growing vegetables; it’s about cultivating a connection with nature, fostering self-sufficiency, and enjoying the fruits (and vegetables!) of your labor. So, grab your seeds, get your hands dirty, and embark on this rewarding gardening adventure. You won’t regret it!
Frequently Asked Questions
What type of soil is best for growing eggplants?
Eggplants thrive in well-drained, fertile soil with a slightly acidic pH level (between 6.0 and 6.8). Amend heavy clay soils with compost or other organic matter to improve drainage and aeration. Sandy soils may benefit from the addition of organic matter to retain moisture.
How much sunlight do eggplant plants need?
Eggplants are sun-worshippers! They need at least six to eight hours of direct sunlight per day to produce a good yield. Choose a sunny location in your garden that receives ample sunlight throughout the day.
When is the best time to plant eggplant seeds or seedlings?
The best time to plant eggplant depends on your climate. In warmer climates, you can direct sow seeds outdoors after the last frost. In cooler climates, it’s best to start seeds indoors six to eight weeks before the last expected frost and transplant seedlings outdoors once the danger of frost has passed. Check your local frost dates for the most accurate planting timeline.
How often should I water my eggplant plants?
Consistent watering is crucial for eggplant growth. Water deeply and regularly, especially during hot and dry periods. Aim to keep the soil consistently moist but not waterlogged. Mulching around the plants can help retain soil moisture and suppress weeds.
What are some common eggplant pests and diseases?
Eggplants can be susceptible to pests like aphids, flea beetles, and spider mites. Diseases such as blossom-end rot and verticillium wilt can also affect eggplant plants. Regularly inspect your plants for signs of pests or diseases and take appropriate action, such as using insecticidal soap or neem oil for pests, or removing affected plant parts for diseases. Prevention is key – ensure good air circulation and avoid overhead watering to minimize disease risk.
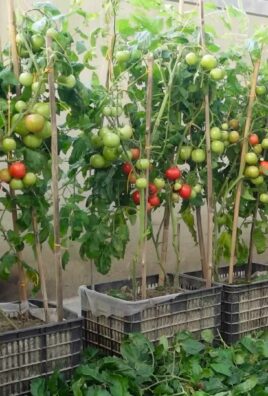
Can I grow eggplants in containers?
Yes! Eggplants can be successfully grown in large containers, provided they receive adequate sunlight and are watered regularly. Choose containers at least 12 inches in diameter and depth to allow for sufficient root development. Use a well-draining potting mix.
What should I do with my harvested eggplants?
Eggplants are best enjoyed fresh, but they can also be stored in the refrigerator for a few days. You can also freeze them for later use – simply slice or dice them and blanch them before freezing. There are countless delicious ways to use eggplants in your cooking – from grilling and roasting to adding them to pasta sauces and curries. Get creative and enjoy the bounty of your harvest!
My eggplant plants are not producing many fruits. What could be the problem?
Several factors can affect eggplant fruit production. Insufficient sunlight, inadequate watering, nutrient deficiencies, or pest infestations can all reduce yields. Ensure your plants are receiving enough sunlight and water, and consider using a balanced fertilizer to provide essential nutrients. Regularly inspect your plants for pests and diseases and take appropriate action if necessary.

Leave a Comment