
Grow Peas Indoors? Absolutely! Imagine plucking fresh, sweet peas right from your indoor garden, even when the weather outside is frightful. Forget those bland, store-bought peas – we’re talking about a burst of homegrown flavor that will elevate your meals and impress your friends. For centuries, gardeners have sought ways to extend the growing season, and bringing the garden indoors is a time-honored tradition. While historically, indoor gardening might have been limited to the wealthy with elaborate greenhouses, today, with a few simple tricks, anyone can enjoy the bounty of a thriving indoor pea patch.
Why should you learn to grow peas indoors? Well, for starters, it’s a fantastic way to beat the unpredictable weather and enjoy fresh produce year-round. Plus, it’s incredibly rewarding to nurture a plant from seed to harvest, especially when you get to savor the delicious results. Many people struggle with outdoor pests and limited space, making indoor gardening the perfect solution. I’m here to guide you through some easy DIY tricks and hacks that will have you harvesting your own sweet peas in no time. Get ready to transform your living space into a miniature, edible paradise!
Growing Peas Indoors: A Comprehensive DIY Guide
Hey there, fellow gardening enthusiasts! Ever dreamt of enjoying fresh, homegrown peas even when the weather outside is frightful? Well, dream no more! I’m going to walk you through the surprisingly simple process of growing peas indoors. Get ready to have a little taste of spring, no matter the season!
What You’ll Need: The Essential Supplies
Before we dive in, let’s gather our supplies. Trust me, having everything ready beforehand will make the whole process smoother and more enjoyable.
* Pea Seeds: Choose a variety suitable for indoor growing. Bush peas or dwarf varieties are your best bet. I personally love ‘Little Marvel’ or ‘Tom Thumb’ for their compact size and delicious peas.
* Pots or Containers: Opt for containers that are at least 6-8 inches deep. Peas need room for their roots to grow. Make sure they have drainage holes!
* Potting Mix: Use a high-quality, well-draining potting mix. Avoid using garden soil, as it can compact and hinder drainage.
* Grow Lights (Optional but Recommended): While peas can grow indoors with natural light, grow lights will significantly improve your yield and the overall health of your plants, especially during the darker months.
* Trellis or Support System: Even bush peas can benefit from some support. A small trellis, bamboo stakes, or even twigs will do the trick.
* Watering Can or Spray Bottle: For gentle watering.
* Seed Starting Tray (Optional): If you prefer to start your seeds indoors before transplanting.
Phase 1: Getting Started – Sowing Your Seeds
Okay, let’s get our hands dirty! This is where the magic begins.
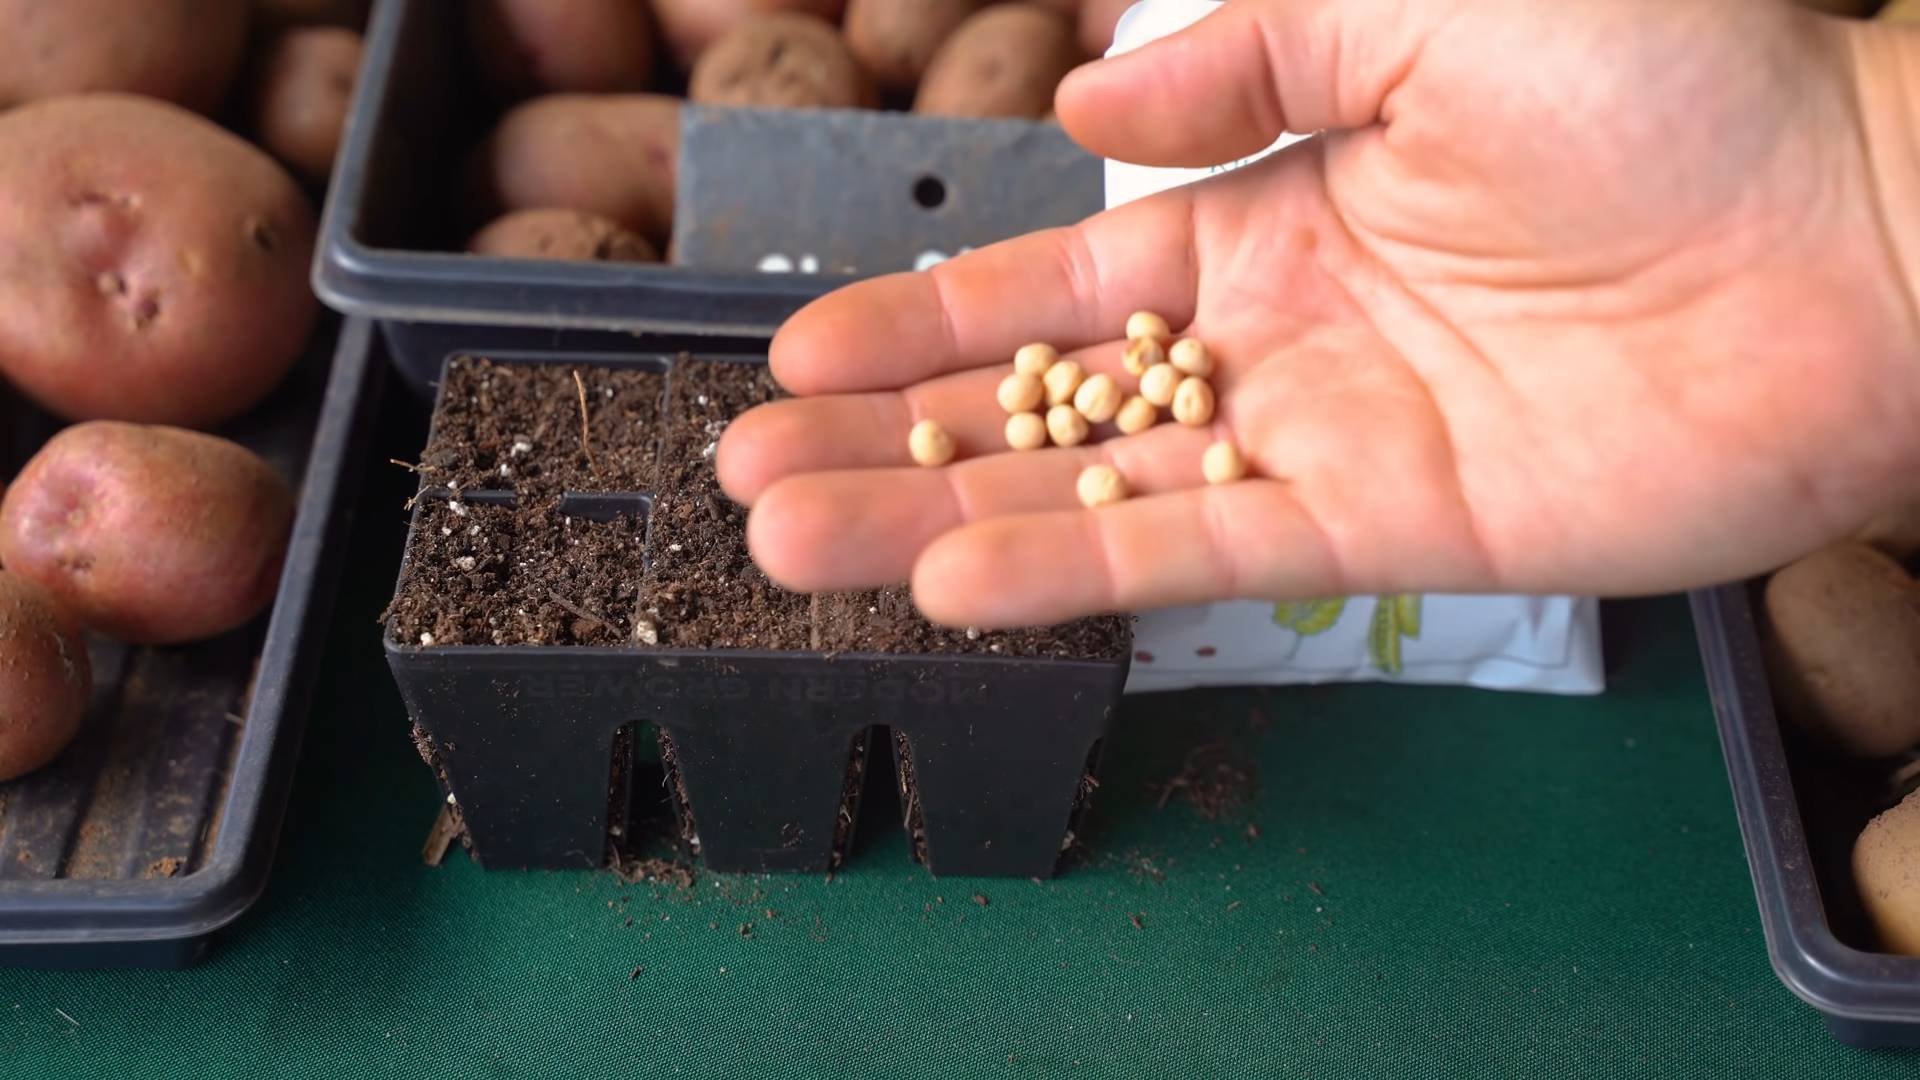
1. Soaking the Seeds (Optional): While not strictly necessary, soaking your pea seeds in water for 24 hours before planting can help speed up germination. I usually do this, and I’ve noticed a difference. Just place the seeds in a bowl of water and let them sit overnight.
2. Preparing Your Containers: Fill your chosen containers with potting mix, leaving about an inch of space at the top. Gently pat down the soil to remove any large air pockets.
3. Sowing the Seeds: Sow the pea seeds about 1-2 inches deep and 1-2 inches apart. You can plant multiple seeds in each container, but don’t overcrowd them. I usually plant 3-4 seeds in a 6-inch pot.
4. Covering the Seeds: Gently cover the seeds with potting mix and lightly water the soil. You want the soil to be moist but not soggy.
5. Finding the Right Spot: Place your containers in a warm location with plenty of light. If you’re using grow lights, position them about 6-12 inches above the soil surface.
Phase 2: Nurturing Your Pea Plants – From Seedling to Sprout
Now comes the waiting game, but don’t worry, it won’t be long before you see those little sprouts emerge!
1. Maintaining Moisture: Keep the soil consistently moist, but avoid overwatering. Check the soil moisture daily by sticking your finger about an inch into the soil. If it feels dry, it’s time to water.
2. Providing Light: Ensure your pea plants receive at least 6-8 hours of light per day. If you’re using grow lights, keep them on for this duration. If you’re relying on natural light, place your containers near a sunny window. Rotate the containers regularly to ensure even growth.
3. Thinning Seedlings (If Necessary): Once your seedlings have emerged and have a few sets of true leaves, you may need to thin them out if you planted multiple seeds per pot. Choose the strongest seedlings and gently snip off the weaker ones at the soil line. This will give the remaining plants more room to grow.
4. Adding Support: As your pea plants grow, they’ll start to need some support. Install your trellis, bamboo stakes, or other support system early on to prevent them from flopping over. Gently guide the tendrils of the pea plants towards the support.
Phase 3: Encouraging Growth – Fertilizing and Pruning
To get the most out of your indoor pea plants, a little extra care goes a long way.
1. Fertilizing: Peas are relatively light feeders, but they will benefit from occasional fertilization. Use a balanced liquid fertilizer diluted to half strength every 2-3 weeks. I like to use a fertilizer specifically formulated for vegetables.
2. Pruning (Optional): While not essential, pruning can help encourage bushier growth and more pea production. You can pinch off the tips of the vines to encourage side shoots.
3. Monitoring for Pests and Diseases: Keep an eye out for any signs of pests or diseases. Common pests that can affect pea plants include aphids and spider mites. If you spot any pests, you can try spraying them with insecticidal soap or neem oil. Good air circulation can help prevent fungal diseases.
Phase 4: Harvesting Your Bounty – Enjoying Fresh Peas!
This is the moment you’ve been waiting for! Harvesting your own homegrown peas is incredibly rewarding.
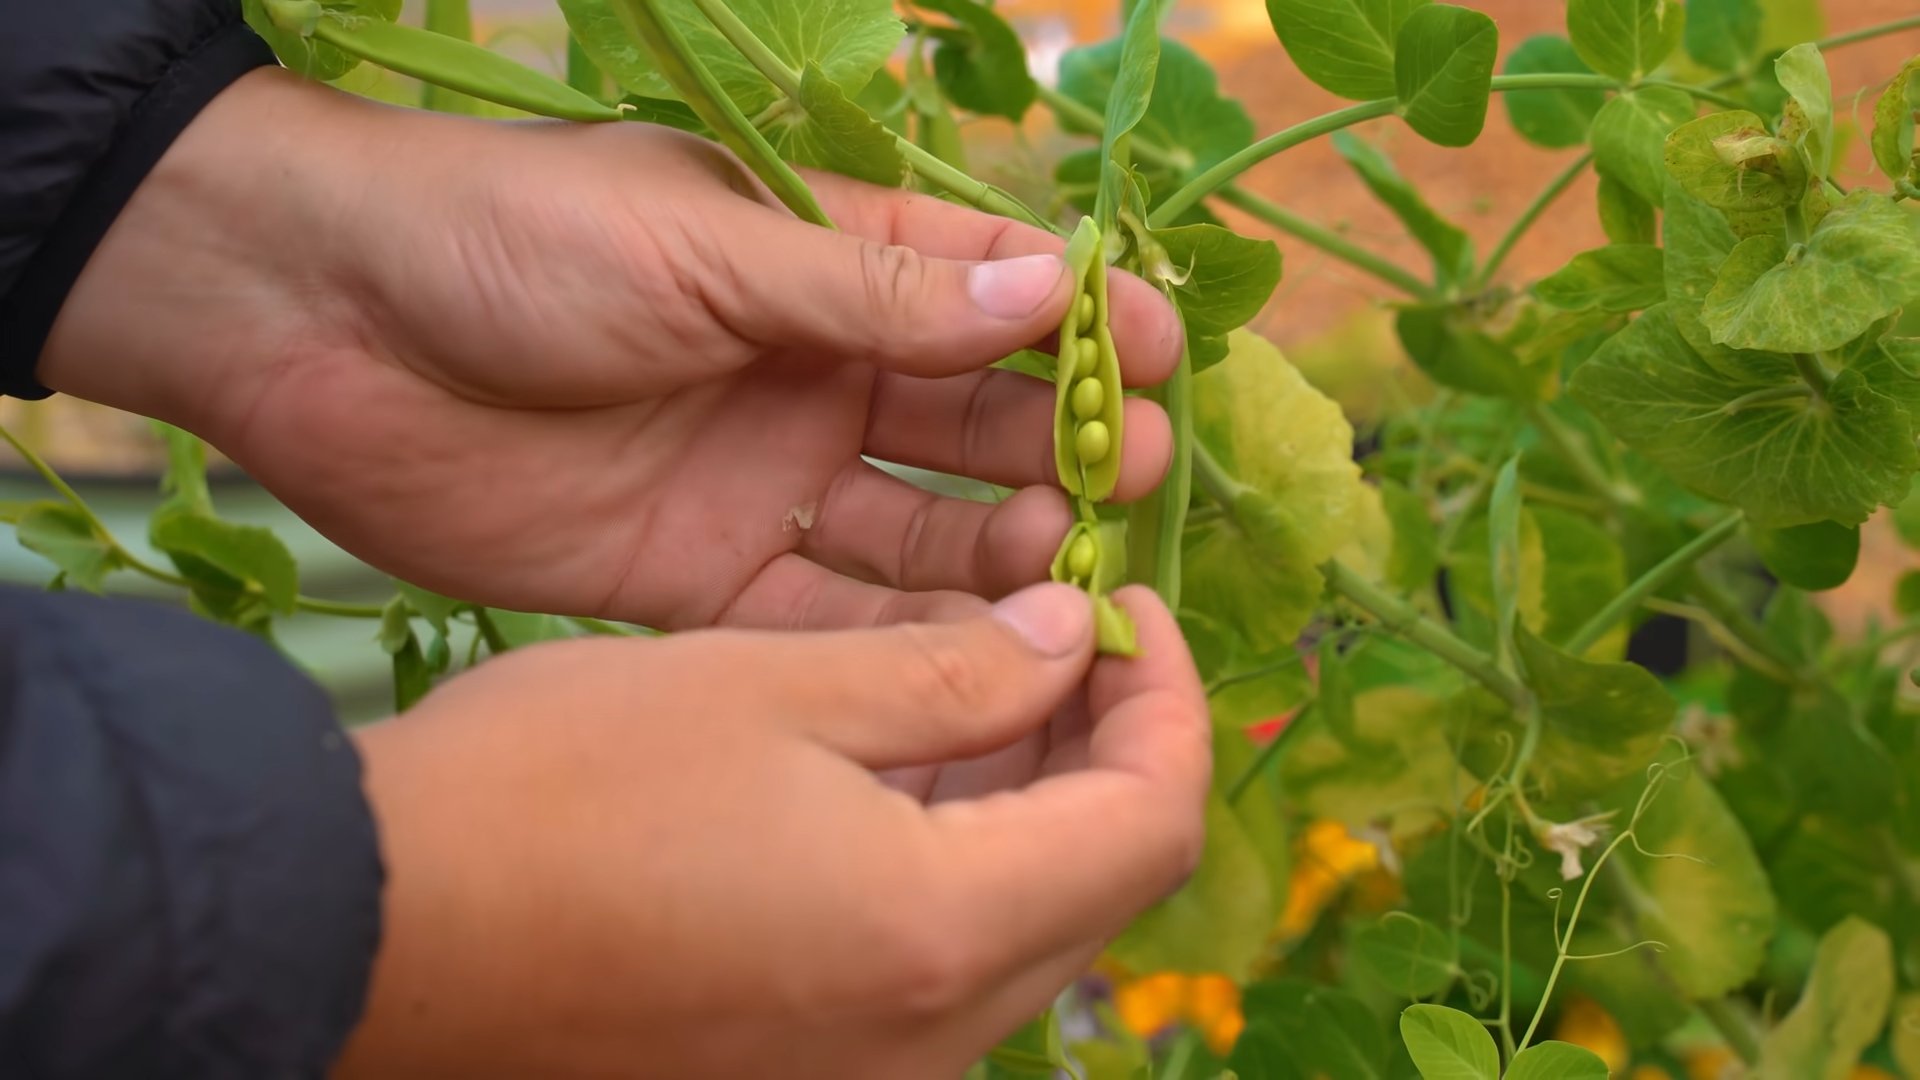
1. Knowing When to Harvest: Peas are typically ready to harvest about 60-70 days after planting. The pods should be plump and filled with peas. The pods should also be firm and bright green.
2. Harvesting Techniques: Gently snap the pea pods off the vine. Avoid pulling on the vine, as this can damage the plant. Harvest regularly to encourage continued production.
3. Enjoying Your Harvest: Freshly harvested peas are best enjoyed immediately. You can eat them raw, steam them, or add them to your favorite dishes. They’re delicious in salads, stir-fries, and soups.
4. Successive Planting: To extend your harvest, consider planting new seeds every few weeks. This will ensure a continuous supply of fresh peas throughout the growing season.
Troubleshooting Tips: Addressing Common Issues
Even with the best care, you might encounter a few challenges along the way. Here are some common issues and how to address them:
* Poor Germination: If your pea seeds aren’t germinating, make sure the soil is warm enough and consistently moist. You can also try scarifying the seeds by gently nicking the outer coating with a knife before planting.
* Yellowing Leaves: Yellowing leaves can indicate a nutrient deficiency or overwatering. Check the soil moisture and adjust your watering accordingly. You may also need to fertilize your plants.
* Leggy Growth: Leggy growth (tall, spindly plants) is usually a sign of insufficient light. Make sure your pea plants are receiving enough light, either from natural sources or grow lights.
* Lack of Pea Production: If your pea plants are growing well but not producing many peas, it could be due to a lack of pollination. While peas are self-pollinating, you can help the process along by gently shaking the plants or using a small brush to transfer pollen from one flower to another.
Choosing the Right Pea Variety for Indoor Growing
Selecting the right pea variety is crucial for success when growing indoors. Here’s a breakdown of some popular choices:
* ‘Little Marvel’: A classic dwarf variety that produces sweet, flavorful peas. It’s known for its compact size and early maturity.
* ‘Tom Thumb’: An even smaller variety than ‘Little Marvel,’ making it ideal for small spaces. It produces tiny, but tasty, peas.
* ‘Sugar Ann’: A snap pea variety that produces edible pods. It’s known for its sweet flavor and crisp texture.
* ‘Snowbird’: A snow pea variety that produces flat, edible pods. It’s known for its delicate flavor and tender texture.
* ‘Alaska’: An early-maturing variety that produces good yields of shelling peas.
When choosing a variety, consider your space limitations, your taste preferences, and the growing conditions in your home.
Optimizing Your Indoor Pea Garden for Maximum Yield
Want to take your indoor pea garden to the next level? Here are some tips for maximizing your yield:
* Provide Adequate Light: Light is the most important factor for pea production. Make sure your plants are receiving at least 6-8 hours of light per day.
* Maintain Consistent Moisture: Peas need consistent moisture to thrive. Water regularly, but avoid overwatering.
* Fertilize Regularly: Peas benefit from regular fertilization. Use a balanced liquid fertilizer diluted to half strength every 2-3 weeks.
* Provide Support: Peas need support to climb. Install a trellis or other support system early on.
* Harvest Regularly: Harvesting regularly encourages continued production.
* Maintain Good Air Circulation: Good air circulation helps prevent fungal diseases.
* Control Pests and Diseases: Keep an eye out for pests and diseases and take action promptly.
* Consider Companion Planting: Planting certain herbs
Conclusion
So, there you have it! Growing peas indoors is not only achievable, but it’s also a remarkably rewarding experience, especially when fresh, homegrown produce feels like a distant dream. This DIY trick transforms a small corner of your home into a miniature garden, providing you with a continuous supply of sweet, crisp peas, regardless of the weather outside.
Why is this a must-try? Because it empowers you to take control of your food source, offering a sustainable and cost-effective way to enjoy fresh vegetables. Think about it: no more trips to the grocery store for subpar peas that have traveled miles and lost their flavor. Instead, you can snip off exactly what you need, moments before adding them to your salad, stir-fry, or simply enjoying them as a healthy snack. The taste difference is truly remarkable.
Beyond the convenience and superior flavor, growing peas indoors is also a fantastic way to connect with nature, even in the heart of the city. It’s a therapeutic activity that can reduce stress and boost your mood. Watching your pea plants sprout, climb, and produce those delicious pods is incredibly satisfying. Plus, it’s a great educational opportunity for kids, teaching them about plant life cycles and the importance of sustainable living.
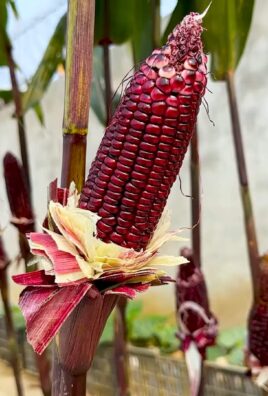
But the beauty of this DIY project lies in its adaptability. Feel free to experiment with different varieties of peas. Consider trying dwarf varieties like ‘Little Marvel’ or ‘Tom Thumb’ if you’re short on space. For a splash of color, grow purple-podded peas. You can also explore different support structures for your plants. While bamboo stakes work well, you could also use a small trellis, chicken wire, or even repurposed branches from your yard. Get creative and find what works best for your space and aesthetic.
Another variation to consider is succession planting. By planting new seeds every few weeks, you can ensure a continuous harvest throughout the growing season. This is especially useful if you have a large family or simply love to eat peas.
Don’t be afraid to experiment with different soil mixes and fertilizers. While a standard potting mix works well, you can also add compost or other organic matter to enrich the soil and provide your plants with the nutrients they need to thrive. Just be sure to avoid over-fertilizing, as this can lead to leggy growth and fewer peas.
The key to success with this DIY trick is consistent care. Make sure your pea plants receive plenty of sunlight, water them regularly, and provide them with adequate support. With a little bit of attention, you’ll be rewarded with a bountiful harvest of delicious, homegrown peas.
So, what are you waiting for? Grab some seeds, potting mix, and a container, and get ready to embark on your indoor pea-growing adventure. We’re confident that you’ll be amazed by the results. And most importantly, we want to hear about your experience! Share your photos, tips, and questions in the comments below. Let’s create a community of indoor pea growers and inspire others to embrace the joy of homegrown food. Let us know what kind of **grow peas indoors** setup you used and how it worked out for you!
Frequently Asked Questions (FAQ)
1. What are the best pea varieties to grow indoors?
Dwarf or bush pea varieties are generally the best choice for indoor growing because they require less space and support. Some popular options include ‘Little Marvel,’ ‘Tom Thumb,’ ‘Sugar Ann,’ and ‘Snowbird.’ These varieties tend to be compact and produce a good yield in containers. However, you can also grow climbing varieties indoors, provided you have adequate space and a sturdy support structure like a trellis or netting. Experimenting with different varieties is part of the fun, so don’t be afraid to try something new!
2. How much sunlight do indoor pea plants need?
Pea plants need at least 6-8 hours of direct sunlight per day to thrive. If you don’t have a sunny window, you can supplement with grow lights. Position the grow lights about 6-12 inches above the plants and keep them on for 12-16 hours a day. LED grow lights are a great option because they are energy-efficient and don’t produce excessive heat. Insufficient light can lead to leggy growth, reduced flowering, and a smaller harvest.
3. What type of container and soil should I use?
Choose a container that is at least 6-8 inches deep and wide to allow for adequate root growth. Make sure the container has drainage holes to prevent waterlogging. A standard potting mix works well for growing peas indoors. You can also amend the potting mix with compost or other organic matter to improve drainage and fertility. Avoid using garden soil, as it can be too heavy and may contain pests or diseases.
4. How often should I water my indoor pea plants?
Water your pea plants regularly, keeping the soil consistently moist but not waterlogged. Check the soil moisture level daily and water when the top inch feels dry to the touch. Avoid overwatering, as this can lead to root rot. The frequency of watering will depend on factors such as the size of the container, the temperature, and the humidity level.
5. Do indoor pea plants need support?
Yes, most pea varieties need some form of support to climb. You can use bamboo stakes, a small trellis, chicken wire, or even repurposed branches from your yard. Install the support structure when the plants are young to encourage them to climb. As the plants grow, gently guide them onto the support.
6. How long does it take for peas to germinate and mature?
Pea seeds typically germinate within 7-14 days. It takes about 60-70 days for most pea varieties to mature and produce pods. The exact time will depend on the variety and growing conditions.
7. How do I know when my peas are ready to harvest?
Peas are ready to harvest when the pods are plump and filled with peas. The pods should be firm but not hard. Harvest the peas regularly to encourage continued production.
8. Can I grow peas indoors year-round?
Yes, you can grow peas indoors year-round, provided you have adequate light and temperature control. In colder months, you may need to supplement with grow lights and provide extra warmth.
9. What are some common pests and diseases that affect indoor pea plants?
Common pests that can affect indoor pea plants include aphids, spider mites, and whiteflies. You can control these pests by spraying the plants with insecticidal soap or neem oil. Common diseases include powdery mildew and root rot. Prevent these diseases by providing good air circulation and avoiding overwatering.
10. How can I encourage my pea plants to produce more peas?
To encourage your pea plants to produce more peas, make sure they receive plenty of sunlight, water them regularly, and provide them with adequate support. You can also fertilize the plants with a balanced fertilizer every few weeks. Harvest the peas regularly to encourage continued production. Pinching off the growing tips of the plants can also promote bushier growth and more flowers.

Leave a Comment