
Grow Radishes at Home? Absolutely! Imagine plucking crisp, peppery radishes straight from your own backyard, adding a vibrant crunch to your salads and snacks. It’s easier than you think, and this DIY guide is your ticket to radish-growing success, even if you’ve never touched a trowel before.
Radishes have a surprisingly rich history, dating back to ancient Egypt and Greece, where they were valued not only for their taste but also for their medicinal properties. These little root vegetables have nourished civilizations for centuries, and now, you can easily cultivate them in your own space.
Why should you learn this DIY trick? Because store-bought radishes simply can’t compare to the fresh, zesty flavor of homegrown ones. Plus, growing your own food is incredibly rewarding, connecting you to nature and providing you with a sustainable source of healthy produce. In this article, I’ll share my favorite tips and tricks to help you grow radishes at home, from seed to harvest, ensuring a bountiful crop that will impress your friends and family. Get ready to unleash your inner gardener!
Grow Your Own Radishes: A Beginner’s Guide to a Speedy Harvest
Hey there, fellow gardening enthusiasts! I’m so excited to share my experience with growing radishes – one of the easiest and most rewarding vegetables you can cultivate at home. Seriously, if you’re a beginner gardener or just looking for a quick win, radishes are your best friend. They sprout fast, mature quickly, and add a delightful peppery zing to salads and snacks. Let’s dive in!
What You’ll Need
Before we get our hands dirty, let’s gather the essentials. Here’s what I recommend having on hand:
* Radish seeds (choose your favorite variety! I love ‘Cherry Belle’ for its classic flavor and quick growth)
* Well-draining soil (a mix of compost, potting soil, and a little sand works wonders)
* A sunny spot (radishes need at least 6 hours of sunlight per day)
* A garden bed, raised bed, or container (at least 6 inches deep)
* Watering can or hose with a gentle spray nozzle
* Hand trowel or small shovel
* Optional: Organic fertilizer (for an extra boost)
* Optional: Row covers (to protect against pests)
Preparing Your Planting Area
The key to happy radishes is well-prepared soil. They don’t like compacted or rocky ground, so let’s make sure their home is just right.
1. Choose Your Location: Select a spot in your garden that receives at least six hours of direct sunlight each day. Radishes can tolerate some partial shade, especially in hotter climates, but they thrive in full sun.
2. Clear the Area: Remove any weeds, rocks, or debris from the planting area. Weeds compete with radishes for nutrients and water, so it’s important to start with a clean slate.
3. Loosen the Soil: Use a hand trowel or small shovel to loosen the soil to a depth of at least 6 inches. This will allow the radish roots to grow easily. Break up any large clumps of soil.
4. Amend the Soil: Radishes prefer well-draining soil that is rich in organic matter. Amend the soil with compost, well-rotted manure, or other organic materials. This will improve drainage, fertility, and water retention. I usually mix in about 2-3 inches of compost into the top 6 inches of soil.
5. Level the Surface: Rake the soil to create a smooth, level surface. This will ensure even watering and germination.
Planting Your Radish Seeds
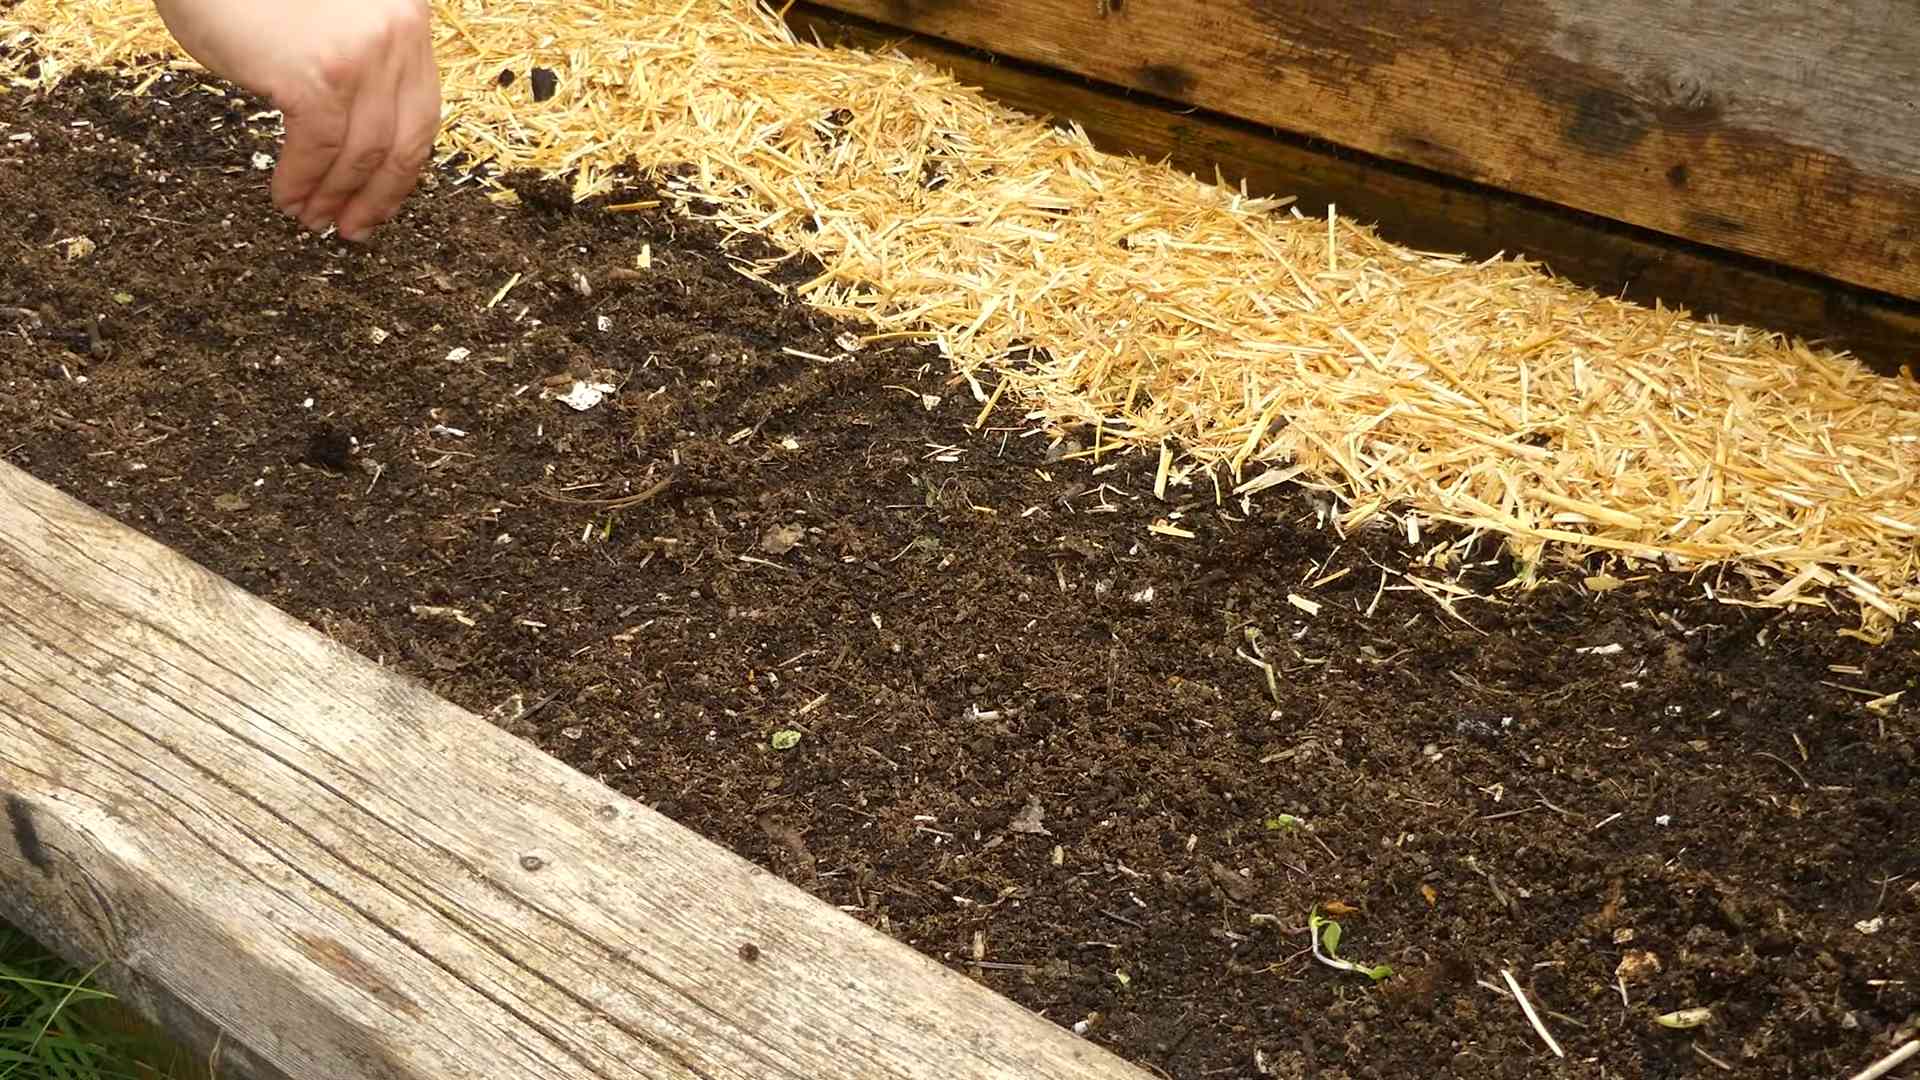
Now for the fun part – planting those tiny seeds! Radishes are direct-sown, meaning you plant the seeds directly into the ground rather than starting them indoors.
1. Create Rows or Furrows: Use your finger or a trowel to create shallow rows or furrows in the soil, about ½ inch deep and 1 inch apart. The spacing is important to give the radishes room to grow.
2. Sow the Seeds: Sprinkle the radish seeds evenly along the rows, spacing them about ½ to 1 inch apart. Don’t overcrowd them, or you’ll end up with small, stunted radishes.
3. Cover the Seeds: Gently cover the seeds with a thin layer of soil. You can use your fingers or a rake to do this.
4. Water Gently: Water the planting area gently with a watering can or hose with a gentle spray nozzle. Avoid washing away the seeds. The soil should be moist but not soggy.
5. Label Your Rows: It’s always a good idea to label your rows with the date and variety of radish you planted. This will help you keep track of your progress.
Caring for Your Radishes
Radishes are relatively low-maintenance, but they do need a little TLC to thrive.
1. Water Regularly: Keep the soil consistently moist, especially during germination and early growth. Water deeply whenever the top inch of soil feels dry to the touch. Avoid overwatering, which can lead to root rot.
2. Thin Seedlings: Once the seedlings emerge (usually within 3-7 days), thin them to about 1-2 inches apart. This will give the remaining plants enough room to grow. Simply snip off the extra seedlings at the soil line with scissors. Don’t pull them out, as this can disturb the roots of the remaining plants.
3. Weed Regularly: Keep the planting area free of weeds. Weeds compete with radishes for nutrients and water. Hand-pull weeds carefully to avoid disturbing the radish roots.
4. Fertilize (Optional): If your soil is poor, you can fertilize your radishes with a balanced organic fertilizer. Follow the instructions on the fertilizer package. I usually side-dress my radishes with compost tea every couple of weeks.
5. Protect from Pests (Optional): Radishes can be susceptible to pests such as flea beetles and root maggots. To protect your plants, you can cover them with row covers. These lightweight fabric covers allow sunlight and water to reach the plants while keeping pests out. You can also use organic pest control methods, such as diatomaceous earth or neem oil.
Harvesting Your Radishes
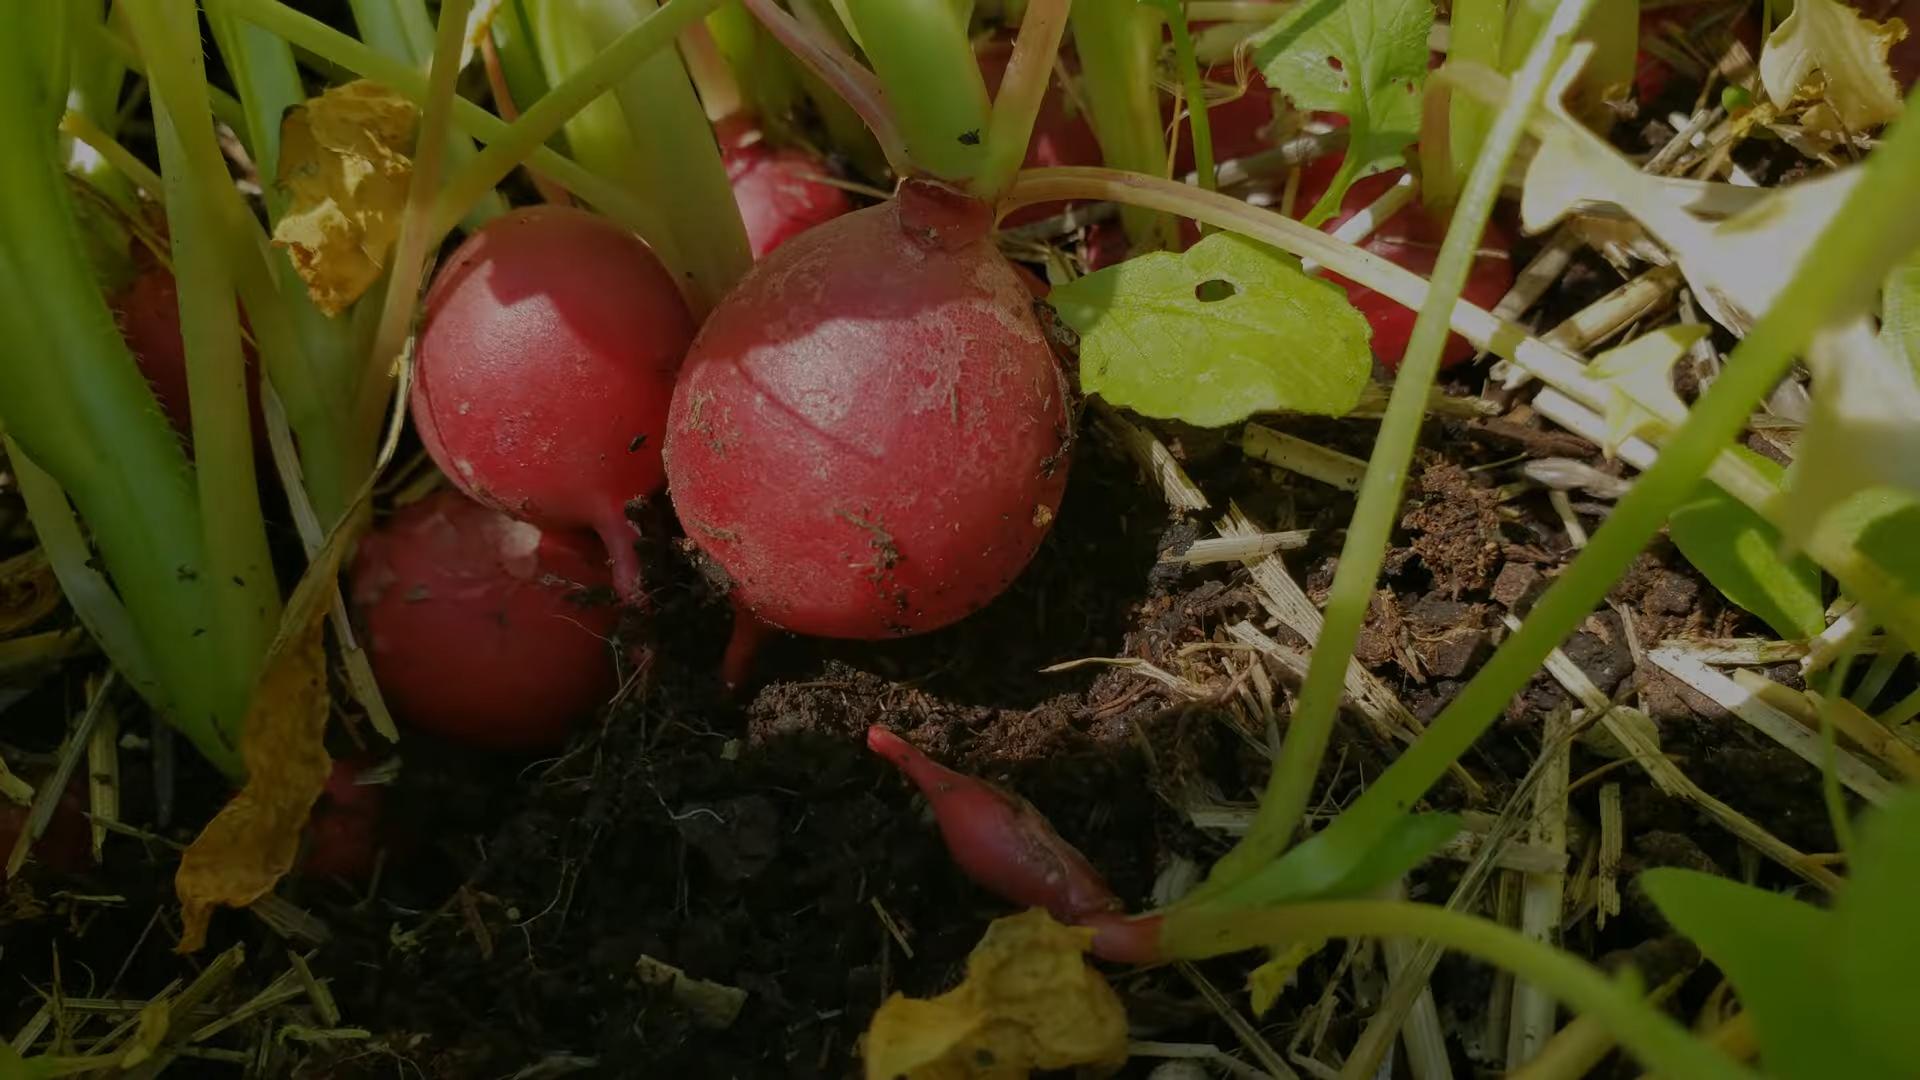
This is the moment you’ve been waiting for! Radishes are ready to harvest in as little as 3-4 weeks, depending on the variety.
1. Check for Maturity: Radishes are ready to harvest when the roots are about 1 inch in diameter. You can gently brush away the soil around the base of the plant to check the size of the root.
2. Harvest Carefully: Gently pull the radishes from the soil, holding them by the base of the leaves. If the soil is dry, you may need to loosen it with a hand trowel first.
3. Wash and Store: Wash the radishes thoroughly to remove any dirt. Trim off the leaves, leaving about ½ inch of stem attached. Store the radishes in a plastic bag in the refrigerator. They will keep for about a week.
Succession Planting for a Continuous Harvest
One of the best things about radishes is that you can succession plant them for a continuous harvest throughout the growing season.
1. Plant Every 1-2 Weeks: Plant a new batch of radish seeds every 1-2 weeks. This will ensure that you always have a fresh supply of radishes.
2. Choose Different Varieties: Experiment with different varieties of radishes to find your favorites. Some varieties are spicier than others, and some are better suited for different seasons.
3. Consider the Weather: Radishes prefer cool weather. In hot weather, they can become bitter and bolt (go to seed). If you live in a hot climate, plant radishes in the spring and fall.
Troubleshooting
Even with the best care, you might encounter a few challenges when growing radishes. Here are some common problems and how to fix them:
* Radishes are small and stunted: This can be caused by overcrowding, poor soil, or lack of water. Thin the seedlings, amend the soil with compost, and water regularly.
* Radishes are bitter: This can be caused by hot weather or lack of water. Plant radishes in the spring and fall, and water regularly.
* Radishes are cracked: This can be caused by inconsistent watering. Water regularly and evenly.
* Radishes are infested with pests: Use row covers or organic pest control methods to protect your plants.
Enjoying Your Harvest
Now that you’ve harvested your radishes, it’s time to enjoy them! Here are some of my favorite ways to eat radishes:
* Raw: Slice radishes thinly and add them to salads, sandwiches, or tacos.
* Roasted: Roast radishes with olive oil, salt, and pepper for a sweet and savory side dish.
* Pickled: Pickle radishes for a tangy and crunchy snack.
* In soup: Add sliced radishes to soups for a peppery kick.
* Radish greens: Don’t throw away the radish greens! They are edible and nutritious. Sauté them with garlic and olive oil for a delicious side dish.
Growing radishes is a simple and rewarding experience. With a little bit of care, you can enjoy a fresh and flavorful harvest in just a few weeks. Happy gardening!
Conclusion
So, there you have it! Growing radishes at home is not only incredibly simple, but it’s also a rewarding experience that delivers fresh, peppery goodness right to your table. Forget those bland, store-bought radishes that lack that vibrant crunch and flavor. With just a few simple steps, you can cultivate your own supply of these delightful root vegetables, bursting with taste and packed with nutrients.
This DIY trick is a must-try for several compelling reasons. First and foremost, the taste difference is undeniable. Homegrown radishes offer a superior flavor profile compared to their commercially grown counterparts. They are crisper, juicier, and possess a more intense, peppery bite that will elevate your salads, sandwiches, and crudités platters. Secondly, growing your own radishes is incredibly fast. We’re talking about a harvest in as little as three to four weeks! This makes them a perfect project for impatient gardeners or those looking for quick gratification. Thirdly, it’s an incredibly budget-friendly way to add fresh produce to your diet. A single packet of radish seeds can yield a bountiful harvest, far exceeding the cost of buying them at the grocery store. Finally, it’s an excellent way to connect with nature and learn about the growing process. Even if you only have a small balcony or patio, you can still enjoy the satisfaction of nurturing your own food.
But the fun doesn’t stop there! Feel free to experiment with different varieties of radishes to discover your favorites. Consider trying French Breakfast radishes for their mild flavor and elongated shape, or Watermelon radishes for their stunning pink interior and slightly sweet taste. You can also adjust the planting time to extend your harvest season. Succession planting, where you sow a new batch of seeds every week or two, will ensure a continuous supply of fresh radishes throughout the spring and fall. Another variation is to grow radishes as a companion plant. They are known to deter pests from other vegetables like cucumbers and squash.
Don’t be afraid to get creative! Try pickling your radishes for a tangy and flavorful condiment, or roasting them for a surprisingly sweet and mellow side dish. You can even use the radish greens in salads or stir-fries for an extra boost of nutrients and flavor.
We wholeheartedly encourage you to give this DIY trick a try. It’s a simple, rewarding, and delicious way to enhance your culinary experience. Once you’ve tasted the difference between homegrown and store-bought radishes, you’ll never go back!
We’re confident that you’ll be amazed by the ease and speed of growing radishes at home. So, grab a packet of seeds, prepare your soil, and get ready to enjoy a bountiful harvest of fresh, peppery radishes.
And most importantly, we want to hear about your experience! Share your tips, tricks, and photos of your homegrown radishes in the comments below. Let’s create a community of radish enthusiasts and inspire others to discover the joys of growing their own food. What varieties did you try? What challenges did you face? What delicious recipes did you create? Your feedback is invaluable and will help us continue to improve and refine this guide. Happy gardening!
Frequently Asked Questions (FAQs)
What is the best time of year to plant radishes?
Radishes are cool-season crops, meaning they thrive in cooler temperatures. The best time to plant radishes is in early spring or late summer/early fall. In the spring, plant them as soon as the soil can be worked, typically a few weeks before the last expected frost. For a fall harvest, plant them about 4-6 weeks before the first expected frost. Avoid planting radishes during the hottest months of summer, as the heat can cause them to bolt (go to seed) and develop a strong, unpleasant flavor.
How much sunlight do radishes need?
Radishes need at least 6 hours of sunlight per day to grow properly. While they can tolerate some shade, especially during the hottest part of the day, insufficient sunlight can result in smaller, less flavorful radishes. Choose a planting location that receives plenty of direct sunlight for optimal growth.
What kind of soil is best for growing radishes?
Radishes prefer loose, well-drained soil that is rich in organic matter. Heavy clay soil can hinder root development and result in misshapen radishes. Before planting, amend the soil with compost or other organic matter to improve drainage and fertility. A slightly acidic to neutral soil pH (around 6.0 to 7.0) is ideal.
How often should I water radishes?
Radishes need consistent moisture to grow quickly and develop crisp, juicy roots. Water them regularly, especially during dry periods. Aim to keep the soil consistently moist but not waterlogged. Overwatering can lead to root rot, while underwatering can cause the radishes to become tough and bitter. A good rule of thumb is to water deeply whenever the top inch of soil feels dry to the touch.
How far apart should I plant radish seeds?
Radish seeds should be planted about ½ inch deep and ½ to 1 inch apart in rows that are 6 to 12 inches apart. Thin the seedlings to about 1 to 2 inches apart once they emerge. This will give the radishes enough space to develop properly.
How long does it take for radishes to grow?
Radishes are one of the fastest-growing vegetables. Most varieties mature in just 3 to 4 weeks. Check the seed packet for the specific maturity time of the variety you are growing.
How do I know when radishes are ready to harvest?
Radishes are ready to harvest when the roots reach the size specified on the seed packet. Gently loosen the soil around the radish and pull it out of the ground. Don’t let them get too big, as they can become tough and bitter if left in the ground for too long.
Why are my radishes cracking?
Cracking in radishes is often caused by inconsistent watering. When the soil dries out and then is suddenly saturated with water, the radishes can grow too quickly, causing the skin to crack. To prevent cracking, water radishes regularly and consistently, especially during dry periods.
Why are my radishes all tops and no bottoms?
Several factors can contribute to radishes that are all tops and no bottoms. These include:
* **Insufficient sunlight:** Radishes need at least 6 hours of sunlight per day to develop properly.
* **Overcrowding:** If the radishes are planted too close together, they may not have enough space to develop their roots.
* **Poor soil:** Heavy clay soil can hinder root development.
* **Too much nitrogen:** Excessive nitrogen in the soil can promote leafy growth at the expense of root development.
Can I eat radish greens?
Yes, radish greens are edible and nutritious! They have a peppery flavor similar to the roots. You can use them in salads, stir-fries, soups, or as a garnish. Make sure to wash them thoroughly before eating.
How do I store radishes?
To store radishes, remove the greens and store them separately. Place the radishes in a plastic bag or container in the refrigerator. They will typically last for about 1 to 2 weeks. The greens should be used within a few days.
Can I grow radishes in containers?
Yes, radishes are well-suited for container gardening. Choose a container that is at least 6 inches deep and has drainage holes. Use a well-draining potting mix and follow the same planting and care instructions as for growing radishes in the ground.
What are some common pests and diseases that affect radishes?
Some common pests that affect radishes include flea beetles, root maggots, and aphids. Diseases that can affect radishes include damping-off and white rust. Use organic pest control methods, such as insecticidal soap or neem oil, to control pests. Ensure good air circulation and avoid overwatering to prevent diseases.
Can I grow radishes indoors?
While it’s possible to grow radishes indoors, it can be challenging to provide them with enough light. If you want to try growing them indoors, use a grow light to supplement natural light. Choose a small, compact variety of radish and plant them in a well-draining potting mix.
Leave a Comment