
Grow Radishes in Containers? Absolutely! Imagine plucking crisp, peppery radishes straight from your patio, balcony, or even your kitchen windowsill. It’s easier than you think, and I’m here to show you how! For centuries, radishes have been a staple in gardens worldwide, prized for their quick growth and vibrant flavor. From ancient Egypt, where they were a common food, to modern-day salads, radishes have a rich history.
But let’s be honest, not everyone has a sprawling garden to dedicate to these root vegetables. That’s where container gardening comes in! This DIY guide is perfect for apartment dwellers, urban gardeners, or anyone looking to maximize their growing space. I’ll walk you through everything you need to know to successfully grow radishes in containers, from choosing the right pot and soil to watering and harvesting.
Why bother with this DIY trick? Because fresh, homegrown radishes taste infinitely better than anything you’ll find at the grocery store. Plus, it’s incredibly rewarding to nurture your own food from seed to table. Get ready to enjoy a burst of flavor and a touch of green in your life – let’s get planting!
Grow Radishes in Containers: A Beginner’s Guide
Hey there, fellow gardening enthusiasts! Want to enjoy the peppery crunch of fresh radishes without a sprawling garden? You’ve come to the right place! Growing radishes in containers is surprisingly easy and rewarding. They’re fast growers, making them perfect for impatient gardeners like myself, and they don’t require a ton of space. Let’s dive into how you can cultivate your own little radish patch on your patio, balcony, or even a sunny windowsill!
Choosing the Right Container and Soil
Before we get our hands dirty, let’s talk about the essentials: the container and the soil. These are crucial for happy, healthy radishes.
* Container Size: Radishes don’t need deep containers, but they do need some space to develop their roots. A container that’s at least 6 inches deep and 6 inches wide is a good starting point. For a larger harvest, consider a wider container or even a long trough. Remember, the more space, the more radishes!
* Drainage: This is non-negotiable! Radishes hate soggy feet. Make sure your container has drainage holes at the bottom. If it doesn’t, you can drill some yourself.
* Material: Plastic, terracotta, ceramic – the material of your container is mostly a matter of personal preference. Terracotta pots dry out faster, which can be beneficial in humid climates, but they also require more frequent watering. Plastic pots retain moisture better, which can be helpful in drier climates.
* Potting Mix: Forget garden soil! It’s too heavy and compacts easily, hindering root growth. Use a high-quality potting mix that’s light, airy, and well-draining. You can also amend it with compost for added nutrients. I like to use a mix of potting soil, perlite, and compost for optimal drainage and fertility.
Selecting Your Radish Seeds
Now for the fun part: choosing your radish varieties! There’s a whole world of radishes beyond the classic red globe.
* Variety Selection: Consider the size and shape of the radish, as well as its flavor. ‘Cherry Belle’ is a popular, fast-growing red radish. ‘French Breakfast’ radishes are elongated with a mild flavor. ‘Easter Egg’ radishes are a mix of colors, adding a cheerful touch to your garden. ‘Black Spanish’ radishes are larger and have a more pungent flavor.
* Days to Maturity: Pay attention to the “days to maturity” listed on the seed packet. This tells you how long it will take for the radishes to be ready for harvest. Choose varieties with shorter maturity times for a quicker harvest.
* Seed Source: Buy your seeds from a reputable source to ensure good germination rates.
Planting Your Radish Seeds
Alright, let’s get planting! This is where the magic happens.
1. Fill the Container: Fill your container with the potting mix, leaving about an inch of space at the top.
2. Moisten the Soil: Water the soil thoroughly until it’s evenly moist but not soggy.
3. Sow the Seeds: Sow the radish seeds about ½ inch deep and 1 inch apart. You can sow them in rows or scatter them evenly over the surface of the soil.
4. Cover the Seeds: Gently cover the seeds with a thin layer of potting mix.
5. Water Again: Water the soil gently to settle it around the seeds.
6. Label Your Container: Don’t forget to label your container with the radish variety and the date you planted them. This will help you keep track of your progress.
Caring for Your Radish Plants
Radishes are relatively low-maintenance, but they do need some TLC to thrive.
* Sunlight: Radishes need at least 6 hours of sunlight per day. Place your container in a sunny location. If you don’t have enough sunlight, you can supplement with grow lights.
* Watering: Keep the soil consistently moist but not waterlogged. Water when the top inch of soil feels dry to the touch. Avoid letting the soil dry out completely, as this can cause the radishes to become tough and bitter.
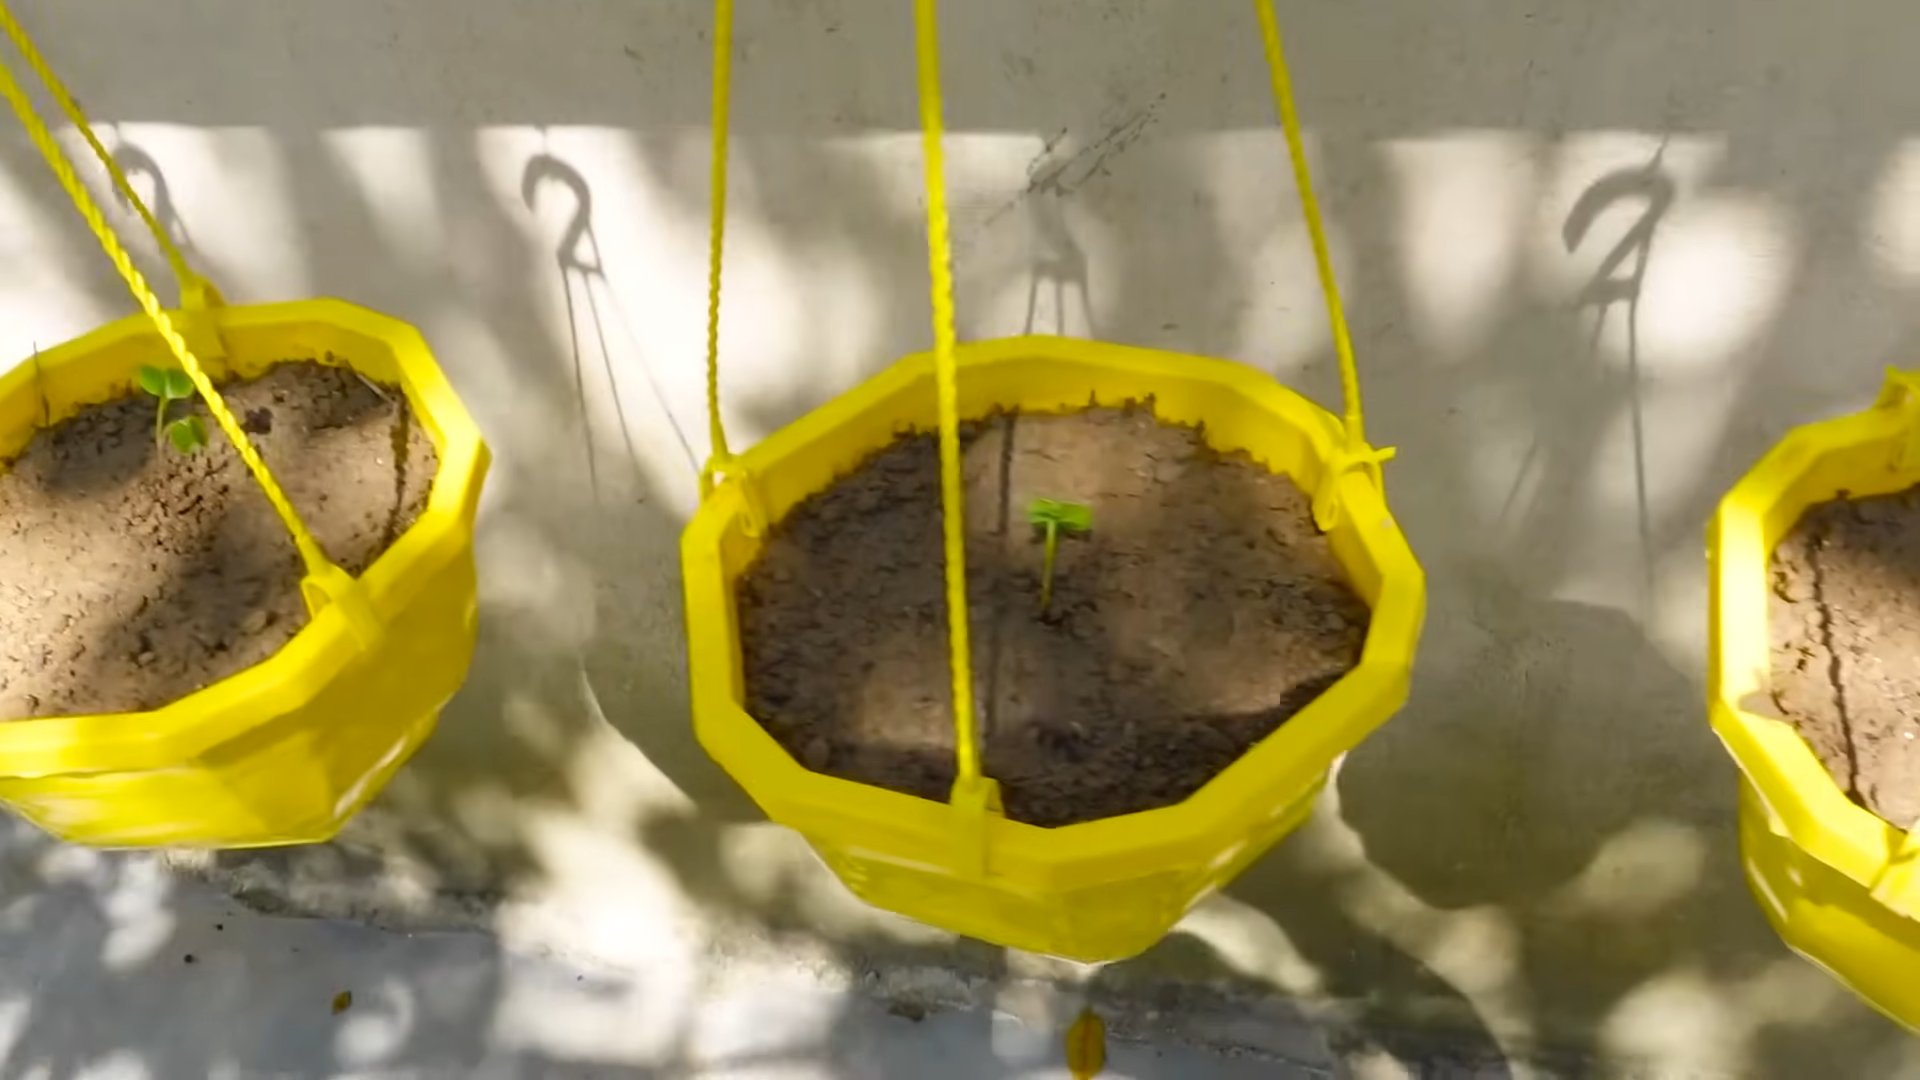
* Thinning: Once the seedlings emerge, thin them to about 2 inches apart. This will give the radishes enough space to develop properly. Use small scissors to snip off the unwanted seedlings at the soil line. Don’t pull them out, as this can disturb the roots of the remaining plants.
* Fertilizing: Radishes don’t need a lot of fertilizer, but a light feeding can help them grow faster. Use a balanced liquid fertilizer diluted to half strength every two weeks. Avoid over-fertilizing, as this can cause the radishes to develop excessive foliage at the expense of the roots.
* Weeding: Keep the container free of weeds. Weeds compete with the radishes for nutrients and water.
* Pest Control: Radishes are generally pest-resistant, but they can be susceptible to flea beetles and aphids. Inspect your plants regularly for signs of pests. If you find any, you can control them with insecticidal soap or neem oil.
Harvesting Your Radishes
The moment you’ve been waiting for! Harvesting is the most rewarding part of growing radishes.
* Harvest Time: Radishes are typically ready to harvest in 3-4 weeks, depending on the variety. Check the seed packet for the specific days to maturity.
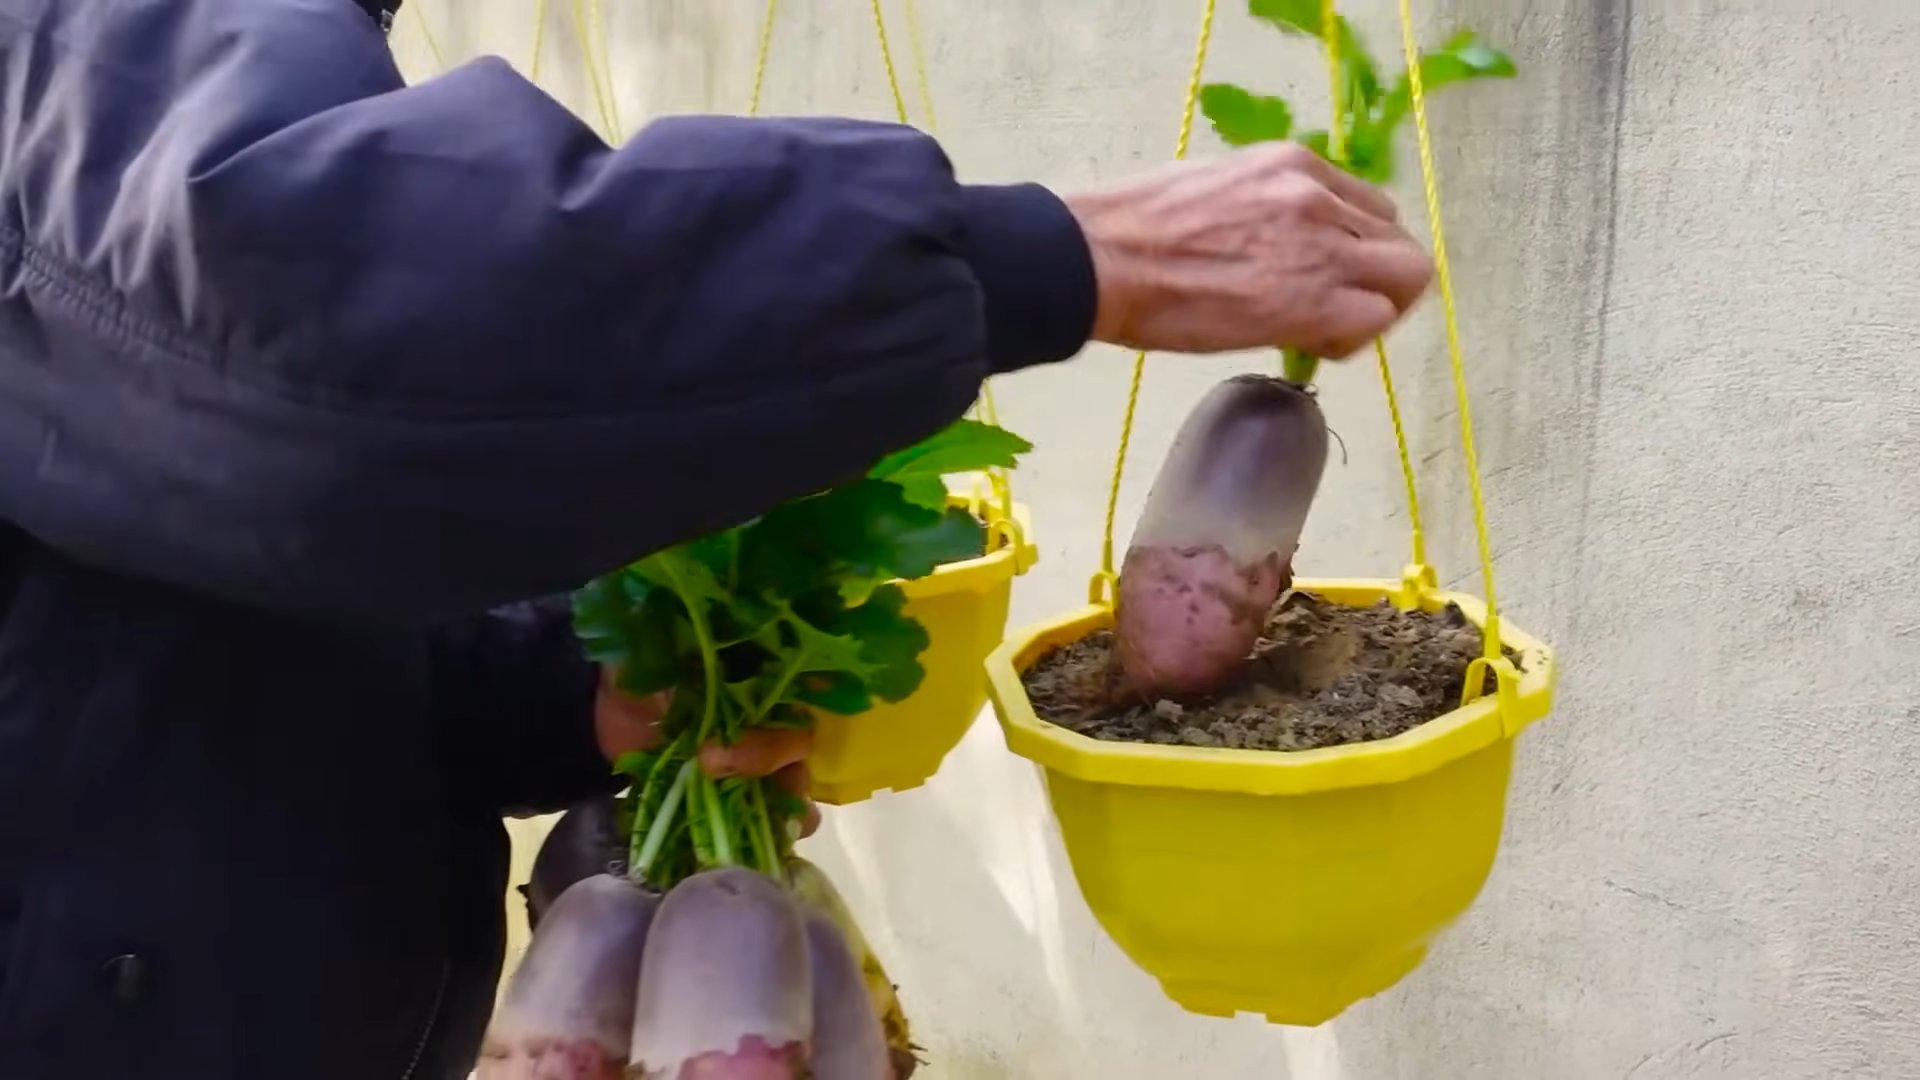
* Harvesting Technique: Gently pull the radishes from the soil when they reach the desired size. Don’t wait too long to harvest them, as they can become tough and bitter if left in the ground too long.
* Storage: Remove the greens from the radishes and store them separately in the refrigerator. The radishes will keep for several weeks in the refrigerator. The greens are best used within a few days.
Troubleshooting Common Problems
Even with the best care, you might encounter some problems along the way. Here are some common issues and how to address them:
* Radishes are not forming bulbs: This is usually caused by overcrowding, lack of sunlight, or poor soil. Make sure you thin the seedlings properly, provide adequate sunlight, and use a good-quality potting mix.
* Radishes are tough and bitter: This is often caused by inconsistent watering or letting the radishes sit in the ground too long. Keep the soil consistently moist and harvest the radishes when they reach the desired size.
* Radishes are splitting: This can be caused by uneven watering, especially after a period of drought. Water regularly and consistently.
* Pests are attacking my radishes: Inspect your plants regularly for signs of pests and take action promptly. Insecticidal soap and neem oil are effective for controlling many common pests.
Successive Planting for Continuous Harvest
Want to enjoy fresh radishes all season long? Try successive planting!
* What is Successive Planting?: Successive planting involves sowing a new batch of seeds every 1-2 weeks. This ensures a continuous supply of radishes throughout the growing season.
* How to Do It: Simply sow a new batch of seeds in a separate container or in the same container after harvesting the previous batch.
* Benefits: Successive planting prevents you from being overwhelmed with a huge harvest all at once and ensures a steady supply of fresh radishes for your salads and snacks.
Enjoying Your Homegrown Radishes
Congratulations! You’ve successfully grown radishes in containers. Now it’s time to enjoy the fruits (or rather, roots) of your labor.
* Eating Them Fresh: Radishes are delicious eaten raw in salads, sandwiches, or as a crunchy snack.
* Cooking with Radishes: You can also cook radishes. Try roasting them with other vegetables, adding them to soups, or sautéing them with butter and herbs.
* Don’t Forget the Greens!: Don’t throw away the radish greens! They’re edible and nutritious. You can add them to salads, sauté them like spinach, or use them to make pesto.
Growing radishes in containers is a fun and rewarding experience. With a little bit of care and attention, you can enjoy a continuous supply of fresh, peppery radishes right at your doorstep. Happy gardening!
Conclusion
So, there you have it! Growing radishes in containers is not just a possibility; it’s a pathway to fresh, peppery goodness right at your fingertips. We’ve walked through the simple steps, from selecting the perfect container and soil to nurturing your tiny radish seedlings into vibrant, edible roots. But why is this DIY trick a must-try?
Firstly, it’s incredibly accessible. Whether you have a sprawling garden or a small balcony, container gardening allows you to cultivate radishes regardless of your space constraints. This is particularly beneficial for urban dwellers or those with limited mobility who might find traditional gardening challenging. Secondly, it offers unparalleled control. You dictate the soil composition, the watering schedule, and the sun exposure, creating an optimal environment for your radishes to thrive. This control translates to healthier, tastier radishes, free from the pests and diseases that can plague in-ground gardens.
Beyond the practical benefits, growing your own radishes is deeply rewarding. There’s a unique satisfaction in nurturing a plant from seed to harvest, knowing that you’ve played an active role in providing fresh, healthy food for yourself and your family. And let’s not forget the sheer convenience of having radishes readily available whenever you need them for a salad, a snack, or a garnish.
Looking for variations? Absolutely! Consider experimenting with different radish varieties. From the classic red globe radishes to the elongated French Breakfast radishes or even the vibrant Watermelon radishes, there’s a whole world of radish flavors and colors to explore. You can also try companion planting. Marigolds, for example, can help deter pests, while carrots can help loosen the soil. Another fun variation is succession planting. Sow a new batch of seeds every two weeks to ensure a continuous harvest throughout the growing season. You can even try growing them indoors under grow lights during the colder months for a year-round supply of fresh radishes.
Don’t be afraid to get creative with your container choices too! While plastic pots are a reliable option, you can also use repurposed containers like old buckets, wooden crates, or even fabric grow bags. Just make sure your chosen container has adequate drainage.
Ultimately, growing radishes in containers is a simple, rewarding, and accessible way to enjoy fresh, homegrown produce. It’s a project that’s perfect for beginners and seasoned gardeners alike. So, grab a container, some soil, and a packet of radish seeds, and get ready to experience the joy of harvesting your own delicious radishes.
We wholeheartedly encourage you to try this DIY trick and share your experience with us! Post photos of your radish containers, tell us about your favorite varieties, and let us know any tips or tricks you discover along the way. Let’s create a community of container radish growers and inspire others to embrace the joys of homegrown food. Happy gardening!
Frequently Asked Questions (FAQ)
What is the best size container for growing radishes?
Radishes don’t require deep containers, as they are relatively small root vegetables. A container that is at least 6 inches deep and 6 inches wide is generally sufficient for growing radishes. However, if you plan to grow multiple radishes in the same container, opt for a larger container to provide adequate space for each plant to develop. A container that is 12 inches deep and 12 inches wide can comfortably accommodate several radish plants. Remember to consider the drainage of the container; it should have drainage holes to prevent waterlogging, which can lead to root rot.
What type of soil is best for growing radishes in containers?
Radishes thrive in well-draining, loose soil that is rich in organic matter. A good potting mix specifically formulated for vegetables is an excellent choice. Avoid using heavy garden soil, as it can compact and hinder root development. You can also amend your potting mix with compost or other organic materials to improve its fertility and drainage. A slightly acidic to neutral pH (around 6.0 to 7.0) is ideal for radish growth.
How often should I water my container radishes?
Radishes need consistent moisture to grow quickly and develop crisp, flavorful roots. Water your container radishes regularly, especially during hot, dry weather. The soil should be kept consistently moist but not waterlogged. Check the soil moisture by sticking your finger about an inch into the soil. If it feels dry, it’s time to water. Avoid letting the soil dry out completely, as this can cause the radishes to become tough and bitter. Overwatering, on the other hand, can lead to root rot.
How much sunlight do radishes need?
Radishes need at least 6 hours of sunlight per day to grow well. Choose a location for your container radishes that receives plenty of direct sunlight. If you live in a hot climate, provide some afternoon shade to prevent the soil from overheating. If you don’t have a sunny spot, you can supplement with grow lights.
How long does it take for radishes to mature in containers?
One of the great things about radishes is that they are quick to mature. Most radish varieties are ready to harvest in just 3 to 4 weeks after planting. Check the seed packet for the specific maturity time of your chosen variety. To harvest, gently pull the radishes from the soil when they reach the desired size.
What are some common pests and diseases that affect radishes, and how can I prevent them?
Radishes are generally relatively pest-free, but they can be susceptible to certain pests and diseases, such as flea beetles, root maggots, and fungal diseases. To prevent these problems, practice good garden hygiene. Remove any weeds or debris from around your plants, and water them at the base to avoid wetting the foliage. You can also use row covers to protect your radishes from pests. If you notice any signs of pests or diseases, treat them promptly with appropriate organic pesticides or fungicides.
Can I grow radishes in containers indoors?
Yes, you can grow radishes in containers indoors, especially during the colder months. Provide them with plenty of light, either from a sunny window or grow lights. Maintain a consistent temperature and humidity level, and water them regularly. Choose a compact radish variety that is well-suited for indoor growing.
How do I prevent my radishes from becoming too spicy or bitter?
Several factors can contribute to radishes becoming too spicy or bitter, including hot weather, dry soil, and overmaturity. To prevent this, choose a radish variety that is known for its mild flavor, and provide your plants with consistent moisture and shade during hot weather. Harvest your radishes when they are young and tender, before they become overmature.
Can I eat the radish greens?
Yes, radish greens are edible and nutritious! They have a peppery flavor that is similar to the roots. You can use them in salads, soups, or stir-fries. Harvest the greens when they are young and tender, and wash them thoroughly before eating.
What are some good companion plants for radishes in containers?
Radishes are good companion plants for many other vegetables, including carrots, lettuce, spinach, and beans. They can help to deter pests and improve soil health. Avoid planting radishes near hyssop, as it can inhibit their growth.
Leave a Comment