
Grow Purple Cabbage: Your Guide to Vibrant Homegrown Vegetables
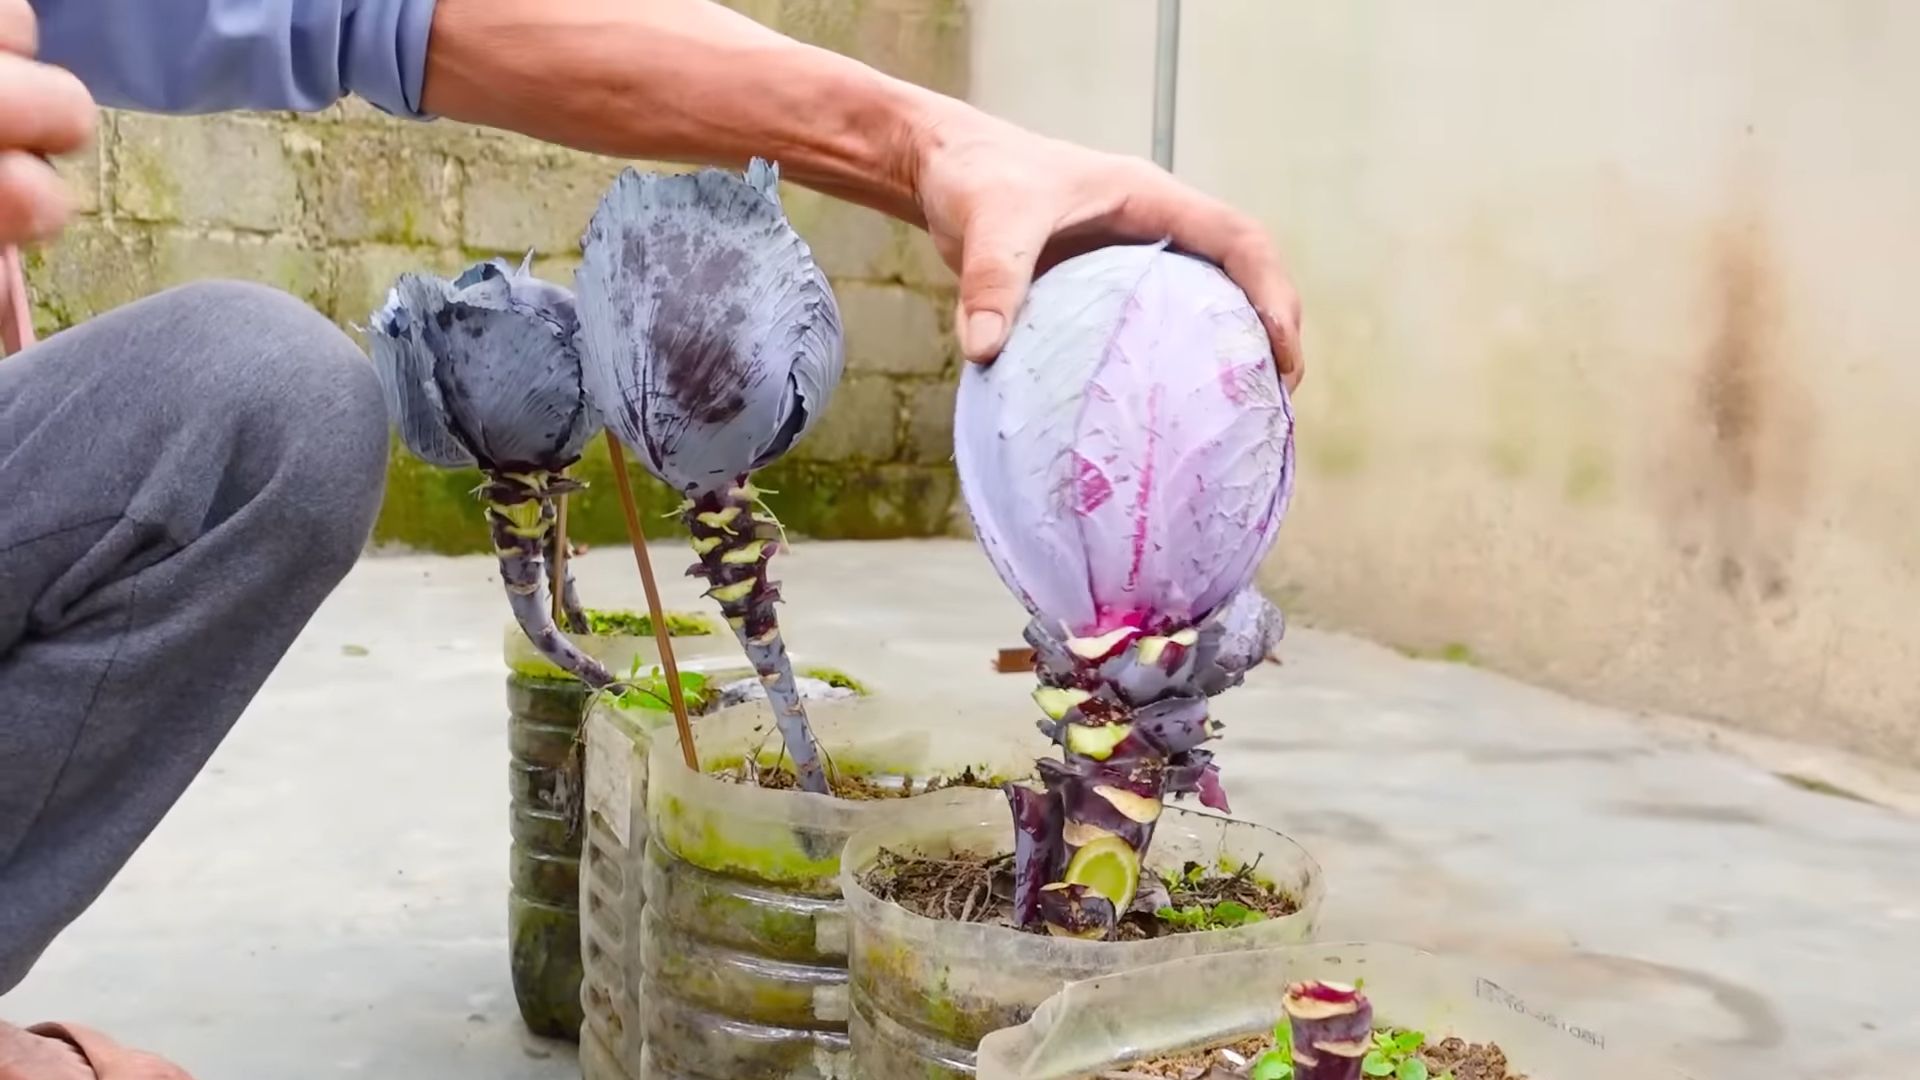
Growing Purple Cabbage isn’t just about harvesting a beautiful, deep-hued vegetable; it’s about connecting with nature, enjoying fresh, flavorful food, and experiencing the immense satisfaction of nurturing something from seed to plate. I’ve always loved the vibrant color of purple cabbage, and the unique flavor it brings to salads and slaws. That’s why I’m so excited to share my home gardening tricks and DIY tips for successfully growing this stunning vegetable in your own backyard.
Historically, cabbage, in all its colorful variations, has played a significant role in human diets across cultures for centuries. From ancient Rome to medieval Europe, cabbage was a staple crop, prized for its nutritional value and ability to survive harsh winters. Today, we continue to appreciate its versatility and health benefits, but the joy of growing your own Grow Purple Cabbage adds a whole new dimension to the experience.
Why Grow Your Own Purple Cabbage?
In a world increasingly focused on sustainable living and knowing where our food comes from, growing your own purple cabbage offers numerous advantages. You’ll have access to incredibly fresh, pesticide-free vegetables, bursting with flavor. Plus, there’s something truly rewarding about watching a tiny seed transform into a magnificent head of purple cabbage, a testament to your own green thumb. And let’s be honest, the vibrant color alone is enough to brighten any garden!
This article is your comprehensive guide to mastering the art of growing purple cabbage at home. We’ll cover everything from seed starting and soil preparation to pest control and harvesting, ensuring you have all the Grow Purple Cabbage knowledge you need for a bountiful harvest. Get ready to transform your garden into a vibrant purple paradise!
DIY Paint Brush Storage: A Neat Solution for Your Artistic Mess
I’ve always struggled with paint brush storage. Those flimsy plastic containers never seemed to hold up, and my brushes were constantly getting bent or damaged. So, I decided to create my own custom storage solution, and let me tell you, it’s a game-changer! This project is surprisingly easy and inexpensive, and the results are incredibly satisfying.
Gathering Your Supplies
- A sturdy, empty tin can (I used a large coffee can, but soup cans or even oatmeal containers work well – just make sure they’re clean and dry!)
- Scissors
- A roll of craft foam (about 1/4 inch thick)
- Hot glue gun and glue sticks
- Ruler or measuring tape
- Pencil
- Optional: Decorative elements like ribbon, paint, or washi tape for personalization
Preparing the Can
- Thoroughly clean and dry your chosen can. Remove any labels completely. You want a clean surface for the glue to adhere properly.
- If your can has a sharp edge, consider carefully sanding it down to prevent accidental cuts. Adult supervision is recommended for this step if you’re involving children.
- Measure the circumference of the can using your measuring tape. This measurement will be crucial for cutting the foam.
Cutting and Shaping the Foam
- Using your ruler and pencil, mark the craft foam. You need a rectangle with a length equal to the can’s circumference and a width that’s slightly less than the height of the can (I recommend about 1/2 inch less to allow for a snug fit).
- Carefully cut out the rectangle using your scissors. Take your time to ensure clean, straight cuts. A sharp pair of scissors will make this much easier.
- Once cut, carefully roll the foam rectangle around the can, ensuring it fits snugly. You might need to slightly adjust the width to get a perfect fit. If it’s too loose, you can always add a small piece of foam to tighten it.
Securing the Foam
- This is where the hot glue gun comes in. Be extremely careful when using a hot glue gun. Always have adult supervision if children are involved. Never touch the hot glue nozzle.
- Apply a thin line of hot glue along the overlapping edge of the foam. Press firmly to secure the foam to itself, creating a seamless cylinder.
- Once the glue has cooled and set, apply additional hot glue along the bottom edge of the foam, securing it to the bottom of the can. Make sure the glue is evenly distributed to ensure a strong bond.
- Allow the glue to cool completely before handling. This will prevent the foam from shifting or becoming loose.
Creating the Brush Compartments
- Now for the fun part! Decide how many brush compartments you want. Consider the size and number of brushes you’ll be storing.
- Using your pencil, lightly mark the foam where you want to create the compartments. I found it easiest to divide the foam into equal sections.
- Carefully cut along your pencil marks, creating individual slots for your brushes. The depth of the slots should be deep enough to hold your brushes securely, but not so deep that the brushes are difficult to remove.
- Remember to consider the size of your brush handles when determining the width of each compartment. You want a snug fit to prevent the brushes from tipping over.
Personalizing Your Brush Holder (Optional)
- Once your compartments are cut, you can personalize your brush holder! This is a great opportunity to add your own creative touch.
- You can paint the can with acrylic paints, wrap it with decorative washi tape, or tie a ribbon around it. Let your imagination run wild!
- Allow any paint or other decorative elements to dry completely before using your new brush holder.
Final Touches and Usage
- Carefully insert your paintbrushes into their designated compartments. Make sure they are securely held in place.
- Congratulations! You’ve successfully created a custom paint brush holder. Enjoy the convenience and organization it brings to your art supplies.
- Remember to always keep your brushes clean and dry to prolong their lifespan. This storage solution will help keep them organized and protected.
Troubleshooting Tips
- If the foam is too loose, add a small piece of foam to the overlapping edge before gluing.
- If the glue doesn’t adhere properly, ensure the can is clean and dry.
- If the compartments are too shallow, carefully cut them deeper. If they are too deep, you may need to start over with a new piece of foam.
Conclusion
So there you have it – a simple, yet incredibly effective method for growing vibrant purple cabbage in your own garden! This DIY approach, focusing on soil preparation and consistent care, guarantees a bountiful harvest of beautiful, flavorful purple cabbage. This isn’t just about growing vegetables; it’s about connecting with nature and enjoying the fruits (or rather, vegetables!) of your labor. The satisfaction of nurturing a seed into a mature head of purple cabbage is unparalleled. Beyond the deliciousness, the deep purple hue adds a stunning pop of color to your garden and your plate. This DIY method eliminates the guesswork and potential disappointments associated with store-bought seedlings, offering you complete control over the growing process from start to finish. The result? Crisp, flavorful purple cabbage that surpasses anything you can find in the supermarket.
Don’t limit yourself to just one variety! Experiment with different types of purple cabbage, exploring variations in size, shape, and even subtle differences in taste. Consider companion planting – incorporating herbs like dill or chamomile nearby can help deter pests and improve the overall health of your cabbage plants. You can also explore different growing methods, such as using raised beds or containers, to adapt the process to your specific space and resources. For those with limited space, consider growing compact varieties of purple cabbage, maximizing your yield within a smaller footprint. And remember, even if you don’t have a large garden, a few plants in pots on your balcony or patio can still provide a rewarding harvest.
We strongly encourage you to try this DIY method for growing purple cabbage. It’s a rewarding experience that connects you with the natural world and provides you with fresh, healthy produce. Share your experiences with us! Post pictures of your thriving purple cabbage plants on social media using #GrowPurpleCabbage and tag us – we’d love to see your success stories. Let’s build a community of home gardeners, sharing tips, tricks, and the joy of growing our own food. Remember, the journey of growing your own purple cabbage is as rewarding as the delicious harvest itself. So grab your seeds, prepare your soil, and get ready to experience the magic of growing your own vibrant, flavorful purple cabbage!
Frequently Asked Questions
What type of soil is best for growing purple cabbage?
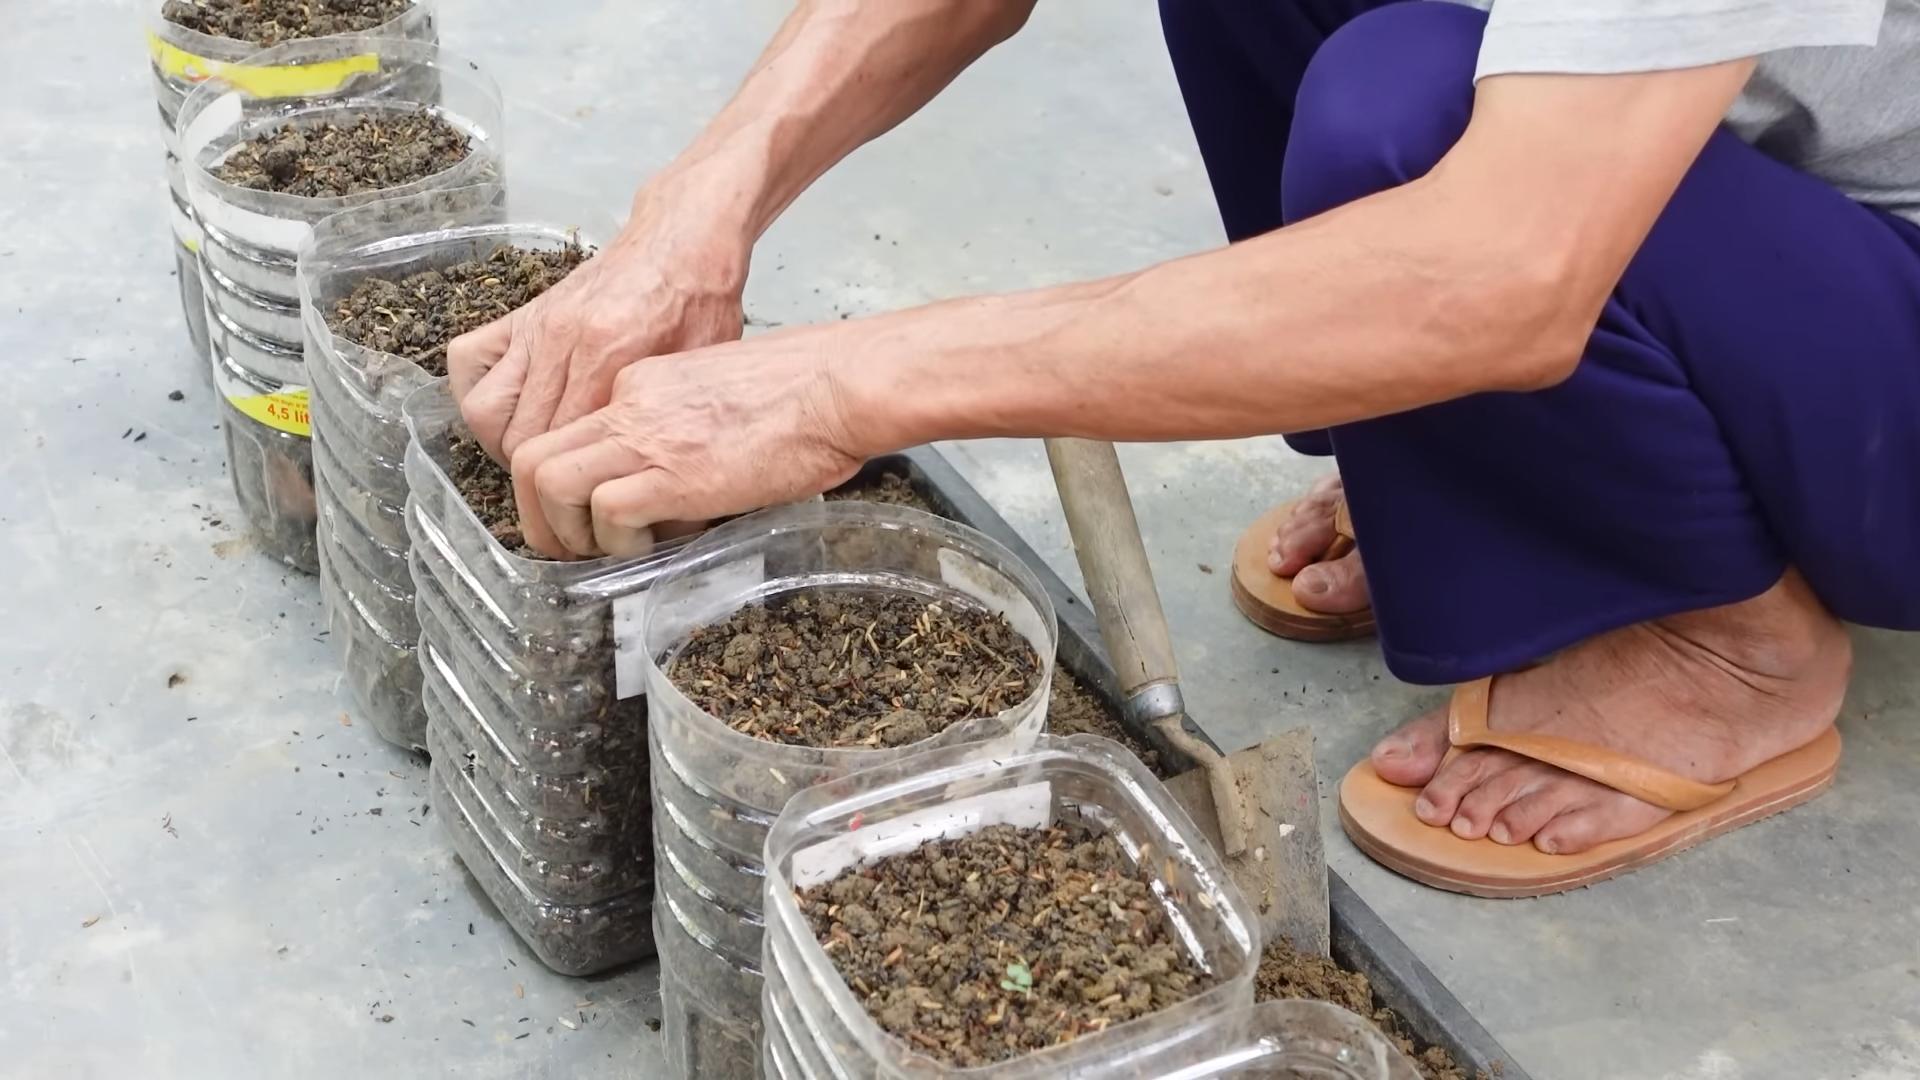
Purple cabbage thrives in loose, well-drained soil rich in organic matter. Amend heavy clay soils with compost or other organic materials to improve drainage and aeration. A slightly acidic soil pH (around 6.0-6.8) is ideal. Before planting, test your soil’s pH using a home testing kit and adjust accordingly.
How much sunlight do purple cabbage plants need?
Purple cabbage plants need at least 6-8 hours of direct sunlight per day to grow properly. Choose a sunny location in your garden or ensure your containers receive ample sunlight. Insufficient sunlight can lead to poor growth and reduced yield.
How often should I water my purple cabbage plants?
Consistent watering is crucial for healthy purple cabbage growth. Water deeply and regularly, especially during dry periods. Aim to keep the soil consistently moist but not waterlogged. Overwatering can lead to root rot, while underwatering can stunt growth. Mulching around the plants can help retain soil moisture.
What are some common pests and diseases that affect purple cabbage?
Cabbage worms, aphids, and slugs are common pests that can damage purple cabbage plants. Regularly inspect your plants for signs of infestation and take appropriate action. Consider using organic pest control methods such as insecticidal soap or diatomaceous earth. Proper spacing between plants can also help improve air circulation and reduce the risk of fungal diseases.
When is the best time to harvest purple cabbage?
Purple cabbage is typically ready for harvest 70-80 days after planting, depending on the variety. The heads should be firm and dense. Harvest by cutting the head from the stem using a sharp knife. Avoid harvesting during wet weather to prevent rot.
Can I save seeds from my purple cabbage to plant next year?
While you can technically save seeds from your purple cabbage, it’s not always recommended for maintaining the specific characteristics of the variety. Hybrid varieties often produce offspring with unpredictable traits. It’s generally easier and more reliable to purchase fresh seeds each year from a reputable supplier to ensure consistent results.
What are some creative ways to use purple cabbage?
Beyond the classic coleslaw, purple cabbage adds a vibrant color and unique flavor to a wide range of dishes. Try it in stir-fries, salads, kimchi, or even pickled. Its deep purple color also makes it a beautiful addition to soups and stews. Experiment with different cooking methods to discover your favorite ways to enjoy this versatile vegetable.
What should I do if my purple cabbage plants show signs of disease?
If you notice signs of disease, such as wilting, yellowing leaves, or unusual spots, take action immediately. Remove affected leaves and improve air circulation around the plants. Consider using an appropriate organic fungicide if necessary, following the product instructions carefully. Prevention is key, so ensure proper soil drainage and avoid overhead watering.


Leave a Comment