
Grow Sweet Melons, right in your own backyard? Absolutely! Imagine biting into a juicy, sun-ripened melon you nurtured from seed to fruit. Forget those bland, store-bought melons – we’re talking about flavor explosions that will make your taste buds sing! This isn’t just about gardening; it’s about reclaiming control over your food and experiencing the pure joy of homegrown goodness.
Melons have a rich history, dating back to ancient Egypt and beyond. They were prized for their sweetness and refreshing qualities, often depicted in art and literature as symbols of abundance and prosperity. For centuries, cultivating melons was a sign of skill and dedication, a tradition passed down through generations. Now, I’m going to share some simple yet effective DIY tricks and hacks to help you grow sweet melons, even if you’re a beginner gardener.
Let’s face it, store-bought produce often lacks the vibrant flavor and nutritional value of homegrown fruits and vegetables. Plus, with rising food costs and concerns about pesticides, many of us are looking for ways to supplement our diets with fresh, healthy options. These DIY tricks will empower you to create a thriving melon patch, save money, and enjoy the unparalleled taste of your own harvest. Get ready to roll up your sleeves and discover the secrets to growing the sweetest, most delicious melons you’ve ever tasted!
Growing Sweet Melons: A DIY Guide to Bumper Crops!
Okay, melon lovers, let’s get down to business! I’m going to walk you through everything you need to know to grow the sweetest, juiciest melons you’ve ever tasted, right in your own backyard. Forget those bland grocery store melons – we’re aiming for flavor explosions! This guide is packed with tips and tricks I’ve learned over the years, so get ready to get your hands dirty.
Choosing Your Melon Variety
Before we even think about planting, we need to decide what kind of melon we want to grow. There are so many delicious options! Here’s a quick rundown of some popular choices:
* Cantaloupe: A classic choice, known for its orange flesh and netted rind. They’re relatively easy to grow and have a wonderful aroma.
* Honeydew: These melons have smooth, pale green skin and sweet, light green flesh. They’re a bit more delicate than cantaloupes.
* Watermelon: The king of summer! Watermelons come in various sizes and colors, from the classic red to yellow and even seedless varieties. They need plenty of space.
* Galia Melon: A hybrid melon with a yellow rind and green flesh. It has a unique, slightly spicy flavor.
* Casaba Melon: These melons have a wrinkled, yellow rind and white flesh. They have a mild, slightly tangy flavor.
Consider your climate, space, and personal preferences when choosing your melon variety. Some varieties are better suited to certain climates than others. Also, think about how much space you have – watermelons, in particular, need a lot of room to sprawl.
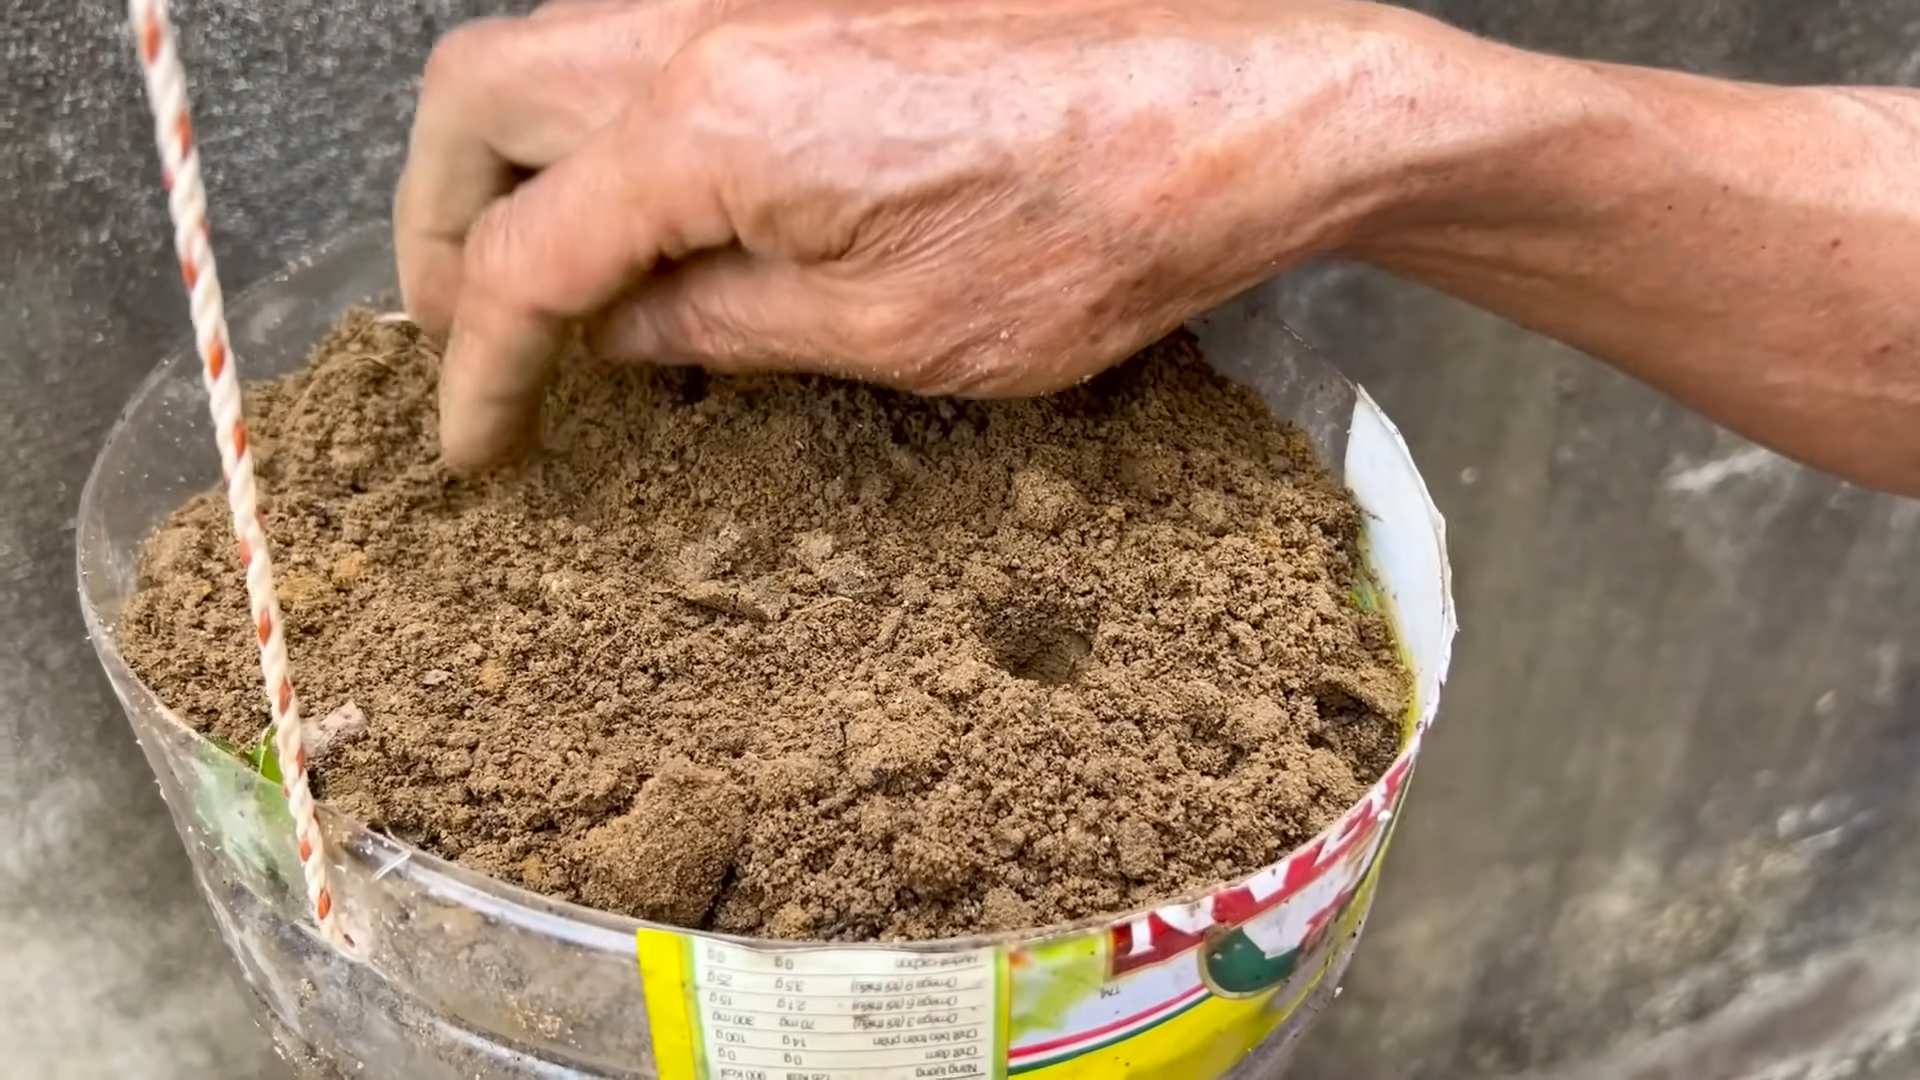
Preparing Your Melon Patch
Melons are sun-worshippers and nutrient-hungry plants. So, preparing the soil is crucial for success.
* Sunlight: Melons need at least 6-8 hours of direct sunlight per day. Choose a location that gets plenty of sun throughout the day.
* Soil: Melons prefer well-drained, sandy loam soil. If your soil is heavy clay, you’ll need to amend it with organic matter.
* Nutrients: Melons are heavy feeders, so you’ll need to enrich the soil with compost, aged manure, or a balanced fertilizer.
* pH: Melons prefer a soil pH between 6.0 and 6.8. You can test your soil pH with a soil testing kit.
Step-by-Step Planting Guide
Now for the fun part – planting! Here’s how to get your melon plants off to a great start:
1. Start Seeds Indoors (Optional): You can start melon seeds indoors 4-6 weeks before the last expected frost. This gives them a head start, especially in cooler climates. Sow seeds in peat pots or seed trays filled with seed-starting mix. Keep the soil moist and warm (around 70-80°F). Once the seedlings have a few true leaves, you can harden them off by gradually exposing them to outdoor conditions.
2. Prepare the Planting Bed: Whether you’re transplanting seedlings or direct-sowing seeds, prepare the planting bed by amending the soil with compost or aged manure. Work the organic matter into the top 6-8 inches of soil.
3. Direct Sowing (If Applicable): If you’re direct-sowing seeds, wait until the soil has warmed up to at least 70°F. Sow seeds about 1 inch deep and 2-3 feet apart, depending on the variety. Water gently after planting.
4. Transplanting Seedlings: If you started seeds indoors, transplant the seedlings after the last expected frost. Dig holes that are slightly larger than the root balls. Gently remove the seedlings from their pots and place them in the holes. Backfill with soil and water thoroughly. Space the plants according to the variety’s recommendations (usually 2-3 feet apart).
5. Mulch: Apply a layer of mulch around the plants to help retain moisture, suppress weeds, and keep the soil warm. Straw, hay, or black plastic mulch are all good options. Black plastic mulch can be particularly helpful in warming the soil early in the season.
6. Watering: Water the plants regularly, especially during dry periods. Melons need consistent moisture to develop properly. Water deeply at the base of the plants, avoiding wetting the foliage, which can lead to fungal diseases.
Caring for Your Melon Plants
Once your melon plants are established, it’s time to provide them with the care they need to thrive.
* Fertilizing: Feed your melon plants with a balanced fertilizer every 2-3 weeks. You can also use a fertilizer specifically formulated for melons. Follow the instructions on the fertilizer package.
* Weeding: Keep the area around your melon plants free of weeds. Weeds compete with the plants for nutrients and water.
* Pruning (Optional): Some gardeners prune their melon plants to encourage fruit production. You can remove some of the side shoots to direct the plant’s energy towards developing the main fruits. However, pruning is not essential, and some varieties don’t respond well to it.
* Pest and Disease Control: Keep an eye out for pests and diseases. Common melon pests include aphids, squash bugs, and cucumber beetles. Common diseases include powdery mildew and fusarium wilt. Use organic pest control methods whenever possible. Insecticidal soap, neem oil, and row covers can be effective against many pests. For diseases, ensure good air circulation and avoid overhead watering.
Supporting Your Melons
As your melons grow, they may need some support to prevent them from rotting on the ground.
* Trellising: For smaller melon varieties, you can train them to grow on a trellis. This helps to save space and improves air circulation. Use soft ties or netting to secure the vines to the trellis.
* Elevating Fruits: For larger melons, you can place them on a bed of straw or cardboard to keep them off the ground. This helps to prevent rot and allows them to ripen evenly. You can also use melon cradles, which are specifically designed to support melons.
Pollination
Melons need to be pollinated to produce fruit. Bees are the primary pollinators, so it’s important to attract them to your garden.
* Attract Pollinators: Plant flowers that attract bees, such as sunflowers, zinnias, and lavender. Avoid using pesticides that can harm bees.
* Hand Pollination (If Necessary): If you’re not seeing many bees in your garden, you may need to hand-pollinate your melon flowers. Use a small paintbrush to transfer pollen from the male flowers to the female flowers. Female flowers have a small fruit behind the flower, while male flowers do not.
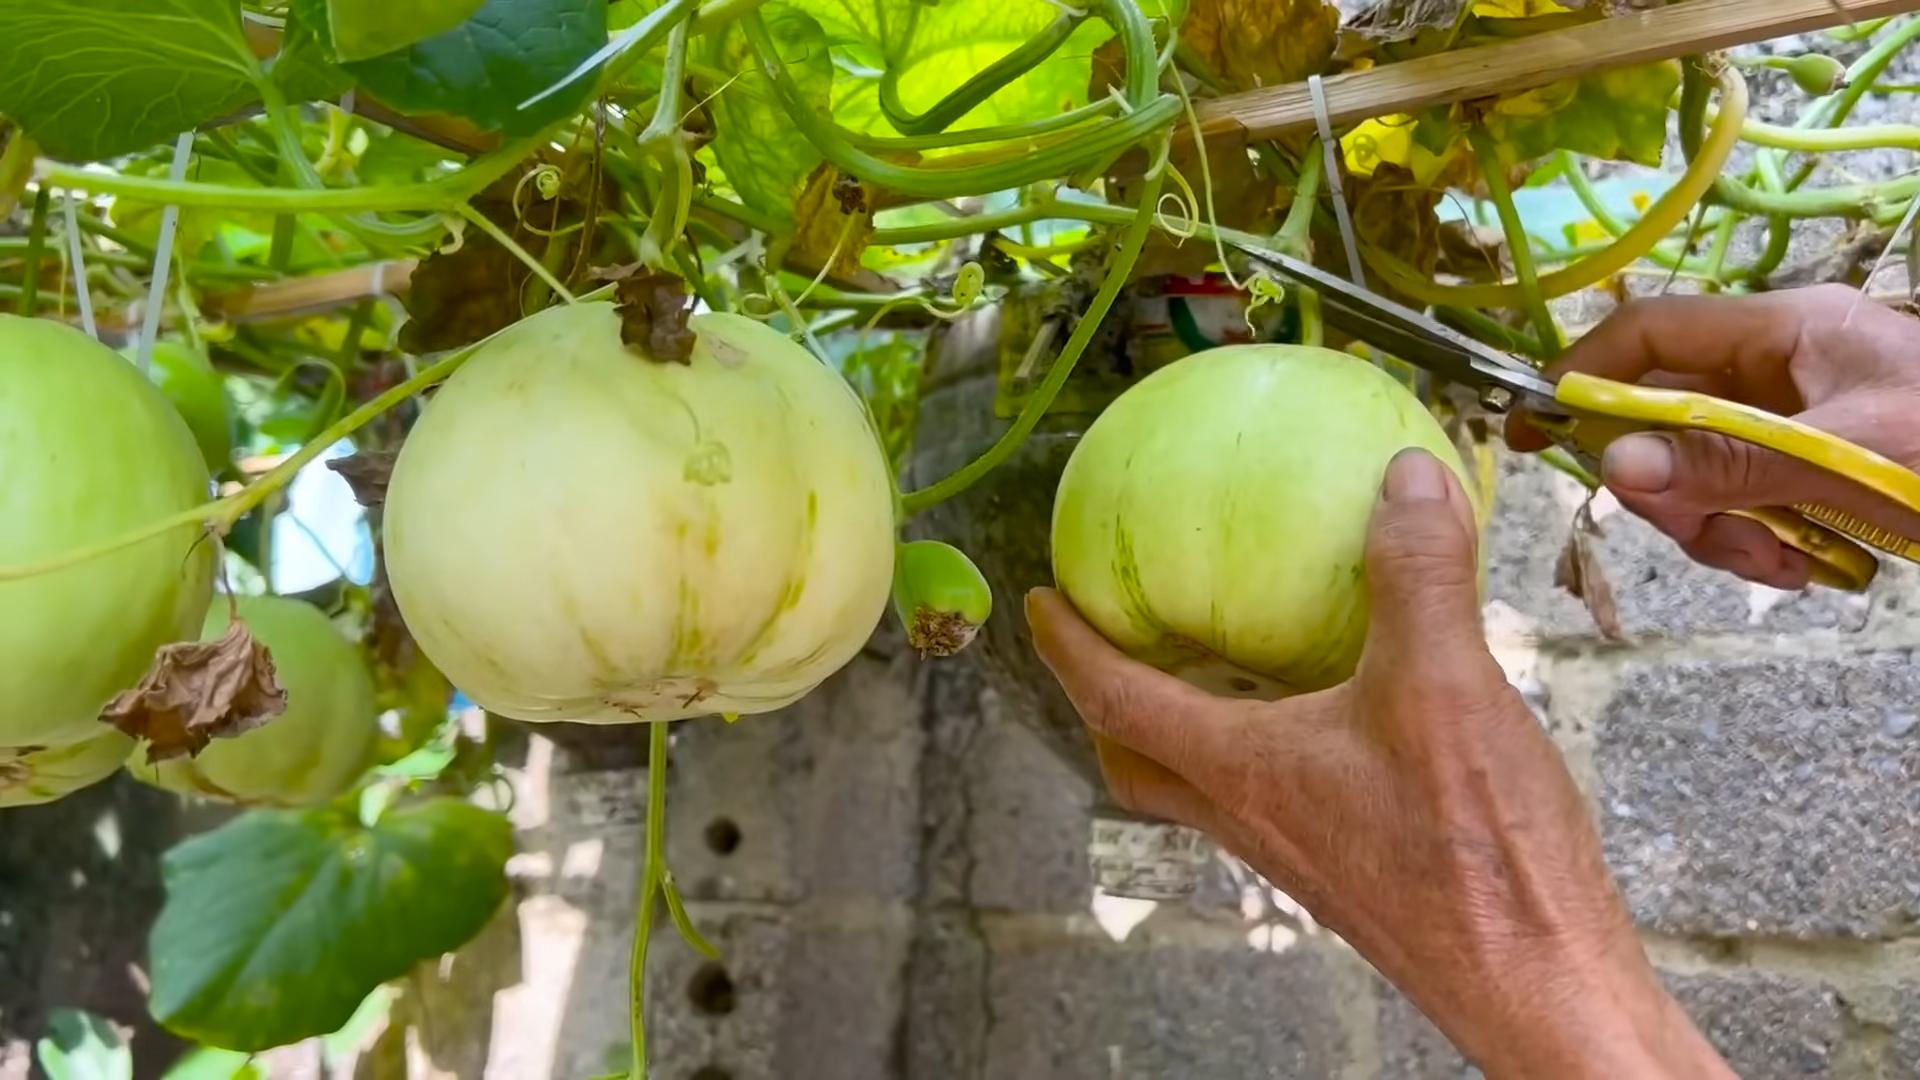
Harvesting Your Sweet Rewards
The moment we’ve all been waiting for – harvesting! Knowing when to harvest your melons is key to getting the best flavor.
* Cantaloupe: Cantaloupes are ripe when the stem starts to slip easily from the fruit. The rind will also turn a golden color and have a sweet aroma.
* Honeydew: Honeydews are ripe when the rind turns a creamy yellow color and the blossom end is slightly soft.
* Watermelon: Watermelons are ripe when the tendril closest to the fruit turns brown and dry. The bottom of the melon (where it rests on the ground) will also turn a yellowish color. You can also thump the melon – a ripe watermelon will have a deep, hollow sound.
* Galia Melon: Galia melons are ripe when the rind turns a golden yellow color and has a strong aroma.
* Casaba Melon: Casaba melons are ripe when the rind turns a golden yellow color and the blossom end is slightly soft.
Once your melons are ripe, cut them from the vine with a sharp knife. Handle them carefully to avoid bruising.
Storing Your Melons
After harvesting, you can store your melons in the refrigerator for several days.
* Whole Melons: Whole melons can be stored in the refrigerator for up to a week.
* Cut Melons: Cut melons should be stored in an airtight container in the refrigerator and consumed within a few days.
Troubleshooting
Even with the best care, you may encounter some problems when growing melons. Here are some common issues and how to address them:
* Poor Fruit Set: This can be caused by lack of pollination, poor weather conditions, or nutrient deficiencies. Make sure you’re attracting pollinators to your garden and fertilizing your plants properly.
* Cracked Fruits: This can be caused by inconsistent watering. Water your plants regularly and deeply, especially during dry periods.
* Rotting Fruits: This can be caused by fungal diseases or pests. Ensure good air circulation and use organic pest control methods.
* Powdery Mildew: This fungal disease can cause a white, powdery coating on the leaves. Ensure good air circulation and avoid overhead watering. You can also treat powdery mildew
Conclusion
So, there you have it! Growing sweet melons at home, bursting with flavor and sunshine, is absolutely within your reach. This DIY trick, focusing on [specific aspect of the trick, e.g., soil amendment, watering technique, or support system], is a game-changer for anyone who’s ever dreamt of biting into a perfectly ripe, homegrown melon. It’s not just about saving money (though that’s a definite perk!), it’s about the satisfaction of nurturing something from seed to table, knowing exactly what went into it, and enjoying a taste that surpasses anything you can find in a store.
Why is this a must-try? Because it addresses a common challenge in melon cultivation: [mention the challenge, e.g., poor drainage, lack of nutrients, or inadequate support]. By implementing this simple yet effective technique, you’re setting your melon plants up for success, ensuring they receive the resources they need to thrive and produce those juicy, sweet fruits we all crave.
But don’t stop there! Feel free to experiment and adapt this DIY trick to your specific garden conditions and preferences. For instance, if you’re dealing with particularly heavy clay soil, consider adding even more organic matter, such as composted leaves or aged manure, to improve drainage and aeration. If space is limited, try growing your melons vertically using a sturdy trellis or netting system. This not only saves space but also improves air circulation, reducing the risk of fungal diseases. You could even try different varieties of melons, each with its unique flavor profile and growing requirements. Watermelons, cantaloupes, honeydews – the possibilities are endless!
Remember, gardening is a journey of learning and discovery. Don’t be afraid to make mistakes, learn from them, and adapt your approach as needed. The most important thing is to get your hands dirty, connect with nature, and enjoy the process.
We’re confident that this DIY trick will significantly improve your chances of growing sweet melons that are the envy of your neighborhood. So, grab your tools, gather your supplies, and get ready to embark on a rewarding gardening adventure.
And most importantly, we want to hear about your experience! Share your photos, tips, and stories in the comments below. Let us know what worked for you, what challenges you faced, and any variations you tried. Together, we can create a community of melon-growing enthusiasts, sharing our knowledge and helping each other achieve gardening success. Happy growing!
Frequently Asked Questions (FAQ)
What type of soil is best for growing sweet melons?
Melons thrive in well-drained, fertile soil that is rich in organic matter. A slightly acidic to neutral pH (between 6.0 and 7.0) is ideal. If your soil is heavy clay or sandy, amend it with plenty of compost, aged manure, or other organic materials to improve drainage, aeration, and nutrient retention. Raised beds or mounds can also be beneficial, especially in areas with poor drainage.
How much sunlight do melons need?
Melons are sun-loving plants and require at least 6-8 hours of direct sunlight per day to produce sweet, flavorful fruits. Choose a planting location that receives ample sunlight throughout the day. If you live in a particularly hot climate, some afternoon shade may be beneficial to prevent the plants from overheating.
How often should I water my melon plants?
Water deeply and regularly, especially during hot, dry weather. Aim to keep the soil consistently moist but not waterlogged. Water at the base of the plants to avoid wetting the foliage, which can increase the risk of fungal diseases. As the melons begin to ripen, reduce watering slightly to concentrate the sugars and enhance their sweetness.
What are some common pests and diseases that affect melon plants?
Common pests include aphids, squash bugs, cucumber beetles, and vine borers. Diseases include powdery mildew, downy mildew, and fusarium wilt. Regularly inspect your plants for signs of pests or diseases and take appropriate action, such as using insecticidal soap, neem oil, or copper fungicide. Crop rotation and good sanitation practices can also help prevent problems.
When is the best time to plant melons?
Melons are warm-season crops and should be planted after the last frost when the soil has warmed to at least 60°F (15°C). In cooler climates, you can start seeds indoors 4-6 weeks before the last frost and transplant them outdoors once the weather is suitable.
How do I know when my melons are ripe?
The signs of ripeness vary depending on the type of melon. For watermelons, look for a dull rind, a yellowish spot on the underside where the melon rested on the ground, and a hollow sound when you thump it. For cantaloupes, the stem should slip easily from the fruit when it’s ripe. Honeydews will turn a creamy yellow color and have a slightly waxy feel. Trust your senses – the best way to determine ripeness is to smell the melon. A sweet, fragrant aroma is a good indication that it’s ready to be harvested.
Can I grow melons in containers?
Yes, you can grow melons in containers, but you’ll need to choose a large container (at least 20 gallons) and select a compact or bush variety. Provide adequate support for the vines and water and fertilize regularly. Container-grown melons may require more frequent watering and feeding than those grown in the ground.
What kind of fertilizer should I use for melons?
Use a balanced fertilizer (e.g., 10-10-10) at planting time and then side-dress with a nitrogen-rich fertilizer (e.g., ammonium nitrate) when the vines begin to run. Once the melons start to develop, switch to a fertilizer that is higher in phosphorus and potassium to promote fruit development and sweetness.
How can I improve the sweetness of my melons?
Several factors contribute to melon sweetness, including sunlight, water, and nutrients. Ensure your plants receive ample sunlight and water them regularly, but reduce watering slightly as the melons ripen. Fertilize with a fertilizer that is high in potassium, which is essential for sugar production. Also, consider using a soil amendment like Epsom salts (magnesium sulfate), which can help improve nutrient uptake and sweetness.
What are some good companion plants for melons?
Beneficial companion plants for melons include marigolds, nasturtiums, and basil, which can help repel pests. Other good companions include beans, corn, and radishes. Avoid planting melons near potatoes or other members of the nightshade family, as they can compete for nutrients.

Leave a Comment