
Grow Thyme Indoors? Absolutely! Imagine stepping into your kitchen and snipping fresh, fragrant thyme to elevate your culinary creations. No more last-minute grocery store runs or settling for dried herbs that lack that vibrant, earthy punch. This isn’t just about convenience; it’s about connecting with nature, even within the confines of your home.
Thyme, with its rich history dating back to ancient Egypt where it was used in embalming rituals, and its association with courage and bravery in ancient Greece, has always held a special place in human culture. Today, its culinary and medicinal properties are widely celebrated. But let’s be honest, sometimes life gets in the way, and maintaining an outdoor herb garden just isn’t feasible.
That’s where this DIY guide comes in! I’m going to show you how incredibly easy it is to grow thyme indoors, regardless of your gardening experience. We’ll cover everything from choosing the right container and soil to providing the perfect amount of light and water. Say goodbye to bland meals and hello to a thriving indoor herb garden that will not only enhance your cooking but also add a touch of green serenity to your living space. Let’s get started!
Growing Thyme Indoors: A Beginner’s Guide to a Thriving Herb Garden
Hey there, fellow plant enthusiasts! I’m so excited to share my secrets to successfully growing thyme indoors. Fresh thyme at your fingertips is a game-changer for cooking, and it’s surprisingly easy to achieve, even if you don’t have a green thumb (yet!). Let’s dive in!
Choosing the Right Thyme Variety
Before we get our hands dirty, let’s talk thyme types. While all thyme is delicious, some varieties are better suited for indoor growing than others.
* Common Thyme (Thymus vulgaris): This is your classic, all-purpose thyme. It’s hardy, flavorful, and readily available. I highly recommend starting with this one.
* Lemon Thyme (Thymus citriodorus): If you’re looking for a citrusy twist, lemon thyme is a fantastic choice. It adds a bright, zesty flavor to dishes and has a lovely fragrance.
* Creeping Thyme (Thymus serpyllum): While beautiful as a ground cover outdoors, creeping thyme can also be grown indoors, though it might require a bit more space as it tends to spread. It’s less commonly used in cooking, but it’s great for adding a decorative touch.
I usually opt for common thyme because it’s versatile and easy to care for. But feel free to experiment and find your favorite!
Gathering Your Supplies
Okay, let’s get our supplies in order. Here’s what you’ll need to get started:
* Thyme Seeds or a Thyme Plant: You can start from seeds or purchase a small thyme plant from a local nursery or garden center. Starting from seeds takes longer, but it’s more budget-friendly. I often buy a small plant to get a head start.
* Pot with Drainage Holes: Drainage is crucial for thyme. Choose a pot that’s at least 6 inches in diameter and has drainage holes at the bottom. Terracotta pots are excellent because they allow the soil to breathe.
* Well-Draining Potting Mix: Thyme thrives in well-draining soil. Avoid using garden soil, as it can become compacted and waterlogged. I recommend a mix specifically formulated for herbs or a blend of potting soil, perlite, and vermiculite.
* Grow Light (Optional but Recommended): If you don’t have a sunny windowsill, a grow light will be your best friend. Thyme needs plenty of light to thrive.
* Watering Can or Spray Bottle: For gentle watering.
* Small Gardening Trowel: For planting and transplanting.
* Scissors or Pruning Shears: For harvesting and trimming.
* Fertilizer (Optional): A balanced liquid fertilizer can help boost growth, but it’s not essential.
Planting Your Thyme
Now for the fun part – planting! Whether you’re starting from seeds or transplanting a plant, the process is pretty straightforward.
Starting from Seeds:
1. Prepare the Pot: Fill your pot with well-draining potting mix, leaving about an inch of space at the top.
2. Sow the Seeds: Sprinkle the thyme seeds evenly over the surface of the soil. They’re tiny, so don’t worry about spacing them perfectly.
3. Cover Lightly: Gently press the seeds into the soil and cover them with a very thin layer of potting mix or vermiculite.
4. Water Gently: Use a spray bottle to mist the soil thoroughly. You want to keep the soil moist but not soggy.
5. Cover with Plastic Wrap (Optional): Covering the pot with plastic wrap or a humidity dome can help retain moisture and promote germination. Remove the cover once the seedlings emerge.
6. Provide Light: Place the pot in a warm, sunny location or under a grow light.
7. Be Patient: Thyme seeds can take 14-21 days to germinate. Keep the soil consistently moist during this time.
8. Thin Seedlings (Optional): Once the seedlings have a few sets of true leaves, you can thin them out if they’re too crowded. This will give the remaining plants more room to grow.
Transplanting a Thyme Plant:
1. Prepare the Pot: Fill your pot with well-draining potting mix, leaving about an inch of space at the top.
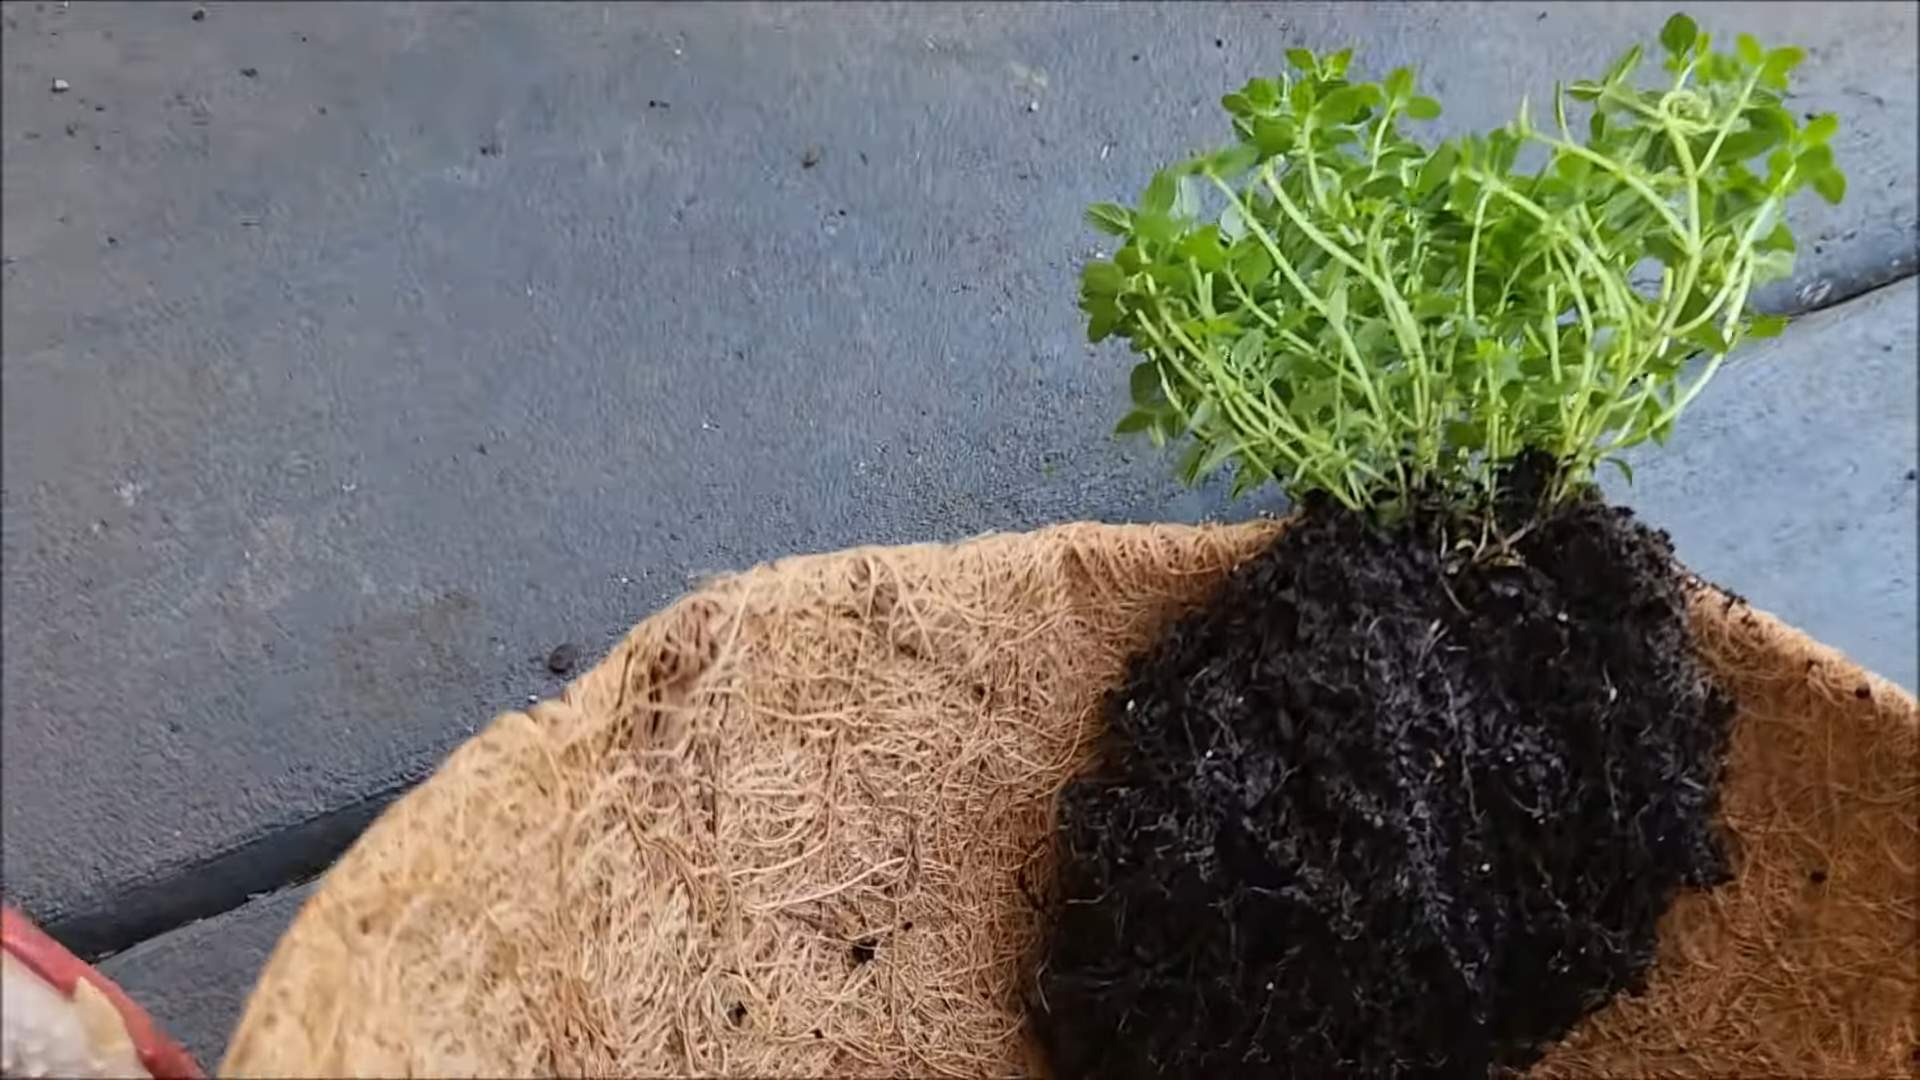
2. Remove the Plant from its Container: Gently squeeze the sides of the nursery pot to loosen the plant. Carefully remove the plant, being mindful not to damage the roots.
3. Loosen the Roots: If the roots are tightly bound, gently loosen them with your fingers.
4. Plant the Thyme: Place the thyme plant in the center of the pot, making sure the top of the root ball is level with the soil surface.
5. Fill with Soil: Fill in the remaining space around the plant with potting mix.
6. Water Thoroughly: Water the plant thoroughly until water drains out of the bottom of the pot.
Caring for Your Indoor Thyme
Once your thyme is planted, it’s time to provide the care it needs to thrive. Here’s what you need to know:
* Light: Thyme needs at least 6-8 hours of sunlight per day. A south-facing windowsill is ideal. If you don’t have enough natural light, use a grow light. I use a simple LED grow light and it works wonders.
* Watering: Water thyme when the top inch of soil feels dry to the touch. Avoid overwatering, as this can lead to root rot. Thyme prefers to be on the drier side. I usually water mine about once a week, but it depends on the humidity and temperature.
* Temperature: Thyme prefers temperatures between 60-70°F (15-21°C). Avoid placing it near drafts or extreme temperatures.
* Humidity: Thyme doesn’t need high humidity. Normal household humidity is fine.
* Fertilizing: Fertilize thyme sparingly, if at all. If you choose to fertilize, use a balanced liquid fertilizer diluted to half strength. I usually fertilize mine once a month during the growing season (spring and summer).
* Pruning: Pruning is essential for keeping your thyme plant healthy and productive. Trim the stems regularly to encourage bushier growth. Don’t be afraid to harvest! The more you harvest, the more it will grow.
* Repotting: Repot your thyme plant every year or two, or when it becomes root-bound. Choose a pot that’s slightly larger than the previous one.
Harvesting Your Thyme
Harvesting thyme is easy and rewarding! You can start harvesting once the plant is about 4-6 inches tall.
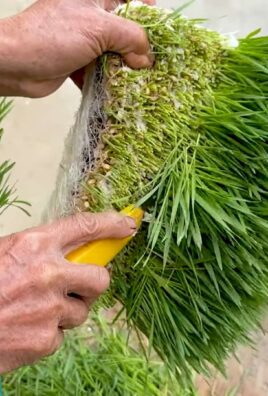
1. Choose Your Stems: Select healthy, mature stems to harvest.
2. Cut the Stems: Use scissors or pruning shears to cut the stems about an inch above the soil surface.
3. Harvest Regularly: Harvesting regularly will encourage the plant to produce more growth.
4. Use Fresh or Dried: You can use the thyme fresh or dry it for later use. To dry thyme, hang the stems upside down in a cool, dry place or use a dehydrator.
Troubleshooting Common Problems
Even with the best care, you might encounter some problems with your indoor thyme. Here are a few common issues and how to address them:
* Yellowing Leaves: This can be caused by overwatering, underwatering, or nutrient deficiencies. Check the soil moisture and adjust your watering accordingly. If the soil is dry, water thoroughly. If the soil is soggy, allow it to dry out before watering again. You can also try fertilizing with a balanced liquid fertilizer.
* Leggy Growth: This is usually caused by insufficient light. Move your thyme plant to a sunnier location or provide supplemental light with a grow light.
* Root Rot: This is caused by overwatering and poor drainage. Make sure your pot has drainage holes and that you’re not overwatering. If you suspect root rot, repot the plant in fresh, well-draining soil.
* Pests: Thyme is generally pest-resistant, but it can occasionally be affected by aphids or spider mites. If you notice pests, try spraying the plant with insecticidal soap or neem oil.
Enjoying Your Homegrown Thyme
Now that you’ve successfully grown your own thyme indoors, it’s time to enjoy the fruits (or rather, herbs!) of your labor. Here are a few ways to use your fresh thyme:
* Cooking: Thyme is a versatile herb that can be used in a variety of dishes, including soups, stews, sauces, meats, and vegetables.
* Tea: Thyme tea is a soothing and flavorful beverage. Simply steep a few sprigs of
Conclusion
So, there you have it! Growing thyme indoors is not only achievable, but it’s also incredibly rewarding. Imagine having fresh, fragrant thyme readily available to elevate your culinary creations, no matter the season. Forget those sad, dried-out jars from the supermarket – with a little effort, you can cultivate a thriving thyme plant right in your own home.
This DIY trick is a must-try for several compelling reasons. First and foremost, it’s incredibly cost-effective. Purchasing fresh herbs regularly can quickly add up, whereas a single thyme plant can provide you with a continuous supply for months, even years, with proper care. Secondly, it’s incredibly convenient. No more last-minute trips to the grocery store when you realize you’re missing that crucial ingredient. Your thyme is right there, waiting to be snipped and added to your dish. Thirdly, and perhaps most importantly, it’s incredibly satisfying. There’s something truly special about nurturing a plant from a tiny seedling or cutting to a flourishing herb, knowing that you played a direct role in its growth.
But the benefits don’t stop there. Growing your own thyme indoors allows you to control the quality of your herbs. You can choose organic soil and avoid harmful pesticides, ensuring that you’re using only the purest, most flavorful ingredients in your cooking. Plus, the aroma of fresh thyme wafting through your home is an added bonus, creating a warm and inviting atmosphere.
Don’t be afraid to experiment with different varieties of thyme. Common thyme is a great starting point, but there are also lemon thyme, creeping thyme, and silver thyme, each with its own unique flavor profile and appearance. Lemon thyme, for example, adds a bright, citrusy note to dishes, while creeping thyme is perfect for ground cover if you decide to transplant it outdoors later on. You can also try different containers, from terracotta pots to repurposed jars, to find what works best for your space and aesthetic. Consider using a self-watering planter to simplify the watering process, especially if you tend to forget.
Growing thyme indoors is a simple yet impactful way to enhance your cooking, beautify your home, and connect with nature. It’s a project that’s suitable for beginners and experienced gardeners alike. So, what are you waiting for? Gather your supplies, follow the steps outlined in this article, and embark on your own indoor thyme-growing adventure.
We’re confident that you’ll be amazed by the results. And once you’ve harvested your first batch of fresh thyme, we encourage you to share your experience with us! Post photos of your thriving thyme plants on social media using #IndoorThyme or leave a comment below to let us know how it went. We’d love to hear your tips, tricks, and favorite ways to use your homegrown thyme. Happy growing!
Frequently Asked Questions (FAQ)
What is the best location for growing thyme indoors?
The best location for growing thyme indoors is a spot that receives at least six hours of direct sunlight per day. A south-facing window is ideal. If you don’t have access to a sunny window, you can supplement with a grow light. Place the grow light a few inches above the plant and keep it on for 12-14 hours per day. Rotate the plant regularly to ensure even growth on all sides.
What type of soil is best for growing thyme indoors?
Thyme prefers well-draining soil that is slightly alkaline. A mixture of potting soil, perlite, and sand is a good option. You can also add a small amount of lime to the soil to increase the pH. Avoid using heavy, clay-based soils, as they can retain too much moisture and lead to root rot. Ensure the pot you are using has drainage holes to prevent waterlogging.
How often should I water my indoor thyme plant?
Water your thyme plant when the top inch of soil feels dry to the touch. Avoid overwatering, as thyme is susceptible to root rot. When you water, water thoroughly until water drains out of the drainage holes. Allow the soil to dry out slightly between waterings. During the winter months, when the plant is not actively growing, you may need to water less frequently.
How do I fertilize my indoor thyme plant?
Thyme is not a heavy feeder, so you don’t need to fertilize it often. Fertilize your thyme plant every 2-3 months with a balanced liquid fertilizer diluted to half strength. Avoid over-fertilizing, as this can lead to leggy growth and a less intense flavor. You can also add compost to the soil to provide a slow-release source of nutrients.
How do I harvest thyme from my indoor plant?
You can start harvesting thyme once the plant is about 6 inches tall. Use sharp scissors or pruning shears to snip off stems just above a leaf node. This will encourage the plant to branch out and produce more foliage. Avoid removing more than one-third of the plant at a time. You can use fresh thyme immediately or dry it for later use. To dry thyme, hang the stems upside down in a cool, dry place or use a dehydrator.
My thyme plant is looking leggy and sparse. What should I do?
Leggy and sparse growth can be caused by insufficient light or over-fertilizing. Make sure your thyme plant is receiving enough sunlight or is under a grow light for at least six hours per day. Reduce the amount of fertilizer you are using. You can also prune the plant back to encourage bushier growth. Cut back the stems by about one-third, just above a leaf node.
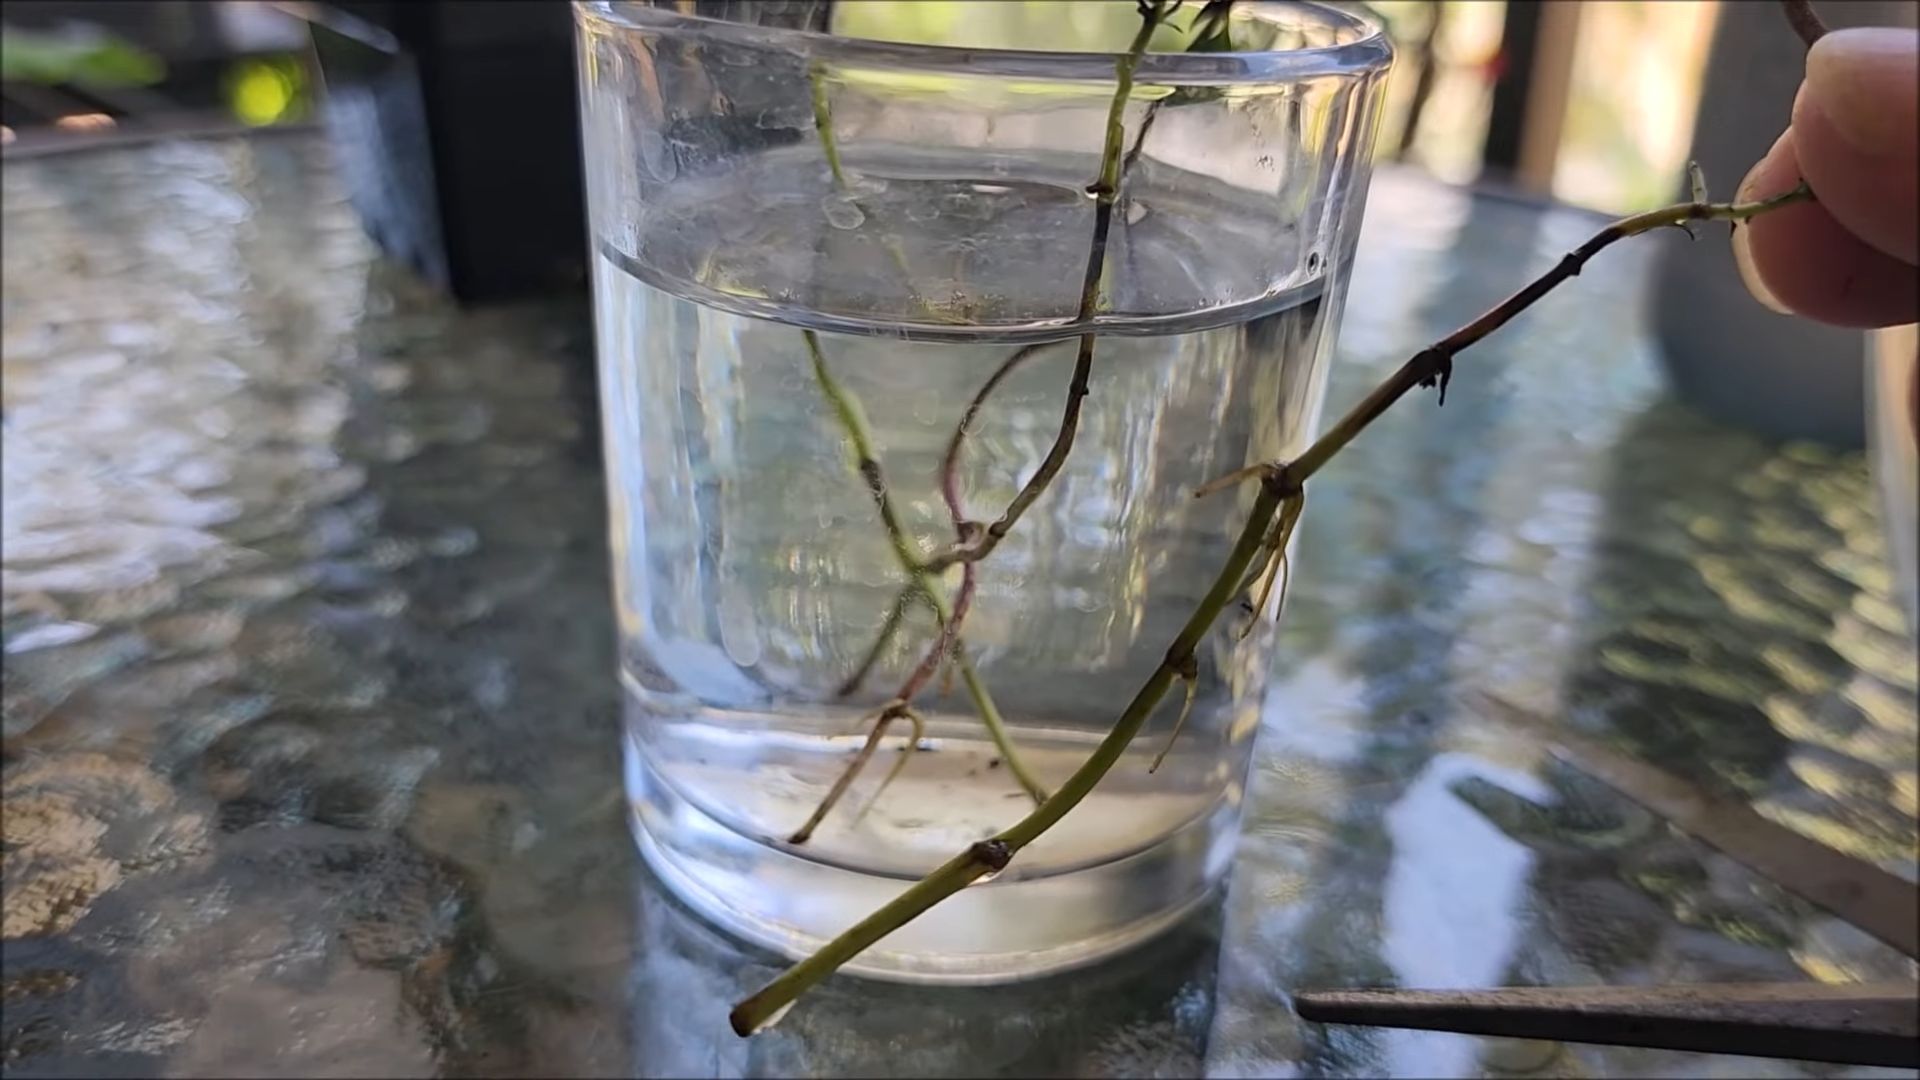
How do I propagate thyme from cuttings?
Propagating thyme from cuttings is a simple way to create new plants. Take a 4-6 inch cutting from a healthy thyme plant, removing the lower leaves. Dip the cut end in rooting hormone and plant it in a small pot filled with well-draining potting mix. Water the cutting and cover it with a plastic bag or humidity dome to create a humid environment. Place the cutting in a warm, bright location, but out of direct sunlight. After a few weeks, the cutting should develop roots. Once the roots are established, you can transplant the new thyme plant into a larger pot.
Can I grow thyme indoors from seed?
Yes, you can grow thyme indoors from seed, but it can be a bit more challenging than propagating from cuttings. Start the seeds indoors 6-8 weeks before the last expected frost. Sow the seeds thinly on the surface of a seed-starting mix and gently press them into the soil. Keep the soil moist but not soggy. The seeds should germinate in 14-21 days. Once the seedlings are large enough to handle, transplant them into individual pots.
My thyme plant has developed a white powdery substance on the leaves. What is it?
The white powdery substance is likely powdery mildew, a fungal disease that can affect thyme plants. To treat powdery mildew, improve air circulation around the plant and avoid overhead watering. You can also spray the plant with a fungicide specifically designed for powdery mildew. Remove any severely affected leaves.
Is thyme toxic to pets?
Thyme is generally considered safe for pets in small amounts. However, consuming large quantities of thyme can cause gastrointestinal upset in some animals. If you have pets, it’s best to keep your thyme plant out of their reach.


Leave a Comment