
Growing Celery at Home might seem daunting, conjuring images of sprawling farms and complicated irrigation systems. But I’m here to tell you that fresh, crisp celery is absolutely within reach, even if you only have a small balcony or a sunny windowsill! Forget those limp, pre-cut stalks from the grocery store – imagine the satisfaction of harvesting your own vibrant, flavorful celery, ready to add a delightful crunch to your salads, soups, and snacks.
Celery, with its origins tracing back to the Mediterranean, has been enjoyed for centuries, initially valued for its medicinal properties before becoming a culinary staple. From ancient remedies to modern-day crudités, celery has proven its versatility. But why settle for store-bought when you can experience the joy of nurturing your own celery plants?
In today’s world, where we’re all striving for healthier, more sustainable lifestyles, growing celery at home offers a fantastic opportunity to connect with nature and control the quality of your food. Plus, it’s a surprisingly rewarding DIY project! This article will guide you through simple, effective tricks and hacks to successfully cultivate celery, regardless of your gardening experience. I’ll share my favorite tips and techniques, ensuring you’ll be enjoying homegrown celery in no time. Let’s get started!
Growing Celery From Kitchen Scraps: A Beginner’s Guide
Hey there, fellow gardening enthusiasts! Ever wondered if you could regrow celery from that leftover stalk you were about to toss? Well, guess what? You absolutely can! It’s a super easy and rewarding project, perfect for beginners and a fantastic way to reduce food waste. I’m going to walk you through the whole process, step-by-step, so you can enjoy fresh, homegrown celery right from your windowsill.
What You’ll Need
Before we dive in, let’s gather our supplies. This is a pretty low-key project, so you probably have most of this stuff already:
* A celery stalk base (about 2-3 inches from the bottom, where the stalks are connected)
* A shallow dish or bowl
* Water (tap water is fine)
* A sunny windowsill
* Potting soil
* A pot (6-8 inches in diameter is a good starting size)
* A spray bottle (optional, but helpful)
Phase 1: Rooting Your Celery Base
This is where the magic begins! We’re going to coax those roots to sprout from the celery base.
1. Prepare the Celery Base: After you’ve used the celery stalks for cooking or snacking, don’t throw away the base! Make sure you have about 2-3 inches of the bottom part, where all the stalks are connected. Try to cut it as cleanly as possible.
2. Place in Water: Fill your shallow dish or bowl with about an inch of water. Place the celery base, cut-side up, in the water. Make sure the water level covers the bottom of the base, but doesn’t submerge the entire thing. You want the top part to stay dry to prevent rotting.
3. Find a Sunny Spot: Place the dish with the celery base on a sunny windowsill. Celery loves light, so the more sunlight it gets, the better. A south-facing window is ideal, but an east or west-facing window will also work.
4. Change the Water Regularly: This is crucial! Change the water every 1-2 days to keep it fresh and prevent bacteria from growing. This will also provide the celery with a fresh supply of oxygen.
5. Be Patient: Now comes the waiting game. Within a few days to a week, you should start to see small roots emerging from the bottom of the celery base. You might also notice some new green growth sprouting from the top. This is a great sign!
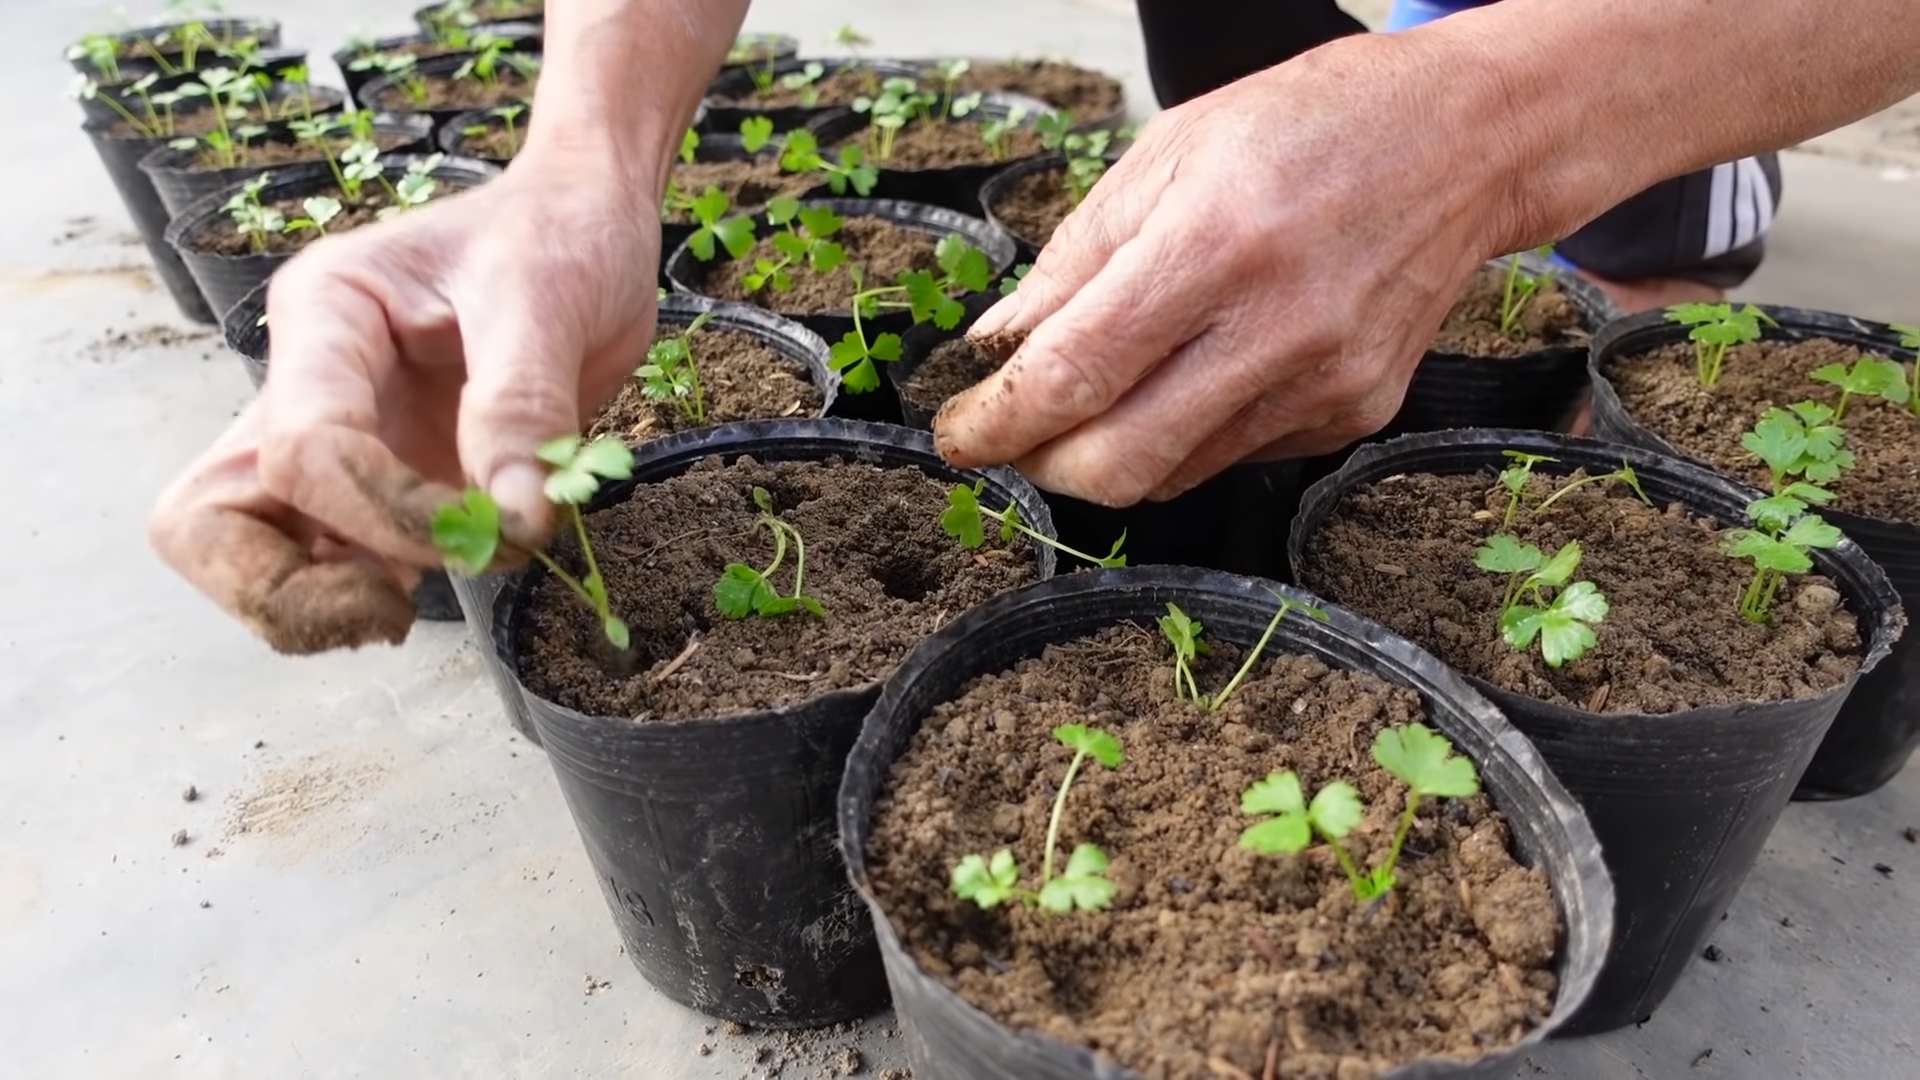
Phase 2: Planting Your Rooted Celery
Once your celery base has developed a good network of roots (about an inch or two long), it’s time to move it to a pot with soil.
1. Prepare the Pot: Fill your pot with good-quality potting soil. Make sure the pot has drainage holes at the bottom to prevent waterlogging.
2. Create a Hole: Use your finger or a small trowel to create a hole in the center of the soil, large enough to accommodate the celery base and its roots.
3. Carefully Transplant: Gently remove the celery base from the water and carefully place it in the hole. Make sure the roots are spread out and not bunched together.
4. Cover with Soil: Fill the hole with soil, gently pressing down around the celery base to secure it in place. Leave the top of the celery base exposed.
5. Water Thoroughly: Water the soil thoroughly until water drains out of the bottom of the pot. This will help settle the soil and ensure the roots are well-hydrated.
Phase 3: Caring for Your Growing Celery
Now that your celery is planted, it’s time to provide it with the care it needs to thrive.
1. Sunlight: Continue to keep your celery plant on a sunny windowsill. It needs at least 6 hours of sunlight per day. If you don’t have a sunny windowsill, you can supplement with a grow light.
2. Watering: Celery needs consistent moisture, but it doesn’t like to be waterlogged. Water the plant when the top inch of soil feels dry to the touch. Avoid overwatering, as this can lead to root rot. A good rule of thumb is to water deeply but infrequently.
3. Humidity: Celery prefers humid conditions. If your home is dry, you can increase the humidity around the plant by misting it with a spray bottle every day or placing a tray of water near the pot.
4. Fertilizing: To encourage healthy growth, you can fertilize your celery plant every 2-3 weeks with a balanced liquid fertilizer. Follow the instructions on the fertilizer label.
5. Pest Control: Keep an eye out for pests such as aphids or spider mites. If you notice any pests, you can try spraying the plant with insecticidal soap or neem oil.
Troubleshooting
Even with the best care, you might encounter some challenges along the way. Here are a few common problems and how to fix them:
* Yellowing Leaves: This could be a sign of overwatering, underwatering, or nutrient deficiency. Check the soil moisture and adjust your watering schedule accordingly. If the soil is consistently wet, allow it to dry out slightly before watering again. If the soil is dry, water more frequently. You can also try fertilizing the plant to provide it with essential nutrients.
* Slow Growth: This could be due to insufficient sunlight, poor soil, or lack of nutrients. Make sure your celery plant is getting enough sunlight. If the soil is poor, consider repotting it with fresh potting soil. You can also fertilize the plant to provide it with essential nutrients.
* Root Rot: This is caused by overwatering and can be fatal to your celery plant. If you suspect root rot, stop watering the plant immediately and allow the soil to dry out completely. You can also try repotting the plant with fresh potting soil.
Harvesting Your Celery
Okay, so you’ve nurtured your celery plant, and it’s growing nicely. When can you harvest it?
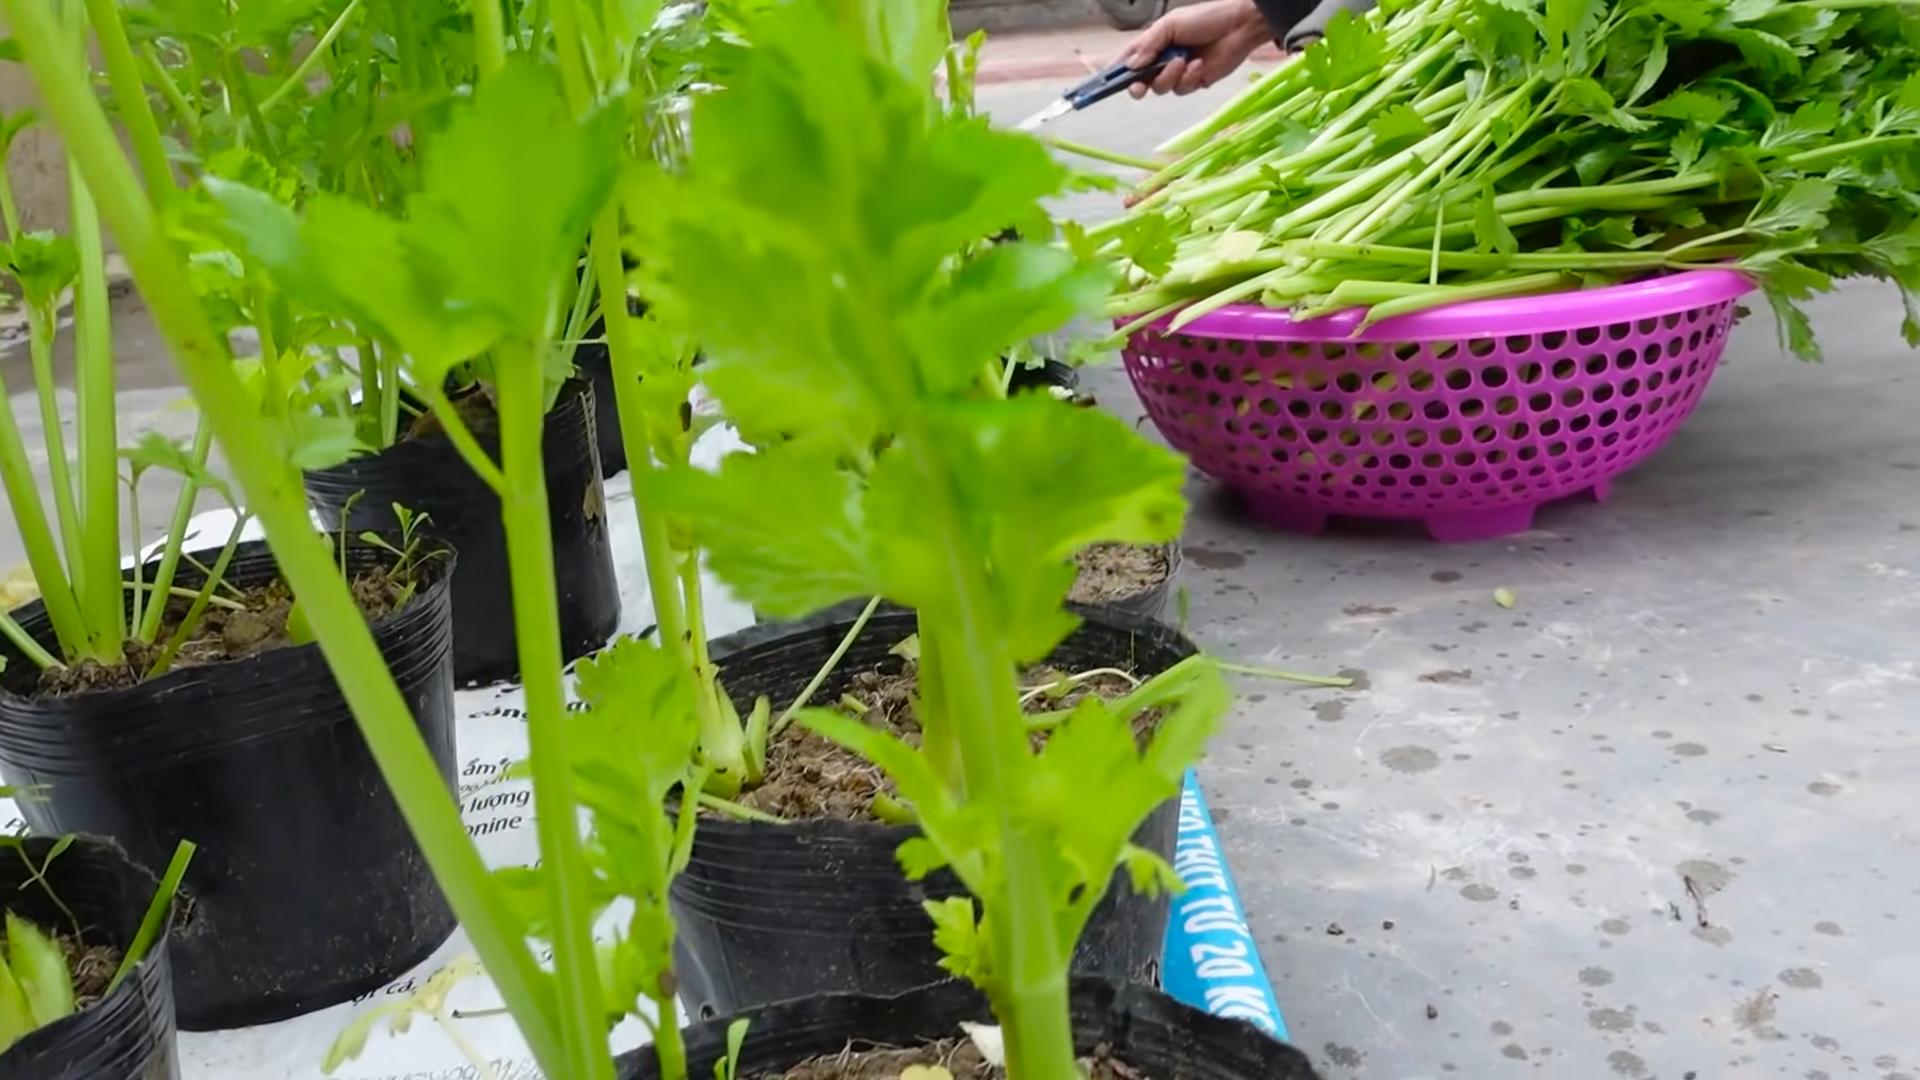
Well, the celery you regrow from a base won’t typically produce a full-sized head of celery like you’d find in the store. Instead, it will produce smaller, thinner stalks. You can harvest these stalks as needed, snipping them off with scissors or a knife.
The taste might be a bit more intense than store-bought celery, which I personally love! Use it in soups, salads, or as a crunchy snack.
Important Considerations
* Don’t Expect Perfection: Regrowing celery from a base is more of a fun experiment than a guaranteed way to get a huge harvest. The stalks will likely be smaller and thinner than what you’re used to.
* Bolting: Celery can sometimes “bolt,” which means it starts to produce flowers and seeds. This can happen if the plant is stressed or exposed to extreme temperatures. If your celery bolts, the stalks may become bitter.
* Climate: Celery prefers cooler temperatures. If you live in a hot climate, you may need to provide your celery plant with some shade during the hottest part of the day.
Beyond the Basics: Taking it to the Next Level
Want to get even more out of your celery-growing adventure? Here are a few ideas:
* Experiment with Different Varieties: Try regrowing different types of celery, such as Pascal celery or red celery.
* Grow from Seed: Once you’ve mastered regrowing from a base, try growing celery from seed. This will give you more control over the variety and allow you to grow a larger crop.
* Companion Planting: Plant celery alongside other vegetables that benefit from its presence, such as tomatoes, onions, and cabbage.
* Save the Seeds: If your celery plant bolts, you can collect the seeds and use them to grow more celery in the future.
Growing celery from kitchen scraps is a fun, easy, and rewarding project that anyone can do. It’s a great way to reduce food waste, learn about gardening, and enjoy fresh, homegrown celery. So, give it a try! I promise you’ll be surprised at how easy it is to turn that leftover celery base into a thriving plant. Happy gardening!
Conclusion
So, there you have it! Growing celery at home, while it might seem daunting at first, is a surprisingly rewarding experience. It’s more than just a cost-effective way to have fresh celery on hand; it’s about connecting with your food, reducing waste, and enjoying the unparalleled flavor of homegrown produce. Forget those bland, often bruised stalks from the grocery store. Imagine crisp, vibrant celery, bursting with flavor, ready to be enjoyed in your favorite soups, salads, or as a healthy snack.
This DIY trick, starting from the base of a store-bought celery bunch, is a game-changer for anyone looking to minimize food waste and maximize their garden’s potential. It’s a simple, sustainable practice that yields impressive results. Think about the satisfaction of nurturing a plant from scraps, watching it grow, and then harvesting your own delicious celery. It’s a small act of self-sufficiency that can bring a surprising amount of joy.
Beyond the basic method, there are plenty of ways to experiment and personalize your celery-growing journey. Try different varieties of celery to discover your favorite flavor profile. Some varieties are more heat-tolerant, while others are known for their sweeter taste. You can also experiment with different growing mediums, such as hydroponics, for a faster and more controlled growing environment. Consider companion planting with herbs like parsley or basil, which can help deter pests and enhance the flavor of your celery.
Don’t be afraid to get your hands dirty and embrace the learning process. Even if your first attempt isn’t perfect, you’ll gain valuable experience and knowledge that will help you succeed in the future. Remember to pay attention to your celery’s needs, providing it with adequate sunlight, water, and nutrients. With a little patience and care, you’ll be rewarded with a bountiful harvest of fresh, homegrown celery.
We wholeheartedly encourage you to give this DIY trick a try. It’s an easy, affordable, and environmentally friendly way to enjoy the benefits of fresh, homegrown produce. And most importantly, we want to hear about your experience! Share your photos, tips, and stories with us in the comments below. Let’s create a community of home gardeners who are passionate about growing their own food and reducing waste. Your insights could inspire others to embark on their own celery-growing adventures. So, grab a celery base, get planting, and let’s grow together!
Frequently Asked Questions (FAQ)
1. What kind of celery works best for regrowing?
Any commercially available celery bunch will work for regrowing, but organic celery is often preferred. This is because organic celery is less likely to have been treated with chemicals that could inhibit growth. Look for celery with a healthy-looking base that is firm and not too dry. Avoid celery with signs of rot or mold. The fresher the celery, the better the chances of successful regrowth. Different varieties of celery may also have slightly different regrowth rates, so feel free to experiment with different types to see which works best for you.
2. How long does it take to regrow celery from the base?
The time it takes to regrow celery from the base can vary depending on several factors, including the variety of celery, the growing conditions, and the climate. Generally, you can expect to see new growth within a week or two of placing the celery base in water. After about 3-4 weeks, you should have a well-established plant that is ready to be transplanted into soil. It will then take several months for the celery to fully mature and be ready for harvest. Be patient and consistent with your care, and you’ll be rewarded with a bountiful harvest.
3. What kind of soil is best for growing celery?
Celery thrives in rich, well-draining soil that is high in organic matter. A good soil mix for celery should include compost, peat moss, and perlite or vermiculite. The compost provides essential nutrients, while the peat moss helps retain moisture, and the perlite or vermiculite improves drainage. The ideal soil pH for celery is between 6.0 and 6.8. You can test your soil pH using a soil testing kit and amend it as needed with lime to raise the pH or sulfur to lower it. Regular fertilization with a balanced fertilizer will also help ensure healthy growth.
4. How much sunlight does celery need?
Celery needs at least 6 hours of sunlight per day to thrive. However, in hot climates, it can benefit from some afternoon shade to prevent the leaves from scorching. If you are growing celery indoors, you will need to provide it with supplemental lighting, such as a grow light. Place the grow light about 6-12 inches above the plants and keep it on for 12-16 hours per day. Rotate the plants regularly to ensure that all sides receive adequate light.
5. How often should I water my celery plants?
Celery needs consistent moisture to thrive. Water your celery plants deeply whenever the top inch of soil feels dry to the touch. Avoid overwatering, as this can lead to root rot. A good rule of thumb is to water every 2-3 days, depending on the weather and the soil drainage. During hot, dry weather, you may need to water more frequently. Mulching around the plants can help retain moisture in the soil.
6. What are some common pests and diseases that affect celery?
Celery is susceptible to several pests and diseases, including aphids, celery leaf tiers, carrot weevils, and fungal diseases like early blight and late blight. Regularly inspect your plants for signs of pests or diseases. If you find any, take action immediately to prevent them from spreading. You can control aphids with insecticidal soap or neem oil. Celery leaf tiers can be handpicked or controlled with Bacillus thuringiensis (Bt). Fungal diseases can be prevented by providing good air circulation and avoiding overhead watering. If you notice any signs of disease, remove the affected leaves and treat the plants with a fungicide.
7. Can I grow celery indoors year-round?
Yes, you can grow celery indoors year-round, provided you can provide it with adequate light, water, and nutrients. Use a grow light to supplement natural sunlight, and water regularly to keep the soil moist but not soggy. Fertilize every 2-3 weeks with a balanced fertilizer. Choose a pot that is at least 12 inches in diameter to give the celery roots plenty of room to grow. With proper care, you can enjoy fresh, homegrown celery even during the winter months.
8. How do I harvest celery?
You can harvest celery when the stalks are at least 6-8 inches long and have reached the desired thickness. To harvest, simply cut the stalks at the base of the plant with a sharp knife. You can harvest individual stalks as needed, or you can harvest the entire plant at once. After harvesting, store the celery in the refrigerator in a plastic bag or container. It will keep for up to 2 weeks.
9. Can I freeze celery?
Yes, you can freeze celery, but it is best to blanch it first to preserve its flavor and texture. To blanch celery, cut it into small pieces and boil it for 2-3 minutes. Then, immediately transfer it to an ice bath to stop the cooking process. Drain the celery well and pack it into freezer bags or containers. It will keep in the freezer for up to 12 months. Frozen celery is best used in cooked dishes, as it may become slightly mushy when thawed.
10. What are some creative ways to use homegrown celery?
Homegrown celery can be used in a variety of dishes, from soups and salads to stir-fries and smoothies. It can also be enjoyed as a healthy snack, dipped in hummus or peanut butter. Use it as a base for mirepoix in soups and stews. Add it to green smoothies for a refreshing and nutritious boost. Pickle it for a tangy and crunchy condiment. Or, simply enjoy it raw with your favorite dip. The possibilities are endless!


Leave a Comment