
Growing Chili Peppers in Bottles: Sounds a little crazy, right? But trust me, this quirky DIY project is about to revolutionize your small-space gardening game! Forget sprawling gardens and endless weeding; we’re taking chili pepper cultivation vertical and compact.
For centuries, resourceful gardeners have found innovative ways to cultivate food, even in the most challenging environments. From ancient terrace farming to modern-day hydroponics, the spirit of ingenuity thrives. And while I can’t claim this bottle-growing method is ancient, it definitely taps into that same resourceful energy! Think of it as a modern twist on the hanging gardens of Babylon, but with a spicy kick!
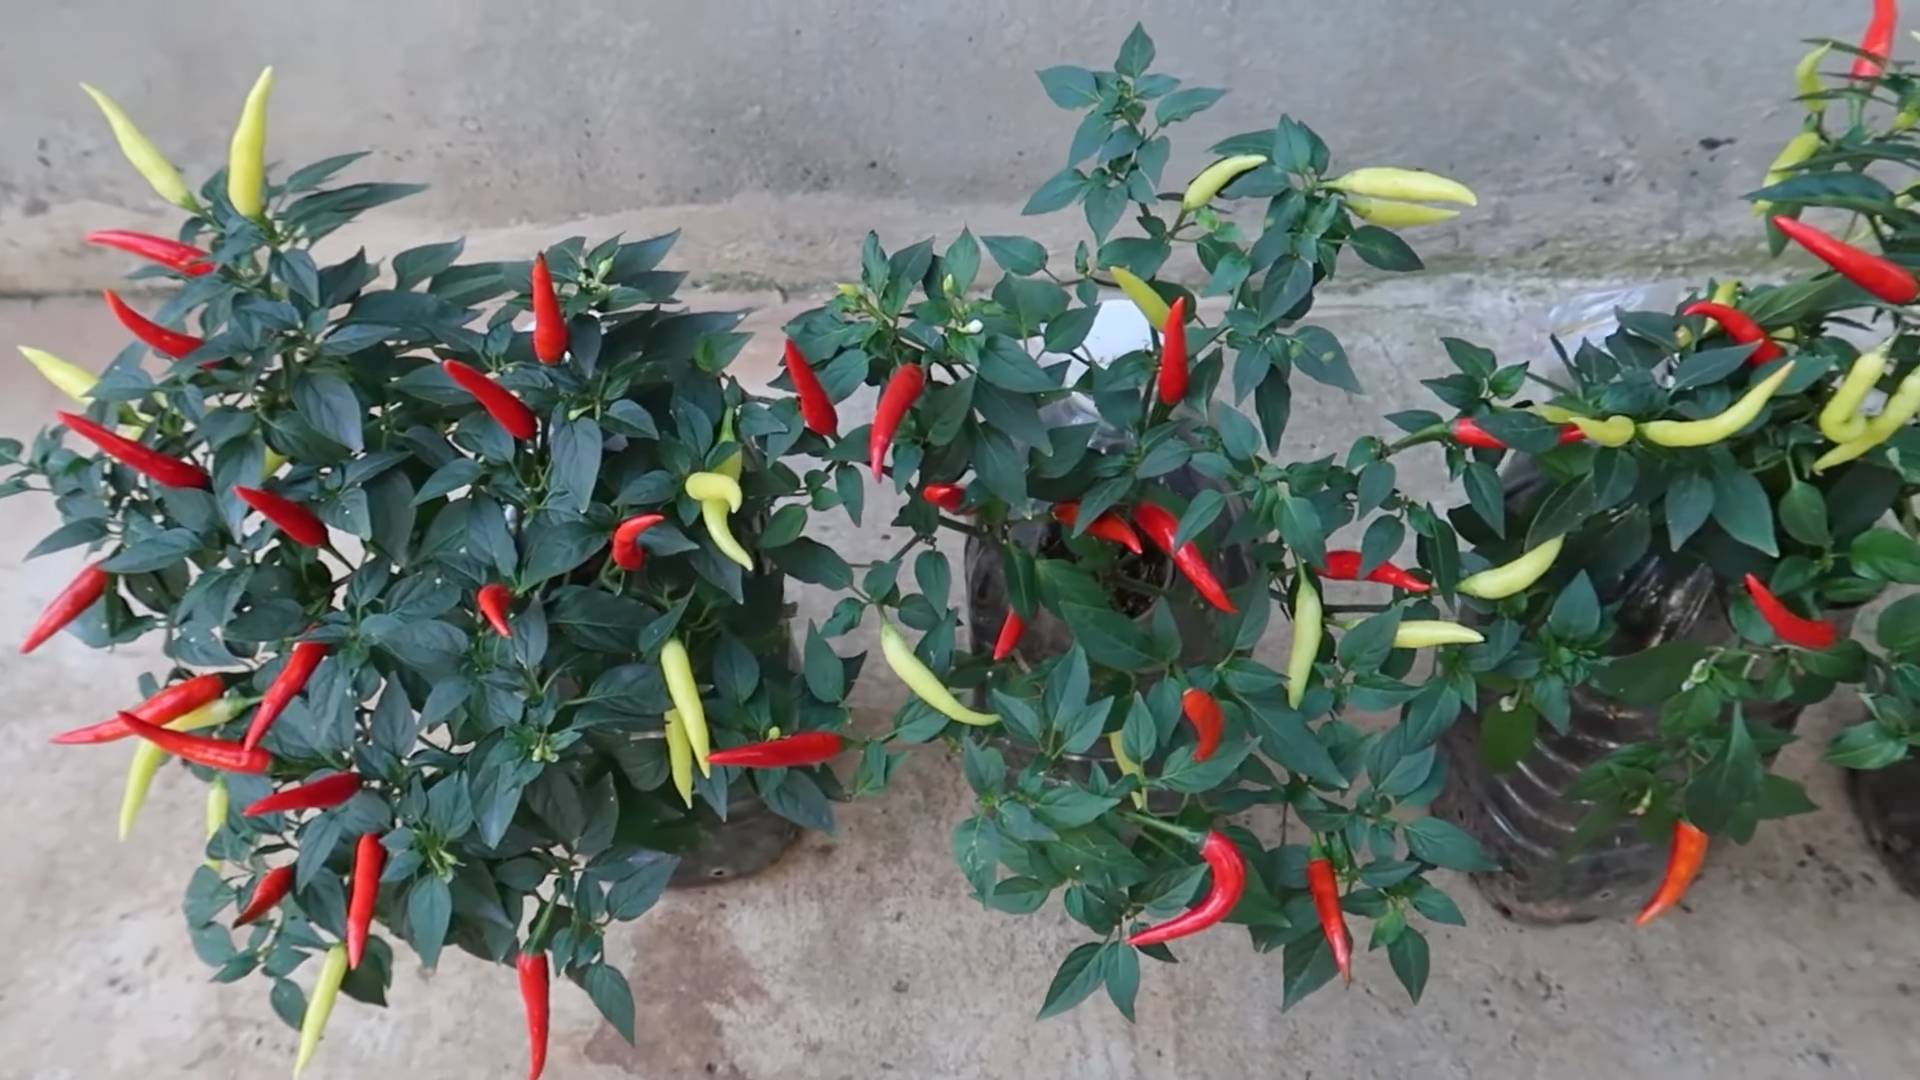
Why should you try growing chili peppers in bottles? Well, for starters, it’s incredibly space-efficient, perfect for balconies, patios, or even sunny windowsills. Plus, it’s a fantastic way to recycle plastic bottles, giving them a new lease on life. But the real reason? Fresh, homegrown chili peppers are simply bursting with flavor, adding a vibrant touch to your cooking that store-bought varieties just can’t match. Imagine the satisfaction of plucking a fiery red chili from your own bottle garden, ready to spice up your next meal! So, let’s dive in and discover how to transform those empty bottles into thriving chili pepper havens!
Growing Chili Peppers in Bottles: A Fun and Space-Saving DIY Project
Hey there, fellow chili enthusiasts! Are you itching to grow your own fiery peppers but short on garden space? Or maybe you just want a quirky and eye-catching way to cultivate your favorite spicy treats? Well, you’ve come to the right place! I’m going to walk you through a super fun and surprisingly effective DIY project: growing chili peppers in plastic bottles. Trust me, it’s easier than you think, and the results are incredibly rewarding.
Why Bottle Gardening?
Before we dive in, let’s talk about why this method is so awesome:
* Space-Saving: Perfect for balconies, patios, or even windowsills. You can hang them, stack them, or simply place them on a surface.
* Upcycling: Give those plastic bottles a new life instead of tossing them in the recycling bin (or worse, the trash!).
* Easy to Monitor: The transparent bottles allow you to easily check the soil moisture and root development.
* Portable: Need to move your plants to chase the sun or protect them from frost? No problem!
* Unique and Decorative: Let’s be honest, chili peppers growing in bottles just look cool!
What You’ll Need
Alright, let’s gather our supplies. Here’s what you’ll need to get started:
* Plastic Bottles: Choose sturdy bottles, preferably 2-liter soda bottles or similar sizes. Clear or lightly colored bottles are best to allow sunlight to reach the soil. Avoid dark-colored bottles as they can overheat.
* Chili Pepper Seeds or Seedlings: Select your favorite chili pepper variety! From mild Jalapeños to scorching Habaneros, the choice is yours. You can start from seeds or buy small seedlings from a nursery.
* Potting Mix: Use a high-quality potting mix that drains well. A mix specifically formulated for vegetables is ideal.
* Scissors or Utility Knife: For cutting the bottles. Be careful!
* Drill or Nail: To create drainage holes.
* Watering Can or Spray Bottle: For watering your plants.
* Optional: Twine or Wire: For hanging the bottles.
* Optional: Gloves: To protect your hands.
* Optional: Small Rocks or Gravel: To improve drainage at the bottom of the bottle.
Preparing the Bottles
This is where the fun begins! We’re going to transform those ordinary plastic bottles into mini chili pepper paradises.
1. Clean the Bottles: Thoroughly wash the bottles with soap and water to remove any residue. Rinse them well and let them dry completely. This is important to prevent any contamination that could harm your plants.
2. Cut the Bottles: There are a couple of ways to cut the bottles, depending on how you want to use them.
* Option 1: Hanging Planter: Cut the bottle in half horizontally. You’ll use the bottom half as the planter and the top half as a funnel/watering reservoir (we’ll get to that later).
* Option 2: Standard Planter: Cut off the top third of the bottle. You’ll discard the top portion. This creates a simple, open-top planter.
I personally prefer the hanging planter method because it’s more efficient with water and looks really cool hanging. But feel free to choose whichever method you prefer!
3. Create Drainage Holes: This is crucial! Chili peppers don’t like soggy roots. Use a drill or a nail to create several drainage holes in the bottom of the bottle. I usually make about 5-6 holes, spaced evenly around the bottom. If you’re using the hanging planter method, also make a few small holes in the bottle cap. This will allow water to slowly drip into the soil.
4. Optional: Add Drainage Layer: To further improve drainage, you can add a layer of small rocks or gravel to the bottom of the bottle before adding the potting mix. This will help prevent the roots from sitting in water.
Planting Your Chili Peppers
Now for the exciting part – planting your chili peppers!
1. Fill the Bottle with Potting Mix: Fill the bottle with potting mix, leaving about an inch of space at the top. Gently press down on the soil to remove any air pockets.
2. Plant Your Seeds or Seedlings:
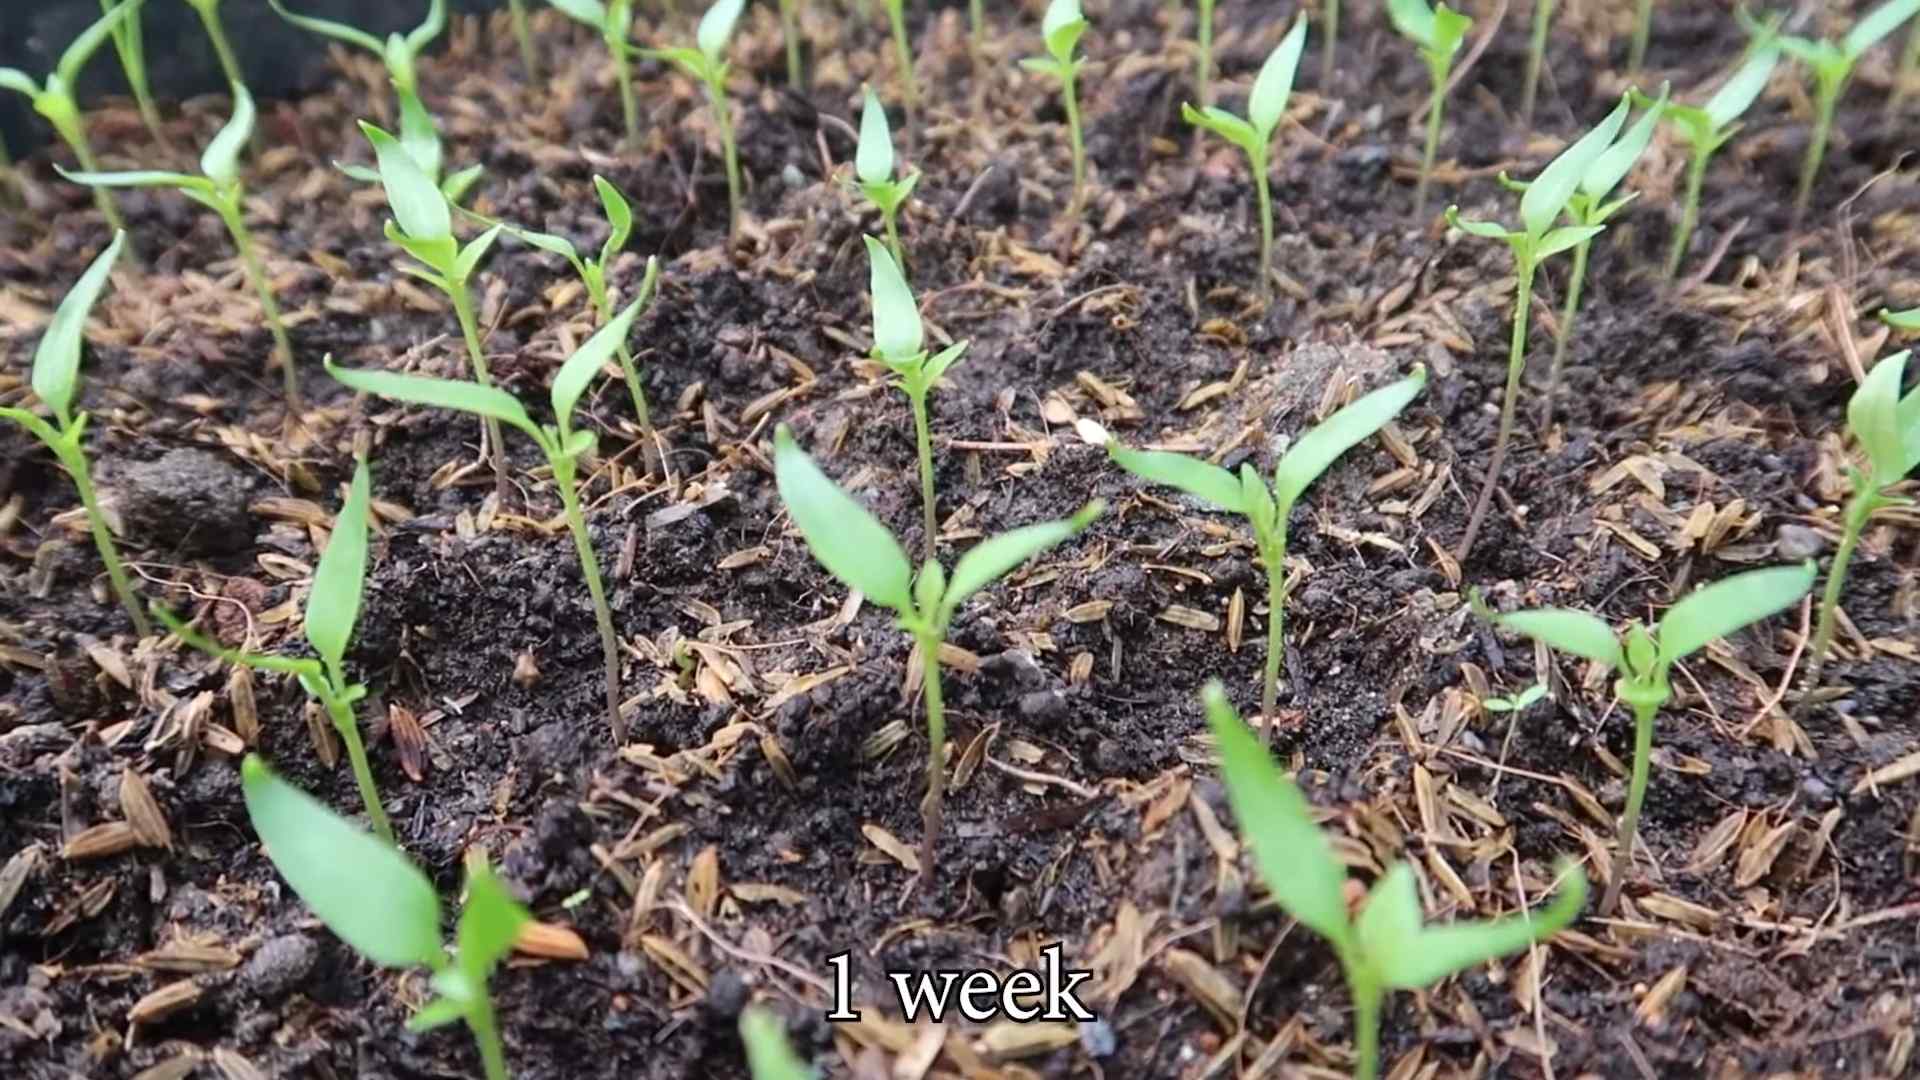
* From Seeds: Make a small indentation in the soil, about ¼ inch deep. Place 2-3 seeds in the indentation and cover them with soil. Gently water the soil.
* From Seedlings: Carefully remove the seedling from its container. Gently loosen the roots. Dig a hole in the potting mix large enough to accommodate the root ball. Place the seedling in the hole and cover the roots with soil. Gently press down on the soil.
3. Water Thoroughly: Water the soil thoroughly until water drains out of the drainage holes. This will help settle the soil and ensure that the roots are properly hydrated.
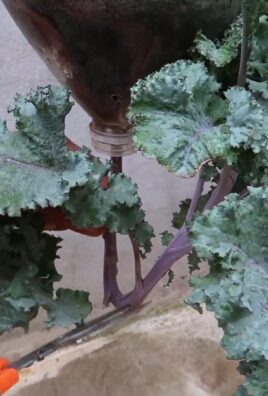
4. (For Hanging Planters): Invert the Top Half: If you’re using the hanging planter method, invert the top half of the bottle and place it inside the bottom half, with the bottle cap facing down. This creates a self-watering system.
5. (For Hanging Planters): Add Water to the Top Half: Pour water into the top half of the bottle. The water will slowly drip through the holes in the bottle cap and into the soil.
Caring for Your Chili Peppers
Congratulations! You’ve successfully planted your chili peppers in bottles. Now, it’s time to provide them with the care they need to thrive.
1. Sunlight: Chili peppers need plenty of sunlight, at least 6-8 hours per day. Place your bottles in a sunny location, such as a south-facing window, balcony, or patio. If you don’t have enough natural sunlight, you can supplement with a grow light.
2. Watering: Water your chili peppers regularly, but don’t overwater. The soil should be moist but not soggy. Check the soil moisture by sticking your finger into the soil. If the top inch of soil feels dry, it’s time to water. If you’re using the hanging planter method, simply refill the top half of the bottle when it’s empty.
3. Fertilizing: Chili peppers are heavy feeders and benefit from regular fertilization. Use a balanced fertilizer specifically formulated for vegetables. Follow the instructions on the fertilizer package. I usually fertilize my chili peppers every 2-3 weeks.
4. Pruning: Pruning can help promote bushier growth and increase fruit production. Pinch off the tips of the branches to encourage side growth. You can also remove any yellow or dead leaves.
5. Pest Control: Keep an eye out for pests, such as aphids, spider mites, and whiteflies. If you notice any pests, treat them with an insecticidal soap or neem oil.
6. Support: As your chili peppers grow, they may need support to prevent the branches from breaking. You can use stakes or twine to support the plants.
Harvesting Your Chili Peppers
The moment you’ve been waiting for! Harvesting your own homegrown chili peppers is incredibly satisfying.
1. When to Harvest: The time to harvest your chili peppers depends on the variety and your personal preference. Generally, chili peppers are ready to harvest when they have reached their mature color and size. They should also be firm to the touch.
2. How to Harvest: Use scissors or pruning shears to cut the chili peppers from the plant. Be careful not to damage the plant.
3. Enjoy Your Harvest: Now you can enjoy your delicious homegrown chili peppers! Use them in your favorite recipes, make hot sauce, or dry them for later use.
Troubleshooting
Even with the best care, you might encounter some challenges along the way. Here are a few common problems and how to fix them:
* Yellowing Leaves: This could be a sign of overwatering, underwatering, or nutrient deficiency. Check the soil moisture and adjust your watering accordingly. Fertilize your plants with a balanced fertilizer.
* Drooping Leaves: This could be a sign of underwatering or heat stress. Water your plants thoroughly and move them to a cooler location if necessary.
* Lack of Fruit: This could be due to insufficient sunlight, poor pollination, or nutrient deficiency. Make sure your plants are getting enough sunlight. You can hand-pollinate the flowers by gently shaking the plant or using a small brush to transfer pollen from one flower to another. Fertilize your plants with a fertilizer that is high in phosphorus.
* Pests: Treat any pest infestations promptly with an insecticidal soap or neem oil.
Tips and Tricks for Success
Here are a few extra tips to help you succeed with your bottle gardening project:
* Choose the Right Variety: Some chili pepper varieties are better suited for container gardening than others. Look for compact or dwarf varieties.
Conclusion
So, there you have it! Growing chili peppers in bottles isn’t just a quirky gardening experiment; it’s a surprisingly effective and space-saving way to cultivate these fiery delights, even if you’re short on space or gardening experience. We’ve walked you through the entire process, from selecting the right bottle and preparing the soil to nurturing your seedlings and harvesting your bounty.
Why is this DIY trick a must-try? Because it democratizes chili pepper cultivation. It removes the barriers of large gardens and expensive equipment, allowing anyone, anywhere, to enjoy the satisfaction of growing their own fresh chilies. Imagine the pride of adding homegrown heat to your favorite dishes, knowing you nurtured those peppers from tiny seeds within the confines of a recycled bottle. It’s sustainable, it’s economical, and it’s incredibly rewarding.
But the beauty of this method lies in its adaptability. Feel free to experiment with different varieties of chili peppers. From the mild jalapeño to the scorching habanero, the choice is yours. Consider using different types of bottles too. While plastic bottles are readily available and lightweight, glass bottles can add a touch of elegance to your mini-garden. Just be mindful of the weight and stability, especially if you’re placing them outdoors.
You can also tailor the soil mix to suit the specific needs of your chosen chili variety. Some peppers prefer a slightly acidic soil, while others thrive in a more alkaline environment. Research your pepper’s preferences and adjust the soil accordingly. Adding organic matter, like compost or worm castings, will further enrich the soil and provide your plants with essential nutrients.
Furthermore, think about companion planting. Basil, for example, is known to repel pests and attract beneficial insects, making it an excellent companion for chili peppers. Plant a small basil seedling alongside your chili pepper in the bottle to create a mutually beneficial relationship. Marigolds are another great option, adding a splash of color and deterring nematodes.
Don’t be afraid to get creative with your bottle garden. Paint the bottles with vibrant colors, add decorative labels, or arrange them in eye-catching displays. This is your chance to express your personality and create a unique and personalized gardening experience.
Growing chili peppers in bottles is more than just a gardening project; it’s a journey of discovery and a celebration of self-sufficiency. It’s about connecting with nature, learning new skills, and enjoying the fruits (or peppers!) of your labor.
We wholeheartedly encourage you to give this DIY trick a try. It’s easier than you might think, and the rewards are well worth the effort. And once you’ve harvested your first batch of homegrown chilies, we’d love to hear about your experience. Share your photos, tips, and stories with us in the comments section below. Let’s build a community of bottle-gardening enthusiasts and inspire others to embrace the joy of growing their own food, one chili pepper at a time. What are you waiting for? Grab a bottle, some soil, and some seeds, and let the chili pepper adventure begin!
Frequently Asked Questions (FAQ)
What type of chili peppers are best suited for growing in bottles?
While you can technically grow any type of chili pepper in a bottle, smaller varieties tend to thrive best. This is because the limited space can restrict the growth of larger plants. Excellent choices include:
* Jalapeños: Relatively compact and produce a good yield.
* Serranos: Similar in size to jalapeños and offer a spicier kick.
* Thai chilies: Small, prolific, and pack a significant amount of heat.
* Tabasco peppers: Known for their use in Tabasco sauce, these peppers are also well-suited for bottle gardening.
* Ornamental peppers: These peppers are grown for their colorful fruits and compact size, making them ideal for decorative bottle gardens.
Ultimately, the best chili pepper for you will depend on your personal preferences and the amount of space you have available.
How often should I water my chili peppers grown in bottles?
Watering frequency depends on several factors, including the size of the bottle, the type of soil, the climate, and the stage of growth of the plant. As a general rule, water your chili peppers when the top inch of soil feels dry to the touch. Avoid overwatering, as this can lead to root rot.
During hot and dry weather, you may need to water your plants daily. In cooler or more humid conditions, you can water them less frequently. Check the soil moisture regularly and adjust your watering schedule accordingly.
When watering, water deeply until water drains out of the bottom of the bottle. This ensures that the entire root system is adequately hydrated.
What kind of soil should I use for growing chili peppers in bottles?
The ideal soil for growing chili peppers in bottles is a well-draining potting mix that is rich in organic matter. Avoid using garden soil, as it can be too heavy and compact, leading to poor drainage and root problems.
A good potting mix should contain a blend of peat moss, perlite, and vermiculite. You can also add compost or worm castings to further enrich the soil and provide your plants with essential nutrients.
The soil should have a slightly acidic to neutral pH (around 6.0 to 7.0). You can test the pH of your soil using a soil testing kit. If the pH is too high, you can lower it by adding sulfur or peat moss. If the pH is too low, you can raise it by adding lime.
How much sunlight do chili peppers need when grown in bottles?
Chili peppers need at least 6-8 hours of direct sunlight per day to thrive. Place your bottle garden in a sunny location where it will receive plenty of sunlight. If you don’t have a sunny spot, you can supplement with artificial grow lights.
If you’re growing your chili peppers indoors, place them near a south-facing window. Rotate the bottles regularly to ensure that all sides of the plant receive equal sunlight.
How do I fertilize my chili peppers grown in bottles?
Chili peppers are heavy feeders and require regular fertilization to produce a good yield. Start fertilizing your plants a few weeks after they have been transplanted into the bottles.
Use a balanced fertilizer with an NPK ratio of 10-10-10 or 14-14-14. You can also use a fertilizer specifically formulated for chili peppers or tomatoes.
Follow the instructions on the fertilizer label carefully. Avoid over-fertilizing, as this can burn the roots of the plant.
You can also supplement with organic fertilizers, such as compost tea or fish emulsion. These fertilizers are gentle on the plants and provide them with a slow-release source of nutrients.
How do I prevent pests and diseases from affecting my chili peppers in bottles?
Prevention is key when it comes to pests and diseases. Start by using healthy, disease-free seedlings. Choose a well-draining potting mix and avoid overwatering.
Inspect your plants regularly for signs of pests or diseases. Common pests that affect chili peppers include aphids, spider mites, and whiteflies. Diseases include fungal infections like powdery mildew and blossom end rot.
If you spot any pests, you can try to remove them by hand or spray the plants with insecticidal soap or neem oil. For fungal diseases, you can use a fungicide.
Companion planting can also help to deter pests and diseases. Basil, marigolds, and garlic are all good companions for chili peppers.
How long does it take for chili peppers to mature when grown in bottles?
The time it takes for chili peppers to mature depends on the variety of pepper and the growing conditions. Generally, it takes about 60-90 days from transplanting to harvest.
You’ll know your chili peppers are ready to harvest when they have reached their mature color and size. The color will vary depending on the variety of pepper. The peppers should also be firm to the touch.
Use a sharp knife or scissors to cut the peppers from the plant. Be careful not to damage the plant.
Can I overwinter my chili pepper plants grown in bottles?
Yes, you can overwinter your chili pepper plants grown in bottles. Before the first frost, bring the bottles indoors and place them in a sunny location.
Reduce watering and fertilization during the winter months. The plants will go dormant and will not need as much water or nutrients.
In the spring, when the weather warms up, you can gradually acclimate the plants back to the outdoors.
What size bottle is best for growing chili peppers?
A bottle with a capacity of at least 1 liter (approximately 34 ounces) is generally recommended. Larger bottles (2-3 liters) will provide more space for the roots to grow and can support larger plants. However, smaller bottles can also be used, especially for smaller chili pepper varieties. The key is to ensure that the bottle has adequate drainage holes.
Leave a Comment