
Homemade cleaning solutions: Ever feel like you’re waging a never-ending war against grime and dirt in your home? I know I do! And let’s be honest, those store-bought cleaners can be harsh on our wallets, our health, and the environment. But what if I told you that the secret to a sparkling clean home is likely already hiding in your pantry?
For generations, resourceful homemakers have relied on simple, natural ingredients to keep their homes fresh and tidy. Think about it – before the age of mass-produced chemicals, vinegar, baking soda, and lemon juice were the go-to weapons against household messes. These aren’t just old wives’ tales; they’re time-tested solutions that are surprisingly effective.
In this article, I’m going to share some of my favorite DIY cleaning tricks and hacks using homemade cleaning solutions. We’ll explore how to create powerful, eco-friendly cleaners that are safe for your family, your pets, and the planet. Plus, you’ll save money in the process! From tackling stubborn stains to freshening up your entire home, these simple recipes will empower you to take control of your cleaning routine and create a healthier, happier living space. So, grab your apron, and let’s get cleaning!
DIY Cleaning Solutions: Ditch the Chemicals, Embrace the Natural!
Hey everyone! I’m so excited to share some of my favorite homemade cleaning solutions with you. I’ve been slowly transitioning away from harsh chemicals in my home, and honestly, these DIY recipes work just as well, if not better, and they’re way easier on the environment (and my wallet!). Plus, knowing exactly what’s in my cleaning products gives me serious peace of mind. Let’s dive in!
All-Purpose Cleaner: Your New Best Friend
This is my go-to cleaner for pretty much everything – countertops, sinks, even floors! It’s simple, effective, and smells amazing.
What you’ll need:
* Spray bottle (16 oz is a good size)
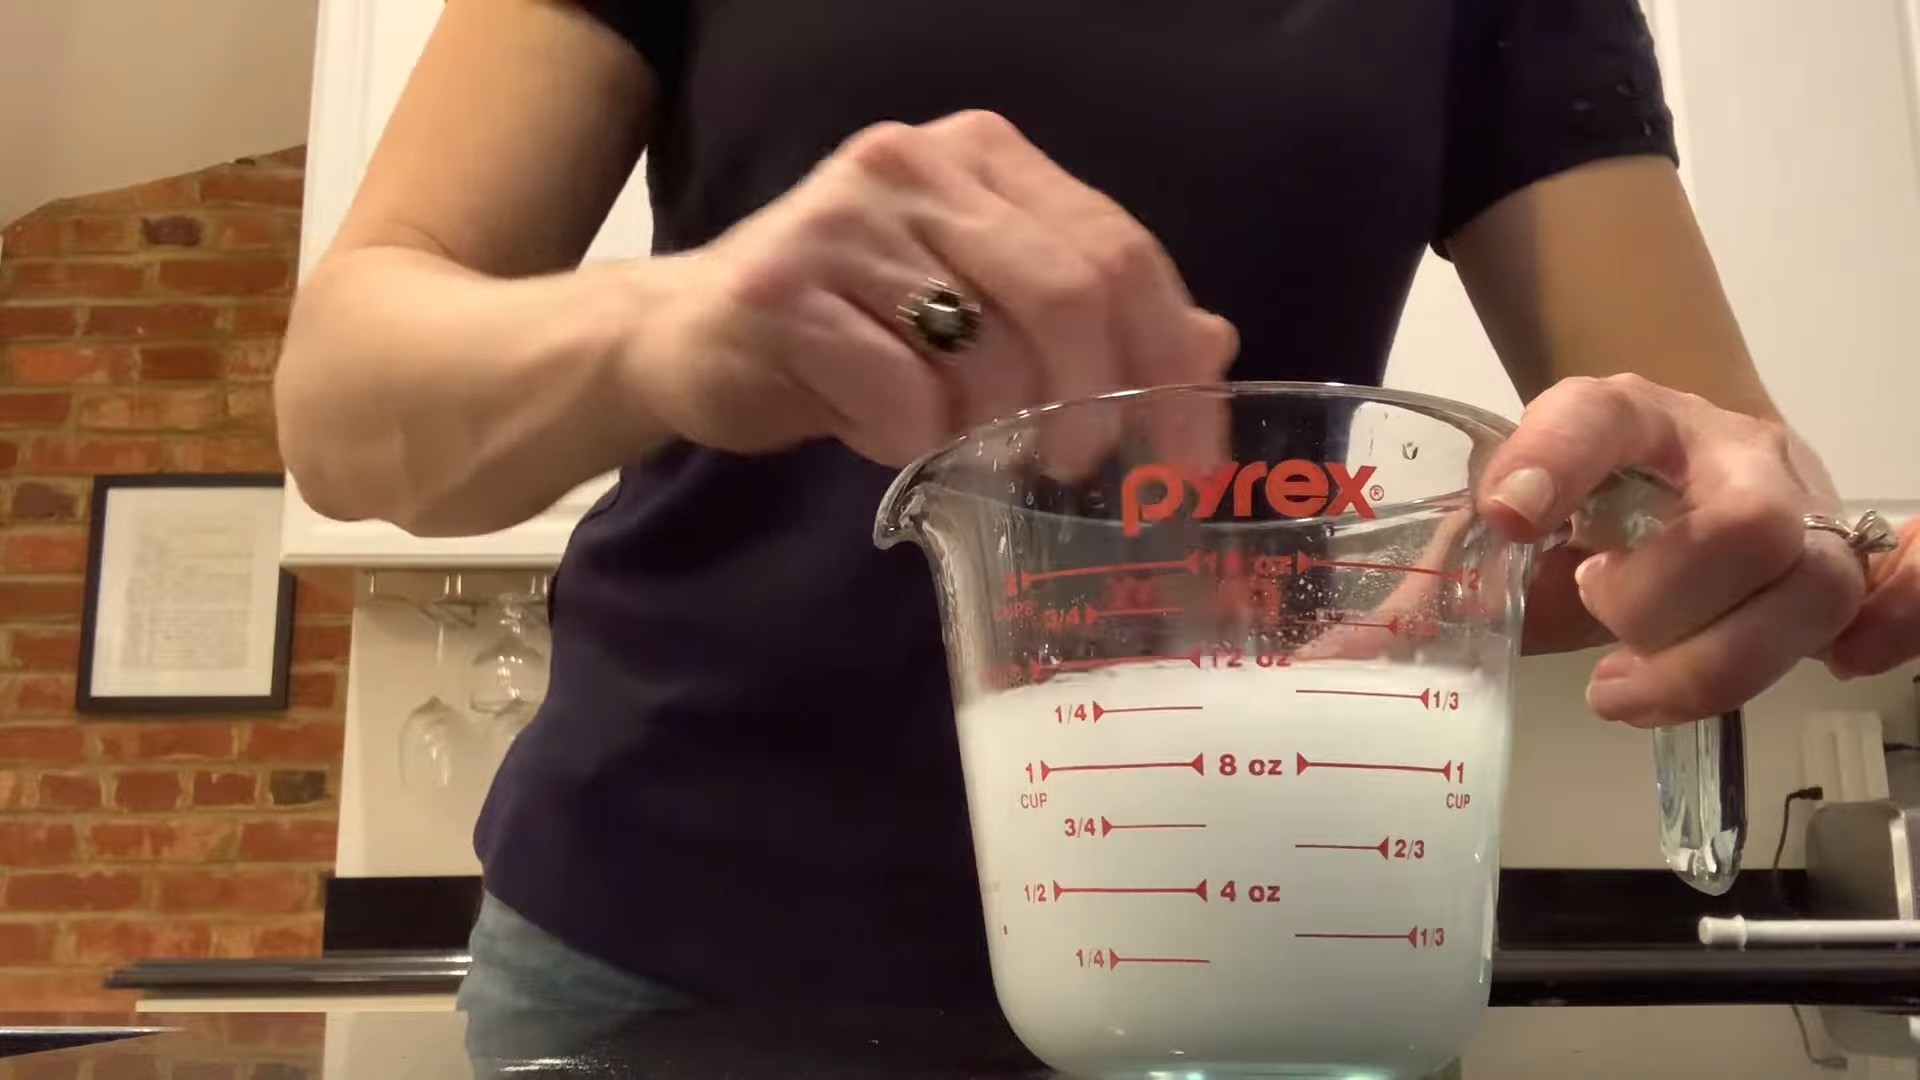
* 1 cup white vinegar
* 1 cup water
* 10-20 drops of your favorite essential oil (I love lemon, lavender, or tea tree)
Step-by-step instructions:
1. Combine ingredients: In your spray bottle, pour in the white vinegar and water.
2. Add essential oils: Add your chosen essential oils. Remember, tea tree oil has antibacterial properties, so it’s great for extra cleaning power.
3. Shake it up: Secure the spray nozzle and give the bottle a good shake to combine everything.
4. Time to clean! Spray the solution onto the surface you want to clean and wipe with a clean cloth or sponge. For tougher messes, let the solution sit for a few minutes before wiping.
Important Note: Avoid using vinegar-based cleaners on natural stone surfaces like granite or marble, as the acidity can damage them.
Glass Cleaner: Streak-Free Shine Guaranteed
Say goodbye to streaks and hello to sparkling clean windows and mirrors! This glass cleaner is super easy to make and works like a charm.
What you’ll need:
* Spray bottle
* 1/4 cup white vinegar
* 2 cups water
* 2 tablespoons rubbing alcohol (isopropyl alcohol)
* Optional: a few drops of blue food coloring (just for fun!)
Step-by-step instructions:
1. Mix the ingredients: In your spray bottle, combine the white vinegar, water, and rubbing alcohol.
2. Add a touch of color (optional): If you want to add a little color, add a few drops of blue food coloring.
3. Shake well: Secure the spray nozzle and shake the bottle well to mix everything together.
4. Spray and wipe: Spray the solution onto your windows or mirrors and wipe with a clean microfiber cloth. I find that using a microfiber cloth is key to achieving a streak-free finish.
Pro Tip: For really dirty windows, pre-clean them with a damp cloth before using the glass cleaner.
Toilet Bowl Cleaner: Keep it Fresh and Clean
This toilet bowl cleaner uses the power of baking soda and vinegar to fizz away grime and leave your toilet smelling fresh.
What you’ll need:
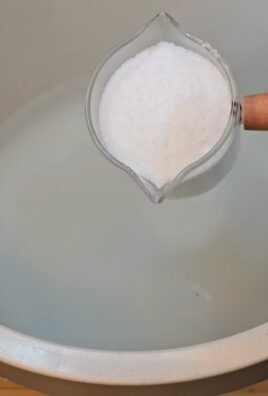
* 1 cup baking soda
* 1/2 cup white vinegar
* Toilet brush
* Optional: a few drops of tea tree or eucalyptus essential oil
Step-by-step instructions:
1. Sprinkle baking soda: Sprinkle the baking soda into the toilet bowl, making sure to coat the sides as much as possible.
2. Pour in the vinegar: Slowly pour the white vinegar over the baking soda. It will fizz – that’s a good thing!
3. Let it sit: Let the mixture sit for at least 15-20 minutes. The longer it sits, the more time it has to break down grime.
4. Scrub and flush: Use your toilet brush to scrub the bowl thoroughly, paying attention to any stains or buildup.
5. Flush: Flush the toilet to rinse away the cleaner.
6. Add essential oils (optional): For a fresh scent, add a few drops of tea tree or eucalyptus essential oil to the bowl after flushing.
Why this works: The baking soda is a mild abrasive that helps to scrub away grime, while the vinegar helps to dissolve mineral deposits and kill bacteria.
Drain Cleaner: Unclog Those Pesky Drains
Clogged drains are the worst! This DIY drain cleaner is a great alternative to harsh chemical drain cleaners.
What you’ll need:
* 1 cup baking soda
* 2 cups boiling water
* 1 cup white vinegar
Step-by-step instructions:
1. Pour baking soda: Pour the baking soda down the drain.
2. Pour boiling water: Carefully pour the boiling water down the drain. Let it sit for a few minutes.
3. Add vinegar: Pour the white vinegar down the drain. It will fizz!
4. Let it sit: Let the mixture sit for at least 30 minutes, or even overnight for stubborn clogs.
5. Flush with hot water: Flush the drain with hot water for several minutes to clear away any remaining debris.
Important Safety Note: Be extremely careful when pouring boiling water. Avoid splashing and protect your hands.
Furniture Polish: Restore Shine to Your Wood
This furniture polish is perfect for bringing back the shine to your wood furniture. It’s made with just a few simple ingredients and smells wonderful.
What you’ll need:
* Spray bottle
* 1/4 cup olive oil
* 1/4 cup white vinegar or lemon juice
* Optional: a few drops of essential oil (lemon, orange, or cedarwood are great choices)
* Soft cloth
Step-by-step instructions:
1. Combine ingredients: In your spray bottle, combine the olive oil, white vinegar (or lemon juice), and essential oil (if using). This is my go-to cleaner for pretty much everything – countertops, sinks, even floors! It’s simple, effective, and smells amazing. What you’ll need: * Spray bottle (16 oz is a good size) Step-by-step instructions: 1. Combine ingredients: In your spray bottle, pour in the white vinegar and water. Important Note: Avoid using vinegar-based cleaners on natural stone surfaces like granite or marble, as the acidity can damage them. Say goodbye to streaks and hello to sparkling clean windows and mirrors! This glass cleaner is super easy to make and works like a charm. What you’ll need: * Spray bottle Step-by-step instructions: 1. Mix the ingredients: In your spray bottle, combine the white vinegar, water, and rubbing alcohol. Pro Tip: For really dirty windows, pre-clean them with a damp cloth before using the glass cleaner. This toilet bowl cleaner uses the power of baking soda and vinegar to fizz away grime and leave your toilet smelling fresh. What you’ll need: * 1 cup baking soda Step-by-step instructions: 1. Sprinkle baking soda: Sprinkle the baking soda into the toilet bowl, making sure to coat the sides as much as possible. Why this works: The baking soda is a mild abrasive that helps to scrub away grime, while the vinegar helps to dissolve mineral deposits and kill bacteria. Clogged drains are the worst! This DIY drain cleaner is a great alternative to harsh chemical drain cleaners. What you’ll need: * 1 cup baking soda Step-by-step instructions: 1. Pour baking soda: Pour the baking soda down the drain. Important Safety Note: Be extremely careful when pouring boiling water. Avoid splashing and protect your hands. This furniture polish is perfect for bringing back the shine to your wood furniture. It’s made with just a few simple ingredients and smells wonderful. What you’ll need: * Spray bottle Step-by-step instructions: 1. Combine ingredients: In your spray bottle, combine the olive oil, white vinegar (or lemon juice), and essential oil (if using). Why this works: The olive oil helps to moisturize the wood and restore its shine, while the vinegar or lemon juice helps to remove dirt and grime. Cleaning the oven is never fun, but this DIY oven cleaner makes it a little less daunting. What you’ll need: * Baking soda Step-by-step instructions: 1. Make a paste: In a bowl, mix together baking soda and water to form a thick paste. The consistency should be similar to frosting. Important Note: Wear gloves when cleaning your oven to protect your hands from the baking soda paste. This homemade dish soap is gentle on your hands and effective at cleaning dishes. What you’ll need: * 1 cup grated castile soap (like Dr. Bronner’s) Step-by-step instructions: 1. Dissolve the soap: In a large saucepan, combine the grated castile soap and hot water. Heat over low heat, stirring constantly, until the soap is completely dissolved. Why this works: Castile soap is a gentle and effective cleanser, So, there you have it! Ditching the harsh chemicals and embracing the world of homemade cleaning solutions is not just a trend; it’s a powerful step towards a healthier home, a happier planet, and a lighter wallet. We’ve explored some fantastic recipes that are incredibly effective, surprisingly simple to make, and undeniably better for you and your family. Why is this a must-try? Because you’re taking control. You know exactly what’s going into your cleaning products, eliminating the mystery ingredients and potential irritants that lurk in store-bought options. You’re reducing your plastic consumption, contributing to a more sustainable lifestyle. And let’s be honest, there’s a certain satisfaction that comes from creating something yourself, especially when it’s something as practical and essential as cleaning supplies. But the beauty of these recipes lies in their adaptability. Feel free to experiment! * For a stronger disinfectant: Add a few drops of tea tree oil or eucalyptus oil to your all-purpose cleaner. These essential oils boast powerful antibacterial and antiviral properties. Don’t be afraid to tweak the recipes to suit your preferences and needs. The key is to start with a solid base and then personalize it to create the perfect cleaning arsenal for your home. We truly believe that once you experience the effectiveness and benefits of homemade cleaning solutions, you’ll never go back to store-bought products. The peace of mind knowing you’re using safe, natural ingredients is priceless. So, what are you waiting for? Gather your ingredients, put on your DIY hat, and get ready to transform your cleaning routine. We’re confident you’ll be amazed by the results. We’d love to hear about your experiences! Share your favorite recipes, tips, and tricks in the comments below. Let’s build a community of eco-conscious cleaners and inspire others to make the switch to homemade cleaning solutions. Let us know what worked for you, what variations you tried, and any challenges you encountered. Your feedback is invaluable and will help us refine these recipes and empower others to embrace a cleaner, greener lifestyle. Let’s make our homes sparkling clean, naturally! Yes, in many cases, homemade cleaning solutions can be just as effective, if not more so, than their store-bought counterparts. The effectiveness depends on the specific recipe and the cleaning task at hand. For everyday cleaning, solutions like vinegar-based all-purpose cleaners, baking soda scrubs, and lemon juice disinfectants are highly effective at removing dirt, grime, and bacteria. While some heavy-duty cleaning tasks might require specialized commercial products, homemade solutions are excellent for maintaining a clean and healthy home environment on a regular basis. The key is to choose the right recipe for the job and to use the solutions properly. The benefits are numerous! Firstly, you have complete control over the ingredients, avoiding harsh chemicals, artificial fragrances, and potential allergens found in many commercial cleaners. This is especially important for households with children, pets, or individuals with sensitivities. Secondly, homemade cleaning solutions are often much more affordable than store-bought products. Ingredients like vinegar, baking soda, and lemon juice are inexpensive and readily available. Thirdly, you’re reducing your environmental impact by minimizing plastic waste and avoiding the release of harmful chemicals into the environment. Finally, making your own cleaning solutions can be a fun and empowering experience, allowing you to customize recipes to suit your specific needs and preferences. Some of the most common and versatile ingredients include: * White Vinegar: A natural disinfectant and deodorizer, effective for cleaning surfaces, removing hard water stains, and unclogging drains. Yes, there are certain surfaces that are best cleaned with specialized products or professional cleaning services. Avoid using vinegar on natural stone surfaces like marble, granite, and limestone, as it can etch and damage the stone. Also, avoid using abrasive cleaners like baking soda on delicate surfaces like polished wood or stainless steel, as they can scratch the finish. Always test a small, inconspicuous area before applying any cleaning solution to a larger surface. When in doubt, consult the manufacturer’s instructions for cleaning specific materials. Store your homemade cleaning solutions in clean, labeled spray bottles or containers. Clearly label each container with the name of the solution and the date it was made. Store them in a cool, dark place away from direct sunlight and heat. Keep them out of reach of children and pets. It’s also a good idea to use opaque bottles to protect the solutions from light, which can degrade some ingredients over time. For solutions containing essential oils, use glass bottles, as some essential oils can react with plastic. The shelf life of homemade cleaning solutions varies depending on the ingredients. Vinegar-based solutions can last for several months, while solutions containing fresh ingredients like lemon juice may only last for a few weeks. Solutions containing essential oils may also have a shorter shelf life. It’s best to make smaller batches of cleaning solutions and use them within a reasonable timeframe. If you notice any changes in color, odor, or consistency, discard the solution and make a fresh batch. While essential oils can add fragrance and antibacterial properties to cleaning solutions, it’s important to use them safely and responsibly. Not all essential oils are safe for all surfaces or for all individuals. Some essential oils can be irritating to the skin or respiratory system, especially for those with allergies or sensitivities. Always dilute essential oils properly before using them in cleaning solutions. Research the safety of specific essential oils before using them around children, pets, or pregnant women. And always test a small, inconspicuous area before applying a cleaning solution containing essential oils to a larger surface. Don’t be discouraged! Sometimes, it takes a little experimentation to find the right recipe and technique for your specific cleaning needs. Consider adjusting the proportions of the ingredients, trying a different essential oil, or using a different cleaning tool. You may also need to pre-treat stubborn stains or grime before applying the cleaning solution. Remember that homemade cleaning solutions may not be as aggressive as some commercial cleaners, so you may need to allow them to sit on the surface for a longer period of time or use a little more elbow grease. And don’t be afraid to ask for advice from other DIY cleaners! Yes, safety should always be a top priority. Wear gloves and eye protection when making and using cleaning solutions, especially those containing strong ingredients like borax or washing soda. Avoid mixing different cleaning solutions together, as this can create dangerous fumes. Always work in a well-ventilated area. Keep cleaning solutions out of reach of children and pets. And if you accidentally ingest or come into contact with a cleaning solution, seek medical attention immediately.
2. Shake well: Secure the spray nozzle and shake the bottle well to mix everything together.
3. Spray and polish:All-Purpose Cleaner: Your New Best Friend
* 1 cup white vinegar
* 1 cup water
* 10-20 drops of your favorite essential oil (I love lemon, lavender, or tea tree)
2. Add essential oils: Add your chosen essential oils. Remember, tea tree oil has antibacterial properties, so it’s great for extra cleaning power.
3. Shake it up: Secure the spray nozzle and give the bottle a good shake to combine everything.
4. Time to clean! Spray the solution onto the surface you want to clean and wipe with a clean cloth or sponge. For tougher messes, let the solution sit for a few minutes before wiping.Glass Cleaner: Streak-Free Shine Guaranteed
* 1/4 cup white vinegar
* 2 cups water
* 2 tablespoons rubbing alcohol (isopropyl alcohol)
* Optional: a few drops of blue food coloring (just for fun!)
2. Add a touch of color (optional): If you want to add a little color, add a few drops of blue food coloring.
3. Shake well: Secure the spray nozzle and shake the bottle well to mix everything together.
4. Spray and wipe: Spray the solution onto your windows or mirrors and wipe with a clean microfiber cloth. I find that using a microfiber cloth is key to achieving a streak-free finish.Toilet Bowl Cleaner: Keep it Fresh and Clean
* 1/2 cup white vinegar
* Toilet brush
* Optional: a few drops of tea tree or eucalyptus essential oil
2. Pour in the vinegar: Slowly pour the white vinegar over the baking soda. It will fizz – that’s a good thing!
3. Let it sit: Let the mixture sit for at least 15-20 minutes. The longer it sits, the more time it has to break down grime.
4. Scrub and flush: Use your toilet brush to scrub the bowl thoroughly, paying attention to any stains or buildup.
5. Flush: Flush the toilet to rinse away the cleaner.
6. Add essential oils (optional): For a fresh scent, add a few drops of tea tree or eucalyptus essential oil to the bowl after flushing.Drain Cleaner: Unclog Those Pesky Drains
* 2 cups boiling water
* 1 cup white vinegar
2. Pour boiling water: Carefully pour the boiling water down the drain. Let it sit for a few minutes.
3. Add vinegar: Pour the white vinegar down the drain. It will fizz!
4. Let it sit: Let the mixture sit for at least 30 minutes, or even overnight for stubborn clogs.
5. Flush with hot water: Flush the drain with hot water for several minutes to clear away any remaining debris.Furniture Polish: Restore Shine to Your Wood
* 1/4 cup olive oil
* 1/4 cup white vinegar or lemon juice
* Optional: a few drops of essential oil (lemon, orange, or cedarwood are great choices)
* Soft cloth
2. Shake well: Secure the spray nozzle and shake the bottle well to mix everything together.
3. Spray and polish: Lightly spray the solution onto your wood furniture and wipe with a soft cloth. Buff the surface to a shine.Oven Cleaner: Tackle That Baked-On Mess
* Water
* Spray bottle
* Spatula or scraper
* Gloves
2. Coat the oven: Spread the baking soda paste all over the inside of your oven, avoiding the heating elements. Be generous with the paste, especially on areas with baked-on grease.
3. Let it sit: Let the paste sit for at least 12 hours, or even overnight. The longer it sits, the easier it will be to remove the grime.
4. Scrub and scrape: After the paste has sat, use a spatula or scraper to remove as much of the dried paste as possible.
5. Wipe clean: Use a damp cloth to wipe away any remaining paste and grime. You may need to rinse the cloth several times.
6. Spray with vinegar (optional): For any stubborn spots, spray them with white vinegar and let it sit for a few minutes before wiping clean.Dish Soap: Gentle and Effective
* 4 cups hot water
* 1 tablespoon washing soda (sodium carbonate)
* 1 tablespoon vegetable glycerin (optional, for extra moisturizing)
* 10-20 drops of essential oil (lemon, grapefruit, or orange are great choices)
2. Add washing soda: Remove the saucepan from the heat and stir in the washing soda until it is dissolved.
3. Add glycerin (optional): If using, stir in the vegetable glycerin.
4. Add essential oils: Add your chosen essential oils and stir well.
5. Let it cool: Let the mixture cool completely. It will thicken as it cools.
6. Pour into a container: Pour the dish soap into a pump bottle or other container for easy dispensing.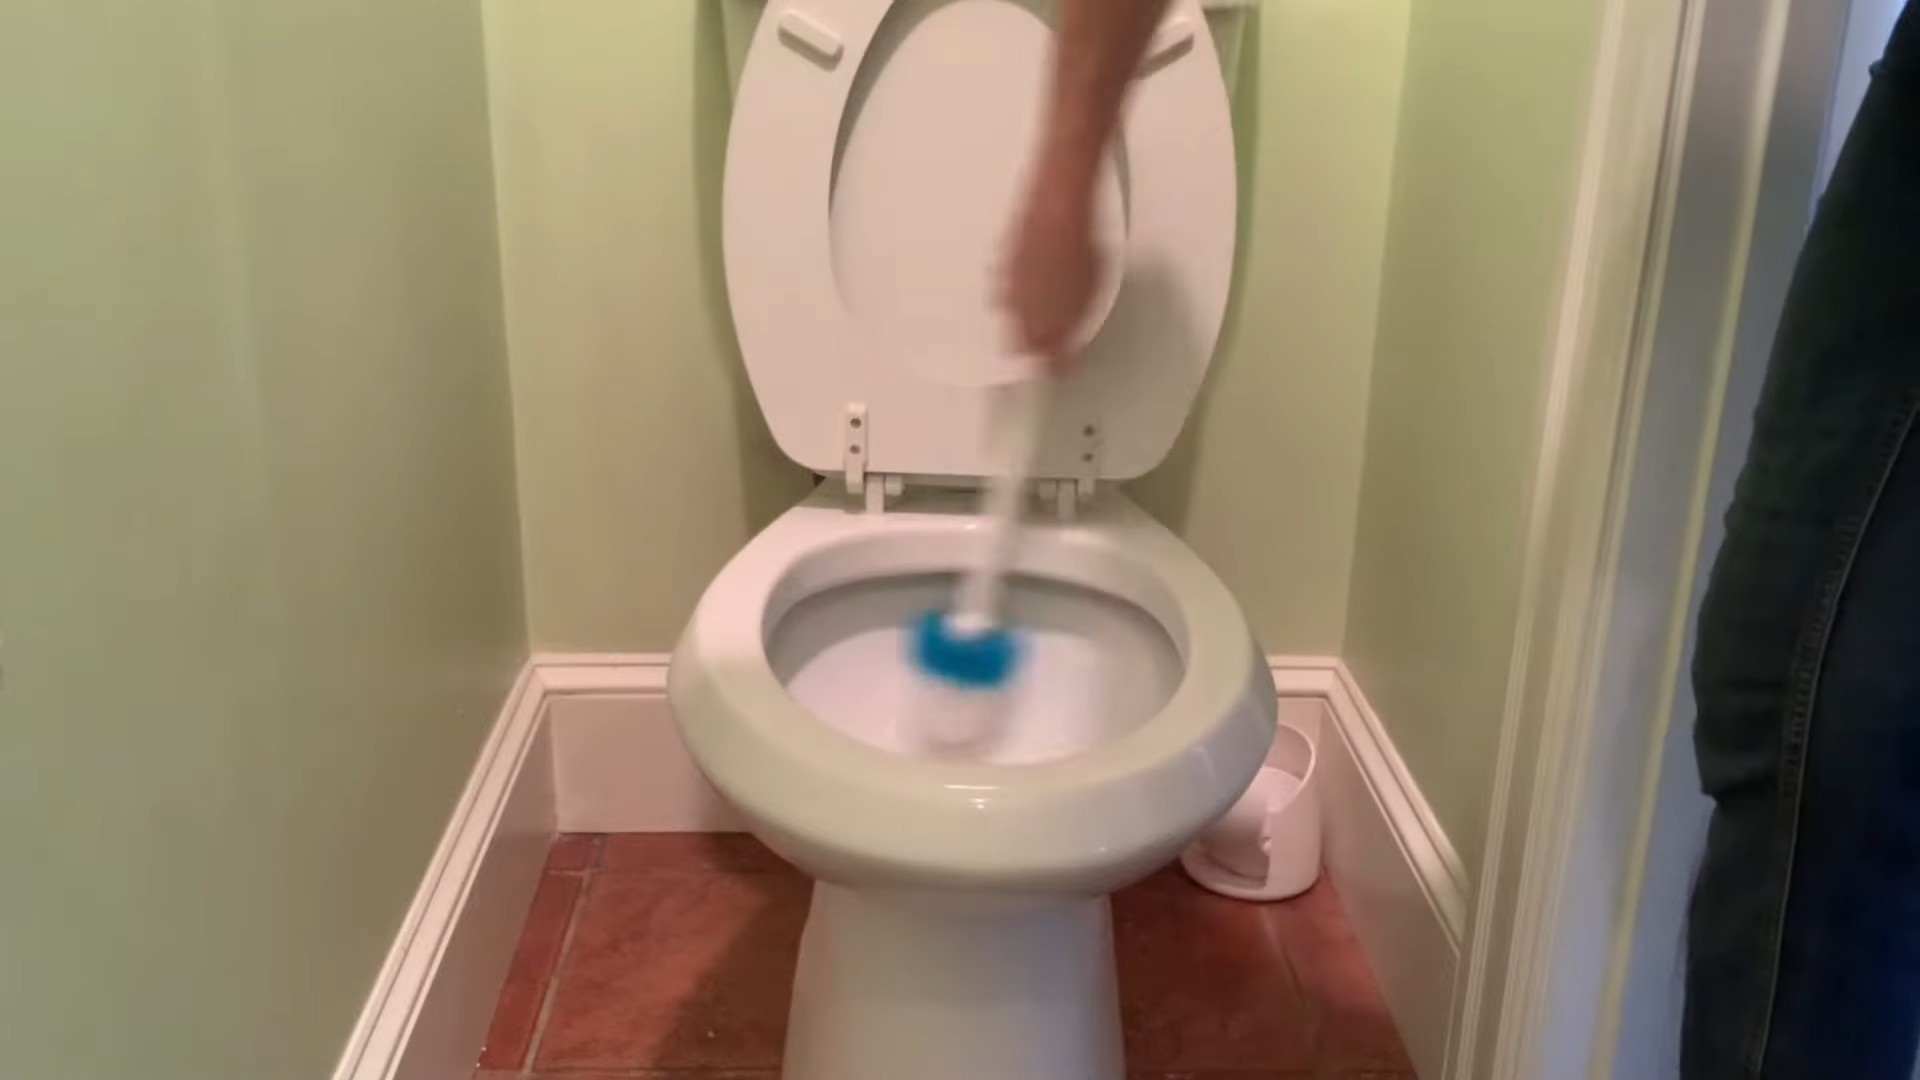
Conclusion
* For a citrusy boost: Infuse your vinegar with citrus peels (lemon, orange, grapefruit) for a week or two before using it in your cleaning solutions. This will not only add a pleasant scent but also enhance its cleaning power.
* For a gentler touch: If you have sensitive skin, consider using castile soap as a base for your cleaners. It’s a mild and effective alternative to harsher detergents.
* For a specific cleaning need: Research other natural ingredients that target specific cleaning challenges. For example, baking soda is excellent for scrubbing, while hydrogen peroxide is a great stain remover.Frequently Asked Questions (FAQs)
Are homemade cleaning solutions as effective as store-bought cleaners?
What are the benefits of using homemade cleaning solutions?
What are some common ingredients used in homemade cleaning solutions?
* Baking Soda: A mild abrasive cleaner and deodorizer, excellent for scrubbing surfaces, absorbing odors, and cleaning ovens.
* Lemon Juice: A natural disinfectant and degreaser, effective for cleaning surfaces, removing stains, and adding a fresh scent.
* Castile Soap: A gentle and versatile soap made from vegetable oils, suitable for cleaning a variety of surfaces and gentle on sensitive skin.
* Essential Oils: Add fragrance and antibacterial properties to cleaning solutions. Popular choices include tea tree oil, lavender oil, and lemon oil.
* Borax: A natural mineral with cleaning, disinfecting, and deodorizing properties. Use with caution and keep out of reach of children and pets.
* Washing Soda: A stronger cleaner than baking soda, effective for laundry and removing tough stains.Are there any surfaces that I shouldn’t clean with homemade solutions?
How should I store homemade cleaning solutions?
How long do homemade cleaning solutions last?
Can I use essential oils in all of my homemade cleaning solutions?
What if my homemade cleaning solution doesn’t work as well as I expected?
Are there any safety precautions I should take when making and using homemade cleaning solutions?
Leave a Comment