
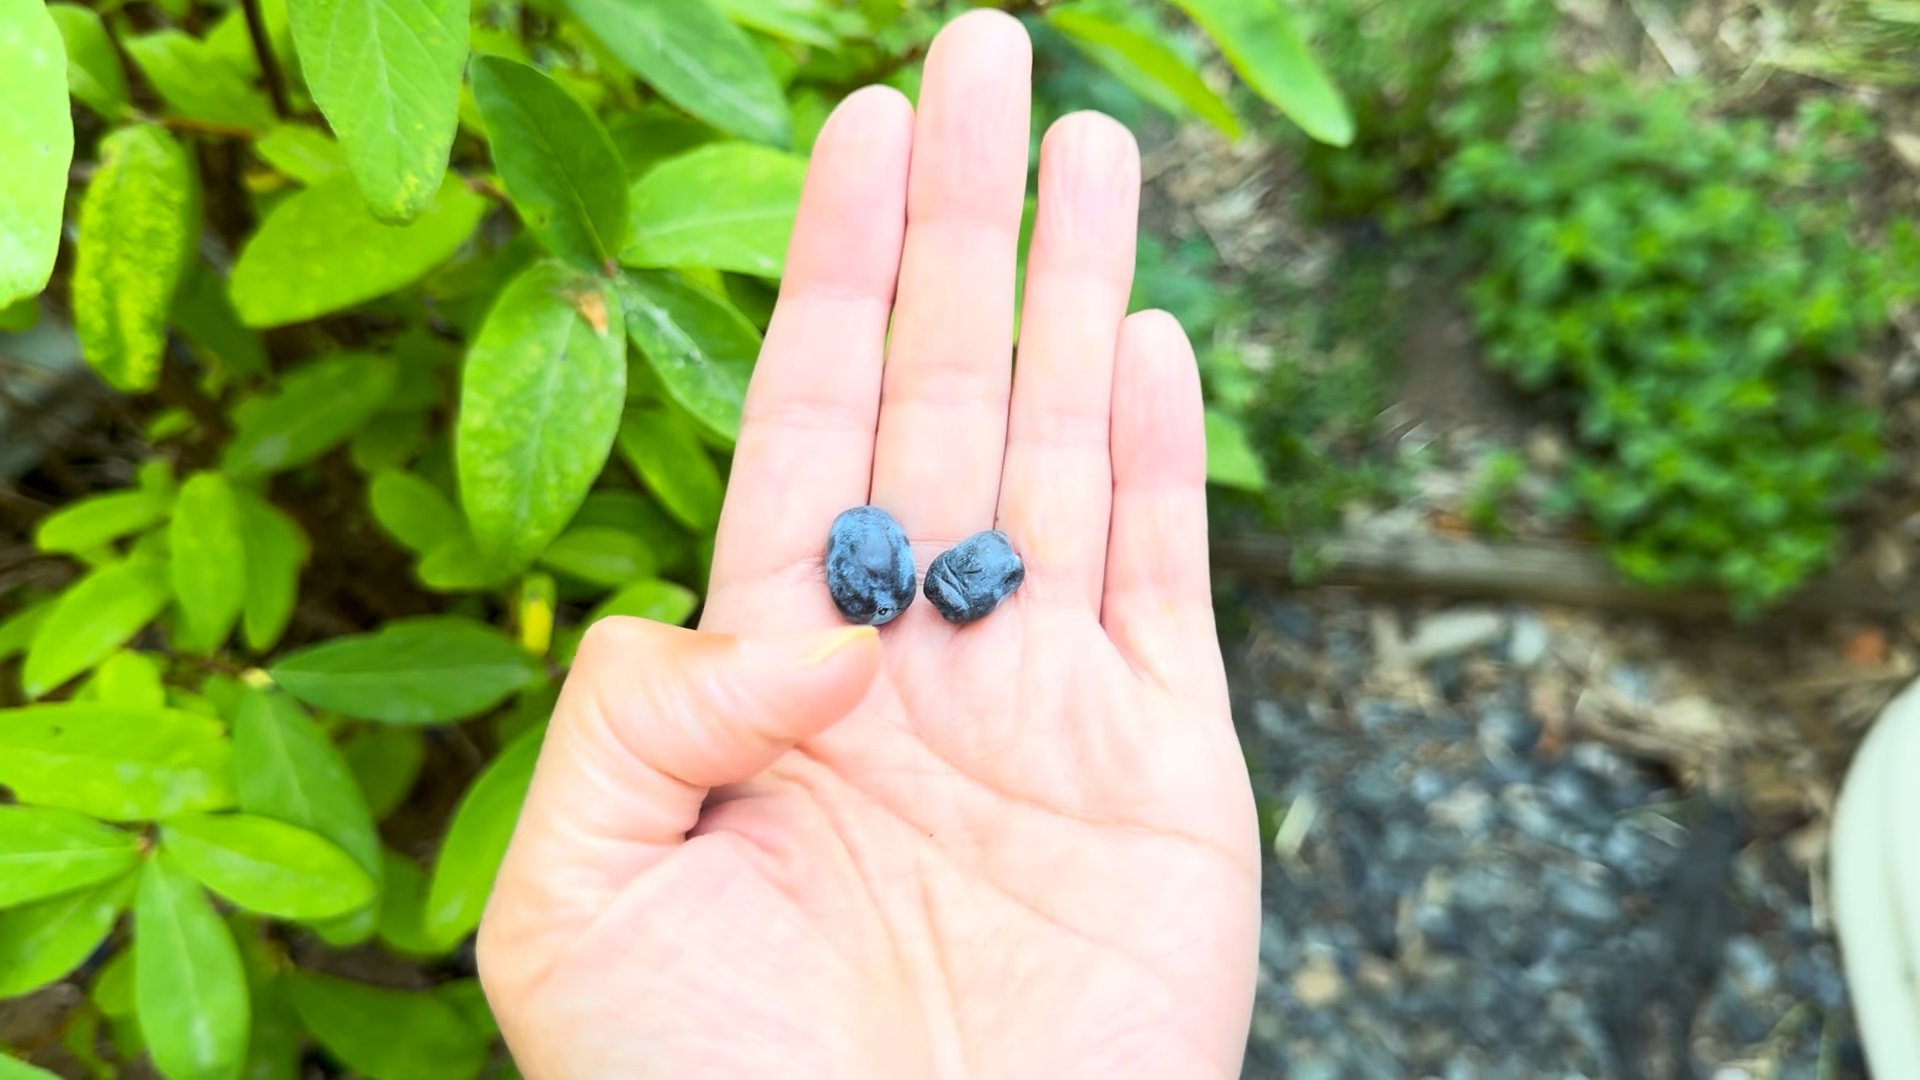
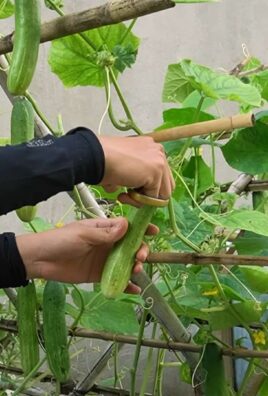
Honeyberry harvest garden tour – sounds delightful, doesn’t it? I’m so excited to take you on a virtual stroll through my garden and share the joy of harvesting these unique and delicious berries! But this isn’t just a tour; it’s an invitation to discover the magic of growing your own honeyberries and reaping the rewards of your labor.
While honeyberries might seem like a new kid on the block in the world of backyard gardening, they actually have a rich history, particularly in colder climates like Russia and Japan, where they’ve been cultivated for centuries. These hardy shrubs are known for their early fruiting season, often being the first berries to ripen in the spring – a welcome treat after a long winter!
Why should you consider adding honeyberries to your garden? Well, besides their incredible taste (a delightful blend of blueberry, raspberry, and black currant), they’re incredibly easy to grow and require minimal maintenance. In this article, I’ll be sharing my top tips and tricks for a successful honeyberry harvest garden tour, from choosing the right varieties to ensuring a bountiful yield. I’ll also be diving into some simple DIY projects to help you protect your precious berries from hungry birds and create the perfect growing environment. So, grab your gardening gloves, and let’s get started!
DIY Bird Netting System for Your Honeyberry Harvest (and Beyond!)
Okay, fellow gardeners, let’s talk honeyberries. These little gems are delicious, early-fruiting, and relatively easy to grow. But there’s a catch: birds *love* them. And I mean *really* love them. If you don’t protect your honeyberry bushes, you’ll be lucky to get a handful of berries for yourself. That’s why I’m sharing my DIY bird netting system – it’s affordable, effective, and relatively easy to set up. I’ve refined this system over several years, and it’s saved my honeyberry harvest (and my sanity!).
Why Bird Netting is Essential (and Why This System Works)
Before we dive into the how-to, let’s quickly cover why bird netting is so crucial and why I think this particular system is a winner.
* Bird Pressure: Honeyberries ripen early, often before other fruits are available. This makes them a prime target for hungry birds.
* Complete Coverage: This system aims for complete enclosure, preventing birds from getting *inside* the netting and becoming trapped or, worse, feasting on your berries from within.
* Durability: We’re using materials that can withstand the elements and last for several seasons.
* Ease of Access: While the netting is secure, it’s also designed to be easily opened for harvesting and pruning.
* Cost-Effective: Compared to some commercial bird netting solutions, this DIY approach is much more budget-friendly.
Materials You’ll Need
Here’s a comprehensive list of everything you’ll need. Don’t be intimidated by the length – most of these items are readily available at your local hardware store or online.
* Bird Netting: This is the heart of the system. I recommend a fine mesh netting (around 3/4 inch or smaller) to prevent even small birds from getting through. The size you need will depend on the size of your honeyberry bushes. Measure the height and circumference of your bushes to determine the required netting dimensions. I usually buy a large roll to cover multiple bushes.
* PVC Pipe (1/2 inch or 3/4 inch): These will form the frame that supports the netting. The length and number of pipes will depend on the size and shape of your bushes. I typically use 10-foot lengths and cut them down as needed.
* PVC Pipe Connectors: You’ll need various connectors to assemble the PVC frame. Here’s a breakdown of what I typically use:
* 90-degree Elbows: For corners of the frame.
* T-Connectors: For joining pipes at a “T” intersection.
* Cross Connectors (Optional): If you want to add extra support to the frame.
* Rebar Stakes (1/2 inch or 3/8 inch): These will anchor the PVC frame to the ground. The length will depend on your soil type. I usually use 2-3 foot lengths.
* Zip Ties: For attaching the netting to the PVC frame. I recommend using UV-resistant zip ties to prevent them from becoming brittle and breaking in the sun.
* Clamps or Clips: These will be used to secure the netting closed at the bottom, allowing for easy access. Spring clamps or binder clips work well.
* Measuring Tape: Essential for accurate measurements.
* PVC Pipe Cutter or Saw: For cutting the PVC pipe to the desired lengths. A ratcheting PVC cutter is a worthwhile investment if you plan on doing a lot of PVC projects.
* Hammer or Mallet: For driving the rebar stakes into the ground.
* Gloves: To protect your hands.
* Scissors or Utility Knife: For cutting the bird netting.
* Optional: Landscape Fabric or Weed Barrier: To place around the base of the bushes to suppress weeds and make it easier to secure the netting.
Step-by-Step Instructions: Building Your Bird Netting System
Okay, let’s get building! This process might seem a bit involved, but trust me, the peace of mind (and the berries!) are worth it.
Phase 1: Planning and Measuring
1. Assess Your Honeyberry Bushes: Carefully examine your honeyberry bushes. Note their height, width, and overall shape. This will determine the dimensions of your PVC frame and the amount of netting you’ll need. I like to sketch out a rough diagram of each bush and its dimensions.
2. Determine Frame Shape: Decide on the shape of your PVC frame. A simple rectangular or square frame is often the easiest to build. You can also create a more custom shape to fit the specific contours of your bushes.
3. Calculate PVC Pipe Lengths: Based on your chosen frame shape and the dimensions of your bushes, calculate the lengths of PVC pipe you’ll need. Remember to account for the depth of the PVC connectors. It’s always better to overestimate slightly – you can always cut the pipes shorter if needed.
4. Measure and Cut the Netting: Measure the area you need to cover with netting. Add extra length and width to ensure complete coverage and overlap at the bottom. I usually add at least a foot of extra netting on all sides.
Phase 2: Assembling the PVC Frame
1. Cut the PVC Pipe: Using your PVC pipe cutter or saw, cut the PVC pipe to the lengths you calculated in the previous step. Make clean, straight cuts for a secure fit in the connectors.
2. Assemble the Frame: Connect the PVC pipes using the PVC connectors to create your desired frame shape. Make sure the connections are snug and secure. You might need to tap the pipes into the connectors with a rubber mallet.
3. Test the Frame: Place the assembled frame over your honeyberry bush to ensure it fits properly. Make any necessary adjustments to the pipe lengths or connector positions.
4. Add Support (Optional): If your frame is large or you live in an area with strong winds, consider adding extra support by using cross connectors to create diagonal braces within the frame.
Phase 3: Installing the Frame and Netting
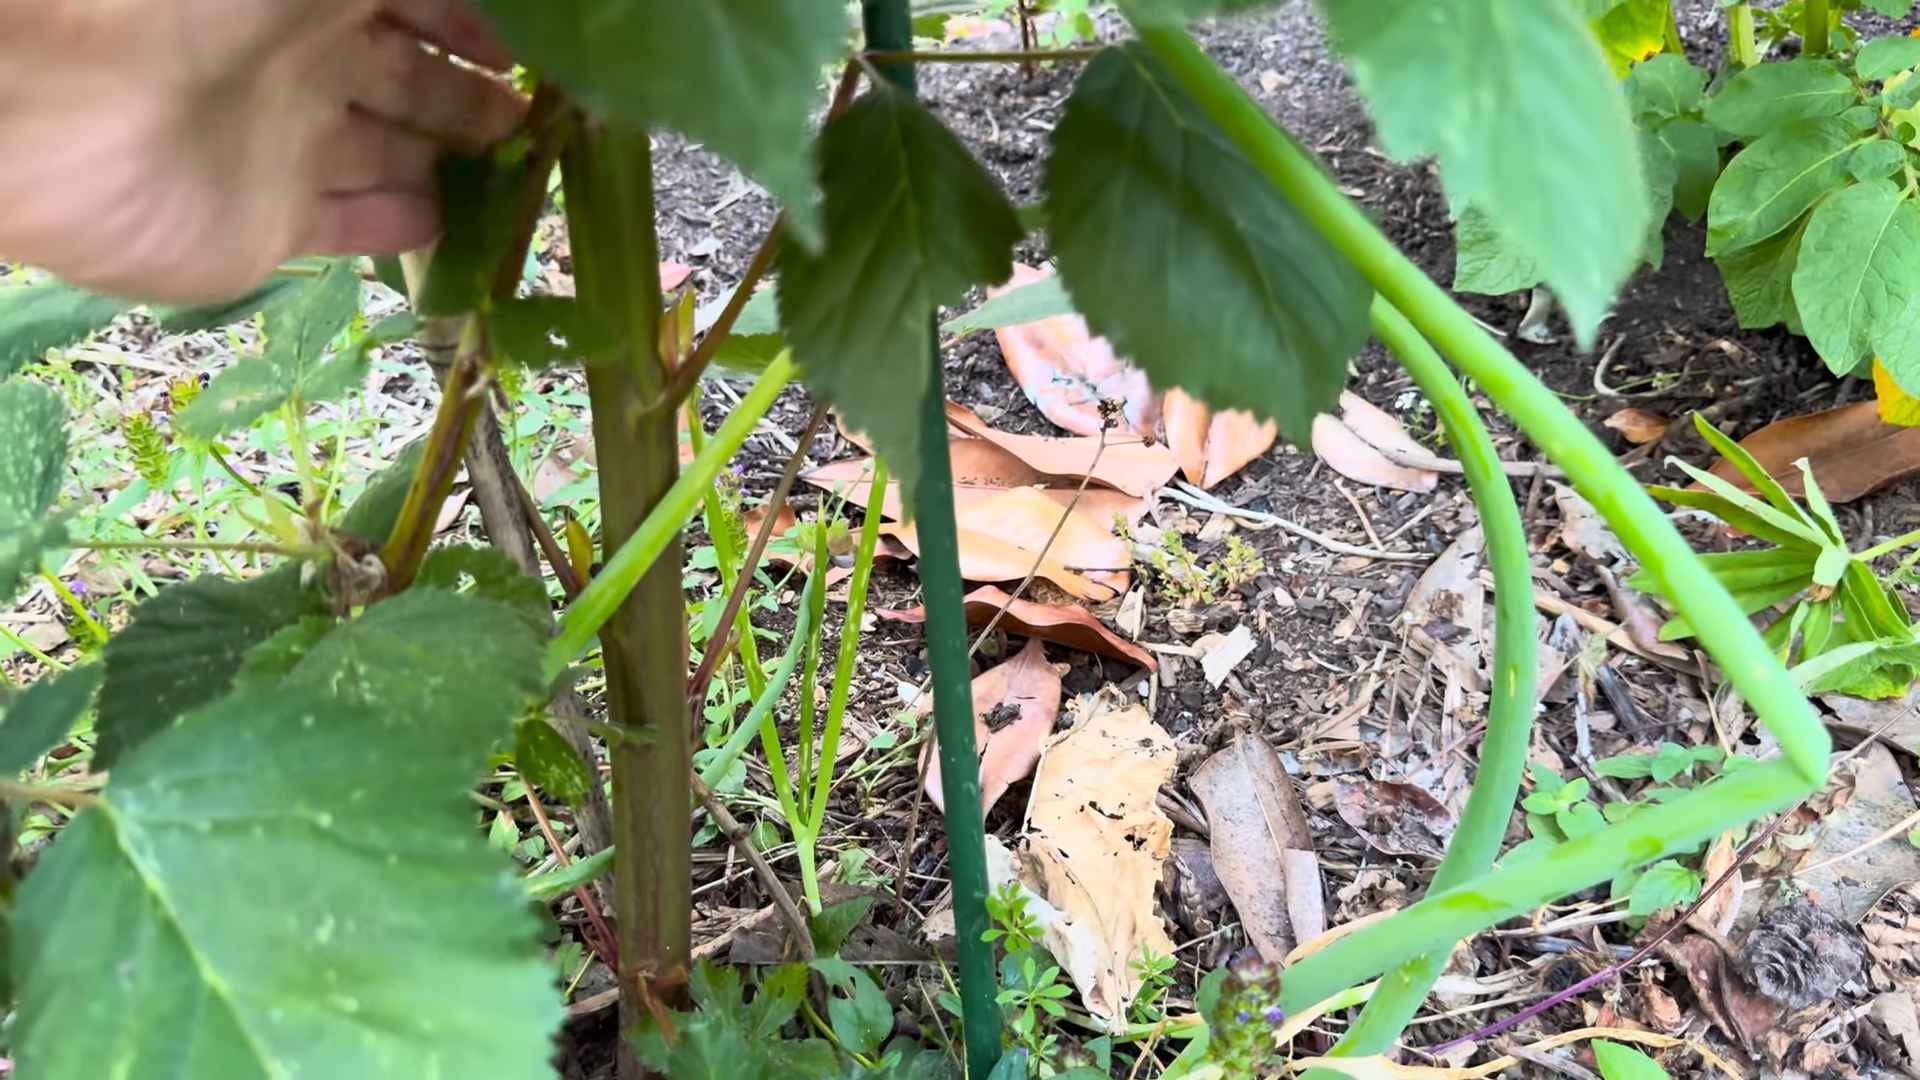
1. Prepare the Ground: Clear any weeds or debris from around the base of your honeyberry bushes. If you’re using landscape fabric or weed barrier, lay it down now.
2. Position the Frame: Carefully position the PVC frame over your honeyberry bush.
3. Drive in the Rebar Stakes: Drive the rebar stakes into the ground around the perimeter of the frame, positioning them close to the PVC pipes. The number of stakes you’ll need will depend on the size of the frame and the stability of the soil. I usually use at least four stakes per frame, one at each corner.
4. Secure the Frame to the Stakes: Attach the PVC frame to the rebar stakes using zip ties. This will prevent the frame from shifting or blowing over in the wind.
5. Drape the Netting: Carefully drape the bird netting over the PVC frame, ensuring that it completely covers the honeyberry bush.
6. Secure the Netting to the Frame: Use zip ties to attach the netting to the PVC frame at regular intervals. Start at the top of the frame and work your way down. Pull the netting taut as you go to prevent sagging.
7. Secure the Bottom of the Netting: Gather the excess netting at the bottom and secure it to the ground using clamps or clips. You can also bury the edges of the netting in the soil for extra security. I prefer using clamps because it allows for easy access to the bushes for harvesting and pruning.
Phase 4: Maintaining Your Bird Netting System
1. Regular Inspections: Regularly inspect your bird netting system for any tears or holes. Repair any damage immediately to prevent birds from getting inside.
2. Tighten Zip Ties: Check the zip ties periodically and tighten them as needed. UV-resistant zip ties will last longer, but they can still become loose over time.
3. Weed Control: Keep the area around the base of the bushes free of weeds to prevent them from growing through the netting.
4. Winter Storage (Optional): If you live in an area with heavy snow or strong winds, you may want to disassemble the PVC frame and store the netting indoors during the winter months. This will help to prolong the life of the materials.
Tips and Tricks for Success
* Choose the Right Netting: Don’t skimp on the netting! A fine mesh netting is essential to keep out even small birds.
* Overestimate Your Measurements: It’s always better to have too much netting than not enough.
* Use UV-Resistant Materials: UV-resistant zip ties and netting will last much longer in the sun.
* Secure the Bottom: Make sure the bottom of the netting is securely fastened to the ground to prevent birds from getting underneath.
*
Conclusion
So, there you have it! Transforming your honeyberry harvest into a delightful garden tour experience isn’t just about showing off your bounty; it’s about creating lasting memories, fostering a deeper connection with nature, and sharing the joy of homegrown goodness with friends and family. This DIY trick, turning a simple harvest into an engaging event, is a must-try for any gardener looking to elevate their harvest season.
Think beyond just picking berries. Consider adding themed elements to your tour. Perhaps a “Honeyberry History” station with fun facts about the fruit’s origins and cultivation. Or a “Berry Tasting Bar” where guests can sample different honeyberry varieties side-by-side, noting the subtle nuances in flavor. You could even incorporate a honeyberry-themed craft activity for children, like making honeyberry jam labels or painting berry-themed rocks.
For those who want to take it a step further, consider partnering with local beekeepers to showcase the symbiotic relationship between bees and honeyberries. A demonstration on honey extraction or a tasting of local honey would be a fantastic addition. Alternatively, if you’re skilled in the kitchen, offer a small honeyberry-infused treat, like mini muffins or a refreshing honeyberry lemonade, to your guests as a parting gift.
The beauty of this DIY garden tour is its adaptability. Tailor it to your garden’s size, your personal interests, and the preferences of your guests. Whether you have a sprawling orchard or a small backyard patch, the principles remain the same: create an engaging, informative, and enjoyable experience that celebrates the honeyberry harvest.
Don’t be intimidated by the thought of hosting a tour. Start small, keep it simple, and focus on sharing your passion for gardening. The most important thing is to create a welcoming atmosphere where guests feel comfortable asking questions and learning about the wonders of honeyberries.
We wholeheartedly encourage you to try this DIY trick and transform your next honeyberry harvest into a memorable garden tour. We’re confident that you’ll be amazed by the positive response and the connections you’ll forge with your community.
And most importantly, we want to hear about your experience! Share your photos, stories, and tips in the comments below. What worked well for you? What challenges did you face? What creative ideas did you incorporate? Your feedback will not only inspire other gardeners but also help us refine and improve this DIY trick for future harvests. Let’s create a community of honeyberry enthusiasts who are passionate about sharing the joy of homegrown goodness! Let us know how you made your honeyberry harvest a success.
Frequently Asked Questions (FAQ)
What is the best time to host a honeyberry harvest garden tour?
The ideal time to host your tour depends on your local climate and the specific honeyberry varieties you’re growing. Generally, honeyberries ripen in late spring to early summer, often before strawberries. Monitor your plants closely and start planning your tour when the berries are plump, juicy, and easily detach from the stems. A good rule of thumb is to host the tour within a week or two of the peak harvest time. Consider the weather forecast and choose a day with pleasant temperatures and minimal chance of rain. Early morning or late afternoon tours are often preferable to avoid the midday heat.
How do I prepare my garden for a honeyberry harvest garden tour?
Preparation is key to a successful tour. Start by weeding and tidying up the area around your honeyberry bushes. Ensure pathways are clear and accessible for guests of all ages and abilities. Consider adding signage to identify different honeyberry varieties or highlight interesting features of your garden. Prune any overgrown branches to improve visibility and airflow. Water your plants thoroughly a day or two before the tour to ensure the berries are plump and hydrated. Finally, set up a designated picking area with containers for guests to collect their harvest.
What should I include in my honeyberry harvest garden tour?
The content of your tour should be tailored to your audience and your personal interests. However, some essential elements include:
* **Introduction to Honeyberries:** Share some basic information about honeyberries, such as their nutritional benefits, unique flavor profile, and growing requirements.
* **Variety Showcase:** Highlight the different honeyberry varieties you’re growing, noting their distinct characteristics and flavor profiles.
* **Harvesting Demonstration:** Show your guests the proper way to harvest honeyberries to avoid damaging the plants.
* **Q&A Session:** Allow time for guests to ask questions about honeyberries and gardening in general.
* **Tasting Opportunity:** Offer guests a chance to sample the freshly picked honeyberries.
* **Garden Walk:** Guide your guests through your garden, pointing out other interesting plants and features.
How can I make my honeyberry harvest garden tour more engaging for children?
Engaging children is crucial for fostering a love of gardening. Consider incorporating these elements:
* **Berry Scavenger Hunt:** Create a list of different types of berries or garden items for children to find.
* **Honeyberry-Themed Crafts:** Provide materials for children to make honeyberry-themed crafts, such as berry necklaces or painted rocks.
* **Story Time:** Read a children’s book about berries or gardening.
* **Planting Activity:** Allow children to plant a honeyberry seedling or other small plant to take home.
* **Designated Play Area:** Set up a small play area with age-appropriate toys and activities.
What are some safety considerations for a honeyberry harvest garden tour?
Safety should be a top priority. Here are some important considerations:
* **Uneven Terrain:** Warn guests about any uneven terrain or potential tripping hazards.
* **Sharp Tools:** Keep sharp tools, such as pruning shears, out of reach of children.
* **Allergies:** Ask guests about any allergies they may have, particularly to berries or insects.
* **Insect Bites:** Provide insect repellent and advise guests to wear appropriate clothing to protect against insect bites.
* **Sun Protection:** Encourage guests to wear sunscreen and hats to protect themselves from the sun.
* **Hydration:** Provide plenty of water to keep guests hydrated, especially on hot days.
What if I don’t have a large garden? Can I still host a honeyberry harvest garden tour?
Absolutely! You don’t need a sprawling orchard to host a successful tour. Even a small backyard patch can be transformed into an engaging experience. Focus on the unique aspects of your garden and share your passion for honeyberries. You can also incorporate other elements, such as a demonstration on making honeyberry jam or a tasting of honeyberry-infused recipes. The key is to be creative and make the most of what you have.
How do I promote my honeyberry harvest garden tour?
Promote your tour through various channels, including:
* **Social Media:** Share photos and videos of your honeyberries and garden on social media platforms.
* **Local Community Groups:** Post information about your tour on local community groups and online forums.
* **Email List:** Send an email to your friends, family, and neighbors.
* **Flyers and Posters:** Distribute flyers and posters in local businesses and community centers.
* **Word of Mouth:** Tell your friends, family, and neighbors about your tour and encourage them to spread the word.
What should I do with the leftover honeyberries after the tour?
There are many ways to use leftover honeyberries. You can freeze them for later use, make jam or jelly, bake them into pies or muffins, or add them to smoothies and yogurt. You can also share them with your guests as a parting gift. Don’t let those delicious berries go to waste!
How can I make my honeyberry harvest garden tour sustainable?
Consider these sustainable practices:
* **Composting:** Compost garden waste and food scraps to enrich your soil.
* **Water Conservation:** Use water-efficient irrigation methods and collect rainwater for watering.
* **Organic Gardening:** Avoid using synthetic pesticides and fertilizers.
* **Pollinator-Friendly Plants:** Plant flowers that attract bees and other pollinators.
* **Reduce Waste:** Use reusable containers and minimize single-use plastics.
Leave a Comment