
Hydrogen Peroxide Grout Cleaning: Are you tired of staring at dingy, discolored grout lines that seem impossible to clean? I know I have been! It’s amazing how quickly grout can go from pristine to practically prehistoric, making your entire kitchen or bathroom look older than it actually is. But don’t despair, because I’m here to share a simple, effective, and surprisingly affordable DIY trick that will have your grout sparkling again in no time!
Grout cleaning has been a household chore for as long as we’ve had tiled surfaces. From ancient Roman mosaics to modern-day backsplashes, keeping grout clean has always been a challenge. While harsh chemicals were often the go-to solution in the past, many of us are now looking for gentler, more eco-friendly alternatives. That’s where hydrogen peroxide comes in – a readily available and surprisingly powerful cleaning agent.
Why do you need this hydrogen peroxide grout cleaning hack? Because let’s face it, nobody enjoys scrubbing grout for hours with little to no results. This DIY method is not only incredibly effective at removing stains, mold, and mildew, but it’s also a safer and more sustainable option compared to many commercial cleaners. Plus, it’s a fantastic way to save money and avoid the hassle of hiring professional cleaners. So, grab your hydrogen peroxide, and let’s get ready to transform your grout from drab to fab!
DIY Grout Cleaning with Hydrogen Peroxide: A Sparkling Solution!
Hey there, fellow DIY enthusiasts! Are you tired of staring at dingy, discolored grout lines? I know I was! No matter how much I scrubbed, those stubborn stains just wouldn’t budge. That’s when I discovered the magic of hydrogen peroxide. It’s a safe, effective, and surprisingly affordable way to bring your grout back to life. Let me share my tried-and-true method for sparkling clean grout using this household staple.
What You’ll Need: The Grout Cleaning Arsenal
Before we dive in, let’s gather our supplies. This is a pretty straightforward project, so you probably already have most of these items on hand.
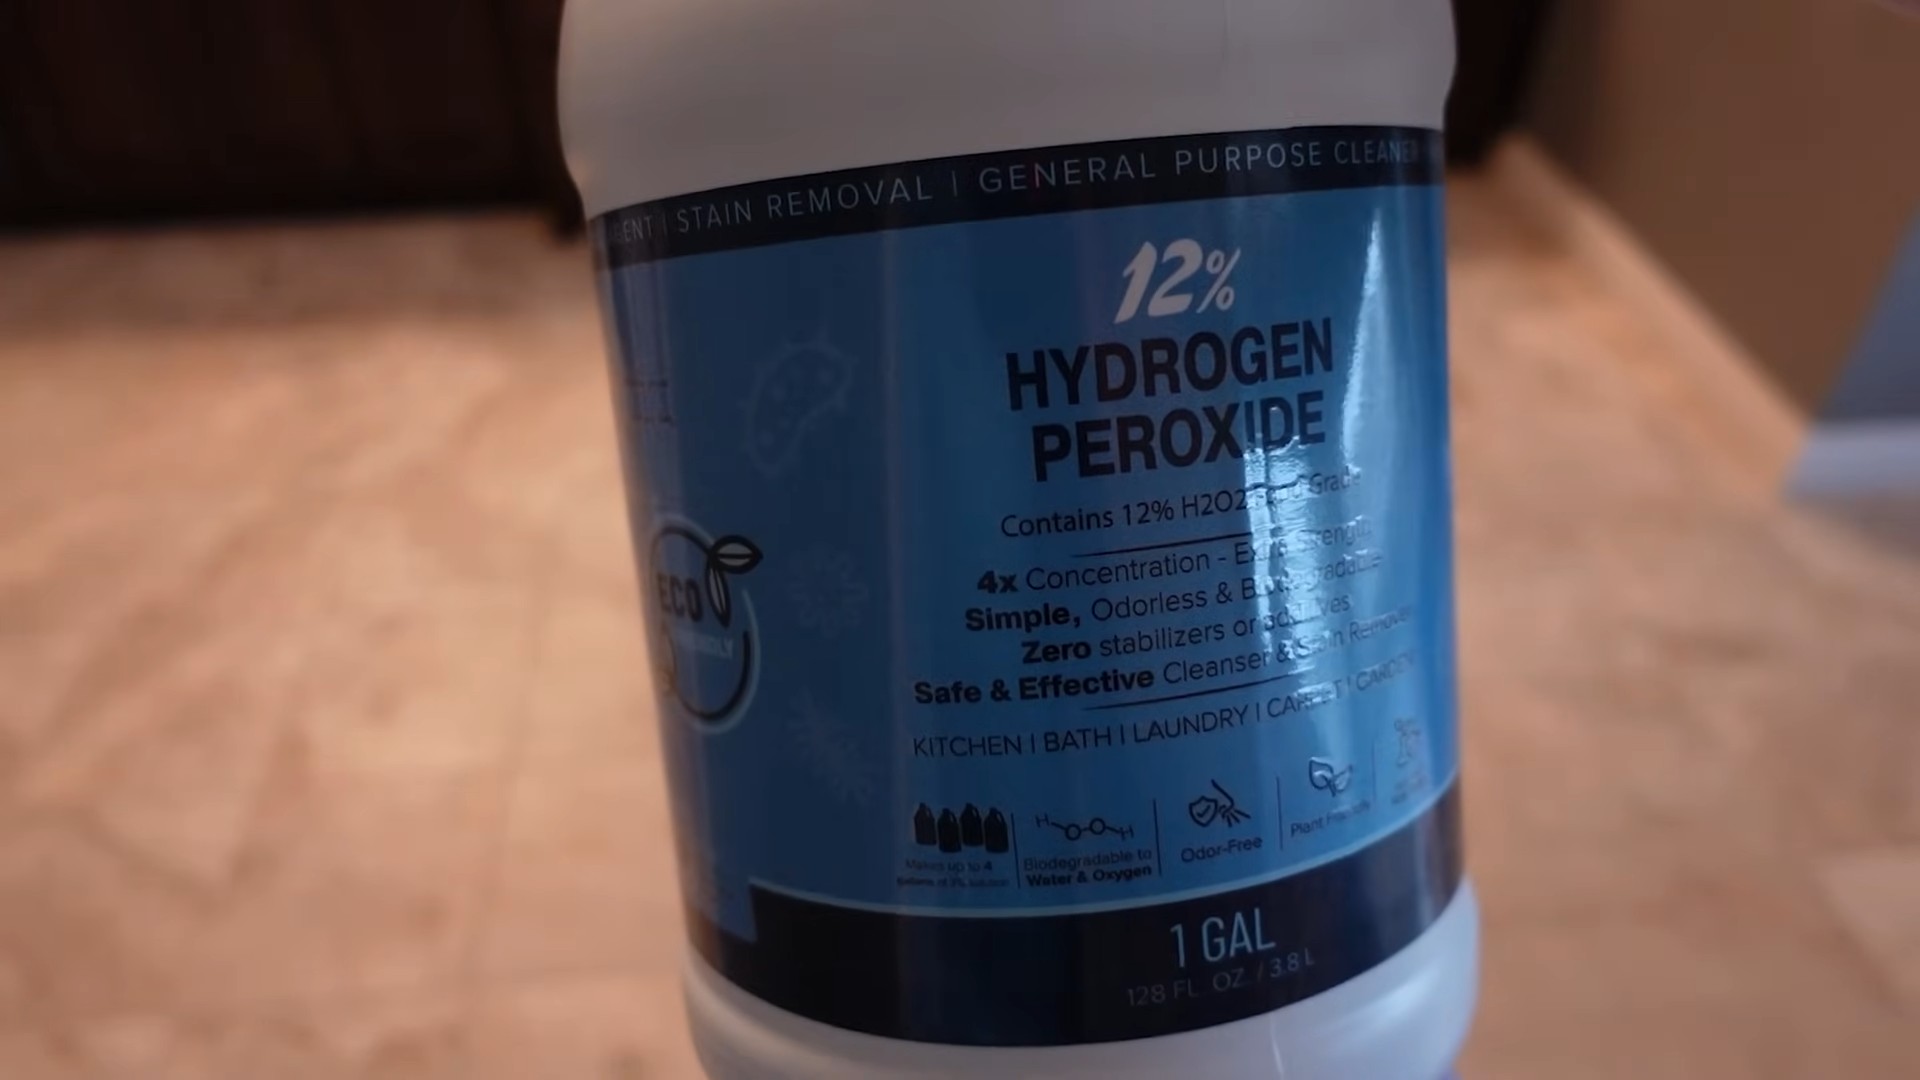
* Hydrogen Peroxide (3%): This is the star of the show! You can find it at any drugstore or supermarket. Make sure it’s the standard 3% solution.
* Baking Soda (Optional, but Recommended): Baking soda acts as a mild abrasive and helps to lift stubborn stains.
* Spray Bottle: A clean spray bottle is essential for applying the hydrogen peroxide.
* Old Toothbrush or Grout Brush: An old toothbrush works great for smaller areas, while a grout brush is ideal for larger surfaces.
* Gloves: Protect your hands from prolonged exposure to hydrogen peroxide.
* Eye Protection (Optional, but Recommended): Safety first! Especially if you’re cleaning overhead surfaces.
* Clean Cloth or Sponge: For wiping away the residue.
* Warm Water: For rinsing.
* Small Bowl (If using baking soda paste): For mixing the paste.
* Paper Towels: For soaking up excess liquid.
Step-by-Step Guide: Grout Cleaning with Hydrogen Peroxide
Alright, let’s get down to business! Here’s my step-by-step guide to achieving sparkling clean grout using hydrogen peroxide.
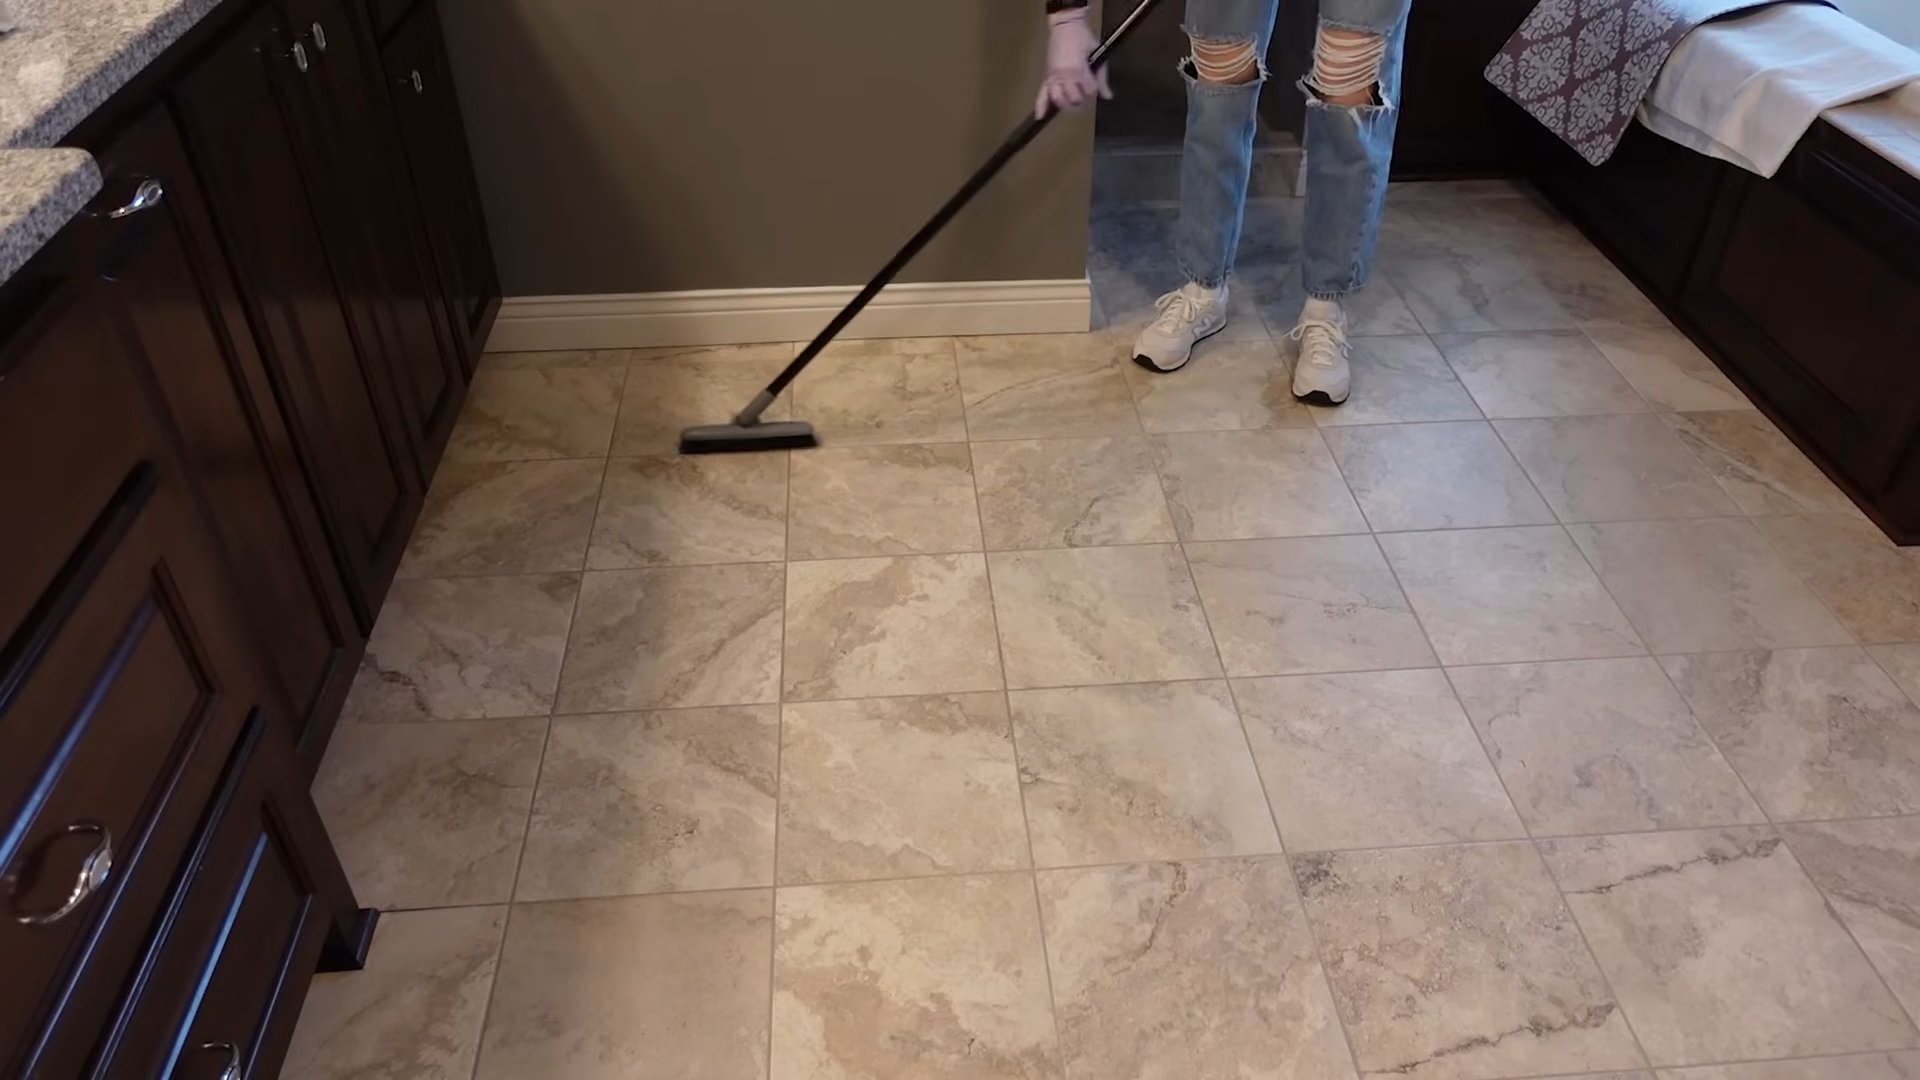
1. Prepare the Area: Before you start, sweep or vacuum the area to remove any loose dirt, dust, or debris. This will prevent you from just pushing the grime around during the cleaning process.
2. Choose Your Cleaning Method: You have two main options:
* Option 1: Hydrogen Peroxide Spray: This is the simplest method and works well for lightly stained grout.
* Option 2: Hydrogen Peroxide and Baking Soda Paste: This method is more effective for tackling stubborn stains and heavily soiled grout.
I’ll walk you through both methods, so you can choose the one that best suits your needs.
3. Method 1: Hydrogen Peroxide Spray
1. Fill the Spray Bottle: Pour hydrogen peroxide into your clean spray bottle.
2. Spray the Grout: Generously spray the hydrogen peroxide directly onto the grout lines. Make sure to saturate the grout thoroughly.
3. Let it Sit: Allow the hydrogen peroxide to sit on the grout for at least 10-15 minutes. This gives it time to penetrate the stains and break them down. For really tough stains, you can let it sit for up to 30 minutes.
4. Scrub the Grout: Using your old toothbrush or grout brush, scrub the grout lines in a back-and-forth motion. Apply moderate pressure to loosen the dirt and grime. You’ll likely see the dirt starting to lift as you scrub.
5. Rinse with Warm Water: After scrubbing, rinse the area thoroughly with warm water. You can use a clean cloth or sponge to wipe away the residue.
6. Dry the Area: Use a clean cloth or paper towels to dry the area completely. This will prevent water spots and mildew growth.
4. Method 2: Hydrogen Peroxide and Baking Soda Paste
1. Make the Paste: In a small bowl, mix baking soda and hydrogen peroxide to form a thick paste. The consistency should be similar to toothpaste. I usually start with about 1/2 cup of baking soda and add hydrogen peroxide a little at a time until I reach the desired consistency.
2. Apply the Paste: Using your fingers (with gloves on!), an old toothbrush, or a small spatula, apply the paste directly onto the grout lines. Make sure to cover the grout completely.
3. Let it Sit: Allow the paste to sit on the grout for at least 30 minutes. For really stubborn stains, you can let it sit for up to an hour. The longer it sits, the more effective it will be.
4. Scrub the Grout: Using your old toothbrush or grout brush, scrub the grout lines in a back-and-forth motion. Apply moderate pressure to loosen the dirt and grime. The baking soda will act as a mild abrasive, helping to lift the stains.
5. Rinse with Warm Water: After scrubbing, rinse the area thoroughly with warm water. You may need to use a clean cloth or sponge to remove all the paste residue.
6. Dry the Area: Use a clean cloth or paper towels to dry the area completely.
Tackling Stubborn Stains: When Extra Effort is Needed
Sometimes, you might encounter grout stains that are particularly stubborn. Don’t worry, I’ve got a few tricks up my sleeve!
* Repeat the Process: If the stains are still visible after the first cleaning, simply repeat the process. Sometimes, it takes a few applications to completely remove the grime.
* Increase the Soaking Time: For really tough stains, try increasing the soaking time. Let the hydrogen peroxide or paste sit on the grout for a longer period, up to a few hours. Just make sure to keep an eye on it and prevent it from drying out completely.
* Use a Stiffer Brush: If you’re using an old toothbrush, try switching to a grout brush with stiffer bristles. This will provide more scrubbing power.
* Consider a Commercial Grout Cleaner: If all else fails, you might need to resort to a commercial grout cleaner. However, I always recommend trying the hydrogen peroxide method first, as it’s a safer and more environmentally friendly option.
Safety First: Important Precautions
While hydrogen peroxide is generally safe, it’s important to take a few precautions:
* Wear Gloves: Prolonged exposure to hydrogen peroxide can irritate your skin. Always wear gloves to protect your hands.
* Protect Your Eyes: If you’re cleaning overhead surfaces, wear eye protection to prevent hydrogen peroxide from splashing into your eyes.
* Ventilate the Area: Make sure the area is well-ventilated, especially if you’re using a lot of hydrogen peroxide.
* Test in an Inconspicuous Area: Before cleaning a large area, test the hydrogen peroxide on a small, inconspicuous area to make sure it doesn’t damage the tile or grout.
* Keep Out of Reach of Children and Pets: Store hydrogen peroxide in a safe place, out of reach of children and pets.
Maintaining Your Sparkling Grout: Prevention is Key
Once you’ve achieved sparkling clean grout, you’ll want to keep it that way! Here are a few tips for maintaining your grout and preventing future stains:
* Wipe Up Spills Immediately: The sooner you wipe up spills, the less likely they are to stain the grout.
* Regular Cleaning: Clean your grout regularly, at least once a month, to prevent dirt and grime from building up.
* Seal Your Grout: Sealing your grout will help to protect it from stains and moisture. You can purchase grout sealant at any home improvement store. Follow the manufacturer’s instructions for application.
* Use a Squeegee: After showering, use a squeegee to remove excess water from the tile and grout. This will help to prevent mildew growth.
* Improve Ventilation: Make sure your bathroom is well-ventilated to prevent moisture buildup.
Troubleshooting: Common Grout Cleaning Issues
Even with the best methods, you might encounter a few challenges along the way. Here are some common grout cleaning issues and how to address them:
* Grout is Still Discolored: If your grout is still discolored after cleaning, it could be due to permanent staining or damage. In this case, you might need to consider re-grouting.
* Grout is Crumbling: If your grout is crumbling, it’s likely old or damaged. You’ll need to remove the old grout and replace it with new grout.
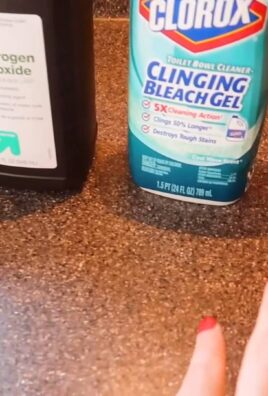
* Mold or Mildew: If you have mold or mildew growing on your grout, you can use a bleach solution to kill it. Mix one part bleach with ten parts water and apply it to the grout. Let it sit for a few minutes, then scrub and rinse thoroughly. Be sure to ventilate the area well when using bleach.
Conclusion: Enjoy Your Sparkling Clean Grout!
And there you have it! My complete guide to cleaning grout with hydrogen peroxide. I hope you found
Conclusion
So, there you have it! This simple yet powerful DIY trick using hydrogen peroxide for grout cleaning is a game-changer for anyone battling dingy, stained grout. Forget spending a fortune on harsh chemical cleaners that often come with unpleasant odors and potential health risks. This method is not only cost-effective and readily accessible, but it’s also a gentler alternative that delivers impressive results.
Why is this a must-try? Because it works! Hydrogen peroxide’s natural bleaching properties effectively lift stains and grime from grout lines, restoring them to their former glory. It’s a quick and easy process that requires minimal effort and yields visible improvements. Imagine transforming your bathroom or kitchen with just a few simple steps and readily available ingredients.
But the beauty of this DIY trick lies in its versatility. While the basic method of applying hydrogen peroxide directly to the grout lines is highly effective, you can also experiment with variations to suit your specific needs and preferences. For instance, if you’re dealing with particularly stubborn stains, consider creating a paste by mixing hydrogen peroxide with baking soda. This creates a slightly abrasive scrub that can help loosen and lift even the most entrenched dirt. Alternatively, for colored grout, test the hydrogen peroxide in an inconspicuous area first to ensure it doesn’t affect the color. You can also dilute the hydrogen peroxide with water for a gentler approach.
Another variation involves using a grout brush with stiffer bristles for more aggressive scrubbing. This can be particularly helpful for textured grout or areas with heavy buildup. Remember to always wear gloves to protect your hands and ensure proper ventilation in the area you’re cleaning.
We’re confident that once you try this hydrogen peroxide grout cleaning method, you’ll be amazed by the results. It’s a simple, effective, and affordable way to revitalize your tiled surfaces and create a cleaner, brighter home.
Don’t just take our word for it – give it a try yourself! We encourage you to experiment with the variations we’ve suggested and find what works best for your specific grout and stain types. And most importantly, we want to hear about your experience! Share your before-and-after photos and tips in the comments section below. Let’s create a community of grout-cleaning enthusiasts and help each other achieve sparkling clean homes. Your insights could be invaluable to others who are struggling with the same problem. So, grab your hydrogen peroxide, gather your supplies, and get ready to transform your grout! We can’t wait to see your amazing results!
FAQ
What concentration of hydrogen peroxide should I use for grout cleaning?
The standard 3% hydrogen peroxide solution, readily available at most drugstores and supermarkets, is generally sufficient for grout cleaning. This concentration is effective at lifting stains and grime without being overly harsh on the grout itself. Higher concentrations of hydrogen peroxide are available, but they are typically not necessary for household cleaning and may pose a greater risk of skin irritation or damage to surfaces. Always exercise caution and wear gloves when handling hydrogen peroxide, regardless of the concentration. If you are unsure about the strength of your hydrogen peroxide, start with a small, inconspicuous area to test its effect on the grout.
Can I use hydrogen peroxide on colored grout?
Yes, you can use hydrogen peroxide on colored grout, but it’s crucial to proceed with caution. Hydrogen peroxide has bleaching properties, and while it’s generally safe for white or light-colored grout, it could potentially lighten or discolor darker grout. Before applying hydrogen peroxide to a large area of colored grout, test it in a small, hidden area first. Apply a small amount of hydrogen peroxide to the test area, let it sit for a few minutes, and then wipe it away. Observe the grout for any signs of discoloration or fading. If you notice any changes, dilute the hydrogen peroxide with water before applying it to the rest of the grout. You can also try a shorter dwell time to minimize the risk of discoloration.
How long should I leave hydrogen peroxide on the grout?
The ideal dwell time for hydrogen peroxide on grout depends on the severity of the stains and the type of grout. As a general guideline, leave the hydrogen peroxide on the grout for 5 to 10 minutes. For heavily stained grout, you may need to leave it on for up to 30 minutes. However, it’s essential to monitor the grout closely and avoid leaving the hydrogen peroxide on for extended periods, as this could potentially damage the grout or cause discoloration. After the dwell time, scrub the grout with a brush and rinse thoroughly with water. If the stains persist, repeat the process.
What if hydrogen peroxide doesn’t completely remove the stains?
If hydrogen peroxide alone doesn’t completely remove the stains, there are several alternative methods you can try. One option is to create a paste by mixing hydrogen peroxide with baking soda. The baking soda acts as a mild abrasive, helping to scrub away stubborn stains. Apply the paste to the grout, let it sit for a few minutes, and then scrub with a brush. Another option is to use a commercial grout cleaner specifically designed for tough stains. Follow the manufacturer’s instructions carefully and always test the cleaner in a small, inconspicuous area first. For extremely stubborn stains, you may need to consider professional grout cleaning services.
Is it safe to mix hydrogen peroxide with other cleaning products?
No, it is generally not safe to mix hydrogen peroxide with other cleaning products, especially those containing ammonia or vinegar. Mixing hydrogen peroxide with ammonia can create toxic fumes that can be harmful to your health. Mixing hydrogen peroxide with vinegar can create peracetic acid, which can be irritating to the skin, eyes, and respiratory system. Always use hydrogen peroxide on its own and avoid mixing it with other chemicals. If you are using other cleaning products, rinse the area thoroughly with water before applying hydrogen peroxide.
How often should I clean my grout with hydrogen peroxide?
The frequency of grout cleaning depends on the amount of traffic and exposure to dirt and grime. In high-traffic areas like bathrooms and kitchens, you may need to clean your grout every few weeks. In less frequently used areas, you can clean your grout less often. Regularly wiping down your tiled surfaces with a mild cleaner can help prevent stains from setting in and reduce the need for frequent deep cleaning.
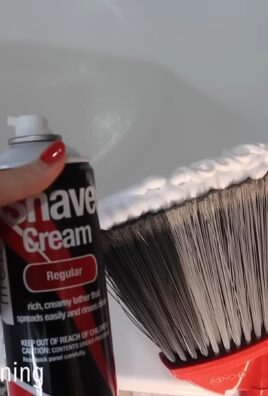
What type of brush should I use for scrubbing the grout?
A grout brush with stiff bristles is ideal for scrubbing grout. These brushes are specifically designed to reach into the grout lines and effectively remove dirt and grime. You can find grout brushes at most hardware stores and supermarkets. Alternatively, you can use an old toothbrush for smaller areas or hard-to-reach spots. Avoid using brushes with metal bristles, as they can scratch or damage the grout.
How do I prevent grout from getting stained in the future?
Preventing grout from getting stained in the future involves regular cleaning and maintenance. Wipe down your tiled surfaces regularly with a mild cleaner to remove dirt and spills before they have a chance to set in. Seal your grout with a grout sealer to create a protective barrier that repels water and stains. Reapply the grout sealer every year or two, or as recommended by the manufacturer. Avoid using harsh chemicals or abrasive cleaners on your grout, as they can damage the sealant and make it more susceptible to staining. Promptly address any spills or stains to prevent them from becoming permanent.

Leave a Comment