
Malabar Spinach Growing Tips: Unlock the secrets to cultivating this vibrant and nutritious leafy green right in your own backyard! Have you ever dreamed of harvesting fresh, delicious spinach that thrives even in the sweltering summer heat? Well, dream no more! This DIY guide is your passport to a bountiful Malabar spinach harvest, offering simple yet effective tricks that will transform your gardening game.
Malabar spinach, also known as Basella alba, isn’t actually a true spinach, but a climbing vine with spinach-like leaves. Originating from tropical Asia, it has been cultivated for centuries for its culinary and medicinal properties. In some cultures, it’s even considered a symbol of good luck and prosperity! But beyond its rich history, Malabar spinach offers a fantastic alternative to traditional spinach, especially in warmer climates where regular spinach struggles.
I know what you’re thinking: “Gardening can be intimidating!” But trust me, with these Malabar Spinach Growing Tips, even a novice gardener can achieve success. We’ll cover everything from selecting the right location and preparing the soil to providing proper support and harvesting techniques. Why spend money on store-bought greens when you can enjoy the satisfaction of growing your own, knowing exactly where your food comes from? Plus, it’s a fantastic way to add a touch of beauty and greenery to your home. So, let’s dive in and discover the joy of growing your own Malabar spinach!
Growing Malabar Spinach: A Beginner’s Guide to Lush, Edible Greens
Hey there, fellow gardening enthusiasts! I’m so excited to share my experiences and tips on growing Malabar Spinach ( *Basella alba* or *Basella rubra*). This isn’t your typical spinach; it’s a heat-loving vine that thrives in warm weather and produces delicious, slightly succulent leaves. If you’re looking for a spinach alternative that can handle the summer heat, or just want to add a unique and beautiful plant to your garden, Malabar Spinach is definitely worth a try. I’ve had great success with it, and I’m confident you can too!
Choosing Your Variety and Starting Seeds
Before we dive into the nitty-gritty, let’s talk about choosing the right variety and getting those seeds started. There are two main types of Malabar Spinach: green-stemmed and red-stemmed. The red-stemmed variety (*Basella rubra*) is often considered more ornamental, with its vibrant red stems and veins, but both are equally delicious.
Here’s what I recommend for starting your seeds:
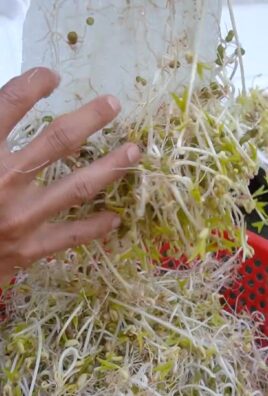
* Soaking the Seeds: Malabar Spinach seeds have a tough outer coating, so soaking them in warm water for 24-48 hours before planting significantly improves germination rates. I usually put them in a small bowl of water and leave them on my kitchen counter.
* Starting Indoors (Optional): While you can direct sow Malabar Spinach seeds, I prefer to start them indoors about 4-6 weeks before the last expected frost. This gives them a head start and ensures a longer growing season.
* Seed Starting Mix: Use a good quality seed starting mix. Avoid using garden soil, as it can be too heavy and may contain pathogens.
* Planting Depth: Sow the seeds about ½ inch deep in small pots or seed trays.
* Warmth is Key: Malabar Spinach needs warmth to germinate. Aim for a soil temperature of 70-80°F (21-27°C). You can use a heat mat to help maintain the temperature.
* Keep it Moist: Keep the soil consistently moist, but not waterlogged.
* Patience is a Virtue: Germination can take anywhere from 1-3 weeks, so be patient!
Preparing the Garden Bed
Malabar Spinach is a vigorous grower, so it needs a well-prepared garden bed. Here’s how I get mine ready:
* Sunlight: Choose a location that receives at least 6 hours of direct sunlight per day.
* Soil: Malabar Spinach prefers well-drained, fertile soil with a pH of 6.5-7.0.
* Amendments: Amend the soil with plenty of organic matter, such as compost or well-rotted manure. This will improve drainage, fertility, and water retention. I usually add a generous layer of compost to my garden bed before planting.
* Support System: Remember, Malabar Spinach is a vine, so it needs a support system to climb on. A trellis, fence, or even a sturdy tomato cage will work well. I personally love using a trellis because it looks beautiful and allows the vines to grow vertically, saving space in my garden.
Transplanting Seedlings (or Direct Sowing)
Once your seedlings have developed a few sets of true leaves and the danger of frost has passed, it’s time to transplant them into the garden. If you chose to direct sow, wait until the soil has warmed up to at least 65°F (18°C).
Here’s how I transplant my seedlings:
1. Harden Off: Before transplanting, gradually acclimate your seedlings to outdoor conditions by hardening them off. This involves exposing them to increasing amounts of sunlight and wind over a period of 7-10 days.
2. Spacing: Space the seedlings about 12-18 inches apart along your trellis or support system.
3. Planting Depth: Plant the seedlings at the same depth they were growing in their pots.
4. Water Thoroughly: Water the seedlings thoroughly after transplanting.
5. Mulch: Apply a layer of mulch around the plants to help retain moisture, suppress weeds, and regulate soil temperature. I like to use straw or wood chips.
If you’re direct sowing:
1. Sow Seeds: Sow seeds directly into the prepared garden bed, about ½ inch deep and 12-18 inches apart.
2. Water Gently: Water gently to avoid disturbing the seeds.
3. Thin Seedlings: Once the seedlings emerge, thin them to the strongest plant every 12-18 inches.
Caring for Your Malabar Spinach
Now that your Malabar Spinach is in the ground, it’s time to provide the care it needs to thrive.
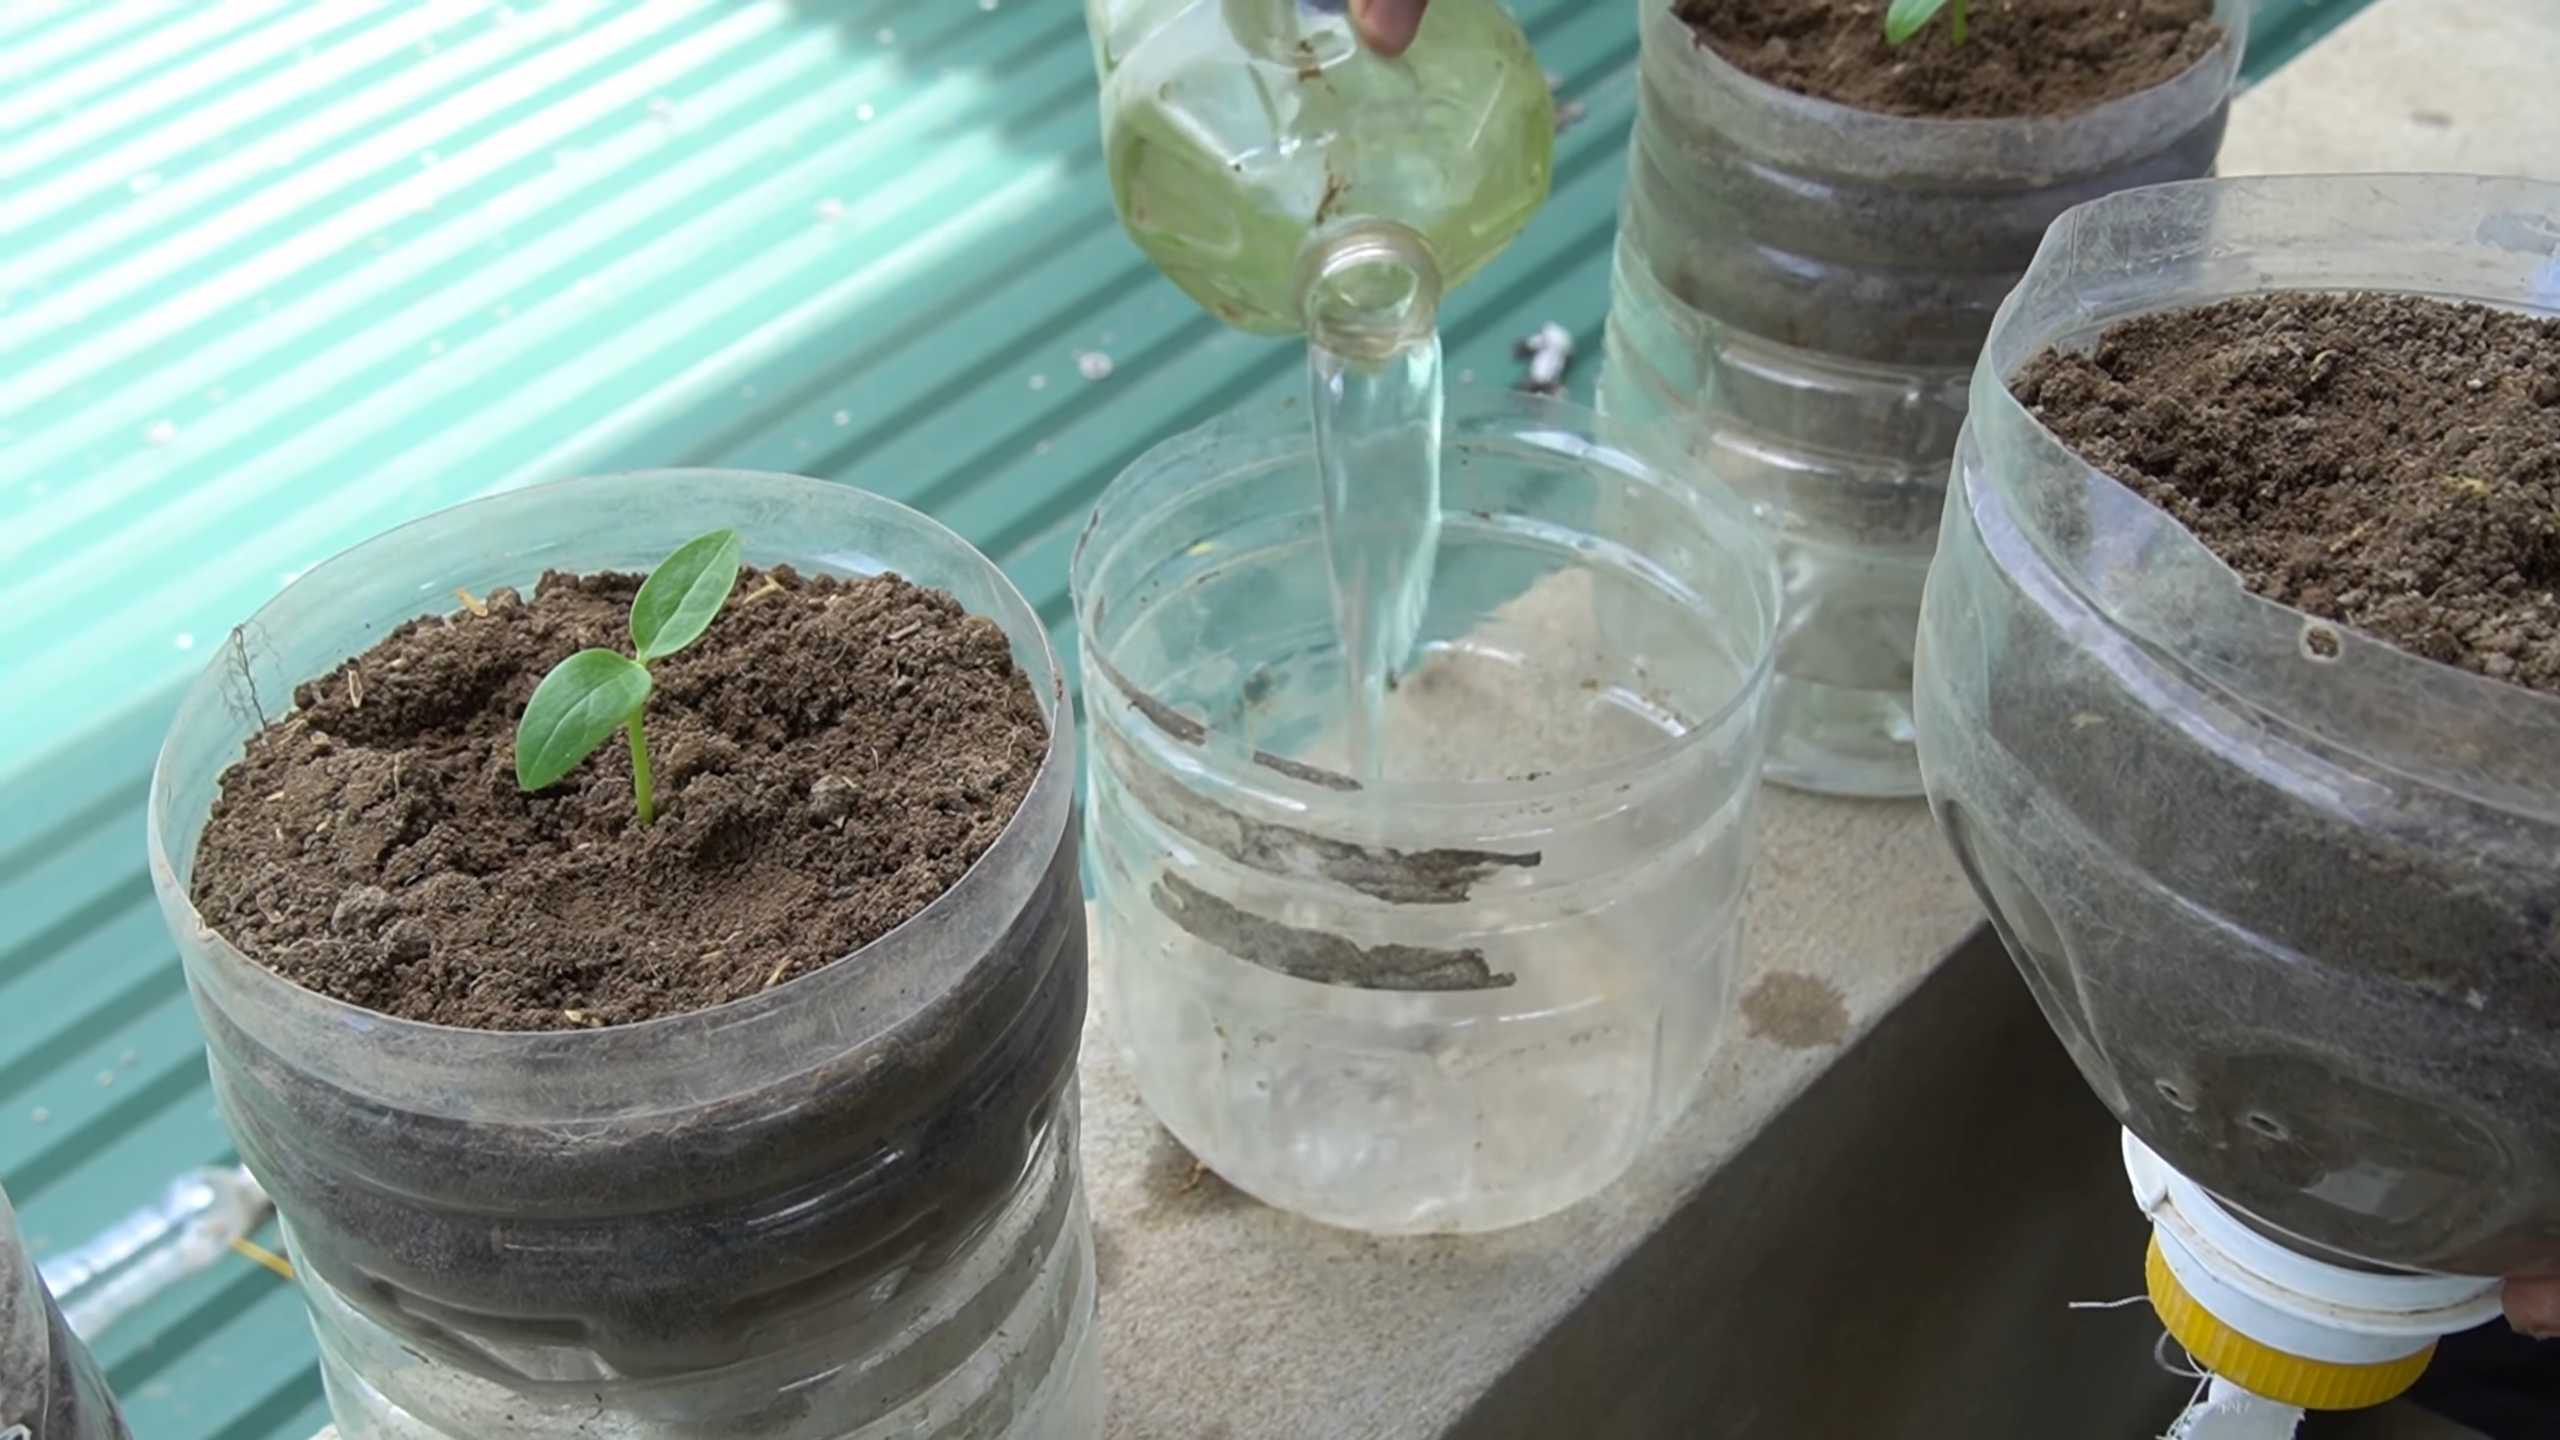
* Watering: Malabar Spinach needs consistent moisture, especially during hot, dry weather. Water deeply whenever the top inch of soil feels dry. I usually water mine every other day during the summer.
* Fertilizing: Feed your Malabar Spinach with a balanced fertilizer every 2-3 weeks. You can use a liquid fertilizer or a slow-release granular fertilizer. I prefer using a liquid seaweed fertilizer because it’s gentle and provides essential nutrients.
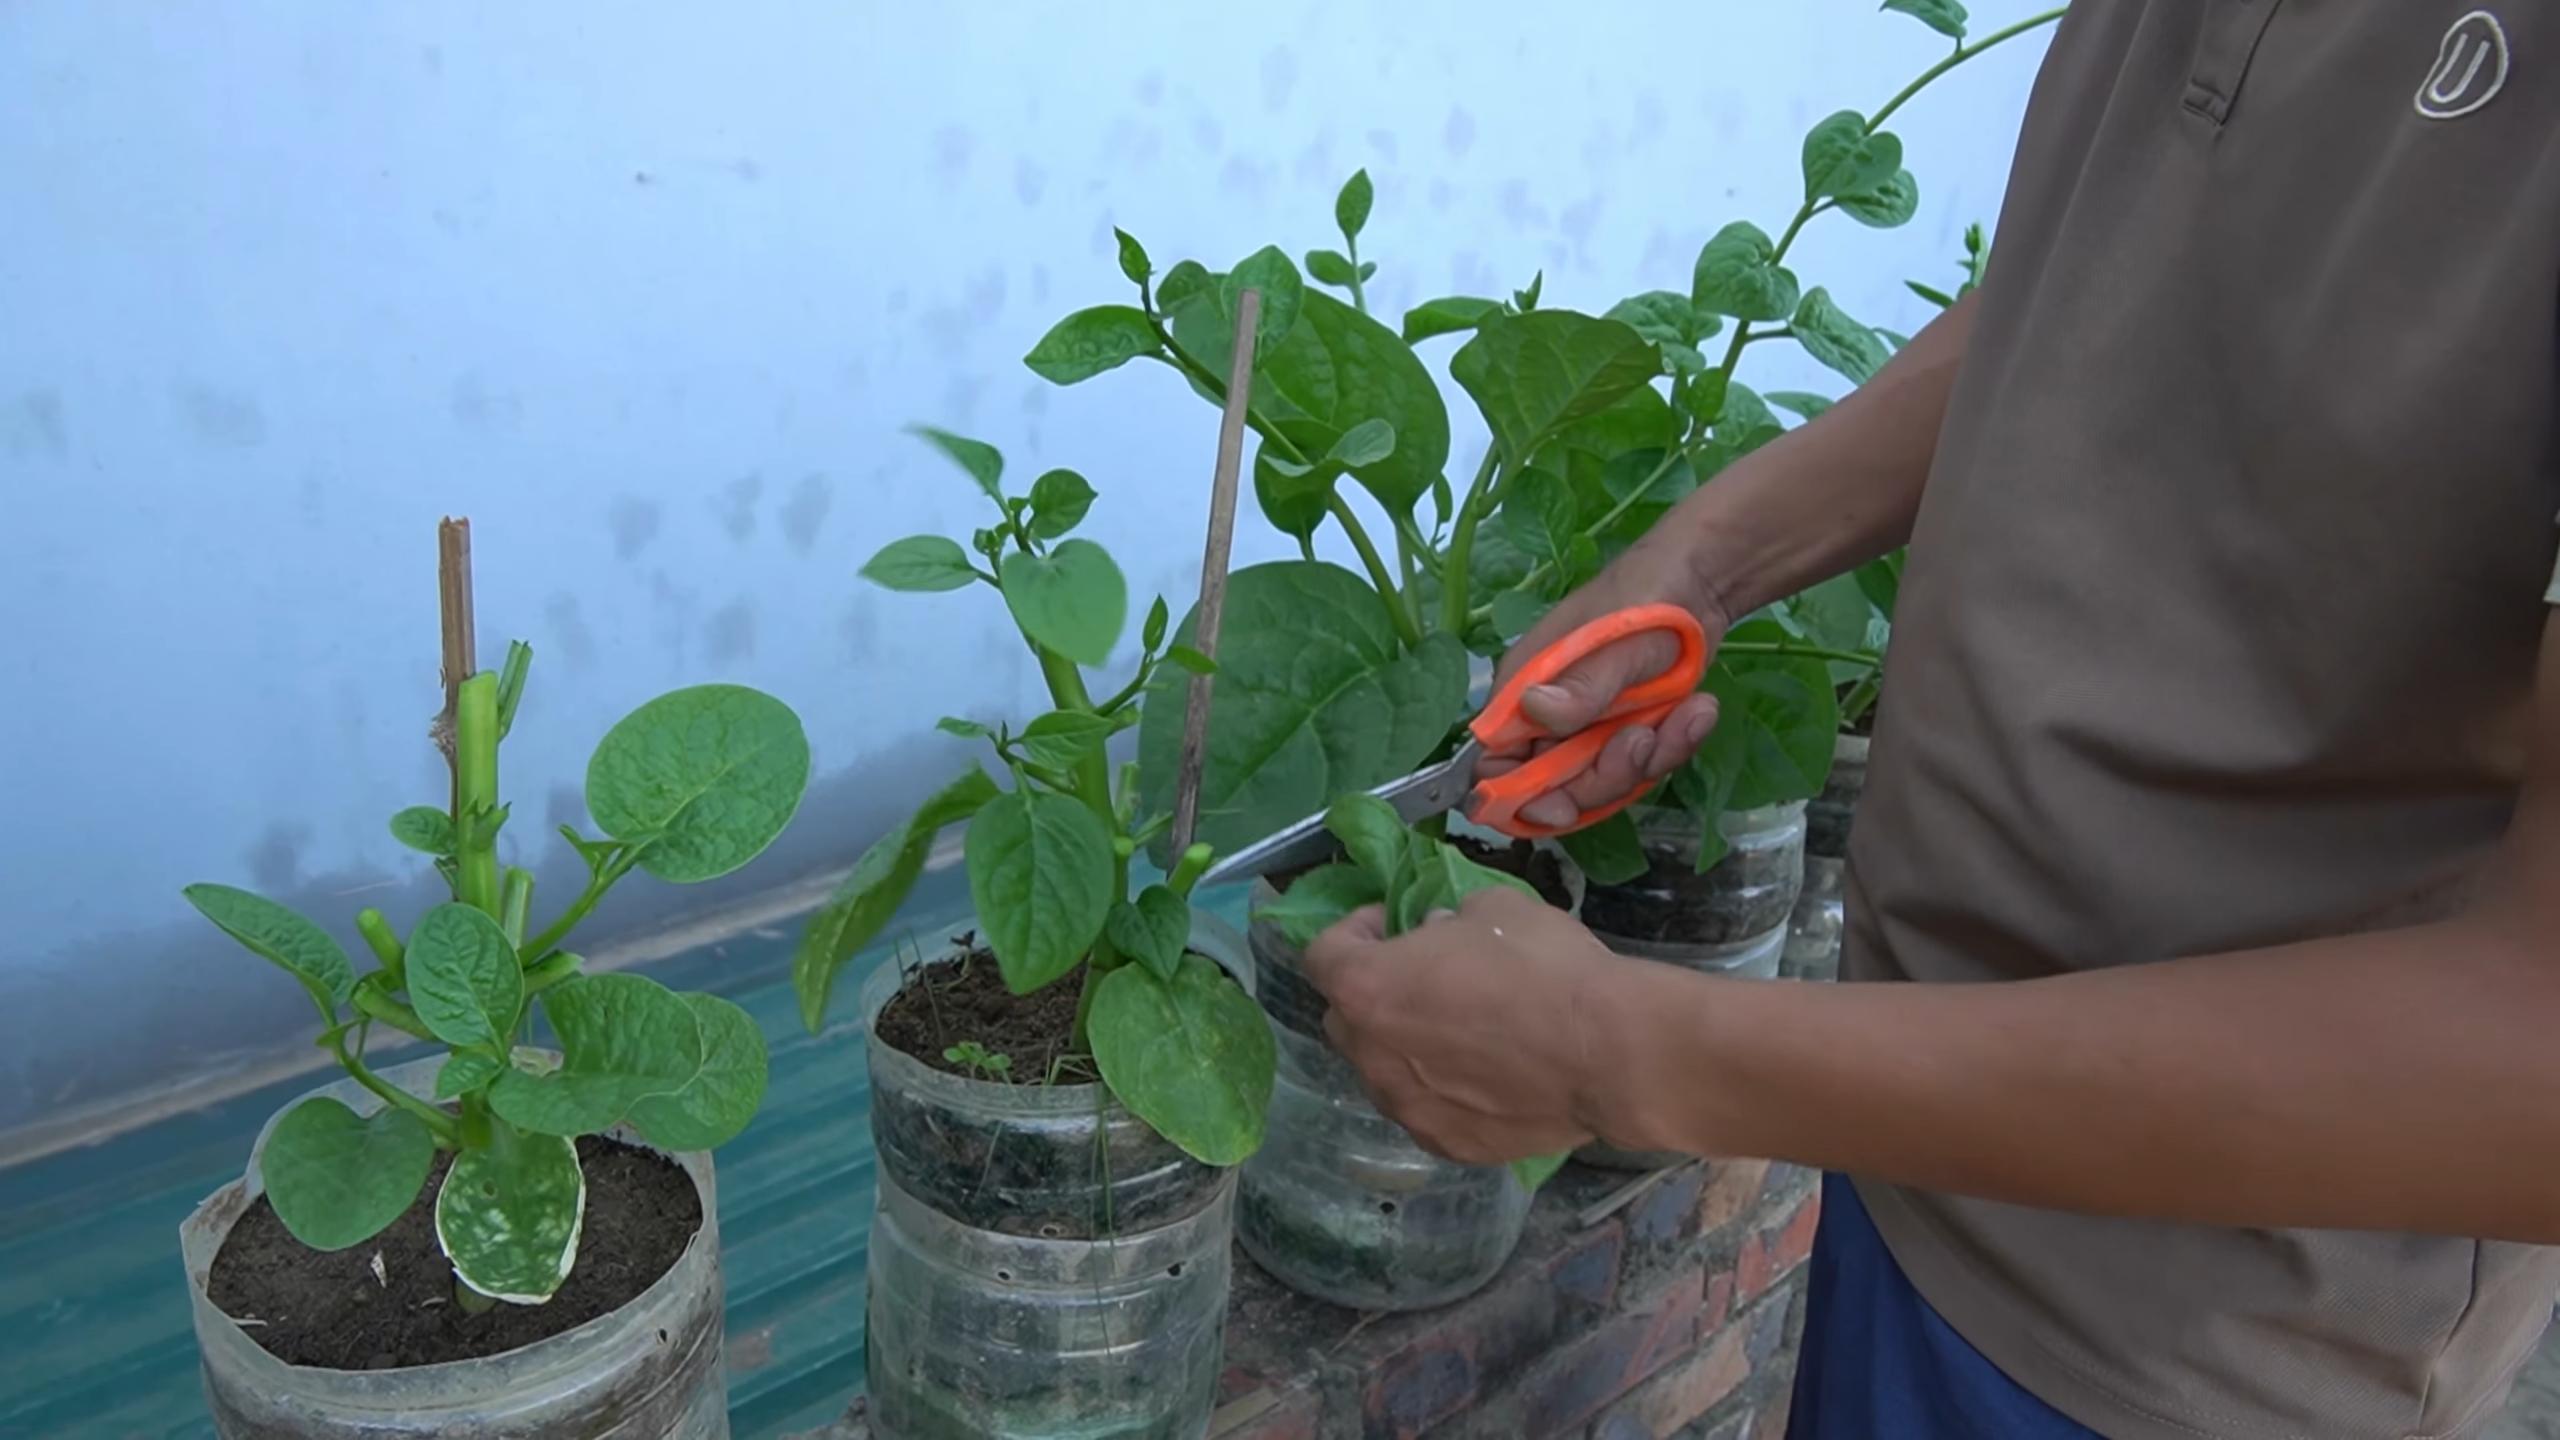
* Pruning: Prune your Malabar Spinach regularly to encourage bushier growth and prevent it from becoming too leggy. Simply pinch off the tips of the vines. This also encourages more leaf production.
* Pest and Disease Control: Malabar Spinach is relatively pest and disease resistant. However, keep an eye out for aphids, spider mites, and leaf miners. If you notice any pests, you can try spraying them with insecticidal soap or neem oil. I’ve found that a strong blast of water from the hose can also help dislodge aphids.
* Weed Control: Keep the garden bed free of weeds, as they can compete with your Malabar Spinach for nutrients and water. Mulching helps significantly with weed control.
Harvesting Your Bounty
The best part of growing Malabar Spinach is, of course, harvesting the delicious leaves!
* When to Harvest: You can start harvesting leaves as soon as the plant is established and has reached a decent size.
* How to Harvest: Simply snip off the leaves and tender stems with scissors or pruning shears.
* Harvest Regularly: Regular harvesting encourages more leaf production.
* Enjoy Fresh: Malabar Spinach is best enjoyed fresh, but you can also store it in the refrigerator for a few days.
Culinary Uses for Malabar Spinach
Malabar Spinach is incredibly versatile in the kitchen. Here are some of my favorite ways to use it:
* Salads: Add fresh Malabar Spinach leaves to salads for a slightly succulent and refreshing flavor.
* Stir-fries: Use Malabar Spinach in stir-fries, just like you would regular spinach.
* Soups and Stews: Add Malabar Spinach to soups and stews for added nutrients and flavor.
* Smoothies: Blend Malabar Spinach into smoothies for a healthy boost.
* Steamed or Sautéed: Steam or sauté Malabar Spinach as a side dish.
* Thickening Agent: The mucilaginous quality of Malabar Spinach makes it a great thickening agent for soups and sauces.
Troubleshooting Common Problems
Even with the best care, you might encounter some challenges when growing Malabar Spinach. Here are some common problems and how to address them:
* Poor Germination: If your seeds aren’t germinating, make sure the soil is warm enough and that you’ve soaked the seeds beforehand.
* Slow Growth: Slow growth can be caused by insufficient sunlight, poor soil, or lack of nutrients. Make sure your plants are getting enough sunlight and fertilize them regularly.
* Yellowing Leaves: Yellowing leaves can indicate a nutrient deficiency or overwatering. Check the soil moisture and fertilize if necessary.
* Pest Infestations: If you notice pests, treat them with insecticidal soap or neem oil.
Saving Seeds for Next Year
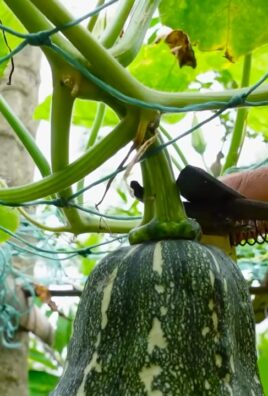
If you want to save seeds from your Malabar Spinach for next year, allow some of the flowers to mature and form berries. Once the berries turn black and dry, you can harvest them and extract the seeds. Store the seeds in a cool, dry place until next spring. I usually keep mine in a labeled envelope in my seed storage box.
Final Thoughts
Growing Malabar Spinach is a rewarding experience. It’s a beautiful, productive, and delicious addition to any garden. With a little care and attention, you can enjoy a bountiful harvest of fresh, nutritious greens all summer long. So, go ahead and give it a try! I’m sure you’ll love it as much as I do. Happy gardening!
Conclusion
So, there you have it! Mastering the art of growing Malabar spinach doesn’t require a green thumb blessed by the gardening gods. It’s about understanding its needs, providing the right environment, and a little bit of patience. This DIY approach to cultivating your own leafy greens is more than just a gardening project; it’s an investment in your health, your taste buds, and your connection to nature.
Why is this a must-try? Because fresh, homegrown Malabar spinach surpasses anything you can find at the grocery store. The vibrant flavor, the crisp texture, and the sheer satisfaction of harvesting something you nurtured from seed or cutting are unparalleled. Plus, you know exactly what went into growing it – no hidden pesticides or questionable practices. You’re in control.
But the benefits extend beyond the culinary. Growing Malabar spinach is a fantastic way to add vertical interest to your garden, especially if space is limited. Its climbing habit makes it perfect for trellises, fences, or even hanging baskets, transforming otherwise unused areas into productive green spaces. And let’s not forget the environmental advantages – reducing your carbon footprint by sourcing food locally and minimizing plastic packaging.
Ready to take your Malabar spinach game to the next level? Consider these variations:
* Experiment with different growing mediums: While well-draining soil is essential, try amending it with compost, aged manure, or even coconut coir to see which blend your Malabar spinach thrives in.
* Play with companion planting: Marigolds, basil, and onions are known to deter pests and attract beneficial insects, creating a healthier environment for your spinach.
* Explore different varieties: While the green-stemmed variety is most common, look for red-stemmed cultivars for a touch of visual flair in your garden and a slightly different flavor profile.
* Seed Saving: Allow some of your plants to bolt (flower) and collect the seeds for future planting. This ensures you always have a supply of Malabar spinach ready to go.
Don’t be intimidated by the prospect of growing your own food. Malabar spinach is relatively forgiving, and even if you encounter a few hiccups along the way, the learning experience is invaluable. The key is to start small, observe your plants closely, and adjust your approach as needed.
We wholeheartedly encourage you to embark on this rewarding journey of growing your own Malabar spinach. It’s a simple yet profound way to connect with nature, nourish your body, and enhance your culinary creations.
So, grab your seeds or cuttings, prepare your soil, and get ready to witness the magic of homegrown goodness. And most importantly, don’t forget to share your experiences with us! We’d love to hear about your successes, your challenges, and any unique tips or tricks you discover along the way. Share your photos, your stories, and your delicious Malabar spinach recipes in the comments below. Let’s build a community of passionate gardeners and food enthusiasts, all united by our love for this versatile and nutritious leafy green. Happy growing!
Frequently Asked Questions (FAQ)
What exactly is Malabar spinach, and why should I grow it?
Malabar spinach (Basella alba or Basella rubra) isn’t a true spinach but a heat-tolerant vine that thrives in warm climates where traditional spinach struggles. It offers a similar flavor profile, though slightly milder and earthier, and boasts a higher nutritional value. Growing it yourself ensures you have access to fresh, pesticide-free greens, reduces your carbon footprint, and adds a beautiful vertical element to your garden. It’s also incredibly prolific, providing a continuous harvest throughout the growing season.
How do I start growing Malabar spinach – from seed or cuttings?
Both methods are viable. Starting from seed requires a bit more patience, as the seeds have a hard outer shell and benefit from scarification (lightly scratching the surface) or soaking in warm water for 24 hours before planting. Sow seeds indoors 6-8 weeks before the last expected frost or directly outdoors once the soil has warmed up. Cuttings, on the other hand, offer a faster start. Simply take a 4-6 inch cutting from a healthy vine, remove the lower leaves, and place it in water or directly into moist soil. Roots should develop within a week or two.
What kind of soil and sunlight does Malabar spinach need?
Malabar spinach prefers well-draining soil that is rich in organic matter. Amend your soil with compost or aged manure before planting. It thrives in full sun (at least 6 hours of direct sunlight per day) but can tolerate partial shade, especially in hotter climates. The more sun it receives, the more vigorous its growth will be.
How often should I water and fertilize my Malabar spinach?
Water regularly, especially during hot and dry periods. The soil should be consistently moist but not waterlogged. A good rule of thumb is to water deeply when the top inch of soil feels dry to the touch. Fertilize every 2-3 weeks with a balanced organic fertilizer or compost tea to promote healthy growth and abundant foliage.
What are some common pests and diseases that affect Malabar spinach, and how can I prevent them?
Malabar spinach is relatively pest-resistant, but aphids, spider mites, and snails can occasionally be a problem. Regularly inspect your plants for signs of infestation and take action promptly. You can control aphids and spider mites with a strong spray of water or insecticidal soap. Handpick snails or use organic snail bait. Good air circulation and proper watering practices can help prevent fungal diseases.
How and when should I harvest Malabar spinach?
You can start harvesting Malabar spinach once the vines are established and have reached a decent size. Simply snip off the leaves and tender stems as needed. Regular harvesting encourages more growth. The younger leaves are more tender and flavorful. Harvest in the morning for the best flavor.
Can I eat Malabar spinach raw, or does it need to be cooked?
While the younger, more tender leaves can be eaten raw in salads, Malabar spinach is generally best cooked. Cooking helps to break down the oxalic acid content, which can inhibit calcium absorption. It can be steamed, sautéed, stir-fried, or added to soups and stews.
How do I store harvested Malabar spinach?
Store harvested Malabar spinach in the refrigerator in a plastic bag or container. It will keep for several days. For longer storage, you can blanch and freeze it.
My Malabar spinach is flowering. Is this a problem?
Flowering, or bolting, can occur when the plant is stressed by heat or lack of water. While it doesn’t necessarily ruin the plant, it can make the leaves slightly bitter. To prevent bolting, ensure your plants are well-watered and shaded during the hottest part of the day. You can also pinch off the flower buds to encourage more leaf production.
Is Malabar spinach invasive?
While Malabar spinach can be vigorous, it is not generally considered invasive in most regions. However, it can self-seed readily, so it’s a good idea to collect the seeds if you don’t want it to spread. In some tropical or subtropical areas, it may become more aggressive. Always check with your local agricultural extension office for specific recommendations.
Leave a Comment