
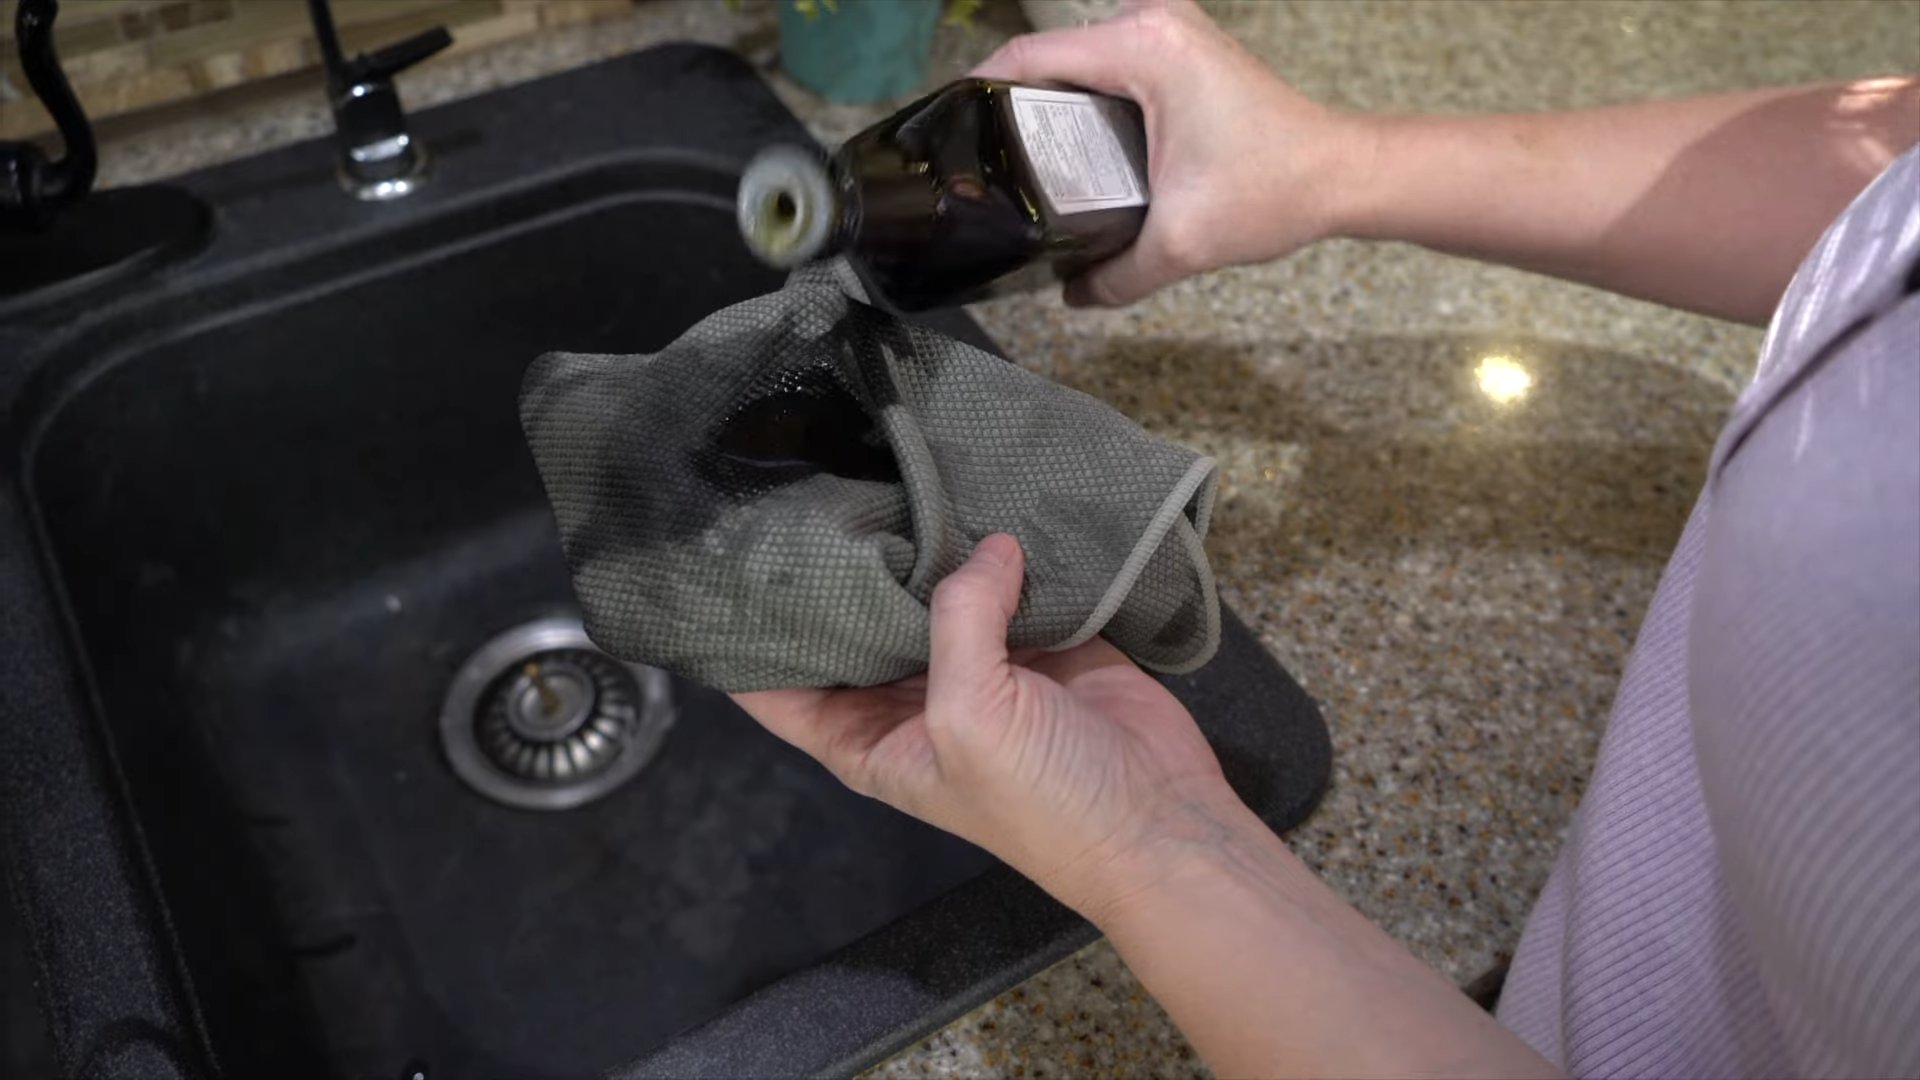
Olive oil granite cleaner: Sounds too good to be true, right? I thought so too, until I stumbled upon this incredible DIY hack that transformed my dull granite countertops into sparkling surfaces. Forget those expensive, chemical-laden cleaners! I’m about to share a simple, natural, and surprisingly effective way to keep your granite looking its absolute best.
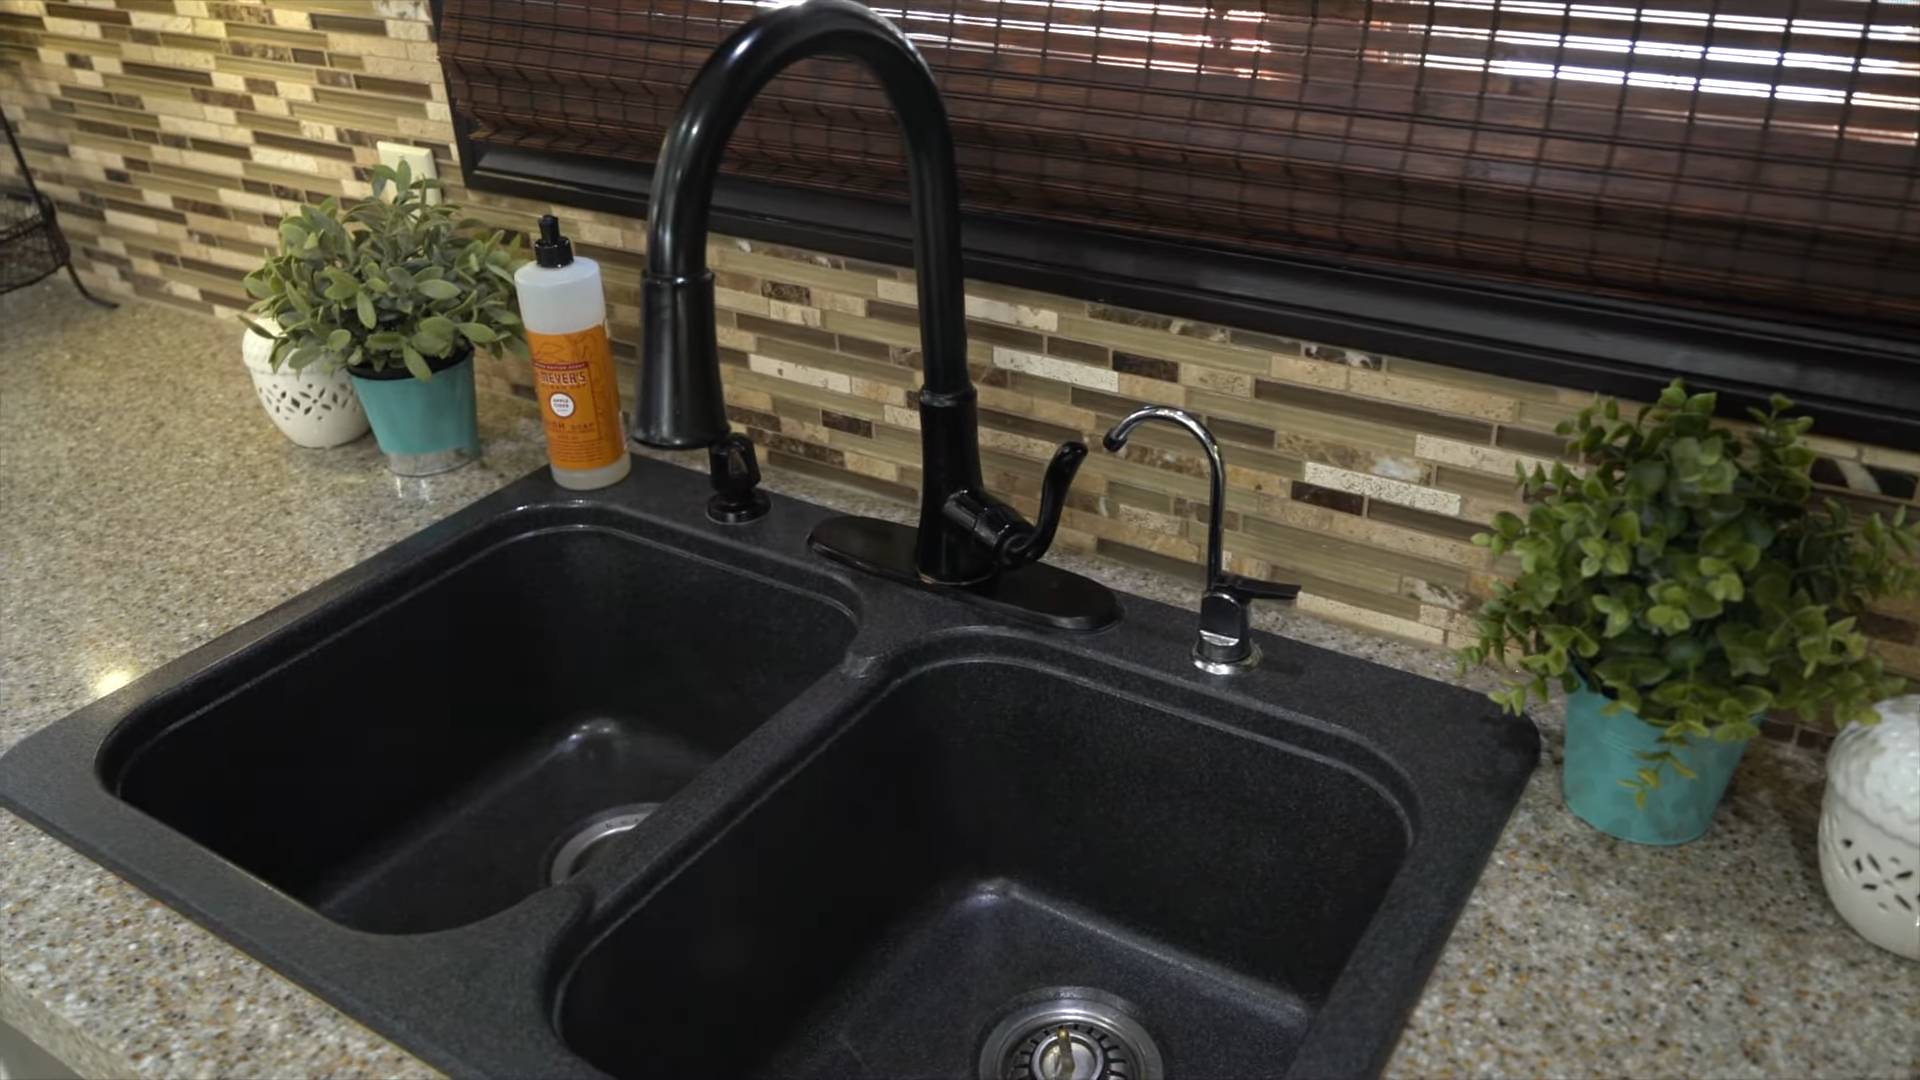
Granite, a symbol of luxury and durability, has been a prized building material for centuries. From the ancient pyramids of Egypt to the grand cathedrals of Europe, granite has stood the test of time. Today, it graces our kitchens and bathrooms, adding a touch of elegance to our homes. But maintaining its beauty can sometimes feel like a chore. Many commercial cleaners can actually damage the stone’s sealant, leaving it vulnerable to stains and etching. That’s where my olive oil granite cleaner trick comes in!
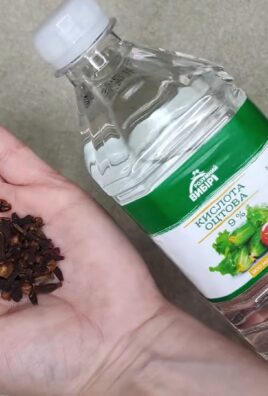
Let’s face it, we all want a clean and beautiful home without spending a fortune or exposing ourselves to harsh chemicals. This DIY granite cleaner is not only cost-effective and eco-friendly, but it’s also incredibly easy to make. I’ll walk you through the simple steps, using ingredients you probably already have in your pantry. Get ready to say goodbye to dull, streaky granite and hello to a gleaming, naturally beautiful surface!
Growing Watermelons: A Beginner’s Guide to Sweet Success!
Okay, so you want to grow watermelons? Awesome! There’s nothing quite like biting into a juicy, homegrown watermelon on a hot summer day. It might seem intimidating, but trust me, with a little planning and effort, you can absolutely do it. I’m going to walk you through everything you need to know, from choosing the right variety to harvesting your prize-winning melon.
Choosing the Right Watermelon Variety
First things first, let’s talk about watermelon varieties. Not all watermelons are created equal, and some are definitely better suited for home gardens than others. Consider your climate, space, and personal preferences when making your choice.
* Climate: If you live in a cooler climate with a shorter growing season, opt for faster-maturing varieties like ‘Sugar Baby’ (around 75 days) or ‘Bush Sugar Baby’ (perfect for containers!). For warmer climates with longer growing seasons, you have more options, including larger varieties like ‘Charleston Gray’ (80-90 days) or ‘Crimson Sweet’ (85 days).
* Space: Watermelons need space – a lot of it! Vining varieties can spread several feet in all directions. If you’re short on space, consider bush varieties like ‘Bush Sugar Baby’ or ‘Golden Midget’. You can also train vining varieties to grow vertically on a trellis, but this requires some extra effort.
* Taste and Size: Do you prefer a super sweet, red-fleshed watermelon? Or maybe you’re interested in a yellow-fleshed variety? Consider the size you want as well. Some watermelons can weigh over 20 pounds, while others are more manageable at around 10 pounds.
Some popular and reliable varieties include:
* ‘Sugar Baby’: A classic, small, and early-maturing variety.
* ‘Crimson Sweet’: A larger, sweet, and disease-resistant variety.
* ‘Charleston Gray’: An oblong, pink-fleshed variety known for its excellent flavor.
* ‘Golden Midget’: A small, yellow-fleshed variety that turns golden when ripe.
* ‘Black Diamond’: A very large, dark green variety with sweet, red flesh.
Preparing Your Garden Bed
Watermelons are heavy feeders, meaning they need a lot of nutrients to thrive. Proper soil preparation is crucial for a successful harvest.
* Sunlight: Watermelons need at least 6-8 hours of direct sunlight per day. Choose a location in your garden that receives plenty of sun.
* Soil: Watermelons prefer well-drained, sandy loam soil with a pH between 6.0 and 6.8. If your soil is heavy clay, amend it with plenty of organic matter, such as compost or well-rotted manure, to improve drainage.
* Nutrients: Before planting, amend your soil with a balanced fertilizer, such as 10-10-10, following the package instructions. You can also add bone meal to provide phosphorus, which is essential for root development.
Planting Watermelon Seeds or Seedlings
You can start watermelon seeds indoors or direct sow them in your garden. Starting seeds indoors gives you a head start, especially in cooler climates.
Starting Seeds Indoors (Optional)
1. Timing: Start seeds indoors about 4-6 weeks before the last expected frost.
2. Containers: Use peat pots or biodegradable containers to avoid disturbing the roots when transplanting.
3. Soil: Fill the containers with a seed-starting mix.
4. Planting: Plant 2-3 seeds per container, about 1 inch deep.
5. Watering: Water gently and keep the soil moist but not soggy.
6. Warmth: Provide bottom heat using a heat mat to speed up germination.
7. Light: Once the seedlings emerge, provide them with plenty of light using a grow light or by placing them in a sunny window.
8. Thinning: Once the seedlings have developed a few true leaves, thin them to one plant per container.
Direct Sowing Seeds in the Garden
1. Timing: Direct sow seeds after the last frost when the soil temperature has warmed to at least 70°F (21°C).
2. Spacing: Plant seeds 1 inch deep and space them 2-3 feet apart in rows that are 6-8 feet apart.
3. Watering: Water gently and keep the soil moist until the seeds germinate.
4. Thinning: Once the seedlings have developed a few true leaves, thin them to the strongest plant in each location.
Transplanting Seedlings
1. Hardening Off: Before transplanting seedlings grown indoors, harden them off by gradually exposing them to outdoor conditions for a week.
2. Timing: Transplant seedlings after the last frost when the soil temperature has warmed to at least 70°F (21°C).
3. Spacing: Space seedlings 2-3 feet apart in rows that are 6-8 feet apart.
4. Planting: Dig a hole slightly larger than the root ball of the seedling. Gently remove the seedling from the container and place it in the hole. Backfill with soil and water thoroughly.
Caring for Your Watermelon Plants
Once your watermelon plants are established, it’s important to provide them with proper care to ensure a healthy and productive harvest.
* Watering: Watermelons need consistent moisture, especially during fruit development. Water deeply and regularly, especially during hot, dry weather. Avoid overhead watering, which can promote fungal diseases. Drip irrigation is an excellent option.
* Fertilizing: Side-dress your watermelon plants with a nitrogen-rich fertilizer when the vines begin to run. Switch to a fertilizer higher in phosphorus and potassium when the fruits begin to set.
* Weeding: Keep the area around your watermelon plants free of weeds, which can compete for nutrients and water. Mulch with straw or black plastic to suppress weeds and retain moisture.
* Pest and Disease Control: Watermelons can be susceptible to various pests and diseases, including aphids, squash bugs, vine borers, and fungal diseases like powdery mildew. Monitor your plants regularly and take action promptly if you notice any problems. Use organic pest control methods whenever possible.
* Pollination: Watermelons require pollination to set fruit. If you’re not seeing any fruit develop, you may need to hand-pollinate the flowers. To do this, use a small paintbrush to transfer pollen from the male flowers to the female flowers. Female flowers have a small, immature watermelon at the base.
* Vine Training: As your watermelon vines grow, you can train them to grow in a specific direction. This can help to save space and make it easier to manage your plants. You can also train them up a trellis if you are short on space.
Harvesting Your Watermelons
Knowing when to harvest your watermelons is crucial for enjoying their peak flavor and sweetness.
* Days to Maturity: Check the seed packet or plant tag for the days to maturity for your specific variety. This will give you a general idea of when to expect your watermelons to be ripe.
* Tendril: Look for the tendril closest to the watermelon stem. When this tendril turns brown and dries out, it’s a good sign that the watermelon is ripe.
* Ground Spot: The ground spot, where the watermelon rests on the ground, should turn from white to a creamy yellow color.
* Thumping: Give the watermelon a gentle thump. A ripe watermelon will sound hollow.
* Rind: The rind of a ripe watermelon will be dull and slightly waxy.
Once you’ve determined that your watermelon is ripe, use a sharp knife to cut it from the vine, leaving a few inches of stem attached.
Troubleshooting Common Problems
Even with the best care, you may encounter some problems while growing watermelons. Here are some common issues and how to address them:
* Poor Fruit Set: This can be caused by a lack of pollination, cool weather, or nutrient deficiencies. Hand-pollinate the flowers, provide adequate warmth, and fertilize with a balanced fertilizer.
* Blossom End Rot: This is caused by a calcium deficiency. Amend your soil with lime before planting and ensure consistent watering.
* Cracked Watermelons: This can be caused by inconsistent watering. Water deeply and regularly, especially during fruit development.
* Pest Infestations: Monitor your plants regularly and take action promptly if you notice any pests. Use organic pest control methods whenever possible.
Enjoying Your Harvest
Congratulations! You’ve successfully grown your own watermelons. Now it’s time to enjoy the fruits (or rather, vegetables!) of your labor.
* Storage: Store whole watermel
Conclusion
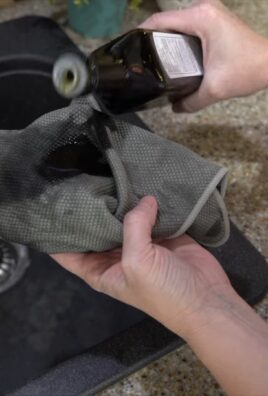
So, there you have it! This simple, yet incredibly effective, DIY olive oil granite cleaner is a game-changer for anyone looking to maintain the beauty and luster of their granite countertops without resorting to harsh chemicals or expensive commercial products. We’ve walked you through the easy steps, highlighting how just a few readily available ingredients can transform your cleaning routine and leave your granite sparkling.
Why is this DIY trick a must-try? Because it’s not just about cleaning; it’s about caring for your investment. Granite, while durable, can be susceptible to damage from acidic or abrasive cleaners. This olive oil-based solution gently cleans, polishes, and even helps to seal the surface, protecting it from future stains and water damage. It’s a cost-effective, eco-friendly, and surprisingly simple way to keep your granite looking its absolute best. Plus, the subtle sheen it imparts is far superior to the dull, lifeless finish left by many commercial cleaners.
But don’t just take our word for it! We encourage you to experiment with slight variations to find what works best for your specific granite type and preferences. For example, if you prefer a stronger scent, consider adding a few extra drops of your favorite essential oil, such as lemon, lavender, or rosemary. Remember to always test a small, inconspicuous area first to ensure compatibility. Another variation could involve using a different type of oil, such as coconut oil, in combination with the olive oil for added moisturizing properties. However, olive oil remains the star ingredient for its cleaning and polishing abilities.
This DIY olive oil granite cleaner is more than just a cleaning solution; it’s a commitment to sustainable living and a testament to the power of simple, natural ingredients. It’s about taking control of what you use in your home and creating a healthier environment for yourself and your family.
We are confident that once you try this method, you’ll be amazed by the results. The ease of preparation, the affordability, and the stunning shine it delivers will make it your go-to granite cleaning solution.
Now, it’s your turn! Give this DIY olive oil granite cleaner a try and share your experience with us. We’d love to hear your feedback, tips, and any variations you discover along the way. Let’s build a community of granite-loving DIYers who are passionate about keeping their homes clean, beautiful, and sustainable. Share your before-and-after photos, your favorite essential oil combinations, and any other insights you have. Together, we can unlock the full potential of this amazing cleaning trick and keep our granite countertops looking their absolute best for years to come.
Frequently Asked Questions (FAQ)
1. Can I use any type of olive oil for this DIY granite cleaner?
While extra virgin olive oil is often recommended for its purity and potential benefits, you can generally use any type of olive oil you have on hand. Extra virgin olive oil might leave a slightly richer sheen, but regular olive oil will work just fine for cleaning purposes. Avoid using infused olive oils with strong flavors, as they might leave a residue or scent that you don’t want on your granite.
2. How often should I use this DIY olive oil granite cleaner?
The frequency of cleaning depends on how heavily your granite countertops are used. For daily maintenance, a quick wipe down with a damp microfiber cloth is usually sufficient. For a more thorough cleaning and polishing, using the olive oil granite cleaner once or twice a week is generally recommended. If you notice any dullness or staining, you can increase the frequency as needed.
3. Will this DIY cleaner make my granite countertops slippery?
When used correctly, this DIY cleaner should not make your granite countertops slippery. The key is to use a very small amount of olive oil and to buff the surface thoroughly with a clean, dry microfiber cloth. This will remove any excess oil and leave a smooth, polished finish. If you find that your countertops are slippery after cleaning, you may have used too much oil. Simply wipe them down again with a clean, dry cloth to remove the excess.
4. Can I use this cleaner on other types of stone countertops, such as marble or quartz?
While this cleaner is specifically formulated for granite, it’s generally safe to use on other non-porous stone surfaces like quartz. However, marble is a more porous stone and can be more sensitive to oils. It’s always best to test the cleaner in an inconspicuous area first before applying it to the entire surface. For marble, consider using a cleaner specifically designed for that type of stone.
5. What essential oils are best to use in this DIY granite cleaner?
The best essential oils to use are those that you enjoy the scent of and that are safe for use on stone surfaces. Popular choices include lemon, orange, lavender, rosemary, and tea tree oil. Lemon and orange essential oils have natural cleaning properties, while lavender and rosemary offer a calming and refreshing scent. Tea tree oil has antibacterial properties. Always use pure essential oils and avoid synthetic fragrances, as they may contain harsh chemicals that can damage your granite.
6. How do I store the leftover DIY olive oil granite cleaner?
Store any leftover cleaner in an airtight container in a cool, dark place. A glass spray bottle is ideal for easy application. The cleaner should last for several weeks, but it’s best to use it within a month for optimal results. If you notice any separation or changes in the consistency of the cleaner, discard it and make a fresh batch.
7. What if I accidentally use too much olive oil?
If you accidentally use too much olive oil, don’t worry! Simply wipe down the countertops with a clean, dry microfiber cloth to remove the excess oil. You may need to repeat this process several times to achieve the desired shine. You can also use a small amount of dish soap diluted in water to help remove the excess oil, but be sure to rinse the surface thoroughly with clean water and dry it completely.
8. Can this DIY cleaner remove stubborn stains from my granite countertops?
This DIY cleaner is effective for removing many types of stains, but for stubborn stains, you may need to use a specialized stain remover designed for granite. For oil-based stains, try making a paste of baking soda and water and applying it to the stain. Let it sit for several hours or overnight, then wipe it away with a damp cloth. For water-based stains, try using a mixture of hydrogen peroxide and water. Always test any stain remover in an inconspicuous area first to ensure it doesn’t damage the granite.
9. Is it safe to use this DIY cleaner around food preparation areas?
Yes, this DIY cleaner is safe to use around food preparation areas, as it contains only natural ingredients. However, it’s always a good idea to wipe down the countertops with a clean, damp cloth after cleaning to remove any residue. Avoid spraying the cleaner directly onto food or food preparation surfaces.
10. My granite countertops have a sealant. Will this DIY cleaner damage it?
This DIY cleaner is generally safe for use on sealed granite countertops. The olive oil can actually help to maintain the sealant and prevent it from drying out. However, if you’re concerned about damaging the sealant, you can test the cleaner in an inconspicuous area first. If you notice any changes in the appearance or performance of the sealant, discontinue use.

Leave a Comment