
Grow Chili Peppers: Your Guide to a Spicy Harvest
Grow chili peppers! It sounds intimidating, right? Maybe you picture sprawling farms and complicated techniques, but I’m here to tell you that growing your own fiery peppers is easier than you think. This article is packed with simple, effective home gardening tricks and DIY solutions that will have you harvesting your own delicious, homegrown chili peppers in no time. Forget expensive grocery store peppers – let’s unlock the secrets to a truly rewarding and flavorful gardening experience.
The cultivation of chili peppers boasts a rich history, stretching back thousands of years to the Americas. From ancient Aztec civilizations who revered them for their culinary and medicinal properties to their modern-day global popularity, chili peppers have woven themselves into the fabric of countless cultures. Now, you can tap into this ancient tradition and experience the satisfaction of growing your own.
Why bother with all this DIY effort? Well, there are several compelling reasons. Firstly, homegrown chili peppers are incredibly flavorful, often surpassing the taste of store-bought varieties. Secondly, you have complete control over the growing process, ensuring that your peppers are free from pesticides and other potentially harmful chemicals. And finally, there’s an undeniable sense of accomplishment that comes with nurturing a plant from seed to harvest – a feeling that’s hard to match. This article will guide you through every step, from selecting the right seeds to harvesting your spicy bounty. So, let’s get started on your journey to mastering the art of how to Grow Chili Peppers!
Ready to get your hands dirty? Let’s dive in!
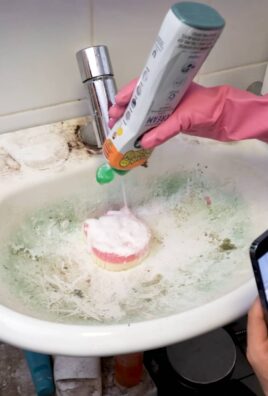
Cleaning Your Pillowcases: A DIY Guide to Freshness
Let’s face it, pillowcases get grimy. Between sweat, oils, and, well, you know… they need more than a quick toss in the laundry every now and then. This guide will walk you through a deep clean, ensuring your pillowcases are truly fresh and ready for a good night’s sleep.
Pre-Wash Preparation: Getting Ready for a Deep Clean
- Check the Fabric Label: Before you do anything, check the care instructions on your pillowcase label. This will tell you the best washing temperature and whether or not you can use bleach or fabric softener.
- Sort Your Laundry: Separate your pillowcases from other laundry items, especially heavily soiled clothes. This prevents cross-contamination and ensures a thorough clean.
- Pre-Treat Stains: If you have any noticeable stains (makeup, sweat, etc.), pre-treat them before washing. A gentle stain remover or a paste of baking soda and water applied directly to the stain and left for 30 minutes can work wonders.
- Empty Pockets (if applicable): If you’re washing decorative pillowcases with pockets, make sure to empty them completely. You don’t want to accidentally wash small items and damage your washing machine.
Washing Your Pillowcases: The Main Event
- Choose Your Detergent: Opt for a mild detergent suitable for your pillowcase fabric. Harsh detergents can damage delicate fabrics. I usually go for a fragrance-free option to avoid skin irritation.
- Load the Washing Machine: Place your pillowcases inside the washing machine. Avoid overcrowding the machine; this can prevent proper cleaning and potentially damage your pillowcases.
- Select the Right Settings: Refer back to your pillowcase label for specific instructions. Generally, a gentle or delicate cycle with warm or cold water is recommended. Avoid hot water, as it can shrink or damage some fabrics.
- Add Extra Rinse Cycle (Optional): For a truly thorough clean, especially if you have sensitive skin, consider adding an extra rinse cycle to remove any residual detergent.
- Start the Wash: Once you’ve selected your settings, start the washing machine and let it do its job.
Post-Wash Care: Achieving Optimal Freshness
- Check for Remaining Stains: Once the wash cycle is complete, check your pillowcases for any remaining stains. If any are present, you might need to repeat the washing process or try a different stain removal method.
- Avoid Over-Drying: High heat can damage the fabric of your pillowcases. If you’re using a dryer, select a low heat setting or air dry your pillowcases instead. Air drying is gentler on the fabric and helps to prevent shrinkage.
- Proper Drying Techniques: If air drying, lay your pillowcases flat on a clean, dry surface or hang them on a clothesline. Make sure they are not exposed to direct sunlight, which can fade the color.
- Ironing (Optional): If you prefer crisp, wrinkle-free pillowcases, you can iron them after they are completely dry. Use a low to medium heat setting and adjust accordingly based on the fabric type.
- Storage: Once your pillowcases are completely dry and ironed (if applicable), store them in a clean, dry place. Avoid storing them in damp or humid areas, as this can promote the growth of mildew or mold.
Dealing with Specific Issues: Troubleshooting Common Problems
Persistent Stains
If you’re struggling with persistent stains, don’t despair! Here are a few extra tips:
- Soak in Cold Water: Soak the stained pillowcase in cold water with a bit of detergent for a few hours before washing. This can help loosen the stain.
- Oxygen Bleach: Oxygen bleach is a gentler alternative to chlorine bleach and is effective on many types of stains. Always follow the product instructions carefully.
- Spot Treatment: For stubborn stains, try applying a small amount of stain remover directly to the stain before washing.
Yellowing Pillowcases
Yellowing pillowcases are a common problem, often caused by sweat and oils. Here’s how to tackle them:
- Baking Soda Paste: Make a paste of baking soda and water and apply it to the yellowed areas. Let it sit for a few hours before washing.
- White Vinegar Soak: Soak your pillowcases in a solution of white vinegar and water before washing. The vinegar helps to break down the stains.
- Sunlight: Believe it or not, sunlight can help to naturally bleach yellowed pillowcases. Hang them outside on a sunny day, but avoid direct, intense sunlight for extended periods.
Dealing with Different Fabrics
The cleaning method might vary slightly depending on the fabric of your pillowcases:
- Cotton: Cotton pillowcases are generally durable and can withstand most washing methods. However, avoid using high heat in the dryer.
- Silk: Silk pillowcases require a more delicate approach. Hand washing with a mild detergent is often recommended. Avoid using harsh chemicals or high heat.
- Linen: Linen pillowcases are also relatively durable, but they can wrinkle easily. Ironing is often recommended after washing.
- Microfiber: Microfiber pillowcases are usually easy to clean and can be machine washed. However, avoid using fabric softener, as it can reduce the absorbency of the fabric.
Remember to always check the care label on your pillowcases before cleaning to ensure you’re using the appropriate methods for your specific fabric.
Conclusion
So there you have it! A comprehensive guide to successfully growing your own chili peppers. This DIY approach to cultivating these fiery fruits offers a rewarding experience unlike any other. From the satisfaction of nurturing a tiny seedling to the thrill of harvesting your own homegrown chilies, the journey is incredibly fulfilling. This DIY chili pepper growing method is a must-try for several reasons: it’s cost-effective, allows for greater control over the growing process (including choosing your preferred chili variety), and provides a deeper connection to your food. You’ll be amazed by the superior flavor and freshness of homegrown chilies compared to store-bought ones. The vibrant colors and intense aromas alone are worth the effort!
Beyond the basic method outlined, there are numerous exciting variations you can explore. Experiment with different chili pepper varieties – from the mild sweetness of bell peppers to the fiery heat of habaneros, the possibilities are endless. Consider vertical gardening techniques to maximize space, especially if you have limited outdoor area. Try using different growing mediums, such as coco coir or hydroponics, to see how they affect your plants’ growth. You can even incorporate companion planting, using herbs like basil or marigolds to deter pests and improve soil health. The beauty of this DIY approach is its adaptability; feel free to personalize it to suit your preferences and resources.
Don’t be intimidated by the prospect of growing your own chili peppers. Even beginners can achieve great results with a little patience and care. This method is designed to be accessible and straightforward, guiding you through each step of the process. The rewards far outweigh the effort, offering a delicious and rewarding experience. So, gather your supplies, choose your favorite chili pepper seeds, and embark on this exciting culinary adventure. We encourage you to try this DIY method and share your experiences with us! Post pictures of your thriving chili plants and your delicious chili creations on social media using #GrowChiliPeppersDIY. We’d love to see your success stories and learn from your experiences. Let’s build a community of chili pepper enthusiasts together!
Frequently Asked Questions
What type of soil is best for growing chili peppers?
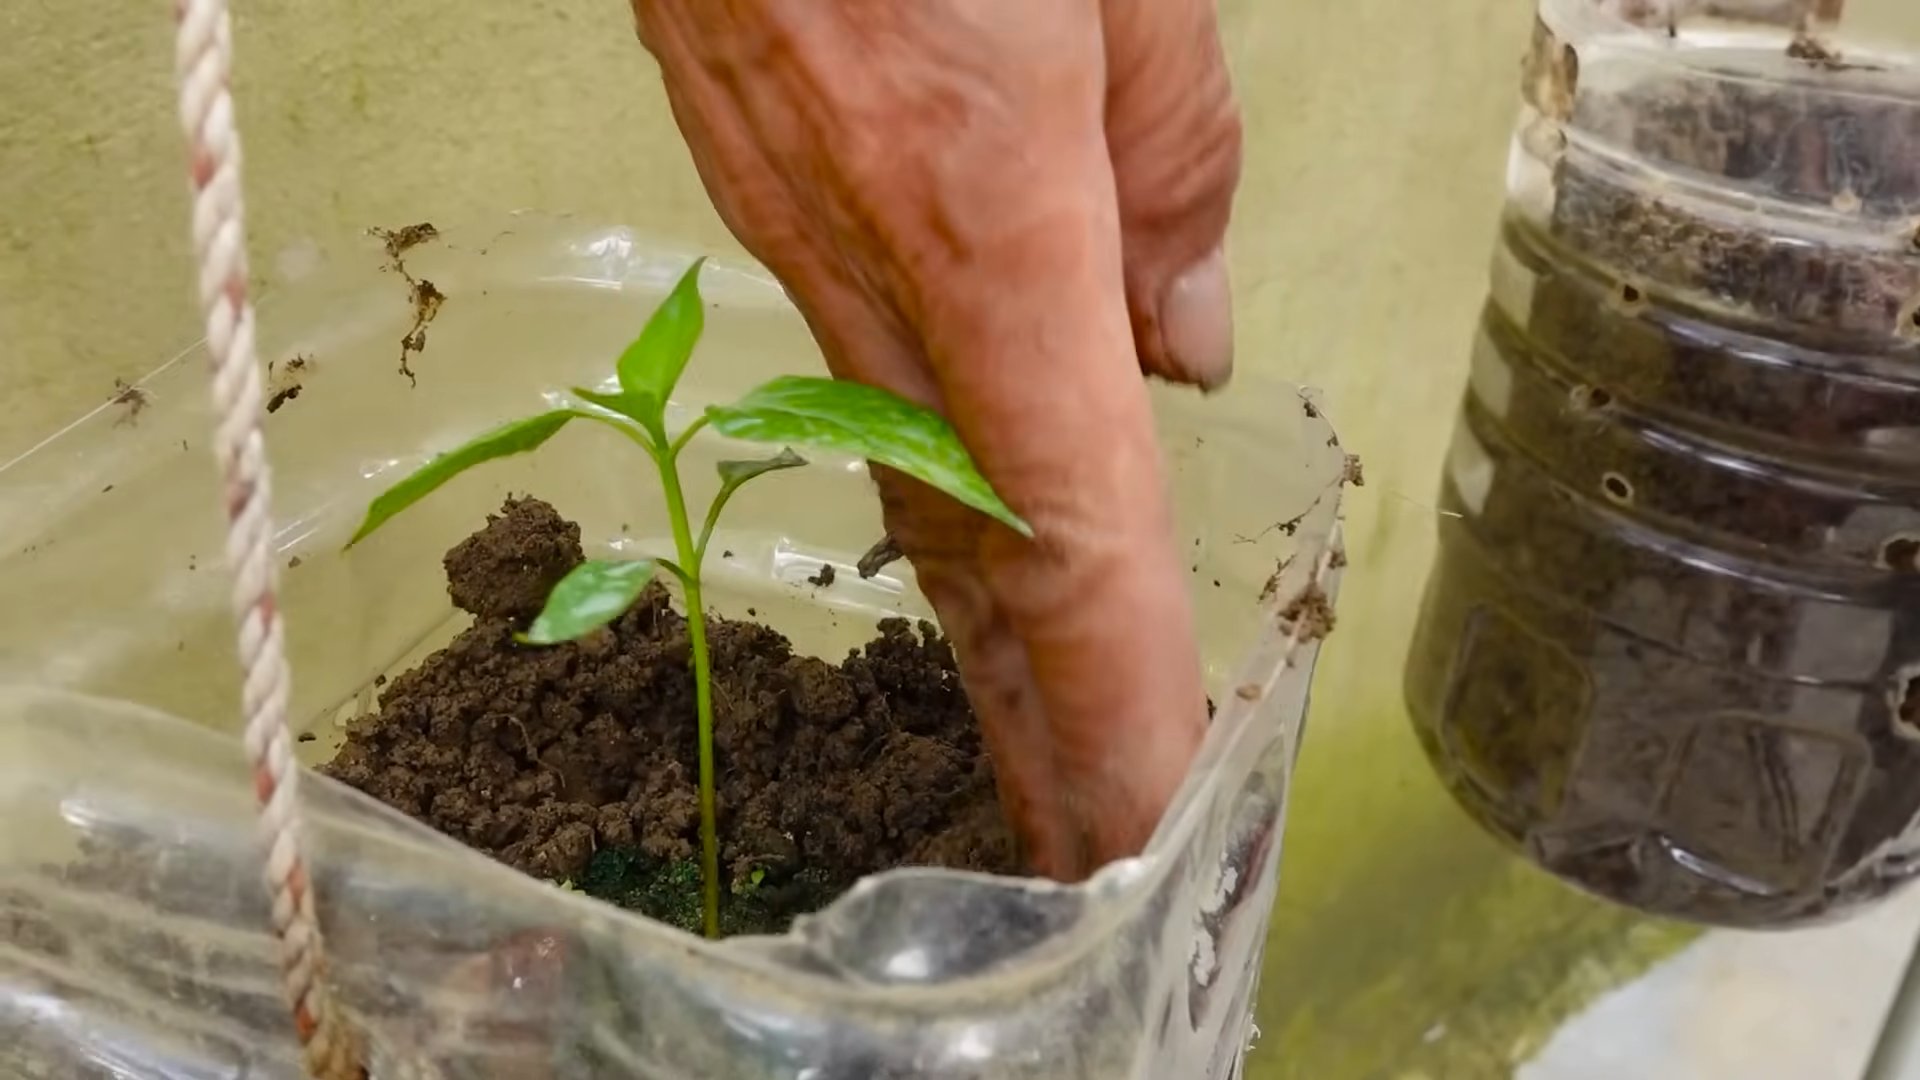
Chili peppers thrive in well-draining soil that is rich in organic matter. A slightly acidic pH level (around 6.0-7.0) is ideal. You can amend your soil with compost or other organic materials to improve its drainage and fertility. Using a high-quality potting mix specifically formulated for vegetables is also a great option, especially if you are growing your chilies in containers.
How much sunlight do chili peppers need?
Chili peppers are sun-worshippers! They need at least 6-8 hours of direct sunlight per day to thrive. Choose a location in your garden or on your patio that receives ample sunlight. If you’re growing them indoors, consider using grow lights to supplement natural sunlight, especially during the shorter days of winter.
How often should I water my chili peppers?
Consistent watering is crucial, but avoid overwatering, which can lead to root rot. Water deeply but infrequently, allowing the soil to dry slightly between waterings. The frequency will depend on factors like weather conditions, soil type, and pot size. Check the soil moisture regularly by sticking your finger a couple of inches into the soil; if it feels dry, it’s time to water.
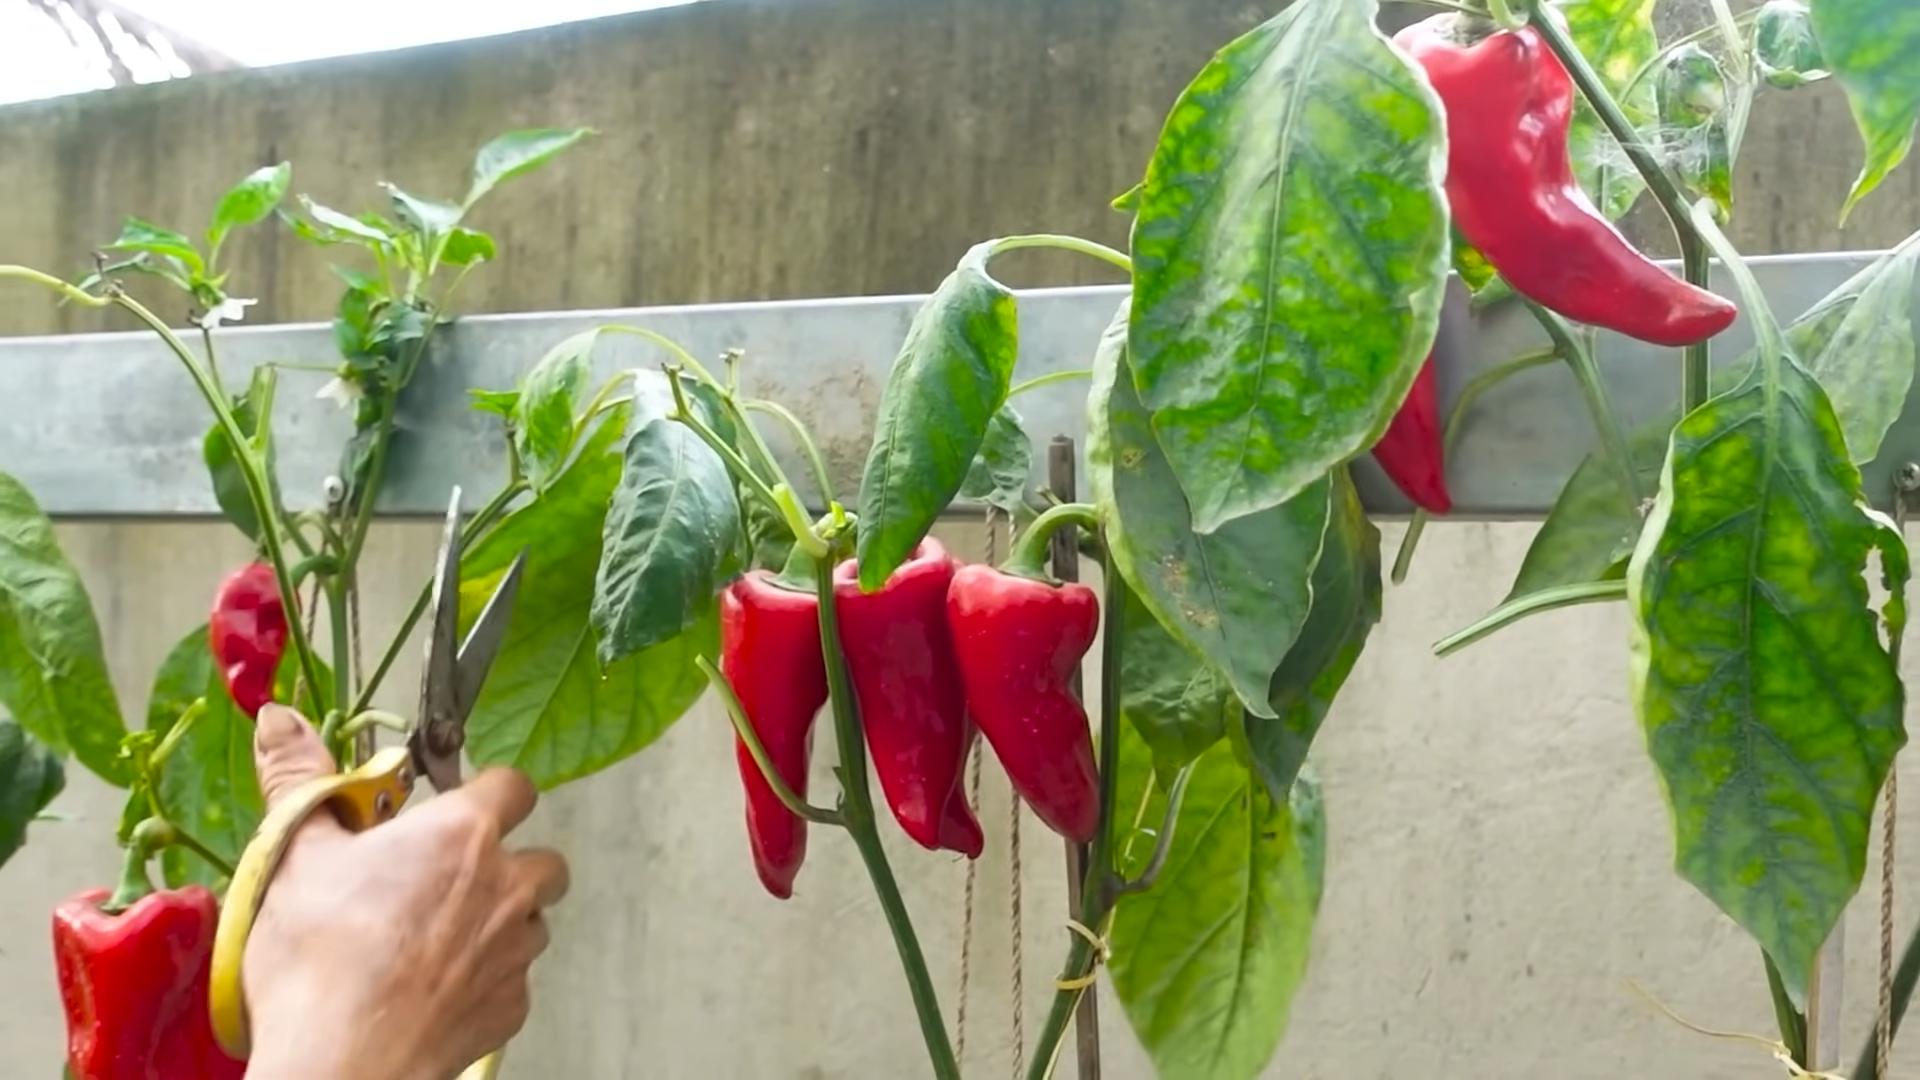
When can I expect to harvest my chili peppers?
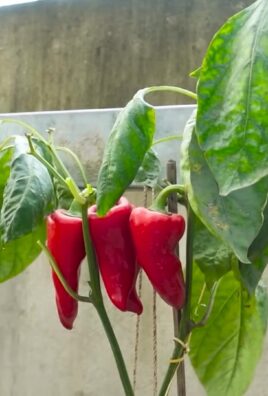
The time it takes for chili peppers to mature varies greatly depending on the variety. Some varieties may be ready to harvest in as little as 60 days, while others may take up to 120 days or longer. Check the seed packet or plant tag for an estimated harvest time. The peppers are typically ready for harvest when they reach their full size and color, and feel firm to the touch.
What are some common problems when growing chili peppers and how can I solve them?
Common problems include pests (aphids, spider mites), diseases (blight, fungal infections), and nutrient deficiencies. Regularly inspect your plants for signs of pests or diseases. Use organic pest control methods like insecticidal soap or neem oil to combat pests. Ensure proper soil drainage to prevent fungal diseases. If you suspect a nutrient deficiency, consider using a balanced fertilizer specifically formulated for vegetables.
Can I grow chili peppers from seeds I bought at the grocery store?
While it’s possible, it’s not always guaranteed. Grocery store chilies are often hybrid varieties, meaning the seeds may not produce plants that are true to the parent plant. For more reliable results, it’s best to purchase seeds from a reputable seed supplier. However, if you’re feeling adventurous, you can certainly try growing chilies from grocery store seeds – it’s a fun experiment!
What are the benefits of growing my own chili peppers?
Growing your own chili peppers offers numerous benefits. It’s a cost-effective way to enjoy fresh, flavorful chilies. You have complete control over the growing process, allowing you to choose the varieties you prefer and avoid pesticides. It’s a rewarding and educational experience, connecting you more closely to your food source. Plus, nothing beats the taste of a homegrown chili pepper!
What should I do with my harvested chili peppers?
The possibilities are endless! You can use your homegrown chilies in a variety of dishes, from salsas and sauces to stews and curries. You can also dry them for later use or freeze them to preserve their flavor and heat. Experiment with different recipes and discover your favorite ways to enjoy your harvest. Remember to always handle hot chilies with care, wearing gloves to avoid skin irritation.
Leave a Comment