
Spinach Pot DIY: Ready to ditch the grocery store spinach and grow your own fresh, vibrant greens right at home? I’m so excited to share this incredibly easy and rewarding project with you! Forget sprawling gardens and complicated setups; we’re talking about a simple, space-saving solution that will have you harvesting delicious spinach in no time.
Growing your own food, even in a small way, connects us to a long and fascinating history. For centuries, people have cultivated their own gardens, relying on their own ingenuity and resourcefulness to provide for themselves and their families. Think of the “victory gardens” of wartime, or the kitchen gardens of medieval monasteries – the desire to nurture and harvest our own food is deeply ingrained in our human story.
But why should *you* bother with a spinach pot DIY? Well, for starters, store-bought spinach can be expensive and often lacks the fresh, vibrant flavor of homegrown. Plus, you have complete control over what goes into your spinach – no pesticides or herbicides necessary! In today’s world, where we’re all looking for ways to be more sustainable and self-sufficient, this DIY project is a perfect way to take a small step towards a healthier and more environmentally friendly lifestyle. So, let’s get our hands dirty and create a thriving spinach pot that will bring fresh, flavorful greens to your table!
DIY Self-Watering Spinach Pot: Never Forget to Water Again!
Hey there, fellow plant lovers! Are you tired of forgetting to water your spinach (or any other leafy green, for that matter)? Do you dream of fresh, homegrown salads but lack the green thumb to keep your plants consistently hydrated? Well, fret no more! I’m going to walk you through creating your very own self-watering spinach pot. This project is super easy, budget-friendly, and will give you a constant supply of delicious, healthy greens with minimal effort. Let’s get started!
What You’ll Need: The Supply List
Before we dive in, let’s gather all the necessary materials. Don’t worry, most of these are easily found at your local hardware store or even lying around your house.
* Two Plastic Pots: One larger (at least 12 inches in diameter) and one smaller (around 8 inches in diameter). Make sure the smaller pot can fit comfortably inside the larger one with some space around the sides and at the bottom.
* Cotton Rope or Wicking Material: This is crucial for drawing water up to the soil. I recommend using thick cotton rope, but you can also use strips of old t-shirts or any absorbent fabric.
* Potting Soil: Choose a high-quality potting mix that’s well-draining. Spinach loves rich soil!
* Gravel or Small Rocks: This will create a drainage layer at the bottom of the larger pot.
* Water Reservoir: This could be a bucket, a large plastic container, or even a repurposed storage bin. It needs to be big enough to hold a decent amount of water.
* Spinach Seeds or Seedlings: Of course, you’ll need something to plant! You can start from seeds or buy small spinach seedlings from a nursery.
* Drill (Optional): If your pots don’t have drainage holes, you’ll need a drill to create some.
* Scissors or a Knife: For cutting the rope or wicking material.
* Gloves (Optional): To keep your hands clean.
Step-by-Step Instructions: Building Your Self-Watering Oasis
Alright, let’s get our hands dirty! Follow these steps carefully, and you’ll have your self-watering spinach pot ready in no time.
1. Prepare the Larger Pot:
* First, inspect your larger pot. If it doesn’t have drainage holes, use your drill to create a few at the bottom. This is essential to prevent waterlogging.
* Next, add a layer of gravel or small rocks to the bottom of the pot. This layer should be about 2-3 inches thick. This will improve drainage and prevent the soil from becoming waterlogged.
2. Prepare the Wicking System:
* Cut your cotton rope or wicking material into several pieces, each about 12-18 inches long. The length will depend on the depth of your pots. You want enough rope to reach from the bottom of the water reservoir, up through the soil in the smaller pot.
* Thread the rope through the drainage holes of the smaller pot. Make sure to leave a good portion of the rope hanging out of the bottom of the pot. These “tails” will be submerged in the water reservoir.
* If your smaller pot doesn’t have drainage holes, you can carefully drill a few small holes near the bottom, just big enough to thread the rope through.
3. Fill the Smaller Pot with Soil:
* Now, fill the smaller pot with your potting soil. Leave about an inch or two of space at the top.
* Gently press down on the soil to compact it slightly.
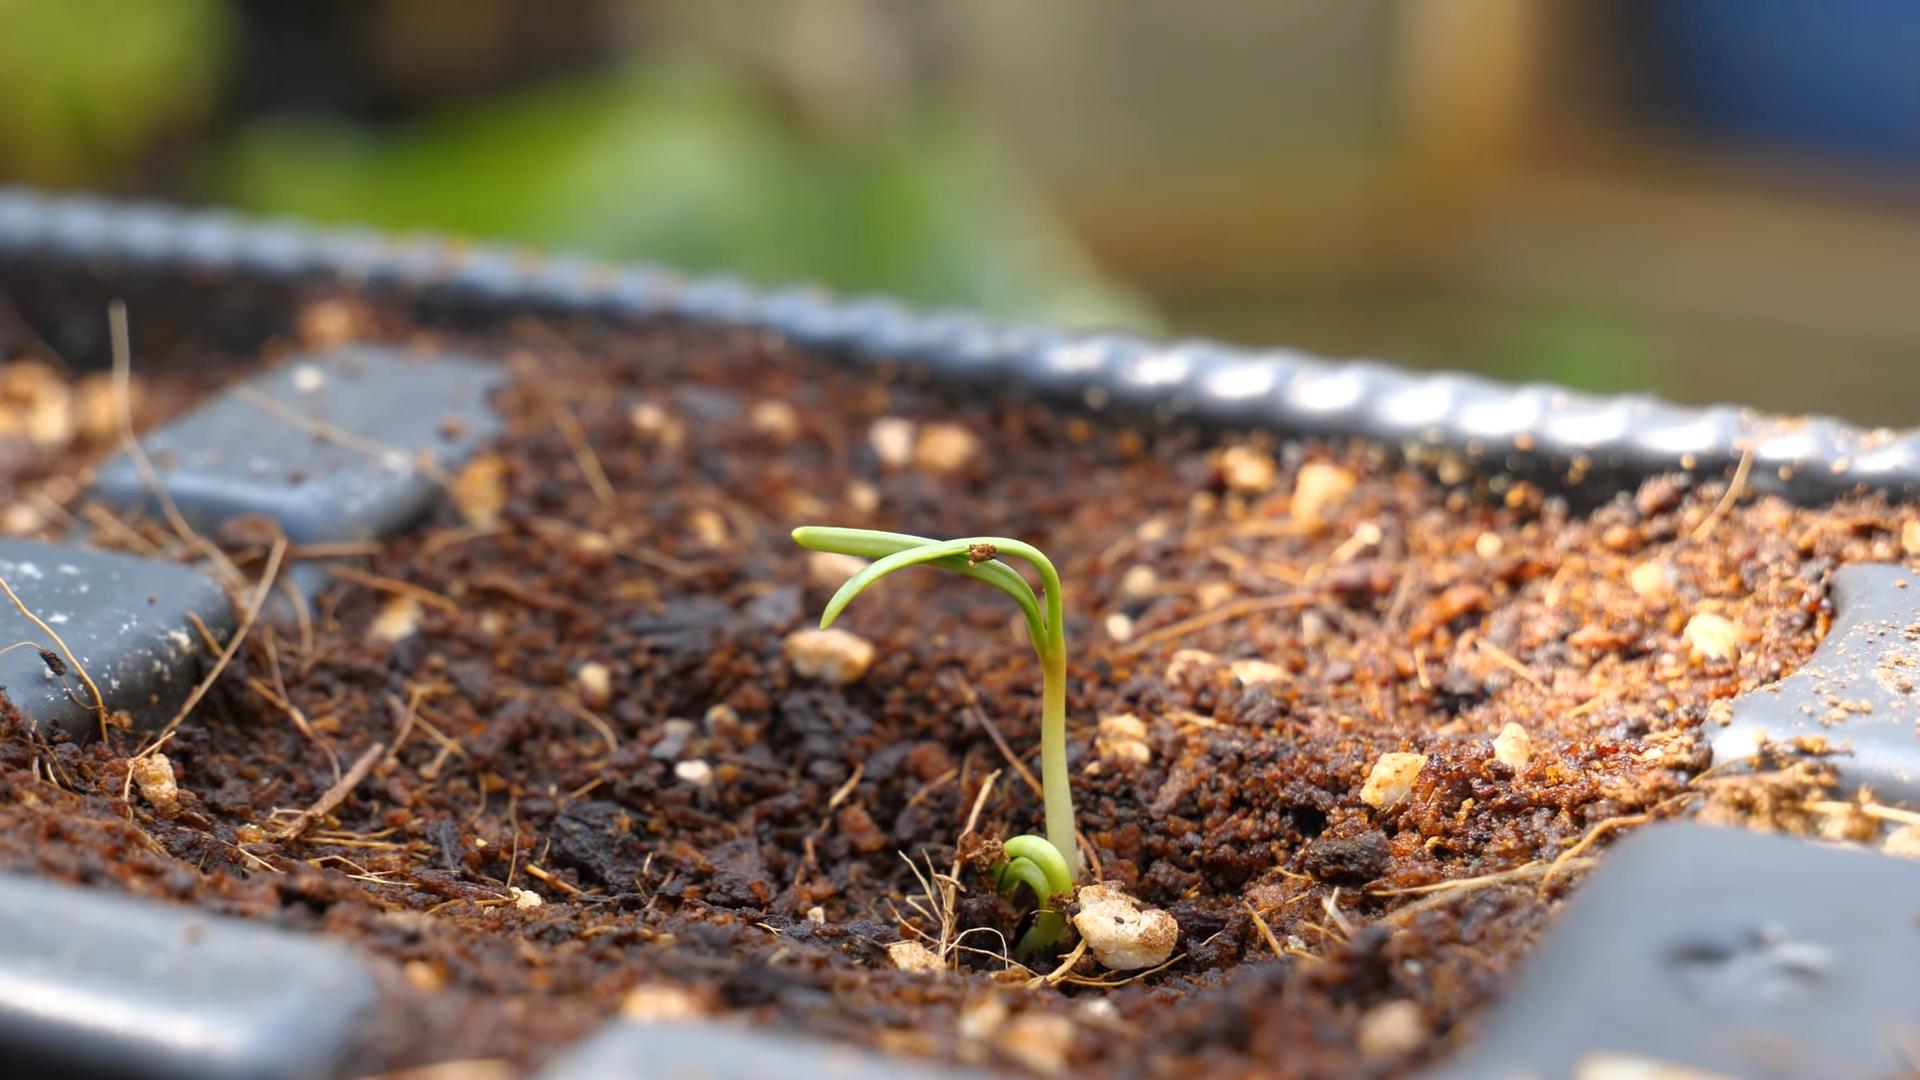
4. Plant Your Spinach:
* If you’re starting from seeds, follow the instructions on the seed packet for planting depth and spacing. I usually sprinkle the seeds evenly over the surface of the soil and then cover them with a thin layer of soil.
* If you’re using seedlings, carefully remove them from their containers and gently loosen the roots. Plant them in the smaller pot, spacing them a few inches apart.
* Water the soil thoroughly after planting.
5. Assemble the Self-Watering System:
* Place the smaller pot inside the larger pot, on top of the gravel layer.
* Make sure the rope “tails” are hanging down into the space between the two pots.
6. Set Up the Water Reservoir:
* Place your assembled pot system inside your water reservoir.
* Arrange the rope “tails” so that they are submerged in the water. You might need to adjust the height of the pot system by adding more gravel to the bottom of the larger pot. The goal is to have the rope constantly drawing water up to the soil.
7. Fill the Water Reservoir:
* Fill the water reservoir with water, making sure the rope “tails” are fully submerged.
* Keep an eye on the water level and refill as needed.
8. Find the Perfect Spot:
* Place your self-watering spinach pot in a sunny location. Spinach needs at least 6 hours of sunlight per day.
* Make sure the location is protected from strong winds.
Troubleshooting and Tips for Success
Even with a self-watering system, there are a few things to keep in mind to ensure your spinach thrives.
* Choosing the Right Pots: The size of your pots matters. Too small, and your spinach will quickly become root-bound. Too large, and the soil might stay too wet. I’ve found that a 12-inch diameter larger pot and an 8-inch diameter smaller pot work well for a small spinach patch.
* Wicking Material is Key: The wicking material is the heart of this system. Make sure it’s absorbent and thick enough to draw water efficiently. I’ve had the best luck with thick cotton rope. Avoid synthetic materials, as they don’t wick water as well.
* Soil Matters: Use a high-quality potting mix that’s well-draining. Avoid using garden soil, as it can become compacted and prevent proper drainage.
* Water Quality: Use clean, filtered water whenever possible. Tap water can contain chemicals that can harm your plants.
* Sunlight is Essential: Spinach needs at least 6 hours of sunlight per day. If you don’t have a sunny spot, you can supplement with grow lights.
* Fertilizing: Even with a self-watering system, your spinach will still need nutrients. Fertilize every few weeks with a balanced liquid fertilizer.
* Pest Control: Keep an eye out for pests like aphids and slugs. Treat them promptly with organic pest control methods.
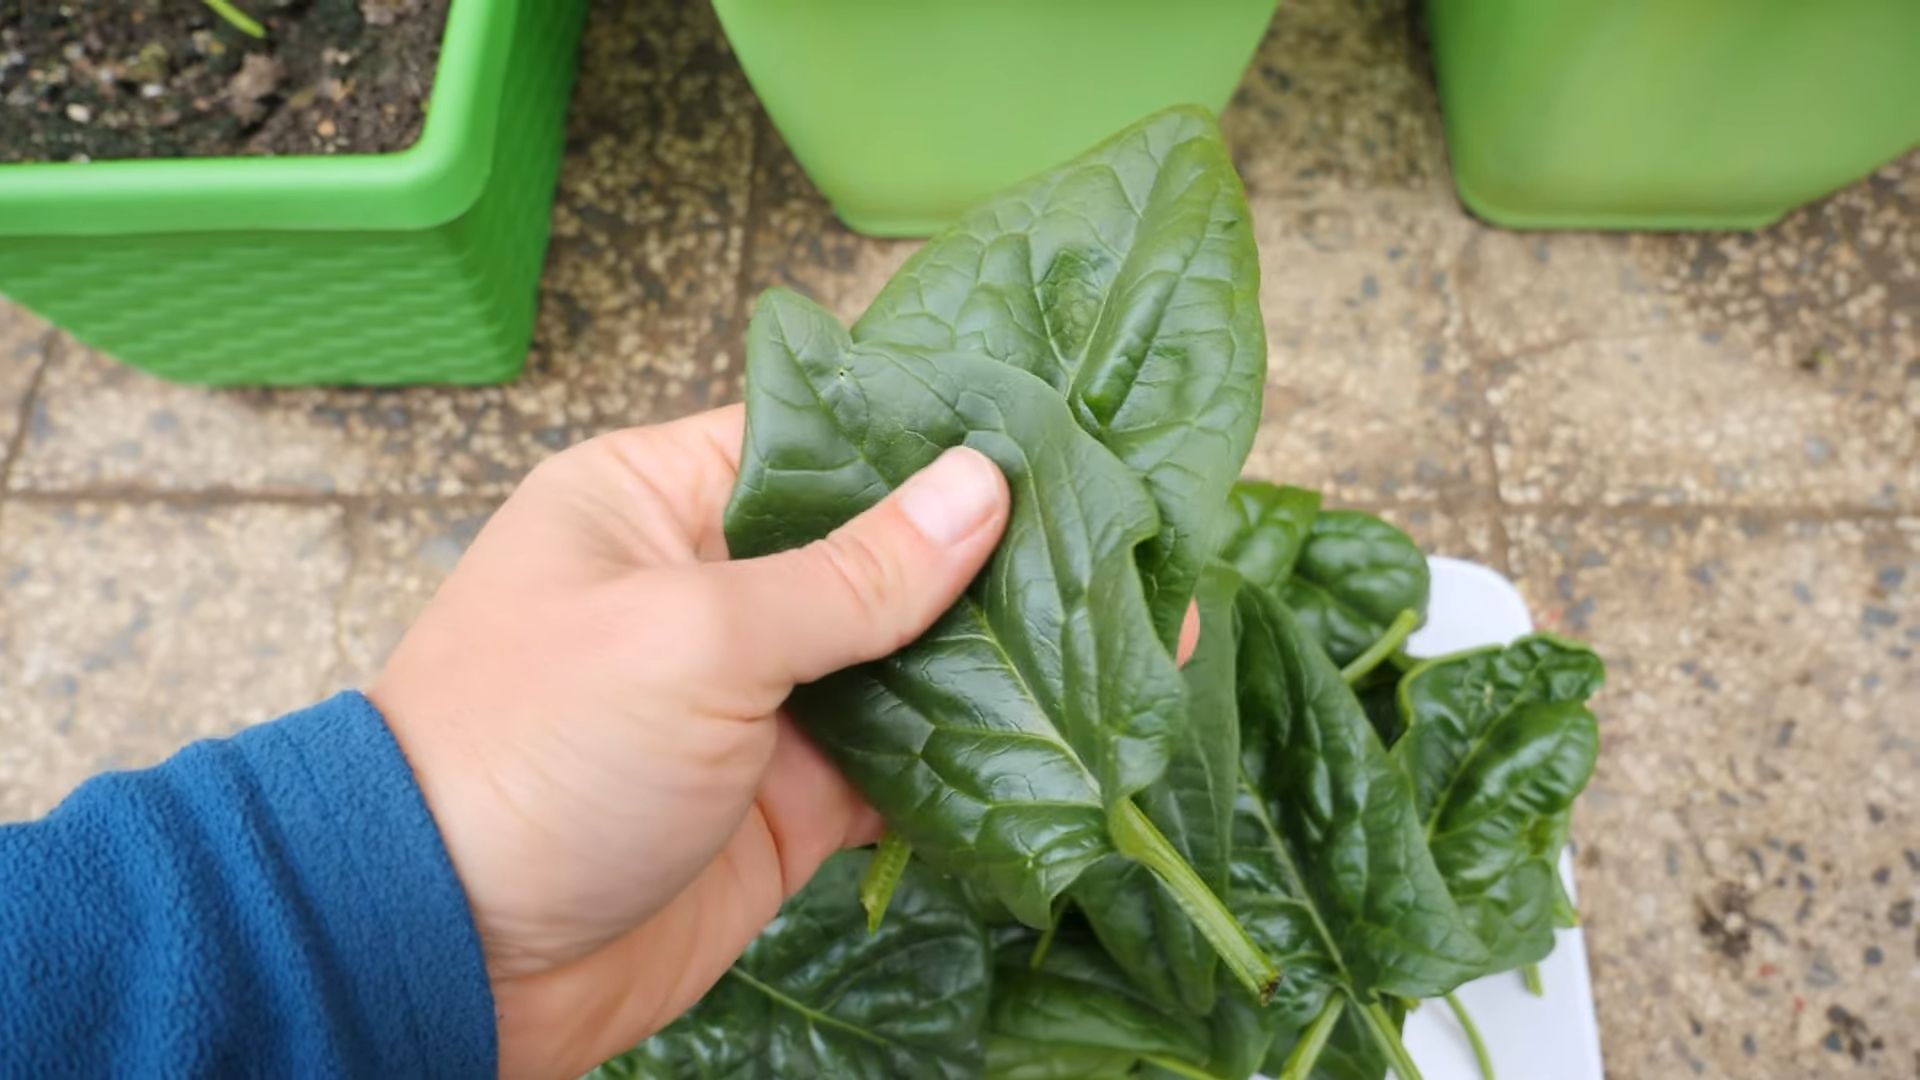
* Harvesting: Harvest your spinach regularly by snipping off the outer leaves. This will encourage the plant to produce more leaves.
* Water Reservoir Maintenance: Check the water reservoir regularly and refill as needed. You may also want to clean the reservoir periodically to prevent algae growth.
* Adjusting the System: Depending on your climate and the type of soil you use, you may need to adjust the amount of water in the reservoir. If the soil is constantly wet, reduce the amount of water. If the soil is dry, increase the amount of water.
* Experimentation is Encouraged: Don’t be afraid to experiment with different types of wicking materials, soil mixes, and pot sizes. The best way to learn is by doing!
Adapting the System for Other Plants
The beauty of this self-watering system is that it can be adapted for other plants as well! Here are a few ideas:
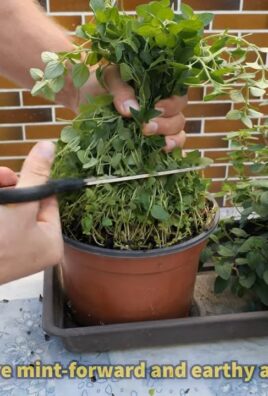
* Herbs: Basil, mint, parsley, and oregano all thrive in self-watering pots.
* Lettuce: Just like spinach, lettuce loves consistent moisture.
* Strawberries: Self-watering pots can help prevent strawberries from rotting.
* Tomatoes: You’ll need a larger pot for tomatoes, but the self-watering system can help keep them consistently hydrated.
* Peppers: Peppers also benefit from consistent moisture.
Enjoy Your Homegrown Spinach!
And there you have it! Your very own self-watering spinach pot. Now you can enjoy fresh, homegrown spinach without the worry of forgetting to water. Happy gardening! I hope you found this guide helpful, and I can’t wait to hear about your success!
Conclusion
So, there you have it! Creating your own Spinach Pot DIY isn’t just a fun project; it’s a game-changer for anyone who loves fresh, homegrown greens. Forget those flimsy plastic containers from the store that crack and crumble after a single season. This method offers a durable, aesthetically pleasing, and incredibly rewarding way to cultivate your own spinach, right at your fingertips.
Why is this a must-try? Because it empowers you to take control of your food source, even in limited spaces. Imagine stepping outside your door and harvesting vibrant, nutrient-rich spinach leaves for your salads, smoothies, or omelets. The taste difference between store-bought and homegrown is undeniable – a burst of freshness that will elevate your culinary creations. Plus, you’ll be reducing your reliance on commercially grown produce, contributing to a more sustainable lifestyle.
But the benefits extend beyond just the taste and environmental impact. The act of creating your own spinach pot is therapeutic. It’s a chance to connect with nature, get your hands dirty, and witness the miracle of growth firsthand. It’s a project that can be enjoyed by individuals, families, and even classrooms, fostering a sense of accomplishment and appreciation for the natural world.
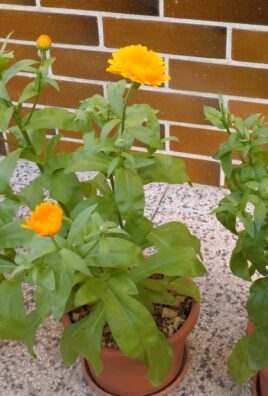
Now, let’s talk variations. Feel free to experiment with different pot sizes and materials. Terracotta pots offer excellent drainage and a classic look, while repurposed containers like old buckets or even tires (properly cleaned, of course!) can add a unique, eco-friendly touch. Consider adding companion plants like marigolds or basil to your spinach pot. These not only deter pests but also enhance the overall aesthetic appeal. You can also explore different spinach varieties. From the smooth-leaved baby spinach to the crinkled savoy, each offers a unique texture and flavor profile. Try planting a mix for a diverse harvest.
Don’t be afraid to get creative with your soil mix, either. While a standard potting mix works well, adding compost or worm castings will provide extra nutrients and improve drainage. You can even incorporate slow-release fertilizer pellets for sustained feeding throughout the growing season.
The key to success with your Spinach Pot DIY is consistent watering and proper sunlight. Spinach thrives in cool weather, so aim for a location that receives partial shade, especially during the hottest part of the day. Regularly check the soil moisture and water when the top inch feels dry to the touch. Avoid overwatering, as this can lead to root rot.
We are confident that once you try this method, you’ll be hooked. The satisfaction of harvesting your own fresh spinach is simply unmatched. So, gather your supplies, unleash your creativity, and embark on this rewarding gardening adventure.
We can’t wait to hear about your experiences! Share your photos, tips, and tricks in the comments below. Let’s build a community of spinach-loving gardeners and inspire others to embrace the joy of homegrown goodness. What worked best for you? What challenges did you face? Your insights will be invaluable to fellow gardeners. Happy growing!
Frequently Asked Questions (FAQ)
What type of pot is best for a Spinach Pot DIY?
The best type of pot depends on your aesthetic preferences and available resources. Terracotta pots are a popular choice due to their excellent drainage and classic appearance. Plastic pots are lightweight and affordable. Repurposed containers like buckets, old tires (cleaned thoroughly), or even large yogurt containers can be used for an eco-friendly option. Ensure the pot has drainage holes to prevent waterlogging. The size of the pot should be at least 12 inches in diameter and 8 inches deep to provide enough space for the spinach roots to grow. Larger pots are generally better as they retain moisture longer and provide more room for the plants to expand.
How often should I water my Spinach Pot DIY?
Watering frequency depends on the weather and the type of pot you’re using. Generally, you should water your spinach pot when the top inch of soil feels dry to the touch. During hot weather, you may need to water daily, while in cooler weather, every other day might suffice. Avoid overwatering, as this can lead to root rot. Ensure the pot has adequate drainage to prevent water from pooling at the bottom. A good way to check if your spinach needs water is to stick your finger about an inch into the soil. If it feels dry, it’s time to water.
What kind of soil should I use for my Spinach Pot DIY?
A well-draining potting mix is ideal for growing spinach in pots. You can purchase a pre-made potting mix from your local garden center or create your own by combining equal parts of peat moss, perlite, and vermiculite. Adding compost or worm castings to the mix will provide extra nutrients and improve drainage. Avoid using garden soil, as it can be too heavy and compact, hindering root growth. The ideal pH for spinach is between 6.5 and 7.0. You can test your soil’s pH using a soil testing kit and amend it accordingly.
How much sunlight does my Spinach Pot DIY need?
Spinach thrives in cool weather and prefers partial shade, especially during the hottest part of the day. Aim for a location that receives at least 4-6 hours of sunlight per day. If you live in a particularly hot climate, consider placing your spinach pot in a spot that receives morning sun and afternoon shade. Too much direct sunlight can cause the leaves to wilt and burn. If you’re growing your spinach indoors, use grow lights to provide adequate illumination.
What are some common pests and diseases that affect spinach, and how can I prevent them?
Common pests that affect spinach include aphids, slugs, and leaf miners. Aphids can be controlled with insecticidal soap or by introducing beneficial insects like ladybugs. Slugs can be deterred by placing copper tape around the pot or by handpicking them off the plants. Leaf miners can be prevented by covering the plants with row covers. Common diseases that affect spinach include downy mildew and powdery mildew. These diseases can be prevented by ensuring good air circulation, avoiding overwatering, and using disease-resistant spinach varieties. If you notice signs of disease, remove the affected leaves immediately and treat the plants with a fungicide.
Can I grow other vegetables in the same pot as my spinach?
Yes, you can grow companion plants with spinach. Good companion plants for spinach include radishes, lettuce, and marigolds. Radishes help to break up the soil and deter pests, while lettuce provides shade for the spinach roots. Marigolds deter pests like nematodes and aphids. Avoid planting spinach with plants that compete for nutrients or attract pests, such as fennel or beans.
How long does it take for spinach to grow in a pot?
Spinach typically takes about 4-6 weeks to mature from seed to harvest. You can start harvesting the outer leaves when they are about 4-6 inches long. Continue harvesting the outer leaves as needed, allowing the inner leaves to continue growing. This will encourage continuous production.
How do I harvest spinach from my Spinach Pot DIY?
To harvest spinach, use scissors or a sharp knife to cut the outer leaves about an inch above the soil line. Avoid pulling the leaves, as this can damage the plant. Harvest the leaves in the morning when they are crisp and cool. Wash the leaves thoroughly before using them.
Can I grow spinach in a pot during the winter?
Yes, you can grow spinach in a pot during the winter, especially in milder climates. If you live in an area with harsh winters, you can protect your spinach pot by moving it indoors or covering it with a cold frame or row cover. Spinach is cold-hardy and can tolerate temperatures as low as 20 degrees Fahrenheit.
How do I fertilize my Spinach Pot DIY?
Spinach is a heavy feeder and benefits from regular fertilization. You can use a balanced liquid fertilizer or a slow-release fertilizer. Apply the fertilizer according to the package instructions. Avoid over-fertilizing, as this can lead to excessive leaf growth and reduced flavor. You can also amend the soil with compost or worm castings to provide extra nutrients.

Leave a Comment