
Styrofoam Gardening for Squash: Unlock a bountiful harvest with this surprisingly simple DIY trick! Have you ever dreamed of growing plump, juicy squash right in your backyard, but felt limited by space, poor soil, or even just the sheer effort involved? Well, get ready to ditch those gardening woes because I’m about to share a game-changing secret that will have you harvesting squash like a pro.
While the exact origins of using styrofoam in gardening are a bit murky, resourceful gardeners have long been experimenting with unconventional materials to improve drainage, insulation, and overall plant health. Think of it as a modern twist on ancient raised bed techniques, adapting readily available materials to suit our needs. For centuries, cultures around the world have understood the importance of creating optimal growing conditions, and this styrofoam hack is just another innovative step in that direction.
So, why should you embrace styrofoam gardening for squash? Because it’s incredibly effective! It’s a fantastic way to create a lightweight, well-draining growing environment, especially beneficial for squash, which are notorious for being heavy feeders and needing ample space. Plus, it’s a budget-friendly solution that repurposes materials that might otherwise end up in a landfill. Imagine the satisfaction of transforming discarded styrofoam into a thriving squash patch! I’m excited to show you how to get started and enjoy a delicious, homegrown harvest.
Styrofoam Gardening: Grow Squash Anywhere!
Hey there, fellow gardening enthusiasts! Ever dreamed of growing a sprawling squash plant but thought you didn’t have the space or the right soil? Well, I’m here to tell you that you absolutely can, and I’m going to show you how using a surprisingly simple and effective method: styrofoam gardening! This technique is perfect for small spaces, balconies, patios, or even areas with poor soil. Get ready to unleash your inner gardener and grow some delicious squash!
Why Styrofoam?
Before we dive in, let’s talk about why styrofoam is such a great choice for gardening.
* Lightweight: Styrofoam containers are incredibly lightweight, making them easy to move around, even when filled with soil and a mature plant. This is a huge advantage if you’re gardening on a balcony or deck where weight is a concern.
* Insulation: Styrofoam provides excellent insulation, protecting your plant’s roots from extreme temperature fluctuations. This is especially beneficial in areas with hot summers or cold winters.
* Drainage: With proper drainage holes, styrofoam containers allow excess water to escape, preventing root rot.
* Affordable: You can often find styrofoam containers for free or at a very low cost. Think about repurposing old coolers, packing materials, or even styrofoam takeout containers (just make sure they’re clean!).
* Space-Saving: You can customize the size and shape of your styrofoam containers to fit your specific space requirements.
What You’ll Need
Okay, let’s gather our supplies. Here’s what you’ll need to get started with your styrofoam squash garden:
* Styrofoam Container: The size will depend on the type of squash you want to grow. For bush varieties like zucchini or yellow squash, a container that’s at least 24 inches in diameter and 12 inches deep is ideal. For vining varieties like butternut or spaghetti squash, you’ll want something even larger, closer to 36 inches in diameter and 18 inches deep. A large styrofoam cooler works perfectly!
* Potting Mix: Don’t use garden soil! It’s too heavy and doesn’t drain well in containers. Choose a high-quality potting mix that’s specifically formulated for container gardening. I personally like mixes that contain peat moss, perlite, and vermiculite.
* Compost: Compost is like a superfood for your plants! It adds nutrients, improves drainage, and helps retain moisture. Mix in a generous amount of compost with your potting mix.
* Slow-Release Fertilizer: Squash are heavy feeders, so a slow-release fertilizer will provide them with a steady supply of nutrients throughout the growing season. Look for a fertilizer that’s specifically formulated for vegetables.
* Squash Seeds or Seedlings: Choose your favorite variety of squash! You can start from seeds or purchase seedlings from a local nursery. If you’re starting from seeds, make sure to start them indoors a few weeks before the last frost.
* Drill or Screwdriver: For creating drainage holes.
* Watering Can or Hose: For watering your plants.
* Trowel or Shovel: For mixing soil and planting.
* Optional: Trellis or Support: If you’re growing a vining variety of squash, you’ll need a trellis or other support structure to keep the vines off the ground.
Step-by-Step Instructions: Planting Your Squash
Alright, let’s get our hands dirty! Here’s how to plant your squash in your styrofoam container:
1. Prepare the Container: The first thing you need to do is create drainage holes in the bottom of your styrofoam container. Use a drill or screwdriver to make several holes, spaced a few inches apart. This is crucial for preventing root rot. I usually aim for at least 6-8 holes in a large container.
2. Mix the Soil: In a large container or wheelbarrow, mix together your potting mix, compost, and slow-release fertilizer. I usually go for a ratio of about 2 parts potting mix, 1 part compost, and follow the instructions on the fertilizer package for the correct amount. Make sure everything is thoroughly mixed together.
3. Fill the Container: Now, fill your styrofoam container with the soil mixture, leaving a few inches of space at the top. Don’t pack the soil down too tightly, as this can restrict drainage.
4. Plant Your Seeds or Seedlings: If you’re starting from seeds, follow the instructions on the seed packet for planting depth and spacing. I usually plant 2-3 seeds per hill and then thin them out to the strongest seedling once they emerge. If you’re using seedlings, gently remove them from their containers and plant them in the center of your styrofoam container. Make sure the top of the root ball is level with the soil surface.
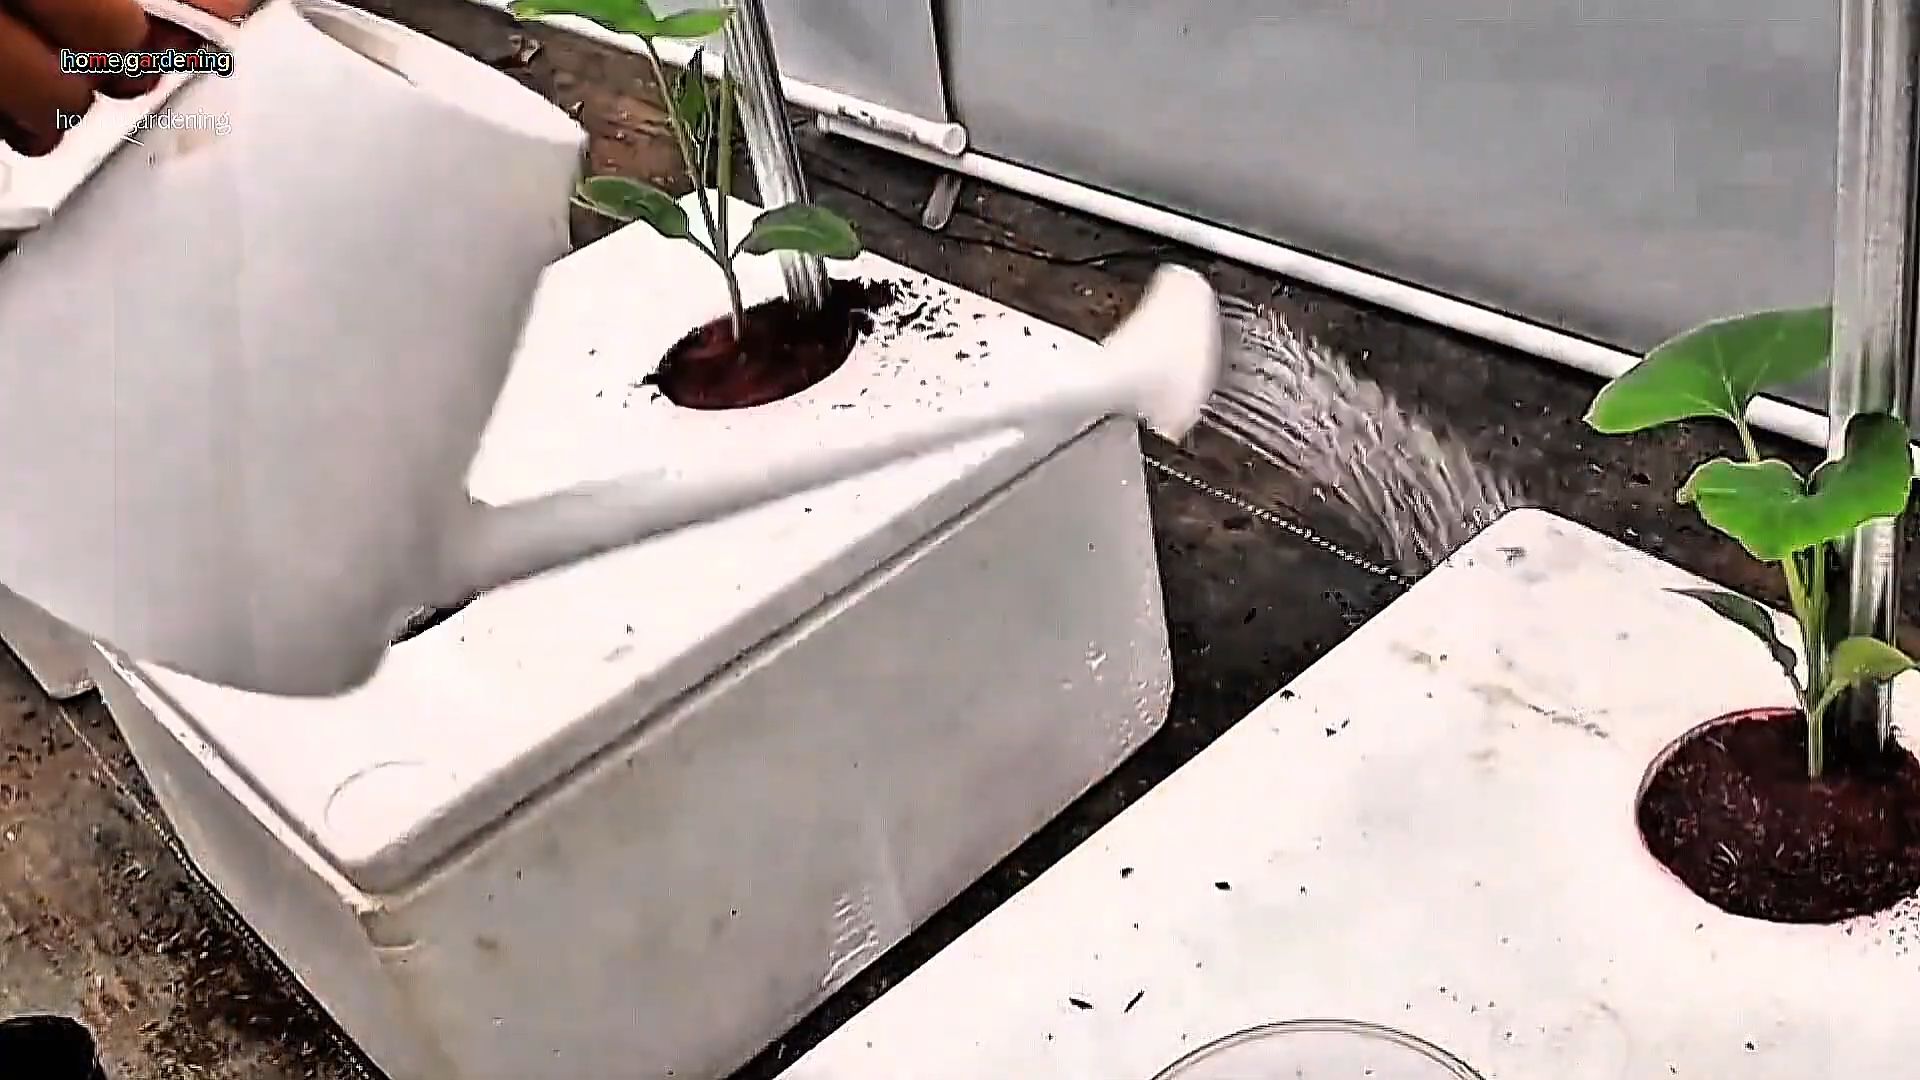
5. Water Thoroughly: After planting, water your squash thoroughly until the water drains out of the drainage holes. This will help settle the soil and ensure that the roots are well-hydrated.
6. Add Support (If Needed): If you’re growing a vining variety of squash, install your trellis or support structure now. This will give the vines something to climb on and prevent the fruit from rotting on the ground.
7. Choose a Sunny Location: Squash plants need at least 6-8 hours of sunlight per day, so choose a sunny location for your styrofoam container.
Caring for Your Styrofoam Squash Garden
Now that your squash is planted, it’s time to provide it with the care it needs to thrive.
* Watering: Water your squash regularly, especially during hot, dry weather. The soil should be consistently moist, but not soggy. Check the soil moisture by sticking your finger into the soil. If the top inch or two feels dry, it’s time to water. I usually water deeply, allowing the water to soak into the soil and drain out of the drainage holes.
* Fertilizing: Squash are heavy feeders, so you’ll need to fertilize them regularly throughout the growing season. In addition to the slow-release fertilizer you added at planting time, you can also supplement with a liquid fertilizer every few weeks. Look for a fertilizer that’s high in phosphorus and potassium, which are essential for fruit production.
* Pest Control: Keep an eye out for common squash pests like squash bugs, squash vine borers, and aphids. You can control these pests with organic methods like hand-picking, insecticidal soap, or neem oil. I always prefer to use organic methods whenever possible to protect beneficial insects and pollinators.
* Pollination: Squash plants have separate male and female flowers. The female flowers need to be pollinated in order to produce fruit. If you’re not seeing any fruit developing, you may need to hand-pollinate the flowers. To do this, simply use a small paintbrush to transfer pollen from the male flowers to the female flowers. The male flowers have a long, thin stem, while the female flowers have a small, immature fruit at the base.
* Pruning: Pruning can help improve air circulation and prevent diseases. Remove any yellowing or dead leaves, as well as any suckers that are growing from the base of the plant.
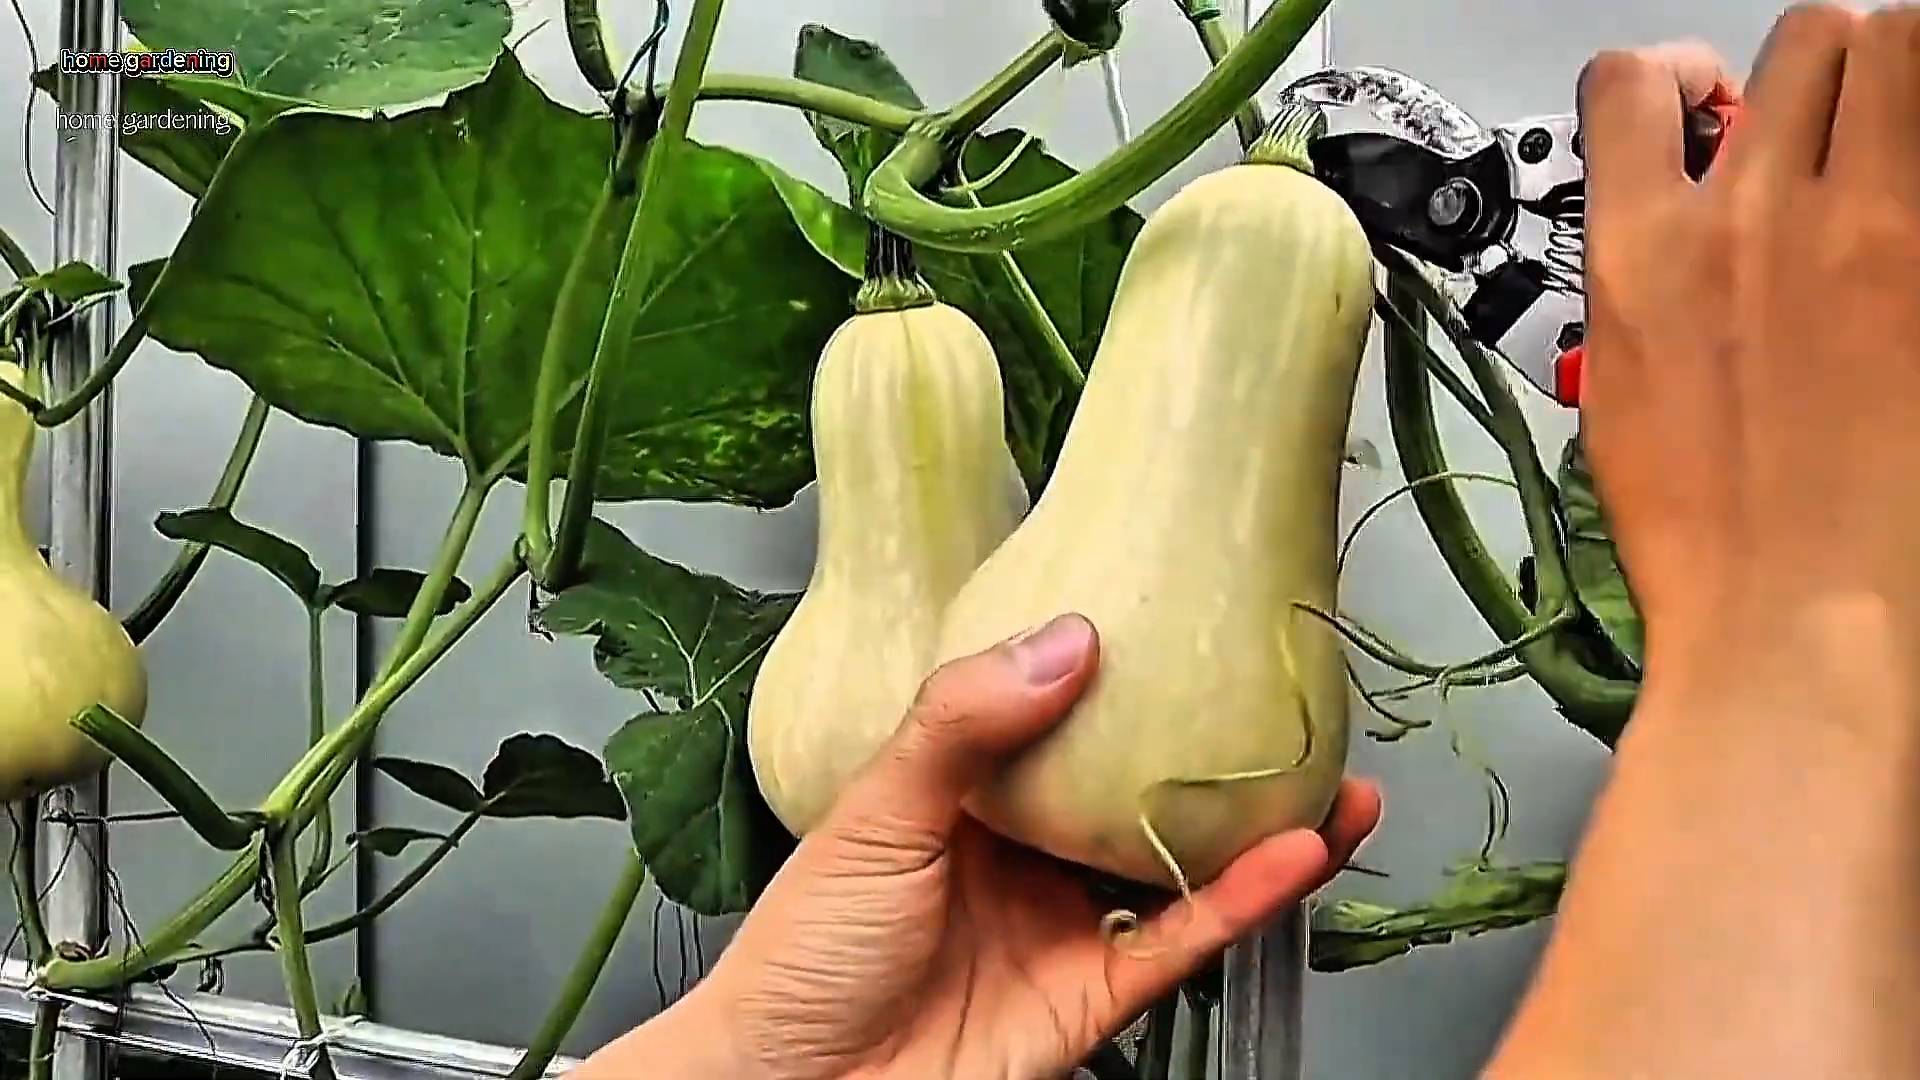
* Harvesting: The time to harvest your squash will depend on the variety you’re growing. Generally, summer squash like zucchini and yellow squash are ready to harvest when they’re young and tender. Winter squash like butternut and spaghetti squash are ready to harvest when the skin is hard and the stem is dry.
Troubleshooting Tips
Even with the best care, you may encounter some problems along the way. Here are a few troubleshooting tips to help you out:
* Yellowing Leaves: Yellowing leaves can be a sign of overwatering, underwatering, nutrient deficiency, or pest infestation. Check the soil moisture and adjust your watering accordingly. Fertilize your plants regularly and inspect them for pests.
* Lack of Fruit: A lack of fruit can be caused by poor pollination, nutrient deficiency, or extreme temperatures. Hand-pollinate your flowers if necessary, fertilize your plants regularly, and protect them from extreme heat or cold.
* Powdery Mildew: Powdery mildew is a fungal disease that can affect squash plants. It appears as a white, powdery coating on the leaves. To prevent powdery mildew, provide good air circulation, avoid overhead watering, and apply a fungicide if necessary.
* Root Rot: Root rot is caused by overwatering and poor drainage. Make sure your styrofoam container has adequate drainage holes and avoid overwatering your plants.
Choosing the Right Squash Variety
The type of squash you choose will impact the size of the container you need and the amount of space the plant will require. Here’s a quick rundown:
* Bush Varieties: These are compact and well-suited for container gardening. Zucchini, yellow squash, and some pattypan squash varieties fall into this category. They generally need a container that’s at least 24 inches in diameter
Conclusion
So, there you have it! Transforming discarded styrofoam into a thriving squash garden is not just a clever upcycling project; it’s a game-changer for gardeners of all levels. We’ve explored how this simple DIY trick can unlock a world of possibilities, from extending your growing season to maximizing your yield, all while minimizing your environmental impact.
Why is this a must-try? Because it’s accessible, affordable, and incredibly effective. Forget expensive raised beds or complicated gardening systems. With a little creativity and some repurposed styrofoam, you can create a nurturing environment for your squash plants to flourish. The insulation properties of styrofoam protect roots from extreme temperatures, promoting healthier growth and earlier harvests. The lightweight nature of the containers makes them easily movable, allowing you to chase the sun or shelter your plants from harsh weather. And let’s not forget the satisfaction of turning waste into something beautiful and productive!
But the beauty of this DIY project lies in its adaptability. Feel free to experiment with different sizes and shapes of styrofoam containers to suit your space and the specific needs of your squash varieties. Consider adding drainage holes to the bottom of your containers to prevent waterlogging, especially in areas with heavy rainfall. You can also line the inside of the styrofoam with landscape fabric to further protect the roots and prevent any potential leaching of chemicals (though properly aged styrofoam poses minimal risk).
For those looking to take their styrofoam gardening to the next level, consider incorporating companion planting. Marigolds, for example, can help deter pests, while nasturtiums attract beneficial insects. You can also experiment with different soil mixes to find the perfect blend for your squash plants. A combination of compost, peat moss, and perlite will provide excellent drainage and nutrient retention.
Don’t be afraid to get creative with your styrofoam containers! Paint them with vibrant colors, add decorative elements, or even create a vertical garden by stacking them on top of each other. The possibilities are endless!
Ultimately, this DIY styrofoam gardening trick is about more than just growing squash. It’s about embracing sustainability, fostering creativity, and connecting with nature in a meaningful way. It’s about proving that even the most humble materials can be transformed into something extraordinary.
We wholeheartedly encourage you to give this DIY trick a try. Whether you’re a seasoned gardener or a complete beginner, you’ll be amazed at the results. And most importantly, we want to hear about your experience! Share your photos, tips, and stories with us in the comments below. Let’s create a community of styrofoam gardening enthusiasts and inspire others to embrace this innovative and eco-friendly approach to growing squash. Let’s see your amazing **styrofoam gardening** creations!
Frequently Asked Questions (FAQ)
What type of styrofoam is best for gardening?
Ideally, you want to use clean, food-grade styrofoam that hasn’t been exposed to harsh chemicals. Recycled styrofoam packaging from electronics or appliances is often a good choice. Avoid styrofoam that has been used for insulation purposes, as it may contain fire retardants or other additives that could be harmful to your plants. Make sure to thoroughly clean the styrofoam before using it to remove any dirt or debris. Aged styrofoam is generally considered safer, as any volatile compounds will have dissipated over time.
Is styrofoam safe for growing food?
This is a common concern, and rightfully so. While styrofoam is technically a petroleum-based product, properly aged and cleaned styrofoam poses minimal risk to your plants or your health. The key is to ensure that the styrofoam is not leaching any harmful chemicals into the soil. Lining the inside of the container with landscape fabric provides an extra layer of protection. Also, remember that the roots of your squash plants are primarily absorbing nutrients from the soil, not directly from the styrofoam. If you’re still concerned, you can opt for using styrofoam only for ornamental plants or for starting seedlings before transplanting them into the ground.
How do I ensure proper drainage in my styrofoam containers?
Drainage is crucial for preventing root rot and ensuring healthy plant growth. The easiest way to ensure proper drainage is to drill several holes in the bottom of your styrofoam containers. The size and number of holes will depend on the size of the container and the type of soil you’re using. As a general rule, aim for at least four to five holes that are about 1/2 inch in diameter. You can also add a layer of gravel or pebbles to the bottom of the container to further improve drainage. Monitor the soil moisture regularly and adjust your watering schedule accordingly.
How often should I water my squash plants in styrofoam containers?
The watering frequency will depend on several factors, including the weather, the size of the container, and the type of soil you’re using. As a general rule, water your squash plants when the top inch of soil feels dry to the touch. Avoid overwatering, as this can lead to root rot. During hot, dry weather, you may need to water your plants daily. In cooler, wetter weather, you may only need to water them every few days. Use a moisture meter to get a more accurate reading of the soil moisture levels.
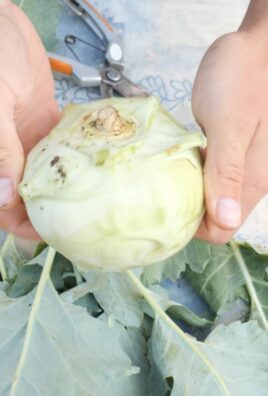
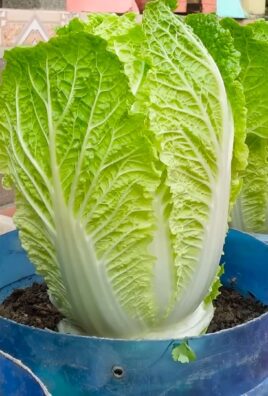
Can I use styrofoam containers for other vegetables besides squash?
Absolutely! Styrofoam containers are suitable for growing a wide variety of vegetables, including tomatoes, peppers, cucumbers, eggplant, and herbs. The key is to choose a container size that is appropriate for the specific vegetable you’re growing. For larger vegetables like tomatoes and peppers, you’ll need a larger container to accommodate their root systems. For smaller vegetables like herbs, you can use smaller containers. Just remember to provide adequate drainage and choose a well-draining soil mix.
How long will styrofoam containers last?
The lifespan of styrofoam containers will depend on the quality of the styrofoam and the environmental conditions. In general, styrofoam is a durable material that can withstand the elements for several years. However, exposure to direct sunlight can cause the styrofoam to degrade over time. To prolong the lifespan of your styrofoam containers, consider painting them with a UV-resistant paint or storing them in a shaded area when not in use. You can also reinforce the containers with duct tape or other materials to prevent them from cracking or breaking.
What are some tips for preventing pests and diseases in my styrofoam squash garden?
Prevention is key when it comes to pests and diseases. Start by choosing disease-resistant squash varieties. Regularly inspect your plants for signs of pests or diseases, such as aphids, squash bugs, or powdery mildew. Remove any infected leaves or plants immediately. You can also use organic pest control methods, such as neem oil or insecticidal soap, to control pests. Ensure that your plants have adequate air circulation to prevent fungal diseases. Avoid overwatering, as this can create a favorable environment for diseases. Companion planting with marigolds or nasturtiums can also help deter pests.
Leave a Comment