
Vinegar cleaner DIY recipes are your secret weapon for a sparkling clean home without harsh chemicals! Are you tired of spending a fortune on cleaning products filled with ingredients you can’t even pronounce? I know I was! That’s why I dove headfirst into the world of DIY cleaning, and let me tell you, it’s been a game-changer.
Vinegar, a staple in kitchens for centuries, has a surprisingly rich history as a cleaning agent. From ancient civilizations using it to disinfect wounds to our grandmothers relying on it for everyday chores, vinegar’s cleaning power is undeniable. But why is it so effective? The secret lies in its acetic acid, a natural disinfectant that cuts through grease, grime, and even some bacteria.
In today’s world, where we’re increasingly conscious of the impact our choices have on the environment and our health, vinegar cleaner DIY recipes offer a sustainable and cost-effective alternative to conventional cleaners. Not only will you save money, but you’ll also reduce your exposure to potentially harmful chemicals. Plus, the satisfaction of creating your own cleaning solutions is incredibly rewarding! So, ditch the store-bought stuff and let’s get started on some simple, effective, and eco-friendly vinegar cleaner recipes that will leave your home sparkling!
DIY All-Purpose Vinegar Cleaner: Your Guide to a Sparkling Home
Hey there, fellow DIY enthusiasts! I’m so excited to share my go-to recipe for a fantastic all-purpose vinegar cleaner. It’s cheap, effective, and eco-friendly – what’s not to love? I’ve been using this for years, and it’s replaced so many store-bought cleaners in my home. Let’s get started!
Why Vinegar?
Before we dive in, let’s talk about why vinegar is such a cleaning superstar. Vinegar, specifically white distilled vinegar, is a mild acid. This acidity is what makes it so good at cutting through grease, grime, and hard water stains. Plus, it’s a natural disinfectant, killing many common household bacteria and viruses.
Important Note: While vinegar is great for many surfaces, avoid using it on natural stone like granite or marble, as the acid can etch the surface. Also, don’t use it on waxed wood, as it can strip the wax. Always test in an inconspicuous area first!
What You’ll Need
Here’s a list of everything you’ll need to make your own all-purpose vinegar cleaner:
* White distilled vinegar
* Water (distilled water is best, but tap water works too)
* Essential oils (optional, for scent) – I love lemon, lavender, tea tree, or eucalyptus.
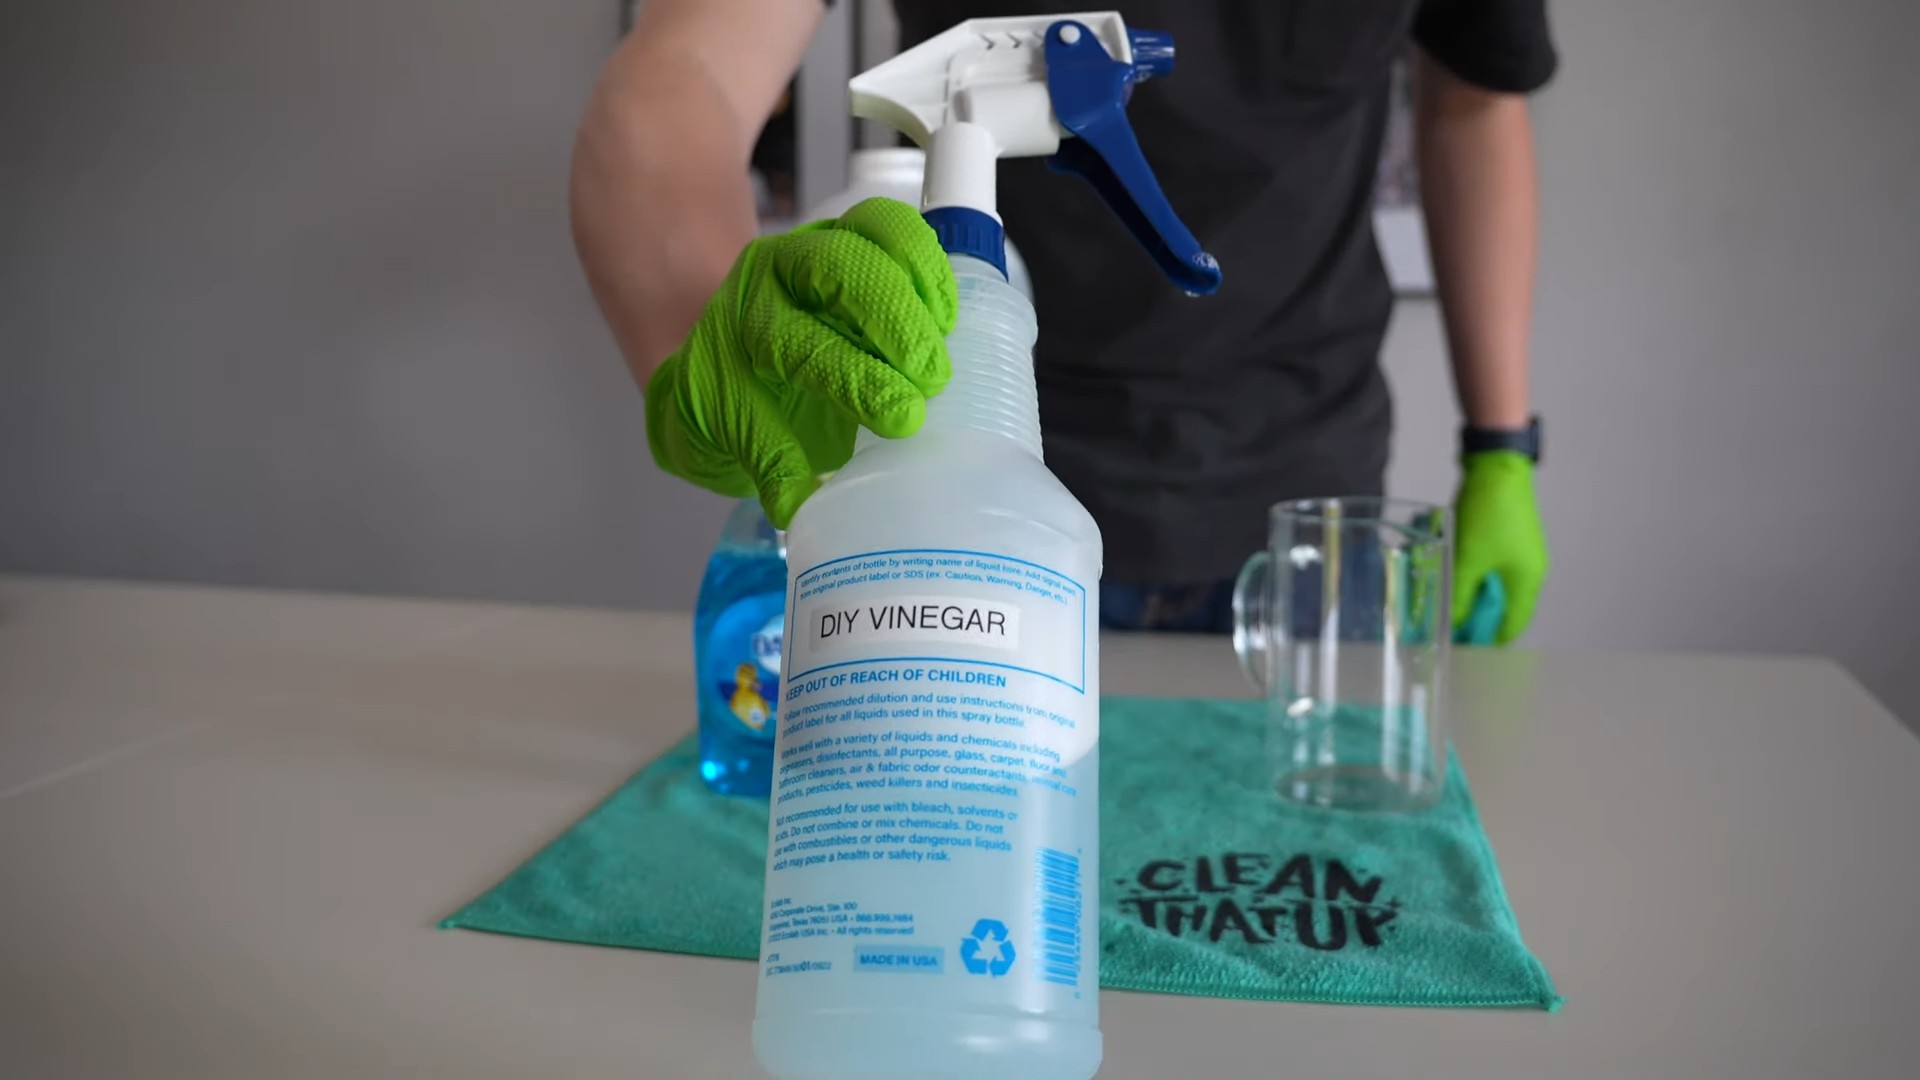
* Spray bottle (a clean, empty one, of course!)
* Measuring cup or spoons
* Funnel (optional, but helpful)
The Basic Recipe
This is the foundation of our cleaner. We’ll build on it later with different variations.
Ingredients:
* 1 part white distilled vinegar
* 1 part water
Instructions:
1. Prepare Your Spray Bottle: Make sure your spray bottle is clean and dry. Any residue from previous cleaners could react with the vinegar.
2. Combine Vinegar and Water: Using your measuring cup, pour equal parts vinegar and water into the spray bottle. For example, if you’re using a 16-ounce spray bottle, you’d use 8 ounces of vinegar and 8 ounces of water.
3. Add Essential Oils (Optional): If you want to add a scent, now’s the time. I usually add about 10-20 drops of essential oil per 16 ounces of cleaner. Start with a smaller amount and add more to your liking. Remember, essential oils not only add fragrance but can also have their own cleaning properties. For example, tea tree oil is a natural antiseptic.
4. Shake Well: Secure the spray nozzle onto the bottle and shake well to combine all the ingredients.
5. Label Your Bottle: This is important! Label your bottle clearly as “Vinegar Cleaner” so you don’t accidentally use it for something else.
Using Your All-Purpose Vinegar Cleaner
Now that you’ve made your cleaner, let’s put it to work!
1. Spray the Surface: Spray the cleaner directly onto the surface you want to clean.
2. Let it Sit: Allow the cleaner to sit for a few minutes to loosen dirt and grime. For tougher messes, you might need to let it sit for longer.
3. Wipe Clean: Use a clean cloth or sponge to wipe the surface clean. For stubborn spots, you might need to scrub a little.
4. Dry the Surface: If necessary, dry the surface with a clean, dry cloth.
Specific Cleaning Applications
Here are some specific ways I use my all-purpose vinegar cleaner around the house:
* Kitchen Counters: This cleaner is great for wiping down kitchen counters after cooking. Just be sure to avoid using it on granite or marble countertops.
* Bathroom Surfaces: I use it to clean sinks, toilets, and showers. It’s especially effective at removing soap scum and hard water stains.
* Mirrors and Windows: Vinegar is a fantastic glass cleaner! It leaves surfaces streak-free and sparkling.
* Floors: You can use this cleaner on tile, linoleum, and vinyl floors. Just be sure to dilute it further with water (about 1/4 cup of cleaner per gallon of water) to avoid damaging the finish.
* Appliances: I use it to clean the exterior of my appliances, like the refrigerator, oven, and dishwasher.
Variations and Advanced Recipes
Now that you’ve mastered the basic recipe, let’s explore some variations to tackle specific cleaning challenges.
Vinegar and Baking Soda Drain Cleaner
This is a classic combination for unclogging drains.
Ingredients:
* 1/2 cup baking soda
* 1 cup white distilled vinegar
* Hot water
Instructions:
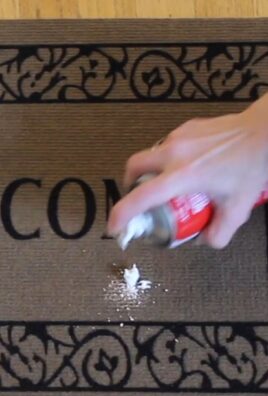
1. Pour Baking Soda Down the Drain: Pour the baking soda down the clogged drain.
2. Add Vinegar: Immediately pour the vinegar down the drain after the baking soda. You’ll see fizzing – that’s the chemical reaction working to break down the clog.
3. Let it Sit: Let the mixture sit for at least 30 minutes, or even overnight for stubborn clogs.
4. Flush with Hot Water: After the waiting period, flush the drain with hot water for several minutes.
5. Repeat if Necessary: If the drain is still clogged, repeat the process.
Vinegar and Citrus Peel Cleaner
This variation adds a lovely citrus scent and extra cleaning power.
Ingredients:
* White distilled vinegar
* Citrus peels (lemon, orange, grapefruit, etc.)
* Spray bottle
Instructions:
1. Collect Citrus Peels: Save your citrus peels after eating oranges, lemons, grapefruits, etc.
2. Place Peels in a Jar: Put the citrus peels in a clean glass jar.
3. Cover with Vinegar: Pour white distilled vinegar over the peels, making sure they are completely submerged.
4. Seal and Infuse: Seal the jar and let it sit for 2-3 weeks in a cool, dark place. This allows the vinegar to infuse with the citrus oils.
5. Strain the Vinegar: After the infusion period, strain the vinegar through a cheesecloth or fine-mesh sieve to remove the peels.
6. Dilute and Use: Dilute the infused vinegar with water in a 1:1 ratio and pour it into a spray bottle. Use it as you would the basic all-purpose vinegar cleaner.
Vinegar and Herb Infused Cleaner
Similar to the citrus peel cleaner, this variation uses herbs for a unique scent and potential antibacterial properties. Rosemary, thyme, and lavender are great choices.
Ingredients:
* White distilled vinegar
* Fresh herbs (rosemary, thyme, lavender, etc.)
* Spray bottle
Instructions:
1. Gather Fresh Herbs: Collect a handful of fresh herbs.
2. Place Herbs in a Jar: Put the herbs in a clean glass jar.
3. Cover with Vinegar: Pour white distilled vinegar over the herbs, making sure they are completely submerged.
4. Seal and Infuse: Seal the jar and let it sit for 2-3 weeks in a cool, dark place.
5. Strain the Vinegar: After the infusion period, strain the vinegar through a cheesecloth or fine-mesh sieve to remove the herbs.
6. Dilute and Use: Dilute the infused vinegar with water in a 1:1 ratio and pour it into a spray bottle. Use it as you would the basic all-purpose vinegar cleaner.
Vinegar and Dish Soap Cleaner (For Grease)
This combination is excellent for cutting through tough grease in the kitchen.
Ingredients:
* 1/2 cup white distilled vinegar
* 1/4 cup dish soap (I prefer a natural dish soap)
* Water
* Spray bottle
Instructions:
1. Combine Ingredients: In a spray bottle, combine the vinegar, dish soap, and about 2 cups of water.
2. Shake Gently: Gently shake the bottle to mix the ingredients. Avoid shaking too vigorously, as it can create excessive suds.
3. Spray and Wipe: Spray the cleaner onto greasy surfaces, let it sit for a few minutes, and then wipe clean with a damp cloth.
Troubleshooting and Tips
* Vinegar Smell: The vinegar smell can be strong at first, but it dissipates quickly. Adding essential oils can help mask the odor.
* Cloudy Cleaner: If your cleaner looks cloudy, it’s likely due to hard water. Using distilled water can prevent this.
* Residue: If you notice a residue after cleaning, try diluting the cleaner further with water.
* Always Test First: Before cleaning an entire surface, always test the cleaner in an inconspicuous area to make sure it doesn’
Conclusion
So, there you have it! Ditching those harsh chemicals and embracing the power of a homemade vinegar cleaner DIY solution is not just a trend; it’s a smart, sustainable, and surprisingly effective way to keep your home sparkling. We’ve walked you through the simple steps, highlighted the versatility, and debunked some common myths. But why is this a must-try?
Firstly, it’s about control. You know exactly what’s going into your cleaner, avoiding potentially harmful ingredients that can irritate skin, trigger allergies, or even contribute to indoor air pollution. Secondly, it’s incredibly cost-effective. A bottle of vinegar is significantly cheaper than most commercial cleaners, and you likely already have many of the other ingredients on hand. Think of all the money you’ll save! Thirdly, it’s environmentally friendly. By reducing your reliance on plastic bottles and harsh chemicals, you’re making a positive impact on the planet.
But the real magic lies in its effectiveness. Vinegar’s natural acidity cuts through grease, grime, and hard water stains with ease. It’s a fantastic disinfectant, killing many common household bacteria and viruses. And while the smell might be a bit strong initially, it dissipates quickly, leaving behind a fresh, clean scent (especially if you add essential oils!).
Don’t be afraid to experiment! While we’ve provided some basic recipes, the beauty of a vinegar cleaner DIY is its adaptability. Try infusing your vinegar with citrus peels for a brighter, more uplifting scent. Add a few drops of tea tree oil for extra disinfecting power. Use different essential oil blends to create custom aromatherapy experiences while you clean. For tougher stains, try a paste of baking soda and vinegar – the fizzing action helps lift dirt and grime.
Consider these variations:
* **Citrus Infusion:** Add orange, lemon, or grapefruit peels to your vinegar and let it sit for a week or two before straining and using. This adds a lovely fragrance and boosts the cleaning power.
* **Herbal Boost:** Infuse your vinegar with herbs like lavender, rosemary, or thyme for a natural, calming scent and added antibacterial properties.
* **Essential Oil Powerhouse:** Experiment with different essential oil blends to target specific needs. For example, eucalyptus and peppermint are great for bathrooms, while lavender and chamomile are perfect for bedrooms.
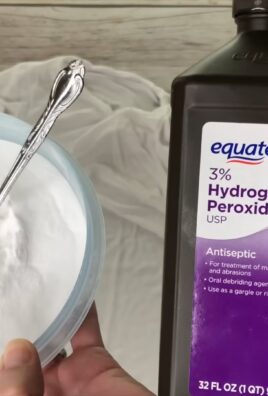
* **Vinegar and Baking Soda Paste:** For stubborn stains on sinks, tubs, or countertops, mix vinegar and baking soda into a paste. Apply to the stain, let it sit for a few minutes, then scrub and rinse.
We truly believe that once you try a vinegar cleaner DIY, you’ll never go back to store-bought cleaners. It’s a simple, effective, and sustainable way to keep your home clean and healthy.
So, what are you waiting for? Grab a bottle of vinegar, gather your ingredients, and get cleaning! We’re confident you’ll be amazed by the results. And most importantly, we want to hear about your experience! Share your favorite recipes, tips, and tricks in the comments below. Let’s build a community of DIY cleaning enthusiasts and help each other create healthier, happier homes. Tell us what surfaces you’ve cleaned, what essential oils you’ve used, and any modifications you’ve made to the recipes. Your feedback is invaluable and will help others discover the magic of vinegar cleaning!
Frequently Asked Questions (FAQ)
Is vinegar cleaner safe to use on all surfaces?
While vinegar is a fantastic cleaner, it’s not suitable for all surfaces. Avoid using it on natural stone surfaces like marble, granite, and limestone, as the acidity can etch and damage them. It’s also best to avoid using vinegar on waxed wood furniture, as it can strip the wax finish. Always test your vinegar cleaner DIY in an inconspicuous area first to ensure it doesn’t damage the surface. Generally, vinegar is safe for use on glass, stainless steel, ceramic tile, porcelain, and sealed wood.
What type of vinegar is best for cleaning?
Distilled white vinegar is the best choice for cleaning. It’s inexpensive, readily available, and has a consistent acidity level (around 5%). Avoid using flavored vinegars or cleaning vinegars with added ingredients, as these can leave behind residues or stains. Apple cider vinegar can be used in some cases, but it has a stronger odor and may leave a slight residue, so distilled white vinegar is generally preferred.
Will my house smell like vinegar after cleaning?
The strong vinegar smell is a common concern, but it dissipates quickly. The odor typically disappears within an hour or two, especially if you ventilate the area. Adding essential oils to your vinegar cleaner DIY can help mask the vinegar smell and leave behind a pleasant fragrance. Citrus peels infused in the vinegar also help to create a more appealing scent.
Can I mix vinegar with bleach?
Absolutely not! Mixing vinegar with bleach creates toxic chlorine gas, which can be extremely dangerous and even fatal. Never, ever mix vinegar with bleach or any other cleaning products containing bleach. Always use vinegar separately and rinse surfaces thoroughly after cleaning with other products before using vinegar.
How do I store my homemade vinegar cleaner?
Store your vinegar cleaner DIY in a clean, labeled spray bottle. Keep it out of reach of children and pets. It’s best to use a dark-colored bottle to protect the essential oils from light degradation, if you’ve added them. Homemade vinegar cleaner has a long shelf life, but it’s generally recommended to use it within a few months for optimal effectiveness.
Can I use vinegar cleaner to disinfect?
Vinegar is a natural disinfectant and can kill many common household bacteria and viruses. However, it’s not as effective as commercial disinfectants for killing all types of germs. For general cleaning and disinfecting, vinegar is a good option. For areas that require a higher level of disinfection, such as bathrooms or kitchens after handling raw meat, you may want to use a stronger disinfectant.
How do I clean my coffee maker with vinegar?
Cleaning your coffee maker with vinegar is a great way to remove mineral buildup and improve its performance. Fill the water reservoir with a solution of equal parts vinegar and water. Run the coffee maker through a full brewing cycle. Then, run it through two or three cycles with plain water to rinse away any remaining vinegar.
Can I use vinegar to clean my laundry?
Yes, vinegar can be a great addition to your laundry routine. Adding a cup of vinegar to the rinse cycle can help soften clothes, remove odors, and brighten colors. It can also help remove detergent residue from your washing machine. Don’t use vinegar with bleach in the same load.
How do I clean my microwave with vinegar?
Cleaning your microwave with vinegar is easy and effective. Mix equal parts vinegar and water in a microwave-safe bowl. Microwave on high for 5-10 minutes, allowing the steam to loosen any stuck-on food particles. Carefully remove the bowl and wipe down the inside of the microwave with a clean cloth.
What are some other uses for vinegar cleaner besides general cleaning?
Vinegar cleaner has many other uses beyond general cleaning. It can be used to:
* Remove hard water stains from showerheads and faucets.
* Clean windows and mirrors for a streak-free shine.
* Deodorize garbage disposals.
* Remove stickers and adhesive residue.
* Clean cutting boards.
* Remove mildew from bathroom tiles.
* Clean and deodorize dishwashers.
The possibilities are endless!

Leave a Comment