
Vinegar cleaning hacks are about to become your new best friend! Seriously, forget those expensive, chemical-laden cleaners. I’m here to tell you that the secret to a sparkling clean home has been sitting in your pantry all along. For generations, vinegar has been a staple in households, not just for cooking, but for its incredible cleaning power. Think back to your grandmother’s cleaning rituals – chances are, vinegar played a starring role!
But why is vinegar such a cleaning superstar? Well, its acidity naturally cuts through grease, grime, and even hard water stains. And the best part? It’s a natural, non-toxic alternative to harsh chemicals, making it safer for your family and the environment. In today’s world, where we’re all looking for ways to simplify our lives and reduce our exposure to harmful substances, mastering these vinegar cleaning hacks is a total game-changer.
I’m going to share some of my favorite and most effective DIY cleaning tricks using vinegar. From banishing bathroom mildew to making your windows gleam, these hacks will save you time, money, and a whole lot of elbow grease. Get ready to unlock the cleaning potential of this humble ingredient and transform your home into a sparkling sanctuary!
DIY Vinegar Cleaning Hacks: Unleash the Power of This Natural Wonder!
Hey there, fellow cleaning enthusiasts! I’m so excited to share some of my favorite vinegar cleaning hacks with you. Vinegar is seriously a game-changer when it comes to natural cleaning. It’s cheap, effective, and eco-friendly – what’s not to love? I’ve been using these tricks for years, and I’m always amazed at how well they work. So, grab your vinegar, and let’s get started!
General Vinegar Cleaning Tips
Before we dive into specific hacks, let’s cover some essential tips for using vinegar effectively:
* Dilution is Key: Always dilute vinegar with water, especially when cleaning delicate surfaces. A 50/50 solution is usually a good starting point.
* Test First: Before cleaning an entire surface, test the vinegar solution on a small, inconspicuous area to ensure it doesn’t cause any damage or discoloration.
* Ventilation is Important: Vinegar has a strong odor, so make sure to open windows or turn on a fan while you’re cleaning.
* Don’t Mix with Bleach: This is a crucial safety tip! Mixing vinegar with bleach creates toxic chlorine gas, which can be extremely dangerous.
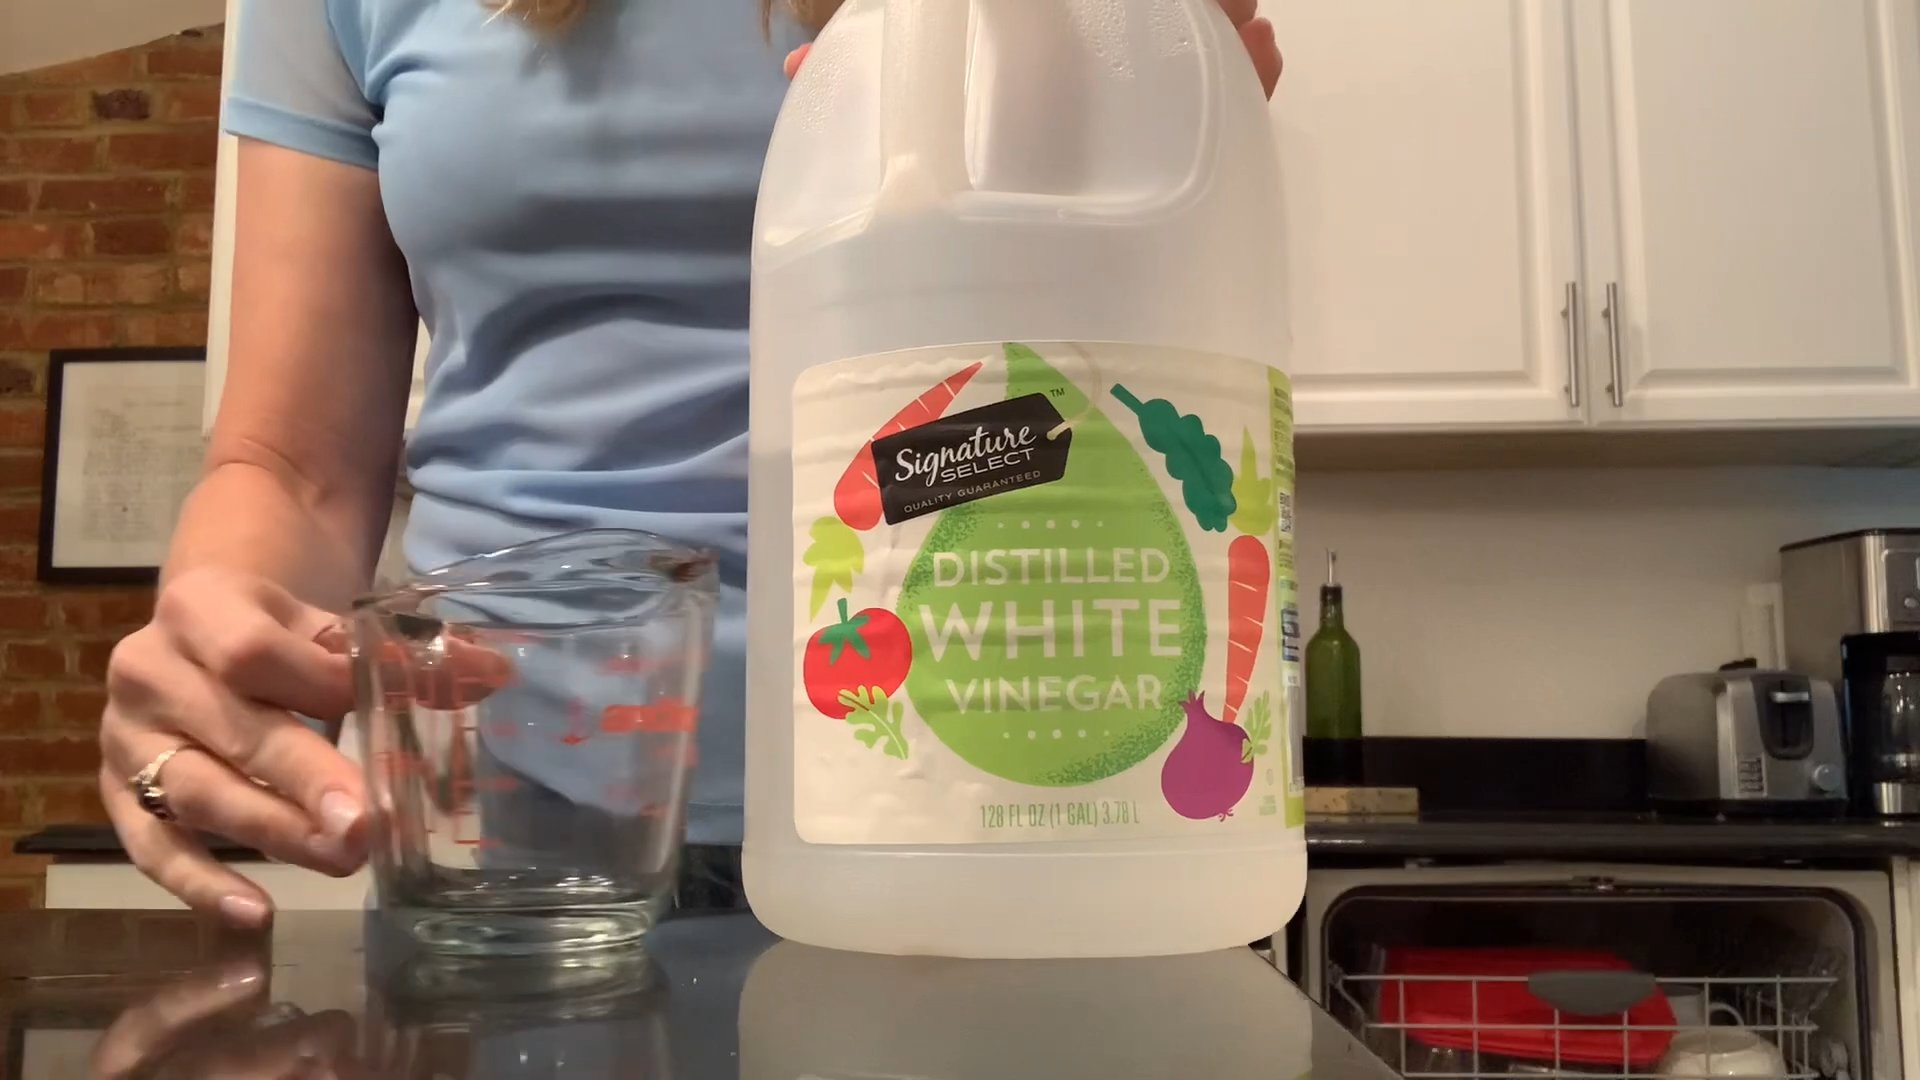
* Use White Distilled Vinegar: This is the best type of vinegar for cleaning because it’s clear and doesn’t contain any dyes or additives that could stain surfaces.
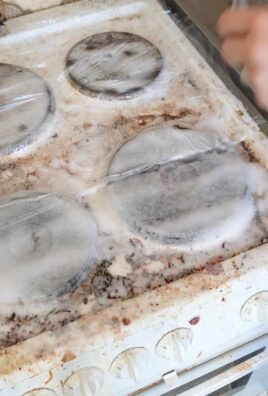
Cleaning Your Kitchen with Vinegar
The kitchen is a breeding ground for grime and bacteria, but vinegar can help you tackle even the toughest messes.
Cleaning the Microwave
My microwave is constantly getting splattered with food, and cleaning it can be a real pain. But this vinegar trick makes it so much easier!
1. Prepare the Solution: Fill a microwave-safe bowl with 1 cup of water and 1/4 cup of white distilled vinegar.
2. Microwave the Mixture: Place the bowl in the microwave and heat it on high for 5-10 minutes, or until the solution boils and the microwave is filled with steam.
3. Let it Sit: Leave the microwave door closed for another 5 minutes to allow the steam to loosen any stuck-on food particles.
4. Wipe Clean: Carefully remove the bowl (it will be hot!) and wipe down the inside of the microwave with a clean cloth or sponge. The grime should come off easily.
5. Stubborn Spots: For any stubborn spots, dip your cloth or sponge in the vinegar solution and scrub gently.
Cleaning the Coffee Maker
Over time, mineral deposits can build up in your coffee maker, affecting the taste of your coffee. Vinegar is a great way to descale your coffee maker and keep it running smoothly.
1. Prepare the Vinegar Solution: Fill the water reservoir of your coffee maker with a 50/50 solution of white distilled vinegar and water.
2. Run a Brewing Cycle: Turn on your coffee maker and let it run through a full brewing cycle.
3. Rinse Thoroughly: After the brewing cycle is complete, discard the vinegar solution and fill the water reservoir with fresh water. Run two or three more brewing cycles with just water to rinse out any remaining vinegar.
4. Clean the Carafe: Wash the carafe with soap and water, or you can also use a vinegar solution to remove any coffee stains.
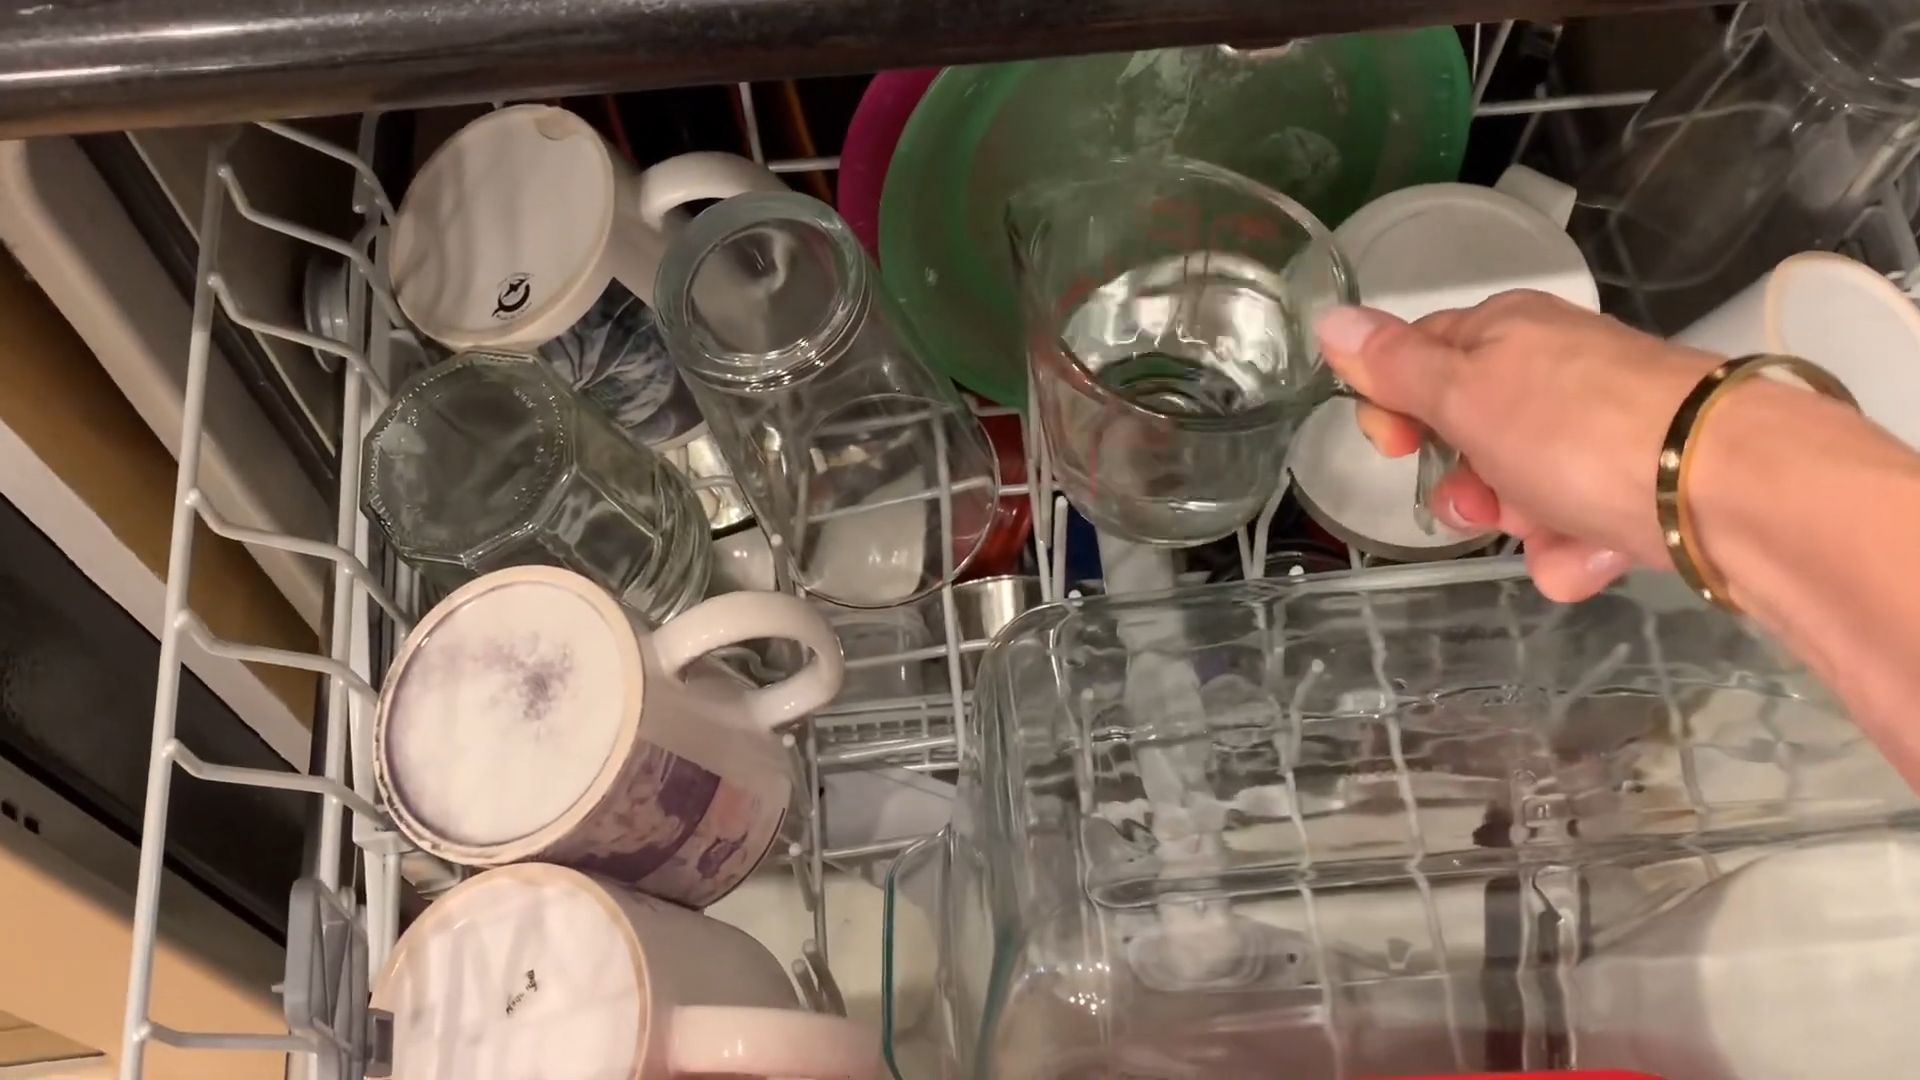
Cleaning the Dishwasher
Just like your coffee maker, your dishwasher can also accumulate mineral deposits and food residue. Cleaning it with vinegar will help keep it running efficiently and prevent unpleasant odors.
1. Empty the Dishwasher: Make sure your dishwasher is completely empty.
2. Place Vinegar in a Bowl: Pour 1 cup of white distilled vinegar into a dishwasher-safe bowl and place it on the top rack of the dishwasher.
3. Run a Hot Cycle: Run the dishwasher on a hot cycle without any detergent.
4. Repeat Monthly: I like to do this once a month to keep my dishwasher clean and fresh.
Cleaning Cutting Boards
Cutting boards can harbor bacteria, especially after cutting raw meat or poultry. Vinegar is a natural disinfectant that can help kill bacteria and keep your cutting boards clean.
1. Wash with Soap and Water: First, wash your cutting board with soap and water to remove any food particles.
2. Spray with Vinegar: Spray the cutting board with undiluted white distilled vinegar.
3. Let it Sit: Let the vinegar sit on the cutting board for a few minutes to disinfect it.
4. Rinse and Dry: Rinse the cutting board with water and dry it thoroughly.
Cleaning Stainless Steel Appliances
Vinegar can be used to clean and shine stainless steel appliances, leaving them streak-free.
1. Dilute the Vinegar: Mix equal parts of white distilled vinegar and water in a spray bottle.
2. Spray and Wipe: Spray the vinegar solution onto the stainless steel surface and wipe it down with a clean, soft cloth.
3. Buff to Shine: Use a dry cloth to buff the surface and remove any streaks.
Cleaning Your Bathroom with Vinegar
The bathroom is another area that can benefit from the cleaning power of vinegar.
Cleaning Showerheads
Showerheads can get clogged with mineral deposits, reducing water pressure. Vinegar can dissolve these deposits and restore your showerhead to its former glory.
1. Remove the Showerhead (Optional): If possible, remove the showerhead from the shower arm. This will make it easier to clean.
2. Fill a Bag with Vinegar: Fill a plastic bag with white distilled vinegar.
3. Submerge the Showerhead: Place the showerhead in the bag, making sure it’s completely submerged in the vinegar. Secure the bag with a rubber band or twist tie. If you can’t remove the showerhead, you can still attach the bag to it using a rubber band.
4. Soak Overnight: Let the showerhead soak in the vinegar overnight.
5. Rinse and Scrub: Remove the showerhead from the bag and rinse it thoroughly with water. Use an old toothbrush or a small brush to scrub away any remaining mineral deposits.
6. Reattach and Test: Reattach the showerhead to the shower arm and test it to make sure the water pressure is back to normal.
Cleaning Toilets
Vinegar can be used to clean and disinfect your toilet bowl.
1. Pour Vinegar into the Bowl: Pour 1-2 cups of white distilled vinegar into the toilet bowl.
2. Let it Sit: Let the vinegar sit in the bowl for at least 30 minutes, or preferably overnight.
3. Scrub and Flush: Scrub the toilet bowl with a toilet brush and then flush.
4. Clean the Exterior: You can also use a vinegar solution to clean the exterior of the toilet. Mix equal parts of vinegar and water in a spray bottle and spray the solution onto the toilet seat, lid, and base. Wipe clean with a cloth.
Cleaning Grout
Grout can easily become stained and discolored. Vinegar can help remove stains and brighten your grout.
1. Prepare the Vinegar Paste: Mix white distilled vinegar with baking soda to create a paste. The consistency should be similar to toothpaste.
2. Apply the Paste: Apply the paste to the grout lines.
3. Let it Sit: Let the paste sit on the grout for 15-20 minutes.
4. Scrub and Rinse: Scrub the grout with an old toothbrush or a grout brush. Rinse with water.
Other Clever Vinegar Cleaning Hacks
Vinegar isn’t just for the kitchen and bathroom! Here are a few more ways you can use it around your home:
Removing Stickers and Labels
I hate it when stickers leave behind a sticky residue. Vinegar to the rescue!
1. Soak the Sticker: Soak the sticker or label with white distilled vinegar.
2. Let it Sit: Let the vinegar sit for a few minutes to soften the adhesive.
3. Peel and Wipe: Gently peel off the sticker or label. If there’s any residue left behind, wipe it away with a cloth dampened with vinegar.
Freshening Laundry
Vinegar can be used as a natural fabric softener and odor eliminator.
1. Add to the Rinse Cycle: Add 1/2 cup of white distilled vinegar to the rinse cycle of your washing machine.
2. Deodorize Clothes: To remove odors from clothes, soak them in a solution of 1 cup of vinegar and 1 gallon of water for 30 minutes before washing.
Cleaning Windows and Mirrors
Vinegar can leave your windows and mirrors sparkling clean and streak-free.
1. Prepare the Solution: Mix equal parts of white distilled vinegar and water in a spray bottle.
2. Spray and Wipe: Spray the solution onto the window or mirror and wipe it down with a clean
Conclusion
So, there you have it! Embracing these vinegar cleaning hacks isn’t just about saving money; it’s about choosing a safer, more sustainable way to keep your home sparkling. We’ve explored how this humble kitchen staple can tackle everything from stubborn hard water stains to lingering odors, all without the harsh chemicals found in many commercial cleaners. The versatility of vinegar is truly remarkable, and once you start experimenting, you’ll likely discover even more uses for it around your house.
Why is this a must-try? Because it’s effective, economical, and eco-friendly. You’re reducing your exposure to potentially harmful chemicals, saving money on expensive cleaning products, and minimizing your environmental impact all at once. It’s a win-win-win! Plus, the satisfaction of creating your own cleaning solutions and knowing exactly what’s in them is incredibly rewarding.
Don’t be afraid to get creative with your vinegar cleaning. For a more pleasant scent, infuse your vinegar with citrus peels (lemon, orange, grapefruit) for a few weeks before using it. This adds a subtle, natural fragrance that can help mask the vinegar smell. You can also add a few drops of your favorite essential oils to your vinegar cleaning solutions for an extra boost of fragrance and potential antibacterial properties. Lavender, tea tree, and eucalyptus are all popular choices.
Another variation to consider is using different types of vinegar. While white distilled vinegar is the most common and versatile choice for cleaning, apple cider vinegar can also be used for certain tasks, such as cleaning wood surfaces or removing soap scum. Just be sure to test it in an inconspicuous area first to ensure it doesn’t damage the surface.
For tougher cleaning jobs, you can increase the concentration of vinegar in your cleaning solutions. However, always remember to dilute vinegar with water, especially when cleaning delicate surfaces like marble or granite. Undiluted vinegar can etch or damage these materials.
We’re confident that once you experience the power of vinegar cleaning, you’ll be hooked. It’s a simple, effective, and affordable way to keep your home clean and healthy. So, ditch the harsh chemicals and embrace the natural cleaning power of vinegar.
We encourage you to try these DIY vinegar cleaning hacks and share your experiences with us! Let us know what worked best for you, what variations you tried, and any other tips or tricks you discovered along the way. Your feedback will help us and other readers learn even more about the amazing cleaning potential of vinegar. Share your stories and photos on our social media channels using #VinegarCleaningHacks. We can’t wait to see what you create!
Frequently Asked Questions (FAQs)
Is vinegar safe to use on all surfaces?
No, vinegar is not safe to use on all surfaces. It’s acidic nature can damage certain materials. Avoid using vinegar on marble, granite, and other natural stone surfaces, as it can etch or dull the finish. It’s also best to avoid using vinegar on waxed wood furniture, as it can strip the wax. Always test vinegar cleaning solutions in an inconspicuous area first to ensure they don’t damage the surface. If you are unsure, consult the manufacturer’s instructions for the item you are cleaning.
What is the best type of vinegar to use for cleaning?
White distilled vinegar is generally considered the best type of vinegar for cleaning. It’s inexpensive, readily available, and has a high acidity level, making it effective at killing bacteria, dissolving mineral deposits, and removing grime. Apple cider vinegar can also be used for certain cleaning tasks, but it’s not as strong as white distilled vinegar and may leave a slight residue.
How do I get rid of the vinegar smell after cleaning?
The vinegar smell typically dissipates within a few hours. To speed up the process, you can open windows and doors to ventilate the area. You can also add a few drops of essential oils to your vinegar cleaning solutions to mask the vinegar smell. Citrus essential oils, such as lemon or orange, are particularly effective at neutralizing the vinegar odor. Another option is to leave a bowl of baking soda in the room to absorb the odor.
Can I mix vinegar with other cleaning products?
No, it’s generally not recommended to mix vinegar with other cleaning products, especially bleach. Mixing vinegar with bleach can create toxic chlorine gas, which can be harmful to your health. It’s also best to avoid mixing vinegar with ammonia, as this can create toxic chloramine gas. Always use vinegar cleaning solutions on their own and never mix them with other chemicals.
How do I clean my coffee maker with vinegar?
To clean your coffee maker with vinegar, fill the water reservoir with a solution of equal parts white distilled vinegar and water. Run the coffee maker through a full brewing cycle. Then, run the coffee maker through two more brewing cycles with fresh water to rinse out any remaining vinegar. This will help remove mineral deposits and improve the taste of your coffee.
Can vinegar kill mold?
Yes, vinegar can kill mold. White distilled vinegar is effective at killing about 82% of mold species. To kill mold with vinegar, spray undiluted vinegar onto the affected area and let it sit for an hour. Then, scrub the area with a brush and rinse with water. Be sure to wear gloves and a mask when cleaning mold to protect yourself from spores. For severe mold infestations, it’s best to consult a professional mold remediation service.
How do I clean my microwave with vinegar?
To clean your microwave with vinegar, combine 1 cup of water and 1/4 cup of white distilled vinegar in a microwave-safe bowl. Microwave the mixture on high for 5-10 minutes, or until the microwave is steamy. Let the mixture sit in the microwave for a few minutes to loosen any grime. Then, carefully remove the bowl and wipe down the inside of the microwave with a clean cloth or sponge.
Can I use vinegar to clean my laundry?
Yes, vinegar can be used to clean your laundry. Adding 1/2 cup of white distilled vinegar to your washing machine during the rinse cycle can help soften clothes, remove odors, and brighten colors. Vinegar can also be used to remove stains from clothing. Just be sure to test it in an inconspicuous area first to ensure it doesn’t damage the fabric.
How do I clean my showerhead with vinegar?
To clean your showerhead with vinegar, fill a plastic bag with white distilled vinegar and secure it around the showerhead with a rubber band. Make sure the showerhead is fully submerged in the vinegar. Let it soak for several hours or overnight. Then, remove the bag and run the shower to flush out any remaining vinegar and mineral deposits. This will help improve water pressure and remove buildup.
Is vinegar safe for septic systems?
Yes, vinegar is generally safe for septic systems. It’s a natural and biodegradable substance that won’t harm the bacteria in your septic tank. However, it’s important to use vinegar in moderation, as excessive amounts could potentially disrupt the balance of your septic system.
Leave a Comment