
Water Saving Celery Growing: Sounds like a magic trick, doesn’t it? Well, it’s not quite magic, but it’s definitely a clever way to enjoy fresh, crunchy celery from your own garden while being kind to our planet! For centuries, celery has been a staple in cuisines around the world, from ancient Roman feasts to modern-day salads and soups. But let’s be honest, celery can be a bit of a water hog. That’s where this DIY guide comes in – I’m going to show you some simple, effective techniques to drastically reduce the amount of water your celery plants need, without sacrificing flavor or yield.
In today’s world, conserving water is more important than ever. Whether you’re facing drought conditions, trying to lower your water bill, or simply want to be a more responsible gardener, these water saving celery growing hacks are for you. I’ll walk you through everything from choosing the right soil and mulching techniques to smart watering strategies that will keep your celery happy and hydrated, all while minimizing water waste. Get ready to unlock the secrets to a thriving, eco-friendly celery patch!
DIY Water-Saving Celery Growing: A Self-Watering Container Project
Hey there, fellow gardening enthusiasts! I’m super excited to share a project that’s close to my heart: growing celery in a self-watering container. Not only is it a fantastic way to enjoy fresh, crunchy celery right from your backyard (or balcony!), but it’s also incredibly water-wise. We’re talking about significantly reducing water waste while still getting a bountiful harvest. Let’s dive in!
Why a Self-Watering Container for Celery?
Celery is a thirsty plant. It needs consistent moisture to thrive and produce those crisp, juicy stalks we all love. Traditional watering methods can lead to water runoff, evaporation, and uneven moisture distribution. A self-watering container solves these problems by:
* Conserving Water: The reservoir at the bottom provides a steady supply of water directly to the roots, minimizing evaporation and runoff.
* Reducing Watering Frequency: You won’t have to water every day, especially during hot weather. This is a huge time-saver!
* Promoting Healthy Growth: Consistent moisture levels prevent stress on the plant, leading to healthier, more productive celery.
* Being Eco-Friendly: Less water usage means a smaller environmental footprint.
Materials You’ll Need
Before we get started, let’s gather all the necessary materials. I’ve tried to keep this list as simple and accessible as possible:
* Two Plastic Containers: One large (at least 15-20 gallons) and one smaller (around 5-10 gallons) that can fit inside the larger one with some space around the sides and bottom. Think of a large storage tote and a smaller, sturdy bucket.
* Drill with Various Drill Bits: You’ll need a small bit for drainage and a larger one for the overflow hole.
* PVC Pipe (Approximately 12-18 inches long): This will serve as our watering tube. The diameter should be wide enough to easily pour water into. 1-2 inches is ideal.
* Landscape Fabric or Burlap: To prevent soil from falling into the water reservoir.
* Potting Mix: A good quality potting mix that retains moisture well. Avoid using garden soil, as it can compact and hinder drainage.
* Celery Seedlings or Celery Stalk Base: You can start from seeds (which takes longer) or purchase seedlings from a nursery. Alternatively, you can regrow celery from the base of a store-bought stalk.
* Measuring Tape or Ruler: For accurate measurements.
* Utility Knife or Scissors: For cutting the landscape fabric.
* Water: Of course!
Step-by-Step Instructions
Okay, let’s get our hands dirty! Follow these steps carefully, and you’ll have your self-watering celery container up and running in no time.
1. Preparing the Outer Container (Reservoir)
This is where the magic happens – creating the water reservoir that will keep our celery happy and hydrated.
1. Drill Drainage Holes: Take your larger container and drill several small drainage holes (about ¼ inch in diameter) at the bottom. These holes are crucial to prevent the reservoir from becoming waterlogged if it rains heavily. Space them a few inches apart.
2. Drill Overflow Hole: Now, drill an overflow hole about 2-3 inches from the bottom of the container. This hole will allow excess water to escape, preventing the roots from sitting in standing water, which can lead to root rot.
3. Clean the Container: Give the container a good rinse to remove any debris or residue.
2. Preparing the Inner Container (Planting Bed)
This is where our celery will actually grow, so we need to make sure it’s well-drained and conducive to healthy root development.
1. Drill Drainage Holes: Take your smaller container and drill plenty of drainage holes (again, about ¼ inch in diameter) at the bottom. These holes are essential for allowing water to wick up from the reservoir into the soil. Space them closely together.
2. Wrap with Landscape Fabric: Cut a piece of landscape fabric or burlap large enough to line the bottom and sides of the inner container. This will prevent the potting mix from falling into the water reservoir. Secure the fabric with tape or by tucking it in tightly.
3. Optional: Add Support (If Needed): If your inner container is flimsy, you might want to add some support to prevent it from collapsing under the weight of the soil. You can use bricks, rocks, or even pieces of wood.
3. Assembling the Self-Watering Container
Now comes the fun part – putting everything together!
1. Place Inner Container Inside Outer Container: Carefully place the prepared inner container inside the larger outer container. Make sure there’s enough space between the bottom of the inner container and the bottom of the outer container to create a decent-sized water reservoir (at least 4-6 inches). If the inner container sits too low, you can elevate it with bricks or rocks.
2. Insert the PVC Watering Tube: Position the PVC pipe vertically between the two containers, reaching from the top of the inner container down to the bottom of the outer container. This tube will allow you to easily fill the water reservoir without disturbing the soil. Make sure the tube is stable and won’t tip over. You can secure it with some tape if needed.
3. Test the Drainage: Pour some water into the PVC pipe and observe how it fills the reservoir. Check that the overflow hole is working correctly and that excess water is draining out.
4. Planting Your Celery
Now for the main event – planting our celery!
1. Fill the Inner Container with Potting Mix: Gradually fill the inner container with your chosen potting mix, leaving about an inch or two of space at the top. Gently pat down the soil to remove any air pockets.
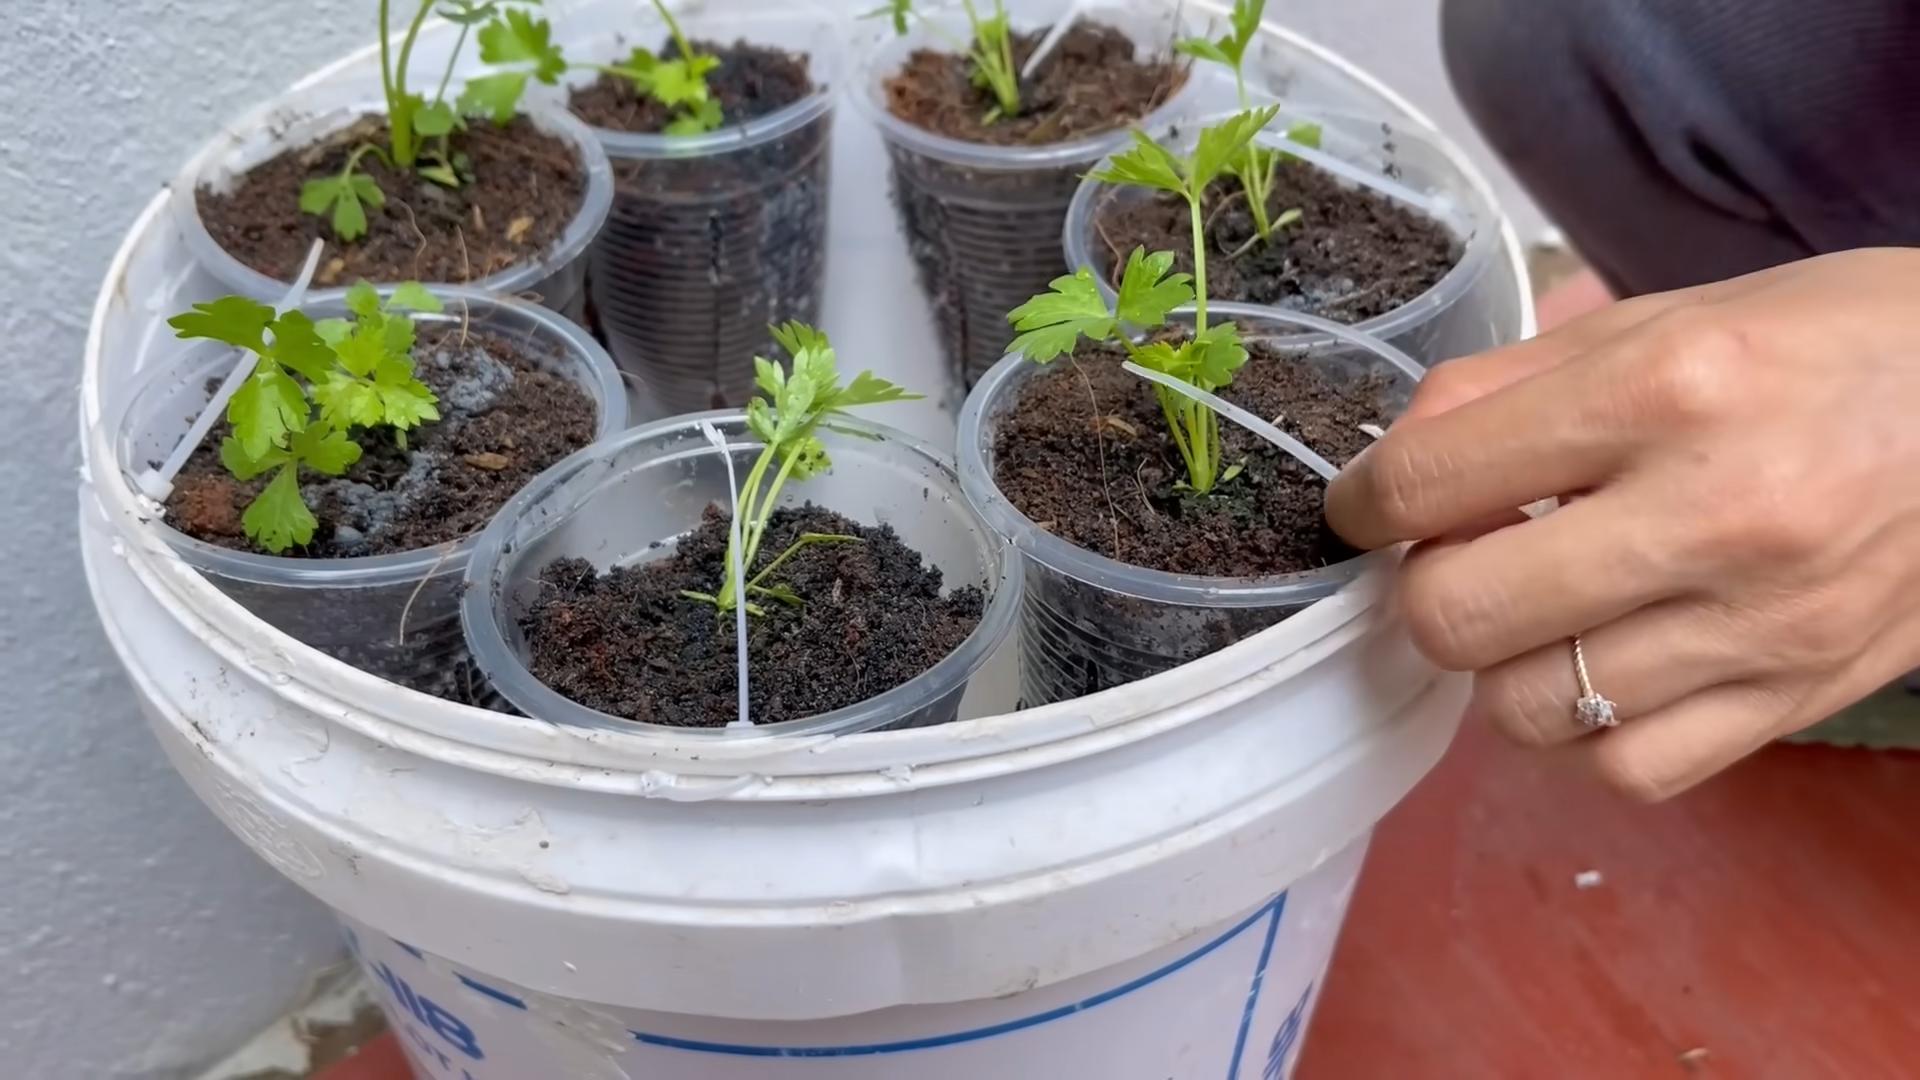
2. Plant Your Celery Seedlings or Stalk Base: If you’re using seedlings, carefully remove them from their containers and plant them in the potting mix, spacing them about 6-8 inches apart. If you’re regrowing celery from a stalk base, place the base in the center of the container, with the cut side facing up.
3. Water Thoroughly: After planting, water the soil thoroughly from the top to help the seedlings or stalk base establish their roots.
4. Mulch (Optional): Add a layer of mulch around the base of the celery plants to help retain moisture and suppress weeds. Straw, wood chips, or shredded leaves work well.
5. Maintaining Your Self-Watering Celery Container
Congratulations! You’ve successfully built your self-watering celery container. Now, let’s talk about how to keep your celery thriving.
1. Watering: The beauty of this system is that you won’t have to water as frequently. Check the water level in the reservoir every few days by looking down the PVC pipe. When the water level is low, simply refill the reservoir through the pipe. Avoid overwatering, as this can lead to root rot.
2. Fertilizing: Celery is a heavy feeder, so it needs regular fertilization. Use a balanced liquid fertilizer diluted to half strength every 2-3 weeks.
3. Sunlight: Celery needs at least 6 hours of sunlight per day. Place your container in a sunny location.
4. Pest Control: Keep an eye out for common celery pests like aphids and celery leaf tiers. Treat infestations promptly with insecticidal soap or neem oil.
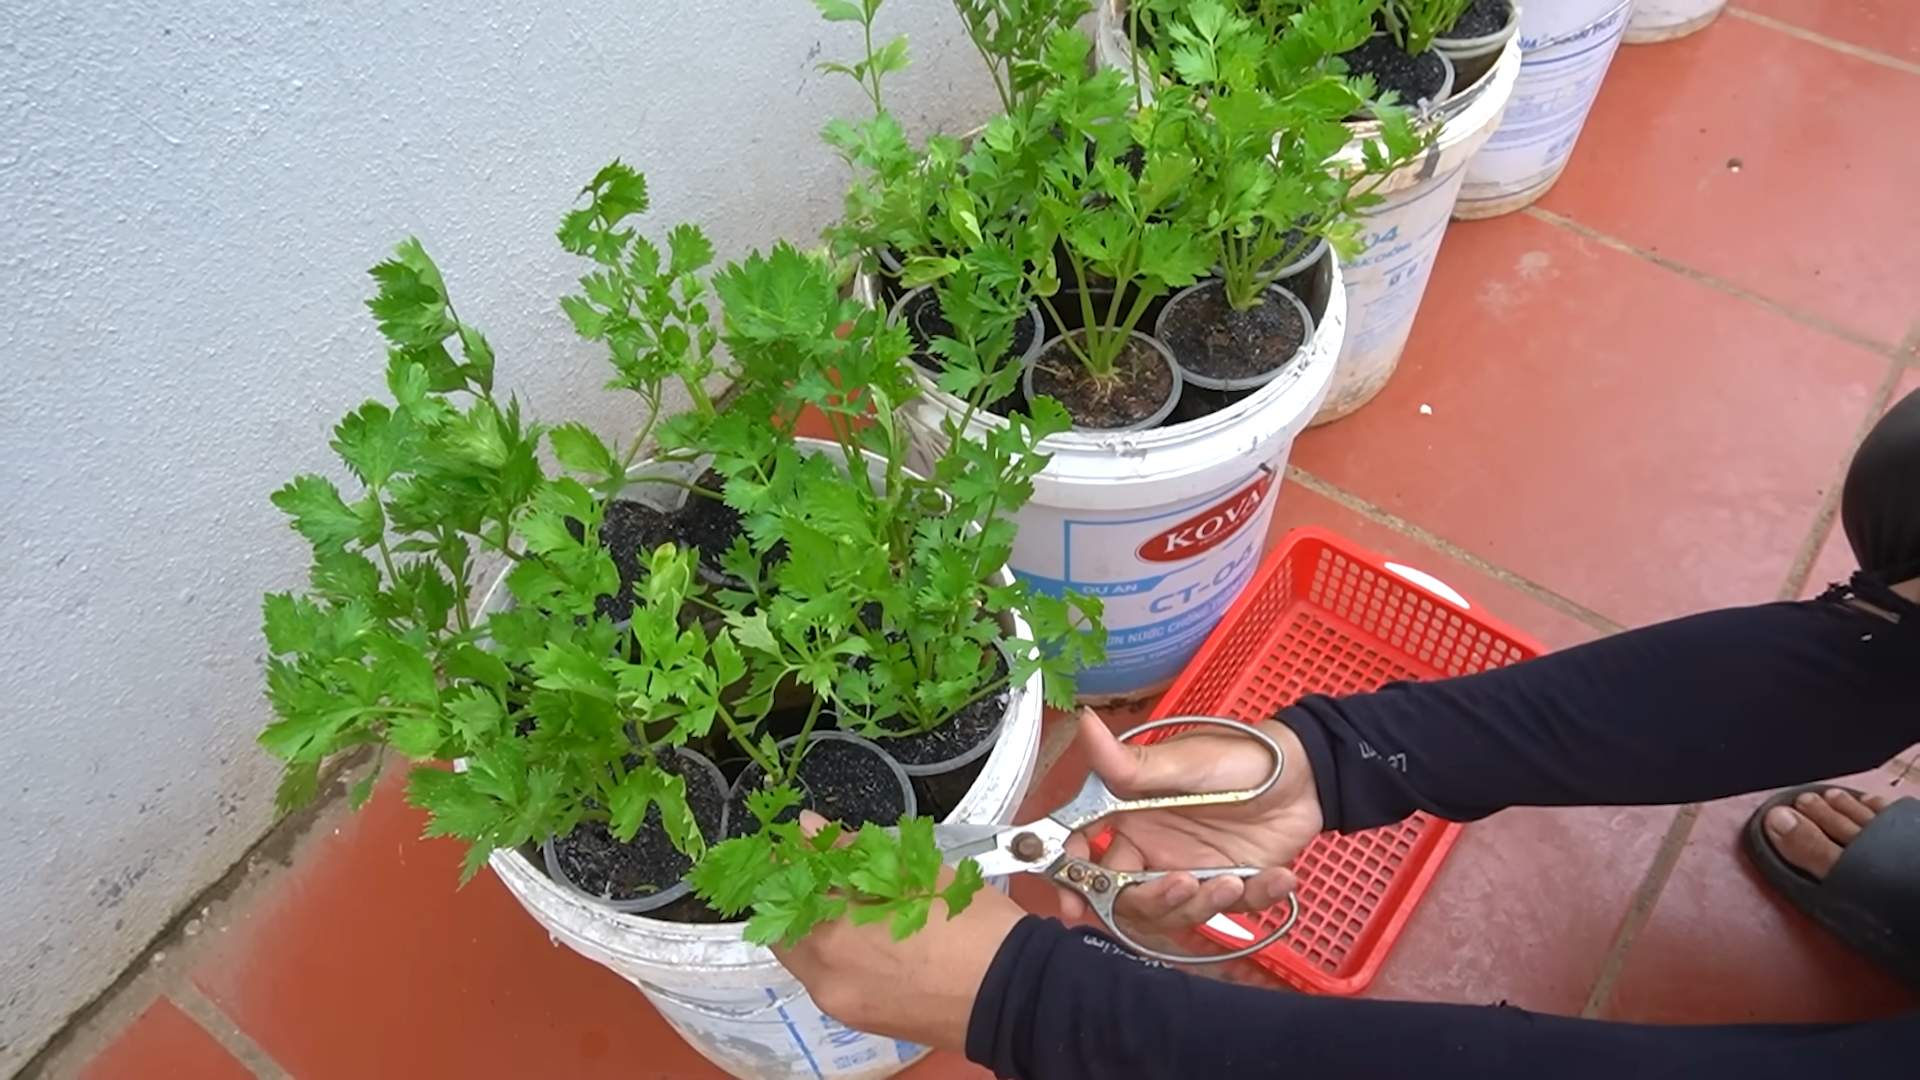
5. Harvesting: You can start harvesting celery stalks when they reach a desired size. Simply cut the outer stalks near the base of the plant. The inner stalks will continue to grow.
Tips and Tricks for Success
Here are a few extra tips to help you get the most out of your self-watering celery container:
* Choose the Right Potting Mix: A well-draining potting mix is crucial for preventing root rot. Avoid using garden soil, as it can compact and hinder drainage.
* Don’t Overcrowd: Give your celery plants enough space to grow. Overcrowding can lead to stunted growth and increased susceptibility to pests and diseases.
* Monitor Water Levels: Regularly check the water level in the reservoir to ensure that your celery plants are getting enough moisture.
* Protect from Frost: Celery is sensitive to frost. If you live in an area with cold winters, bring your container indoors or cover it with a blanket during frosty nights.
* Experiment with Different Varieties: There are many different varieties of celery to choose from. Experiment with different varieties to find the ones that grow best in your climate and that you enjoy the most.
* Consider Companion Planting: Planting certain herbs and flowers alongside your celery can help deter pests and attract beneficial insects. Good companion plants for celery include marigolds, nasturtiums, and chamomile.
Troubleshooting
Even with the best planning, sometimes things don’t
Conclusion
So, there you have it! This water-saving celery growing trick isn’t just a clever gardening hack; it’s a game-changer for anyone looking to enjoy fresh, homegrown celery without the guilt of excessive water usage. We’ve shown you how to transform a simple plastic bottle into a self-watering system that delivers hydration directly to the roots, minimizing evaporation and maximizing efficiency.
Why is this a must-try? Because it’s sustainable, cost-effective, and incredibly rewarding. Imagine the satisfaction of harvesting crisp, flavorful celery knowing you’ve done your part to conserve water. In a world increasingly conscious of environmental impact, every little bit helps, and this method allows you to indulge your green thumb responsibly.
But the beauty of this DIY project lies in its adaptability. Feel free to experiment with different bottle sizes depending on the size of your celery plant and container. You could even add a slow-release fertilizer to the water reservoir for an extra boost of nutrients. Consider using rain water collected in a barrel to fill your bottles for an even more eco-friendly approach. Another variation is to use a soaker hose connected to a timer to automatically refill the bottles, especially useful if you are going on vacation.
Don’t limit yourself to just celery! This water-saving technique can be adapted for other thirsty plants like tomatoes, peppers, and even herbs. The principle remains the same: deliver water directly to the roots, reducing waste and promoting healthy growth. Think about using this method for your container garden on a sunny balcony, or even for raised garden beds where water conservation is crucial.
We are confident that this water-saving celery growing method will revolutionize your gardening experience. It’s a simple, effective way to grow delicious, healthy celery while minimizing your environmental footprint.
Now, it’s your turn! We wholeheartedly encourage you to give this DIY trick a try. Gather your materials, follow the steps outlined, and prepare to be amazed by the results. And most importantly, we want to hear about your experience! Share your photos, tips, and variations in the comments below. Let’s build a community of water-conscious gardeners and inspire others to adopt sustainable practices. Let us know what challenges you faced, what worked particularly well, and any modifications you made to the process. Your feedback is invaluable and will help us refine and improve this technique for everyone.
Happy gardening, and remember, every drop counts! Let’s grow a greener future, one celery stalk at a time.
Frequently Asked Questions (FAQ)
What type of plastic bottle is best to use for this water-saving celery growing method?
Ideally, you should use a sturdy, food-grade plastic bottle. A 2-liter soda bottle or a similar-sized water bottle works well. Make sure the bottle is clean and free of any residue. Avoid using bottles that have contained harsh chemicals or cleaning products. The thicker the plastic, the longer the bottle will last, especially if exposed to direct sunlight. You can also consider using recycled milk jugs, but be sure to thoroughly clean them first.
How often do I need to refill the water bottle?
The frequency of refilling depends on several factors, including the size of the bottle, the size of the celery plant, the weather conditions, and the type of soil you’re using. In general, you should check the water level in the bottle every few days. During hot, dry weather, you may need to refill it more frequently. A good rule of thumb is to refill the bottle when it’s about half empty. Observe your plant closely; if the leaves start to wilt, it’s a sign that it needs more water.
Can I use this method for other plants besides celery?
Yes, absolutely! This water-saving technique is adaptable to a wide range of plants, especially those that benefit from consistent moisture at the roots. Tomatoes, peppers, cucumbers, squash, and herbs like basil and mint are all excellent candidates. Just be sure to adjust the size of the bottle and the number of holes based on the plant’s size and water needs. For larger plants, you might need to use multiple bottles or larger containers.
What type of soil is best for growing celery with this method?
Celery thrives in rich, well-draining soil that retains moisture. A good mix would be equal parts compost, potting soil, and perlite or vermiculite. The compost provides nutrients, the potting soil provides structure, and the perlite or vermiculite improves drainage and aeration. Avoid using heavy clay soil, as it can become waterlogged and suffocate the roots. You can also add some slow-release fertilizer to the soil mix to provide a steady supply of nutrients.
How do I prevent algae from growing in the water bottle?
Algae growth can be a common problem in clear plastic bottles exposed to sunlight. To prevent algae growth, you can paint the outside of the bottle with a dark, non-toxic paint or wrap it in aluminum foil. This will block sunlight and inhibit algae growth. You can also add a small amount of hydrogen peroxide to the water in the bottle, which will help to kill algae. However, be careful not to add too much, as it can harm the plant.
What if the holes in the bottle get clogged with soil?
Over time, the holes in the bottle can become clogged with soil or debris. To prevent this, you can wrap the bottom of the bottle with landscape fabric or cheesecloth before burying it in the soil. This will act as a filter and prevent soil from entering the bottle. If the holes do become clogged, you can use a small wire or toothpick to carefully clear them. Regularly check the holes and clear them as needed.
Is this method suitable for growing celery indoors?
Yes, this method can be used for growing celery indoors, especially if you have limited space or live in an area with a short growing season. Just make sure to provide the celery plant with adequate sunlight or use a grow light. You’ll also need to monitor the water level in the bottle more closely, as indoor environments tend to be drier. Consider placing a tray underneath the pot to catch any excess water.
How does this water-saving method actually save water compared to traditional watering?
Traditional watering methods often result in significant water loss through evaporation and runoff. When you water from above, much of the water evaporates before it can reach the roots, especially in hot or windy conditions. Additionally, some water may run off the surface of the soil and be wasted. This water-saving method delivers water directly to the roots, minimizing evaporation and runoff. The water is slowly released into the soil, allowing the plant to absorb it more efficiently. This results in less water being used overall, making it a more sustainable and environmentally friendly way to grow celery.
Can I add fertilizer to the water in the bottle?
Yes, you can add a diluted liquid fertilizer to the water in the bottle to provide your celery plant with extra nutrients. However, it’s important to use a balanced fertilizer and to dilute it according to the manufacturer’s instructions. Over-fertilizing can harm the plant. A good option is to use a slow-release fertilizer that will gradually release nutrients into the soil over time. You can also use compost tea, which is a natural and gentle fertilizer that is rich in beneficial microbes.
What are the signs that my celery plant is not getting enough water, even with this method?
Even with this water-saving method, it’s still possible for your celery plant to experience water stress. Signs that your plant is not getting enough water include wilting leaves, yellowing leaves, stunted growth, and dry soil. If you notice any of these signs, check the water level in the bottle and refill it as needed. You may also need to adjust the number of holes in the bottle or the size of the bottle to provide more water to the plant. Additionally, make sure that the soil is well-draining and that the plant is not exposed to excessive heat or sunlight.

Leave a Comment