
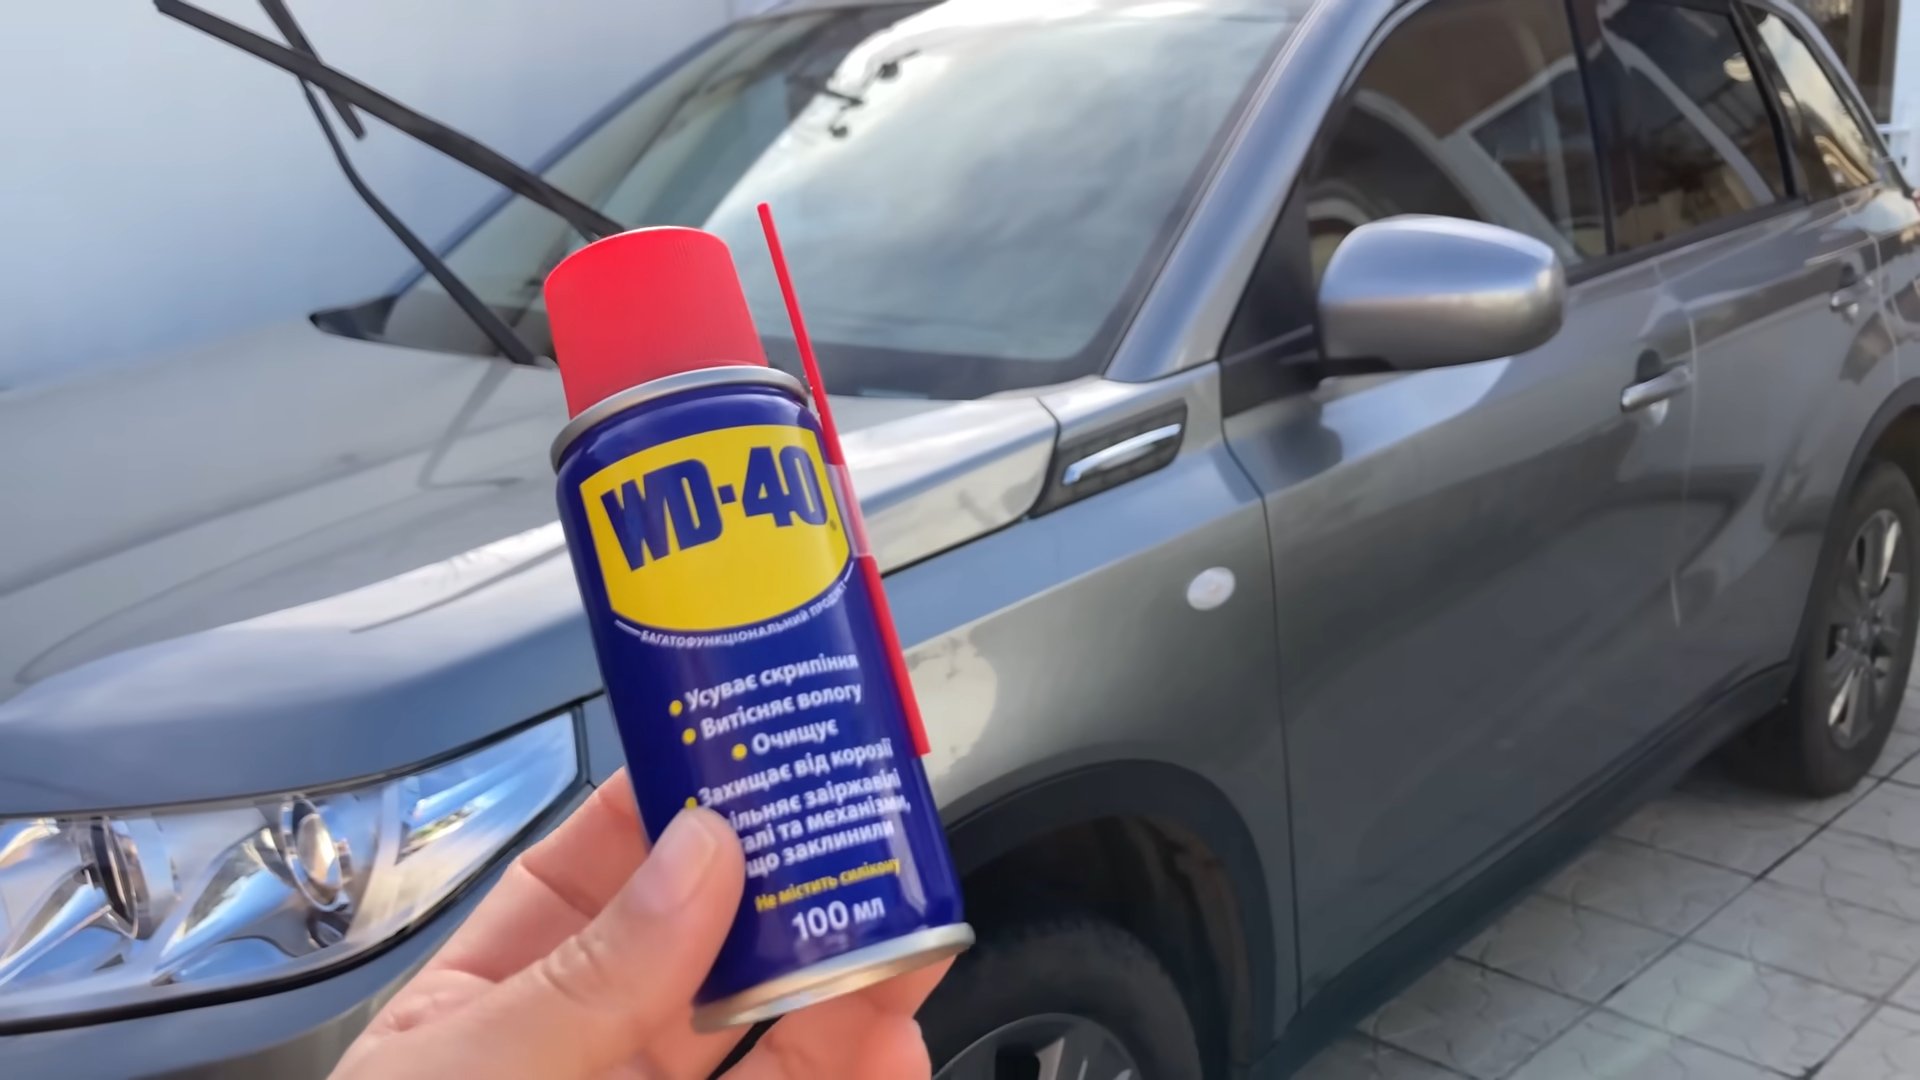
WD-40 car cleaning hacks – who knew this household staple could be your secret weapon to a sparkling clean ride? I’ll be honest, I was skeptical at first. WD-40? For my car? But trust me, the results speak for themselves! For decades, WD-40 has been the go-to for squeaky hinges and rusty bolts, a true testament to its versatility. But its uses extend far beyond the garage.
Think about it: your car is constantly battling the elements – road grime, bug splatters, tree sap, and more. Traditional car cleaning products can be expensive and sometimes even harsh on your vehicle’s finish. That’s where these clever WD-40 car cleaning hacks come in. They’re affordable, effective, and surprisingly easy to implement.
In this article, I’m going to share my favorite DIY tricks using WD-40 to tackle everything from stubborn tar to sticky residue. You’ll learn how to achieve a professional-level clean without breaking the bank or spending hours scrubbing. Get ready to unlock the hidden potential of this everyday product and transform your car cleaning routine!
WD-40 Car Cleaning Hacks: Unleash the Power of a Can!
Okay, let’s be honest, we all love a clean car, but sometimes the thought of scrubbing and polishing feels like a monumental task. That’s where WD-40 comes in! Yes, you read that right. That trusty can of lubricant you have in your garage can actually be a secret weapon for cleaning your car. I’ve experimented with these hacks myself, and I’m excited to share my findings with you. Just remember to always test a small, inconspicuous area first to make sure it doesn’t react negatively with your car’s finish.
Removing Bugs and Tar
Bugs splattered on your windshield and tar clinging to your paint are the bane of every driver’s existence. They’re unsightly and can be tough to remove with just soap and water. WD-40 to the rescue!
What you’ll need:
* WD-40
* Microfiber cloths (lots of them!)
* Water
* Car wash soap (optional, but recommended)
Step-by-step Instructions:
1. Prepare the area: Before you start spraying, give the affected area a quick rinse with water to remove any loose dirt or debris. This will prevent you from scratching the paint when you start wiping.
2. Spray WD-40: Hold the WD-40 can about 6-8 inches away from the bug splatters or tar spots and spray a generous amount directly onto the affected area. Don’t be shy! You want to saturate the bugs and tar.
3. Let it soak: This is the key! Let the WD-40 sit for about 5-10 minutes. This allows the lubricant to penetrate and loosen the stubborn grime.
4. Wipe away: Using a clean microfiber cloth, gently wipe away the WD-40 and the dissolved bugs or tar. You’ll be amazed at how easily it comes off! Use a circular motion for stubborn spots, but avoid applying too much pressure.
5. Repeat if necessary: For particularly stubborn spots, you might need to repeat steps 2-4. Don’t give up!
6. Wash the area: This is crucial! WD-40 is a lubricant, so you don’t want to leave it on your car’s paint. Wash the area thoroughly with car wash soap and water to remove any residue. This will also prevent dirt from sticking to the area later.
7. Dry and admire: Dry the area with a clean microfiber cloth. Step back and admire your bug-free, tar-free, sparkling clean car!
Cleaning Road Grime and Grease
Road grime and grease can accumulate on your wheels, tires, and even the lower panels of your car. WD-40 can help break down these stubborn deposits.
What you’ll need:
* WD-40
* Microfiber cloths
* Wheel cleaner (optional, for extra cleaning power)
* Tire brush (optional)
* Water
* Car wash soap
Step-by-step Instructions:
1. Rinse the area: As with the bug and tar removal, start by rinsing the wheels, tires, and lower panels of your car with water to remove any loose dirt.
2. Spray WD-40: Spray WD-40 liberally onto the affected areas. Focus on areas with heavy grime and grease buildup.
3. Let it dwell: Allow the WD-40 to sit for 5-10 minutes to loosen the grime.
4. Scrub (optional): For tires, you can use a tire brush to scrub the WD-40 into the rubber. This will help remove stubborn dirt and grime. For wheels, use a microfiber cloth to gently scrub the surface.
5. Wipe away: Wipe away the WD-40 and dissolved grime with a clean microfiber cloth.
6. Clean with wheel cleaner (optional): If you want extra cleaning power, you can use a dedicated wheel cleaner after wiping away the WD-40. Follow the instructions on the wheel cleaner bottle.
7. Wash thoroughly: Wash the wheels, tires, and lower panels with car wash soap and water to remove any WD-40 residue.
8. Rinse and dry: Rinse thoroughly with water and dry with a clean microfiber cloth. Your wheels and tires should now be looking much cleaner!
Removing Sticky Residue
Have you ever tried to remove a sticker or decal from your car and been left with a sticky, gooey residue? It’s frustrating! WD-40 can help dissolve that sticky mess.
What you’ll need:
* WD-40
* Microfiber cloth
* Plastic scraper (optional, for stubborn residue)
* Car wash soap
* Water
Step-by-step Instructions:
1. Spray WD-40: Spray WD-40 directly onto the sticky residue, making sure to saturate the area.
2. Let it soak: Allow the WD-40 to sit for 5-10 minutes to break down the adhesive.
3. Wipe away: Using a clean microfiber cloth, gently wipe away the WD-40 and the dissolved residue.
4. Scrape (optional): If the residue is particularly stubborn, you can use a plastic scraper to gently lift it away. Be careful not to scratch the paint!
5. Repeat if necessary: You may need to repeat steps 1-4 for stubborn residue.
6. Wash the area: Wash the area with car wash soap and water to remove any WD-40 residue.
7. Dry and admire: Dry the area with a clean microfiber cloth. The sticky residue should be gone!
Cleaning Chrome Trim
Chrome trim can lose its shine over time due to oxidation and exposure to the elements. WD-40 can help restore its luster.
What you’ll need:
* WD-40
* Microfiber cloths (one for applying, one for buffing)
Step-by-step Instructions:
1. Spray WD-40: Lightly spray WD-40 onto a clean microfiber cloth.
2. Apply to chrome: Gently rub the WD-40 onto the chrome trim, using a circular motion.
3. Let it sit briefly: Allow the WD-40 to sit for a minute or two.
4. Buff to a shine: Using a clean, dry microfiber cloth, buff the chrome trim to a brilliant shine. The WD-40 will help remove oxidation and restore the chrome’s luster.
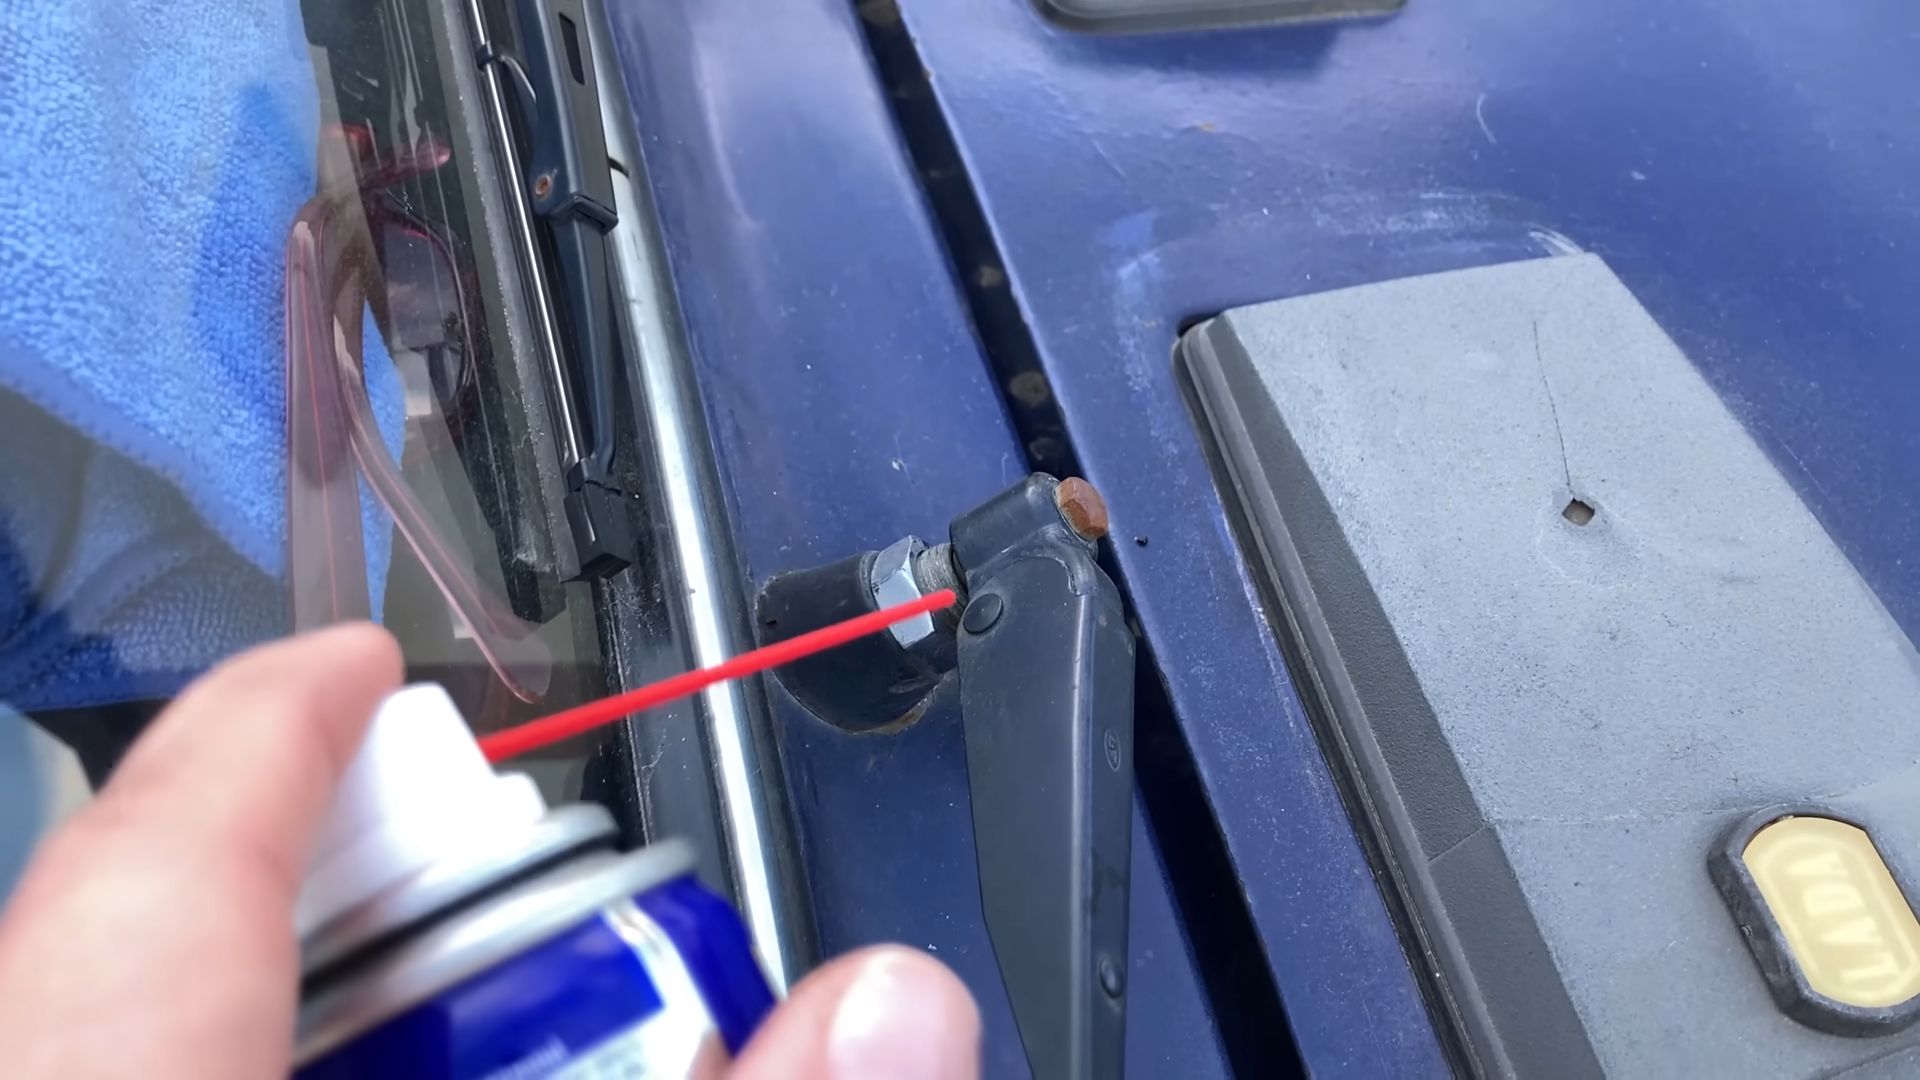
Lubricating Door Hinges and Locks
Squeaky door hinges and sticky locks are annoying. WD-40 can help lubricate these parts and keep them working smoothly.
What you’ll need:
* WD-40 (with the straw attachment)
Step-by-step Instructions:
1. Attach the straw: Attach the straw attachment to the WD-40 can. This will allow you to direct the spray precisely.
2. Spray door hinges: Spray a small amount of WD-40 into the door hinges, focusing on the moving parts. Open and close the door several times to distribute the lubricant.
3. Spray door locks: Insert the straw into the keyhole of the door lock and spray a small amount of WD-40. Insert and remove the key several times to distribute the lubricant.
4. Wipe away excess: Wipe away any excess WD-40 with a clean cloth.
Protecting Your Car’s Paint (Use with Caution!)
This is a slightly controversial one, and I want to emphasize that you should **always test a small, inconspicuous area first** before applying WD-40 to your entire car’s paint. Some people swear by WD-40 as a paint protectant, claiming it helps repel water and prevent rust. However, it’s not a substitute for proper waxing and detailing.
What you’ll need:
* WD-40
* Microfiber cloths (lots of them!)
Step-by-step Instructions (Use with Extreme Caution and Test First!):
1. Wash and dry your car: Make sure your car is clean and dry before applying WD-40.
2. Spray WD-40 sparingly: Lightly spray WD-40 onto a clean microfiber cloth. Do NOT spray directly onto the car’s paint.
3. Apply to paint: Gently wipe the WD-40 onto the car’s paint, using a circular motion. Apply a very thin layer.
4. Buff to a shine: Using a clean, dry microfiber cloth, buff the paint to a shine.
5. Monitor the results: Keep an eye on the treated area to see how it reacts. If you notice any discoloration or damage, stop using WD-
Conclusion
So, there you have it! These WD-40 car cleaning hacks are not just clever; they’re game-changers for anyone looking to keep their vehicle sparkling without breaking the bank or spending hours scrubbing. We’ve explored how this readily available lubricant can tackle everything from stubborn bug splatters and tar to restoring faded plastic trim and even loosening rusted bolts. The versatility of WD-40 extends far beyond its intended purpose, transforming it into an unexpected ally in your car care arsenal.
Why is this DIY trick a must-try? Because it’s effective, affordable, and incredibly convenient. You likely already have a can of WD-40 in your garage, making it an accessible solution for common car cleaning woes. Forget expensive detailing products and specialized tools; WD-40 offers a simple, straightforward approach to achieving professional-looking results. Plus, the time savings alone are worth considering. Imagine spending minutes instead of hours removing those pesky bug remains or restoring the luster to your bumpers.
But the benefits don’t stop there. WD-40 can also act as a protectant, leaving a thin layer of oil that helps repel water and prevent future grime buildup. This means less frequent cleaning and a car that stays cleaner for longer. It’s a win-win situation!
Looking for variations or ways to customize these hacks? Consider these suggestions:
* **For extra stubborn bug splatter:** Let WD-40 soak for a longer period, perhaps 10-15 minutes, before wiping away. You can also use a soft-bristled brush to gently agitate the area.
* **For plastic trim restoration:** After applying WD-40, follow up with a plastic protectant spray for added UV protection and a longer-lasting shine.
* **For rust prevention:** After loosening rusted bolts, apply a thin coat of WD-40 to prevent future corrosion.
* **Experiment with dilution:** For delicate surfaces, try diluting WD-40 with water or a mild soap solution to reduce its concentration. Always test in an inconspicuous area first.
We’re confident that these WD-40 car cleaning hacks will revolutionize your car care routine. They’re easy to implement, cost-effective, and deliver impressive results. But don’t just take our word for it – try them out for yourself!
We encourage you to put these tips to the test and share your experiences with us. Did you find a particularly effective application? Did you discover a new way to use WD-40 for car cleaning? Let us know in the comments below! Your feedback will help other readers discover even more ways to keep their cars looking their best. Embrace the power of DIY and unlock the hidden potential of WD-40 for a cleaner, shinier, and more well-maintained vehicle. So grab that can of WD-40 and get ready to experience the magic!
Frequently Asked Questions (FAQs)
Is WD-40 safe to use on car paint?
This is a common concern, and rightly so. While WD-40 can be effective for removing certain substances from car paint, it’s crucial to use it cautiously and sparingly. WD-40 is a solvent and can potentially damage the clear coat if left on for extended periods or used excessively. Always test a small, inconspicuous area first to ensure there are no adverse reactions. Apply WD-40 to a clean cloth rather than directly spraying it onto the paint. After removing the target substance (like bug splatter or tar), immediately wash the area with soap and water to remove any WD-40 residue. Follow up with a wax or sealant to protect the paint. Avoid using WD-40 on freshly painted surfaces or areas with damaged clear coat.
Can WD-40 damage rubber or plastic components?
Prolonged exposure to WD-40 can potentially degrade certain types of rubber and plastic over time. While it’s generally safe for short-term use on these materials, it’s best to avoid prolonged soaking or repeated applications. When using WD-40 on plastic trim, for example, wipe off any excess immediately after application. For rubber components like weather stripping, consider using a dedicated rubber protectant instead of WD-40 for long-term maintenance. If you notice any signs of discoloration, cracking, or swelling after using WD-40 on rubber or plastic, discontinue use immediately.
Will WD-40 attract dirt and dust after application?
Because WD-40 is an oil-based product, it can leave a slightly oily residue that may attract dirt and dust. To minimize this, apply WD-40 sparingly and wipe off any excess thoroughly with a clean, dry cloth. After cleaning with WD-40, consider applying a sealant or protectant to create a barrier against dirt and dust. Regular washing and waxing of your car will also help prevent dirt buildup.
Is WD-40 a good substitute for dedicated car cleaning products?
While WD-40 can be a useful tool for specific car cleaning tasks, it’s not a replacement for dedicated car cleaning products. Car wash soap, wax, and interior cleaners are formulated to safely and effectively clean and protect specific surfaces of your vehicle. WD-40 is best used for targeted applications like removing stubborn stains, loosening rusted parts, or restoring faded plastic trim. Using WD-40 as a general-purpose cleaner can lead to damage or ineffective cleaning.
How often can I use WD-40 on my car?
The frequency of WD-40 application depends on the specific task and the condition of your car. For tasks like removing bug splatter or tar, use WD-40 as needed. For plastic trim restoration, limit applications to once every few months to prevent potential damage. Avoid using WD-40 excessively or on a regular basis, as it can lead to buildup and potential damage to certain surfaces. Always monitor the condition of your car’s surfaces and adjust your cleaning routine accordingly.
What are the safety precautions I should take when using WD-40?
WD-40 is flammable, so avoid using it near open flames or sources of ignition. Work in a well-ventilated area to avoid inhaling fumes. Wear gloves to protect your skin from prolonged exposure. Keep WD-40 out of reach of children and pets. Dispose of used cloths and empty cans properly. If WD-40 comes into contact with your eyes, rinse immediately with water and seek medical attention if irritation persists. Always read and follow the manufacturer’s instructions on the WD-40 can.
Can WD-40 be used to lubricate car parts?
Yes, WD-40 can be used to lubricate certain car parts, particularly to loosen rusted or stuck components. However, it’s important to note that WD-40 is primarily a penetrating oil and not a long-lasting lubricant. For long-term lubrication of moving parts, use a dedicated lubricant like grease or oil. WD-40 can be helpful for freeing up sticky hinges, locks, or bolts, but it’s not a substitute for proper lubrication of engine components or other critical mechanical parts.
What is the best way to remove WD-40 residue from my car?
The best way to remove WD-40 residue is to wash the affected area with soap and water. Use a mild car wash soap and a soft sponge or cloth to gently scrub the surface. Rinse thoroughly with clean water and dry with a microfiber towel. For stubborn residue, you may need to repeat the process. Avoid using harsh chemicals or abrasive cleaners, as they can damage the car’s finish.
Can WD-40 remove scratches from my car?
WD-40 can temporarily mask minor scratches by filling them in with oil, making them less visible. However, it does not actually remove or repair scratches. The effect is temporary and will fade over time as the WD-40 wears off. For actual scratch removal, you’ll need to use a dedicated scratch remover or polishing compound.
Is WD-40 safe for use on car interiors?
Use caution when using WD-40 on car interiors. While it can be effective for removing certain stains or grime, it can also damage or discolor some interior surfaces. Always test a small, inconspicuous area first to ensure there are no adverse reactions. Avoid using WD-40 on leather or fabric upholstery, as it can stain or damage these materials. For interior cleaning, use dedicated interior cleaners that are specifically formulated for car interiors.
Leave a Comment